|
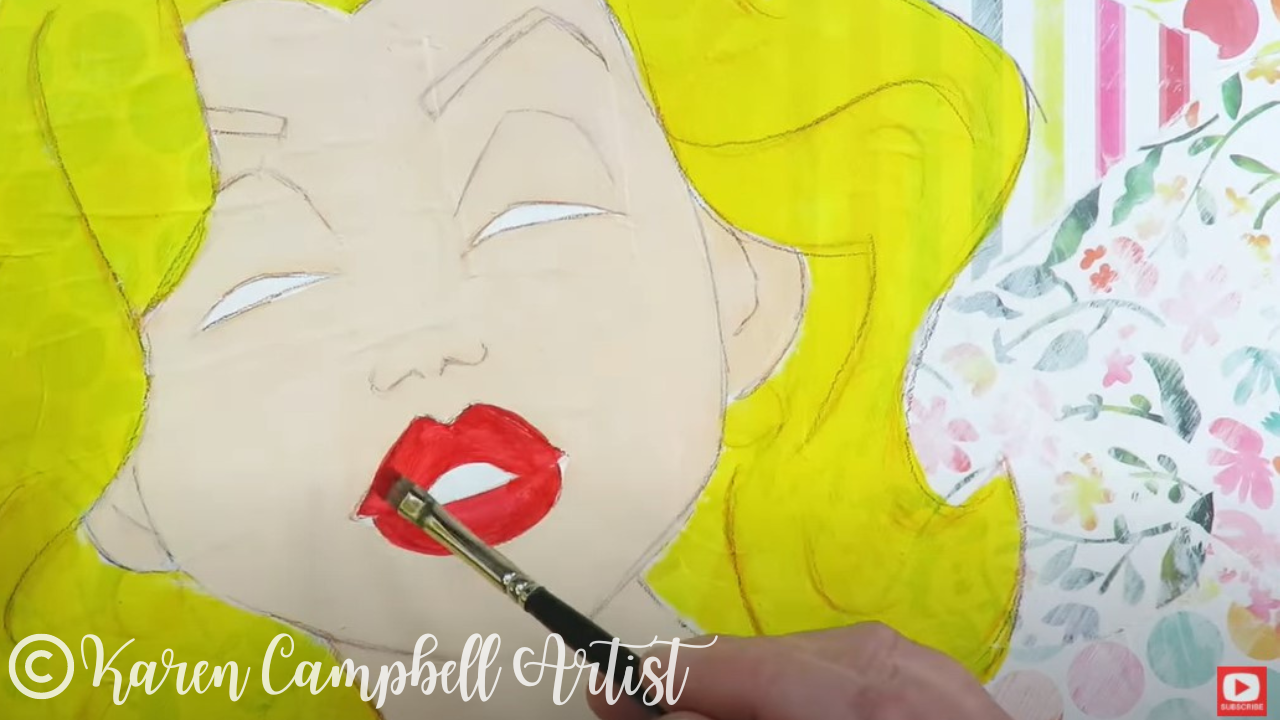
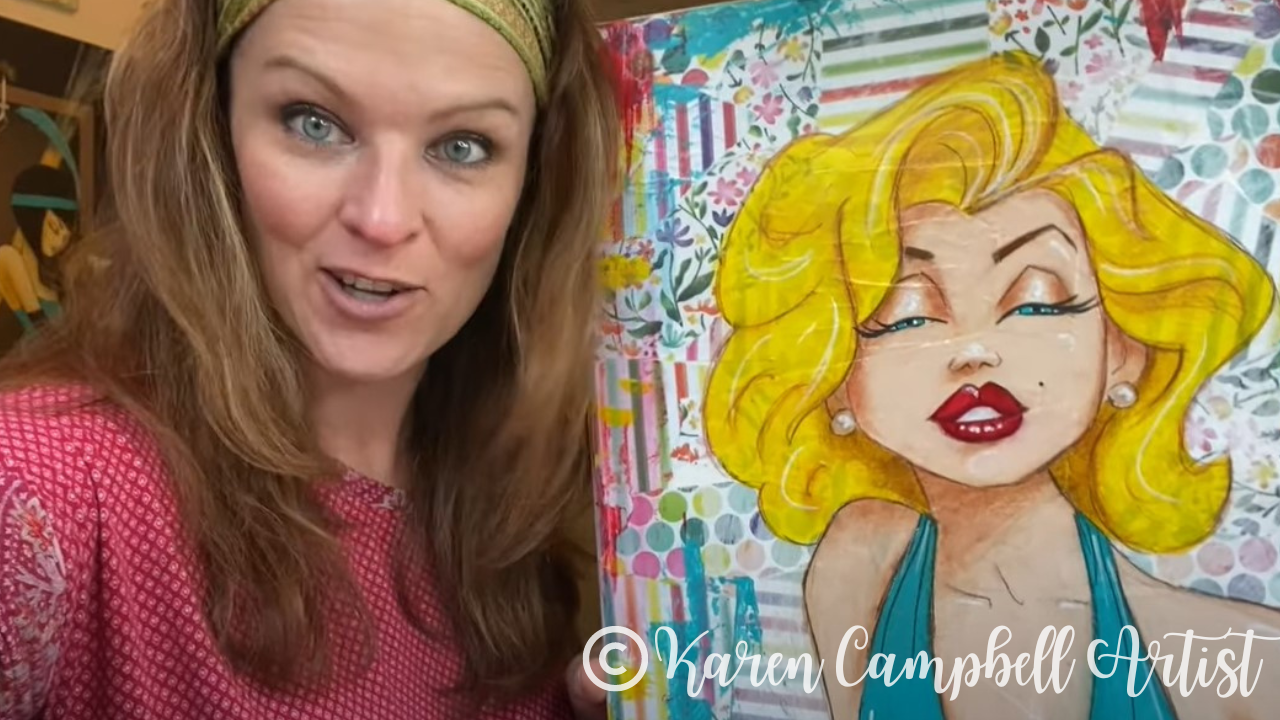
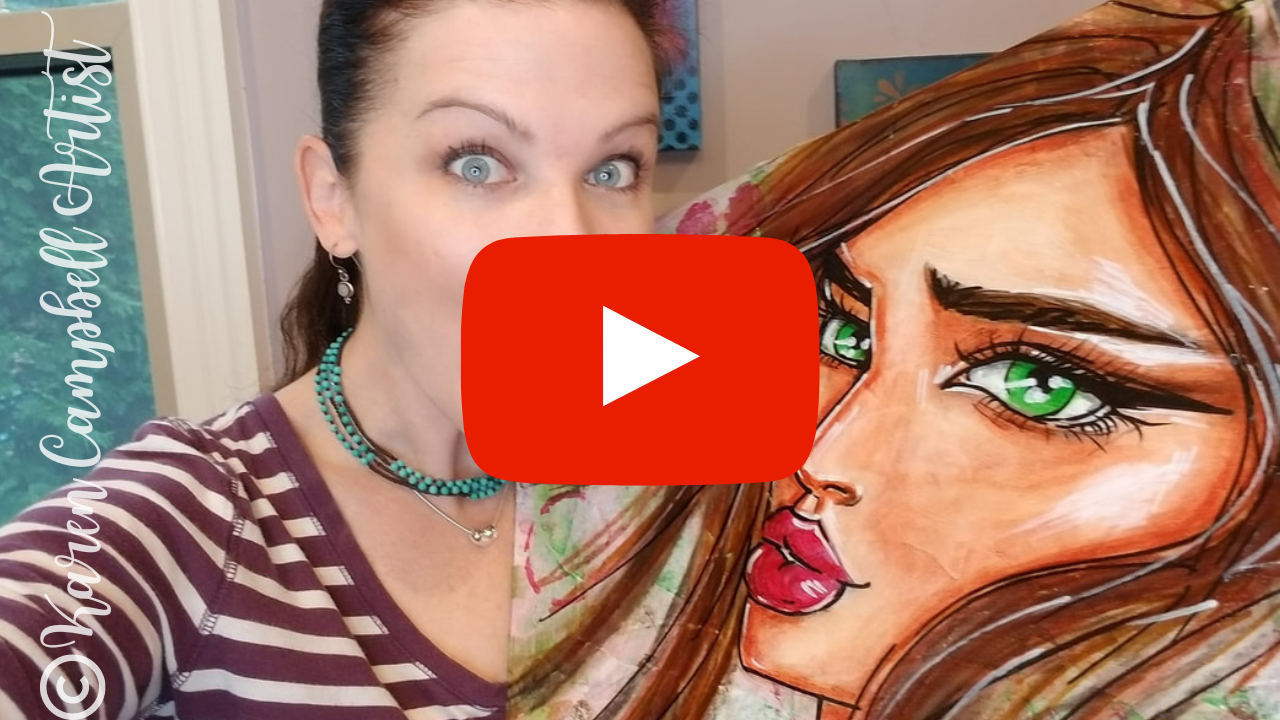
Today I'm excited to share a timelapsed version of how I made this sassy Mixed Media Marilyn Monroe, "Hamburger Style" painting, on CANVAS!!
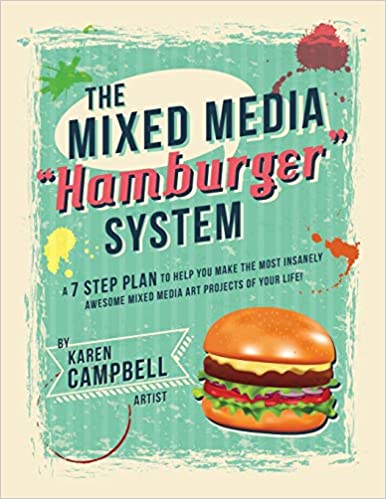
Not sure what "Hamburger Style" is? It's my signature mixed media process - or recipe- for using my favorite, tried-and-true mixed media art supplies and layering techniques to achieve mixed media success EVERY time I sit down to create. The BEST part is how EASY this fun system is for ANYONE to replicate at home!! Check it out ...
All product links are Affiliate. I may earn a small commission if you choose to order through these links but by law there is never any additional cost to the consumer for doing so. I thank you for your support.
Need a Cheatsheet to Follow Along?
Heck ya, you do!! Click the button below, and I'll deliver a 2-page, printable PDF straight to your inbox outlining each step of the Hamburger System.
Now that you've got your cheatsheet, let's dive into today's SUPER FUN project!!
The first layer of the Hamburger System is our "plate," or our substrate. A substrate is simply the surface we're art-ing on. In this particular project, I'm working on an 18 x 24 stretched canvas.
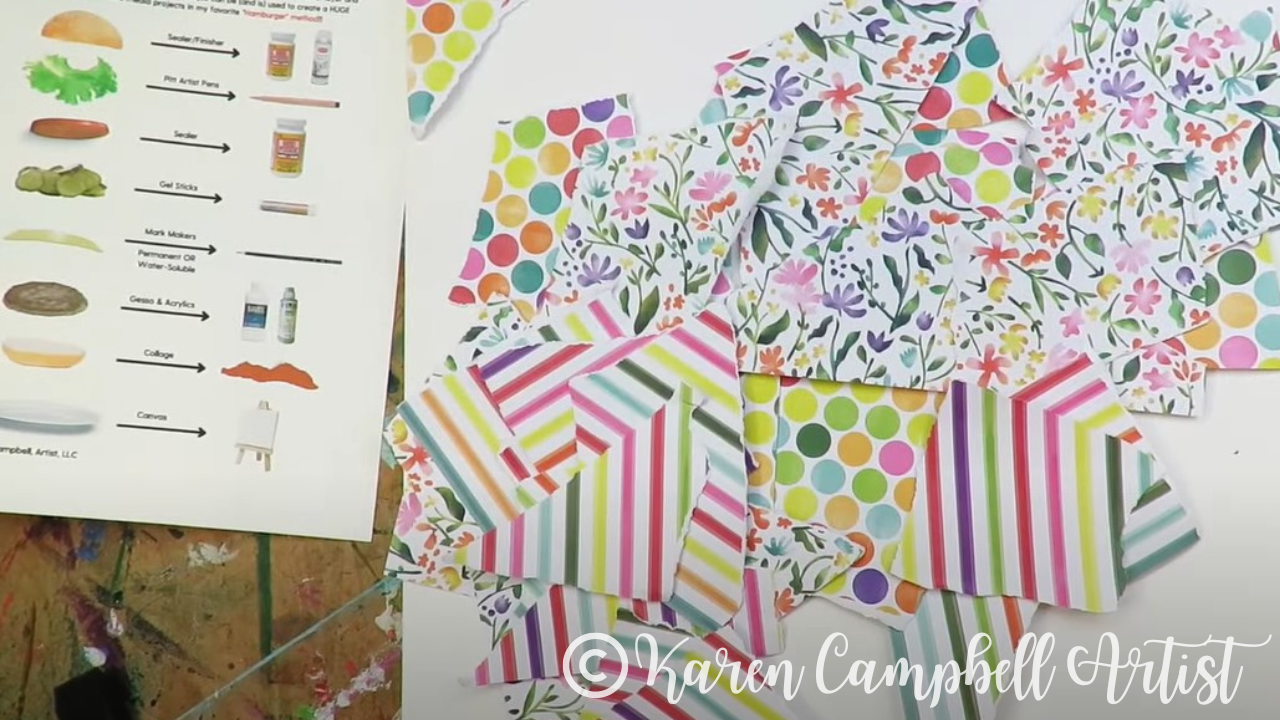
As you can see above, I've pulled three different scrapbook paper sheets in the same color scheme, and have ripped them into pieces for Layer #2 - Collage. I feel like collage is such a FUN way to get in the mood to create ANY project because there's really no rhyme or reason to it. You get to channel your inner 5-year-old, rip up stuff, and paste it around onto your canvas however you choose!
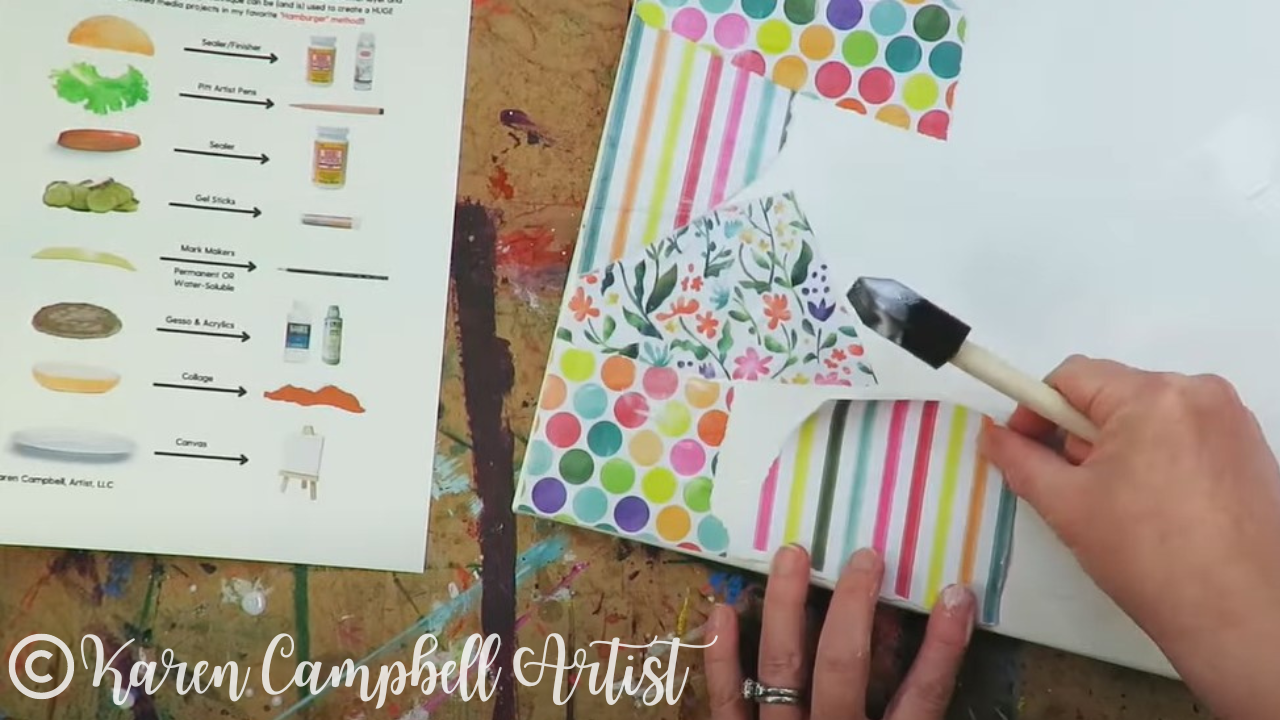
When you're ready to glue down your collage pieces, I always reach for a cheapie foam brush and my matte medium. Lots of people love mod podge (me included!), but I really prefer matte medium for my Hamburger System projects because matte medium was created to work with acrylic paint (our next layer!). It not only serves as a glue becuase of its adhesive qualities for the collage, but preps our surface to accept acrylics.
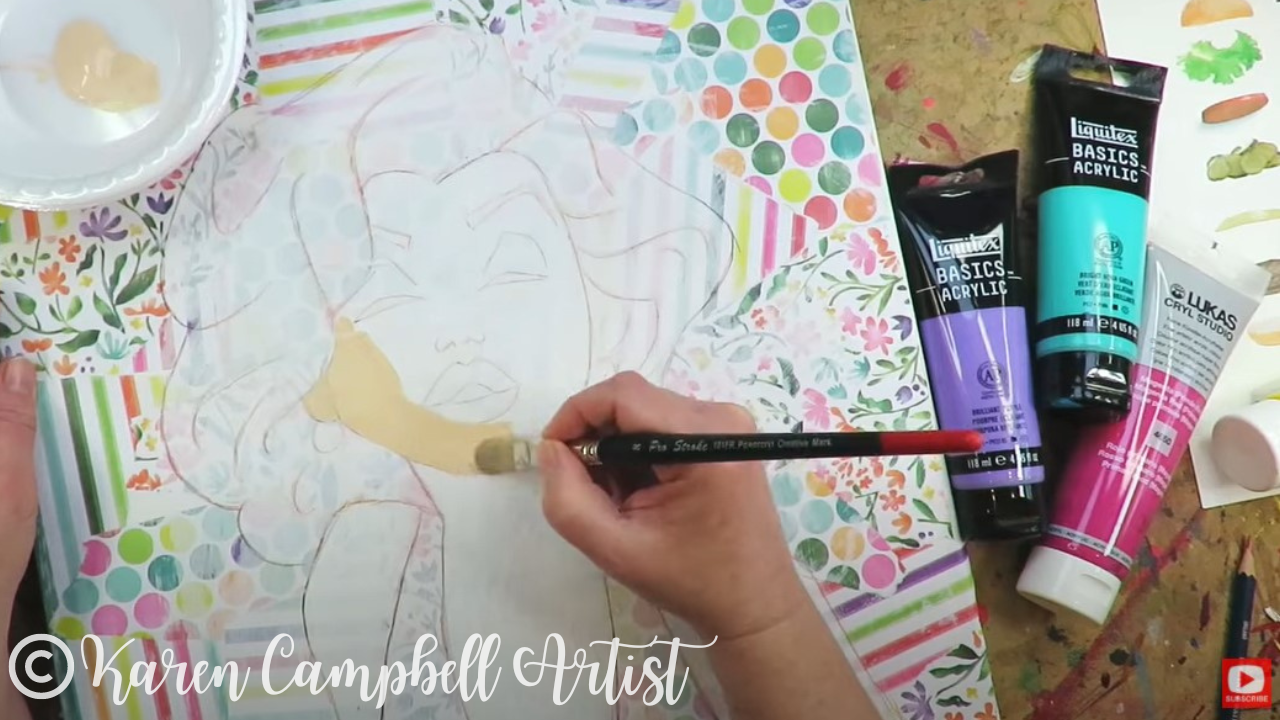
I added some white gesso in the middle of my finished collage so I could draw Marilyn in watercolor pencil (that way my lines will disappear once I start painting).
For the acrylic layer, I grabbed three tubes of Lukas acrylic that matched the color scheme in my collage, plus a skin tone. You can totally grab any of these at your local craft store or on Amazon. If you know me, I LOVE hoarding art supplies as much as the next girl, but ALWAYS recommend you use whatever you've got on hand before running off to add more supplies to your stash!
How cute is she looking already?! I seriously LOVE this project!!
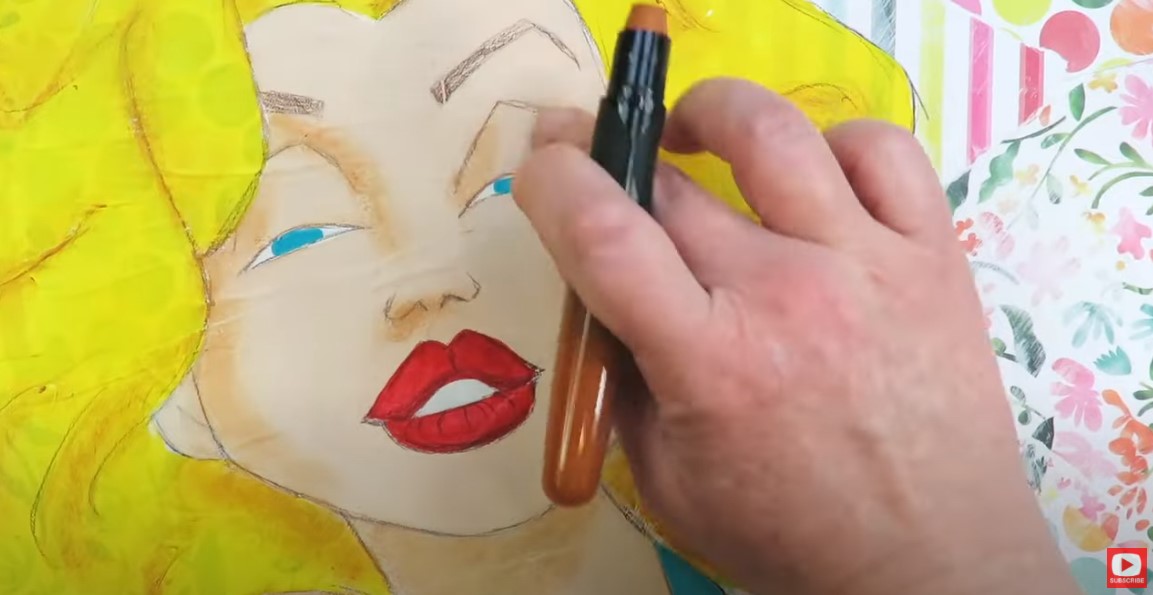
Once I'm done with my acrylics, it's time for Layer #4 - gelatos and art crayons! These are SO fun for adding shadows and SO MUCH FASTER to work with than acrylics to add depth.
After I'm done with the acrylics and gelatos, it's time for a little sealant. I grab another black foam brush for this and slap a juicy layer of mod podge all over the entire canvas. You can either get up and take a break from your project to let that dry, or use your hair dryer to get on with it like I do!
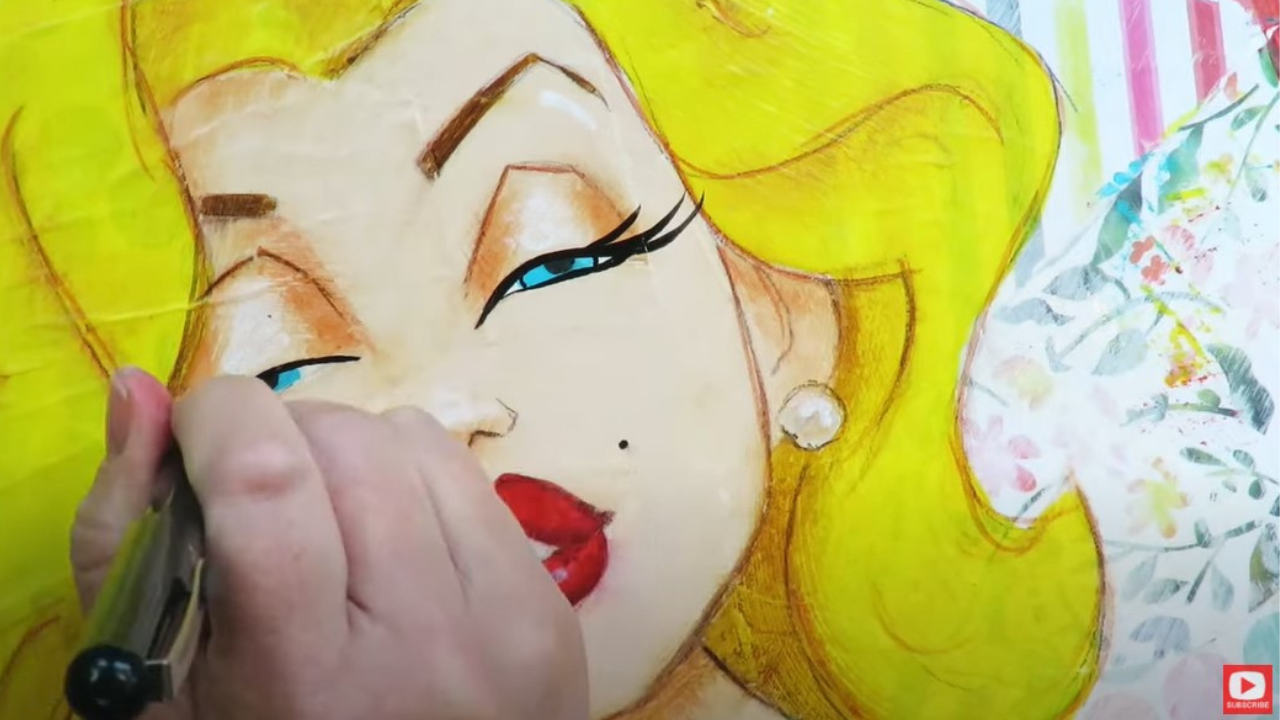
I LOVE the feeling of the dry, slick mod podge in this process. It's the perfect surface for using Pitt Pens to add some additional details and outlines throughout. They're also kinda magical because if you make a mistake, you can reach for a baby wipe and ERASE what you don't love!! Awesome right?!
To lock your pitt pen layer in place, seal with another layer of mod podge. Next, you can add another layer of pitt pen doodles, some highlights, outlines, and give it a final seal!
So FUN and EASY, right?!
I hope you had SO much fun watching this project unfold. I had a blast creating her and would LOVE to see your work in the Facebook group if you played along!
Wanna Dive Deeper into The Hamburger System?
I LOVE teaching students how to make the Hamburger System work for them at home! I've got an entire real-time (no timelapse) YouTube series you can binge for FREE right now, that breaks each layer down into its own video!
You can also grab a copy of my Hamburger System book on Amazon to set at your art table so you have EVERYTHING you could possibly need to know about art supplies, layering techniques and more right at your finger tips!
Want Access to Today's Lesson in Real-Time?
I hear ya! There's nothing QUITE like getting to do each and every step together without timelapse!! This mixed media Marilyn Monroe lesson is part of my Mixed Media Society over at Awesome Art School.
The Mixed Media Society is only open for enrollment three times/year. Add your name to the waitlist here to get notified next time we're taking on new members! Need More Resources?
1 Comment
People ask me this question ALL the time, "How do you decide which watercolors to take along with you when you're traveling?" Is it better to work from tubes, pans, or to create your own custom travel watercolor palette?
Today I'm diving into ALL these questions, and can't wait to show you not one, but THREE ways to decide which colors are coming along for your next trip!
Before we continue, super quick announcement: All product links are Affiliate. I may earn a small commission if you choose to order through these links but by law there is never any additional cost to the consumer for doing so. I thank you for your support.
Some artists prefer to purchase a palette that's already been prepared by a brand specifically for travel, like the one below, from Field Artist.
Typically palettes like this come with around 12 colors in them, including the primaries, so in theory, you can mix whatever additional colors in the rainbow you'd like to!
Personally, I hate mixing colors ALWAYS and prefer to just dip right into my palette to grab the perfect color. And, I find going with a standard out-of-the-box palette like the one above ... BORING!
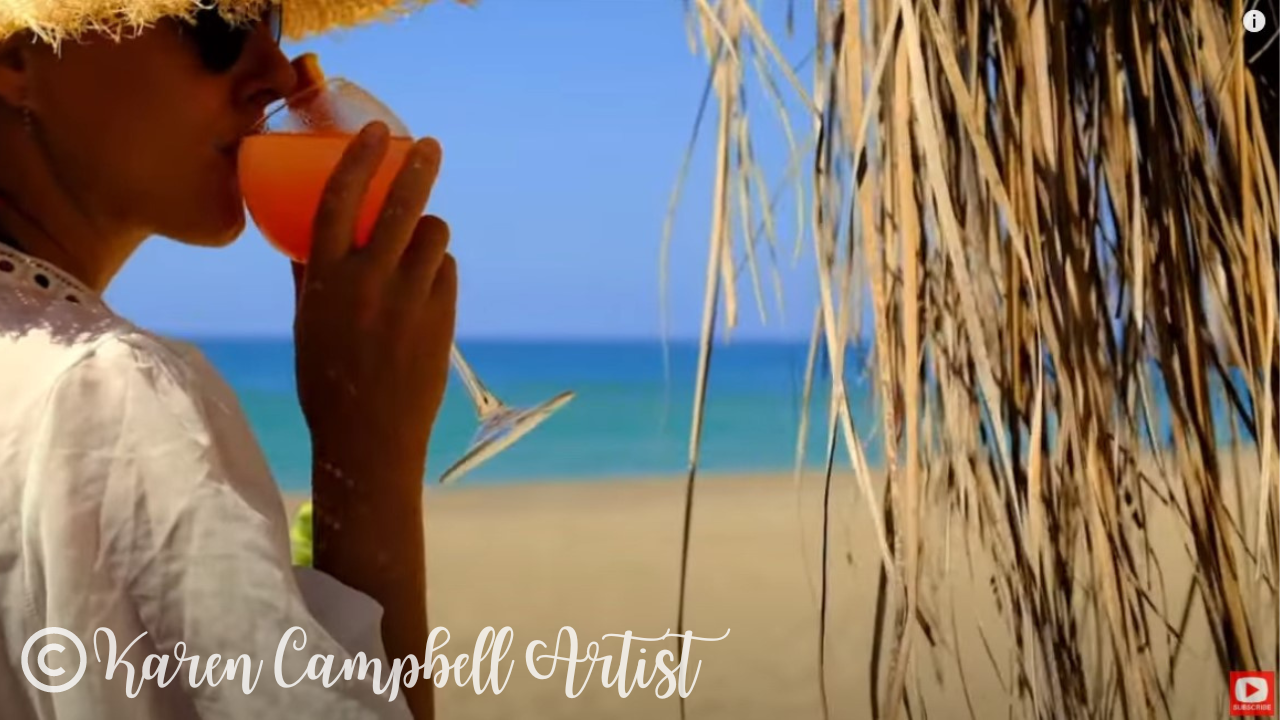
There, I said it!! LOL. One of the AWESOME ways I totally enjoy choosing which watercolors get to come on a trip is by looking to my DESTINATION for inspiration! This is especially important if you plan to do landscapes and cityscapes. Here's an example of what I'm talking about. If you're headed to the beach, you'll want a palette filled with colors like this to paint those gorgeous waves, skies and cocktails you'll be sipping (or I would be sipping, LOL!).
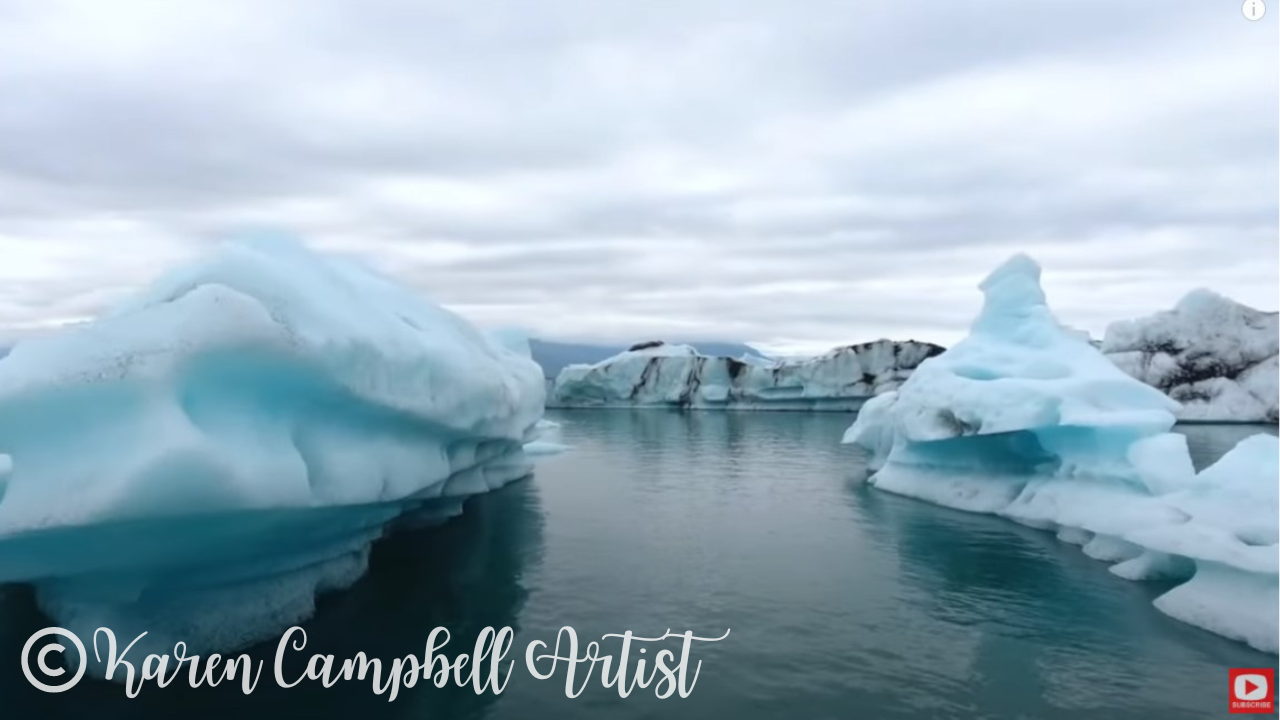
If you're headed to a place like Iceland, you're gonna want to include cool blues and grays like this to capture the moody skies, glaciers, and seas...
Or, maybe you don't even care about colors inspired by your destination... you'd rather just bring your favorites!! That's cool too!!
I tend to do a combo of bringing my faves and thinking about colors inspired by where I'm going.
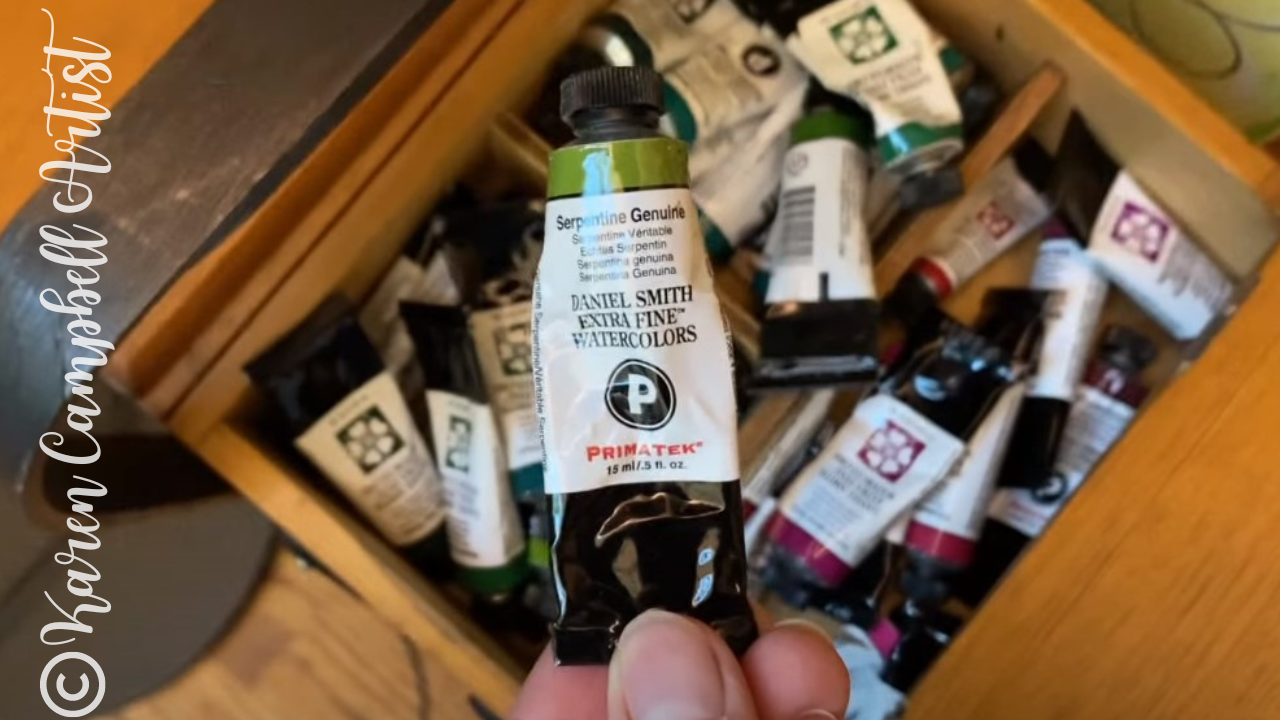
When it comes to which colors I choose or recommend YOU choose, it's personal. I'm NOT gonna tell ya what to bring, and there are NO WRONG ANSWERS :) Just bring what YOU LOVE, and don't worry about anyone else! For me, Daniel Smith Serpentine Genuine (below), goes wherever I go!
Since I love choosing specific colors to bring with me, I prefer to create my own custom travel watercolor palettes. I've done videos on this before, but today's demo is a little different, so make sure you click over to watch this new process unfold.
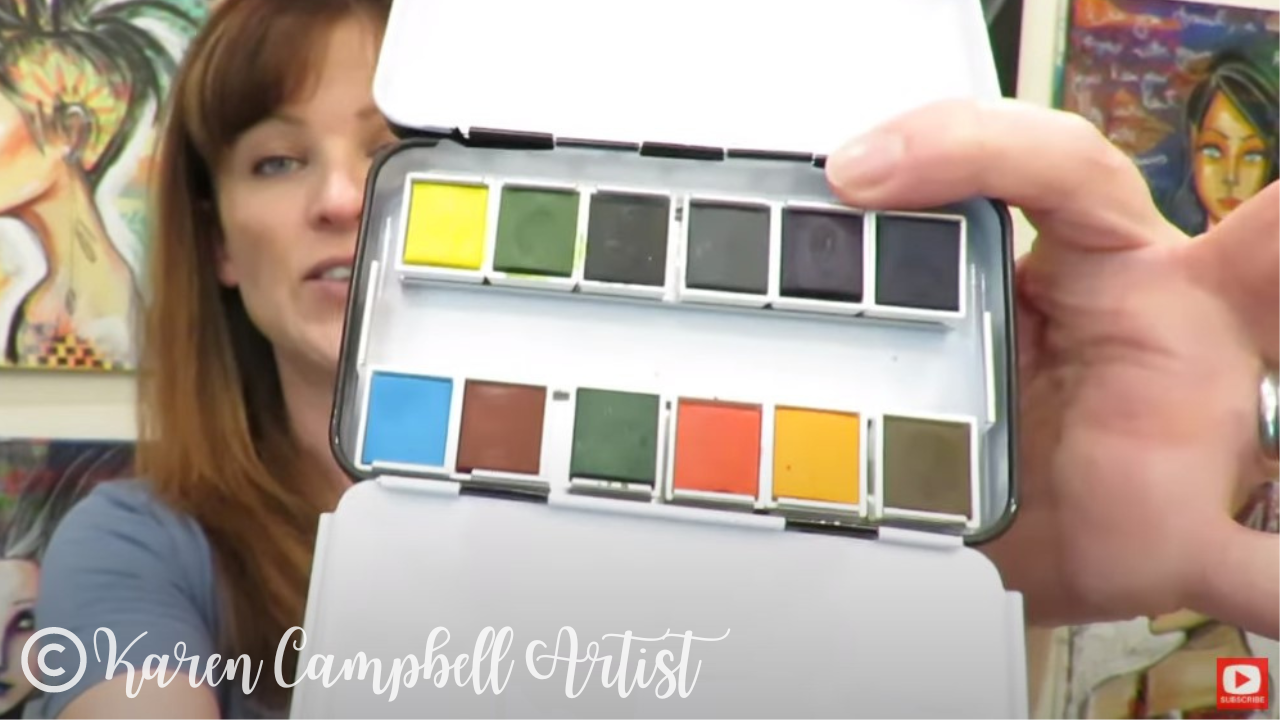
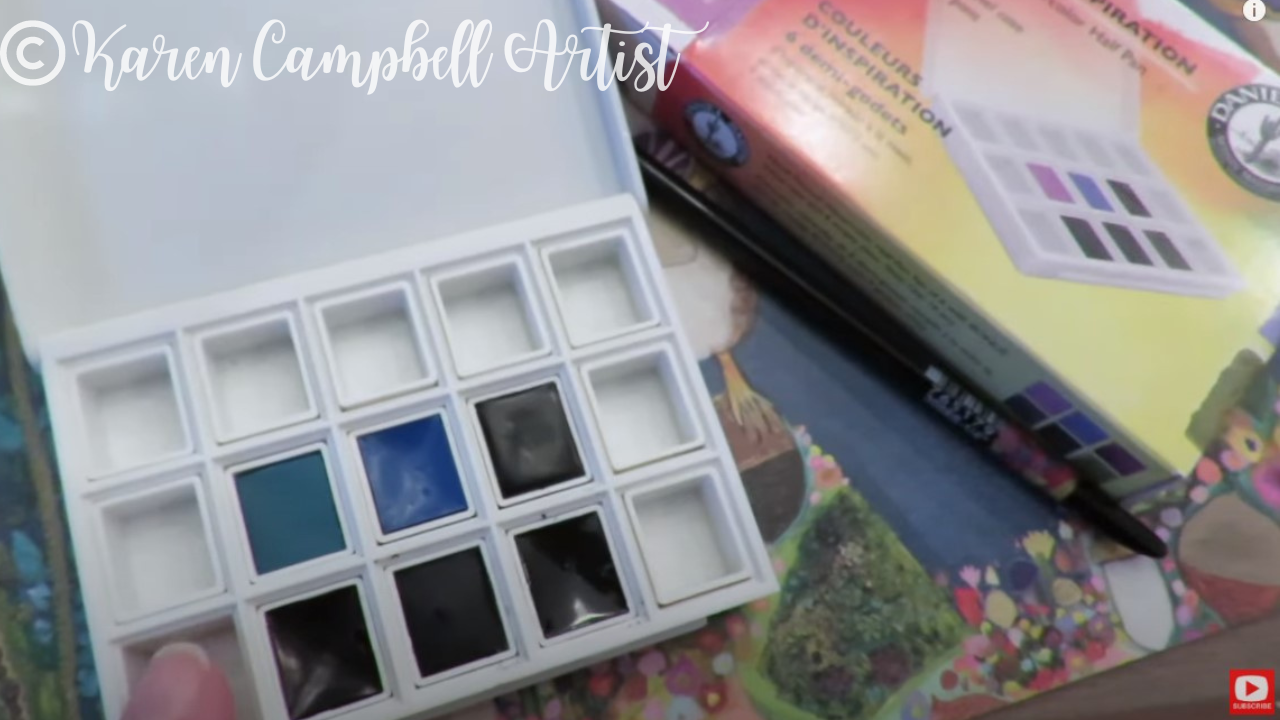
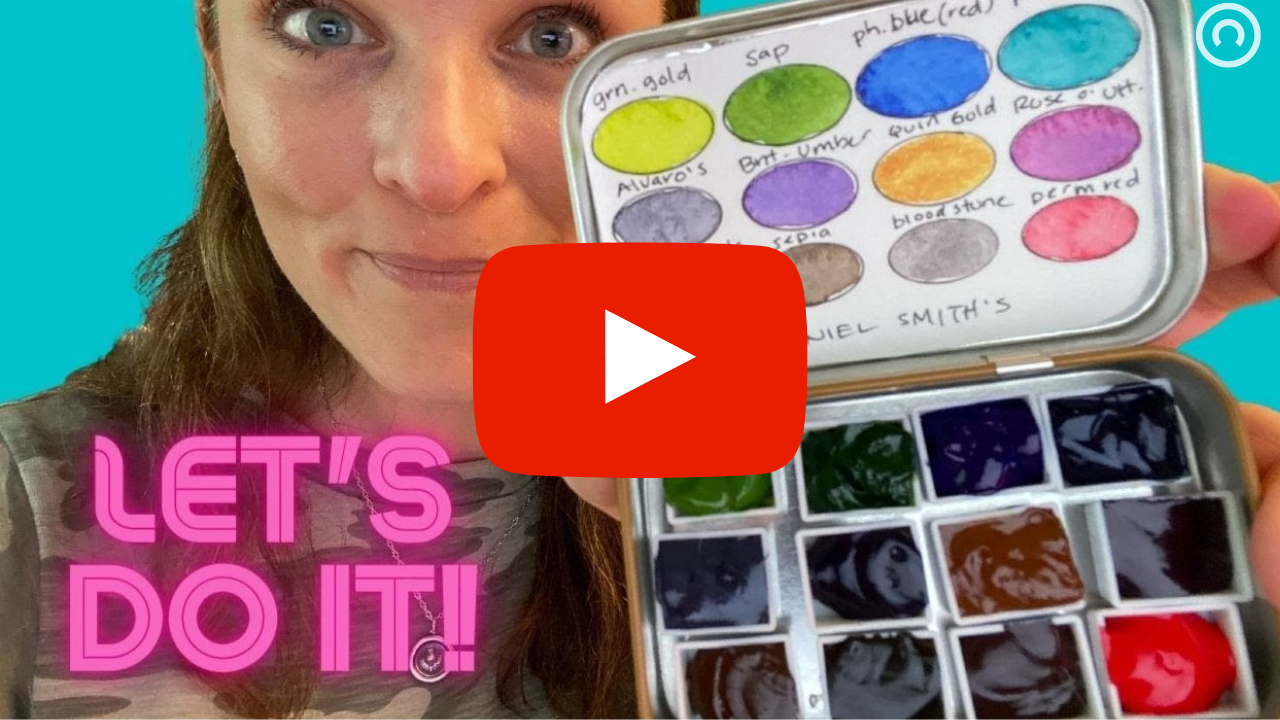
I recently discovered some cute PARTIALLY FILLED travel palettes by Daniel Smith (see below). Each palette has 15 half pans, 9 of which are totally empty - ready and waiting for YOU to add your fave colors to, and 6 of the half pans come pre-filled with color families like blues, purples, neutrals, etc. Cool, right? Best of both worlds!
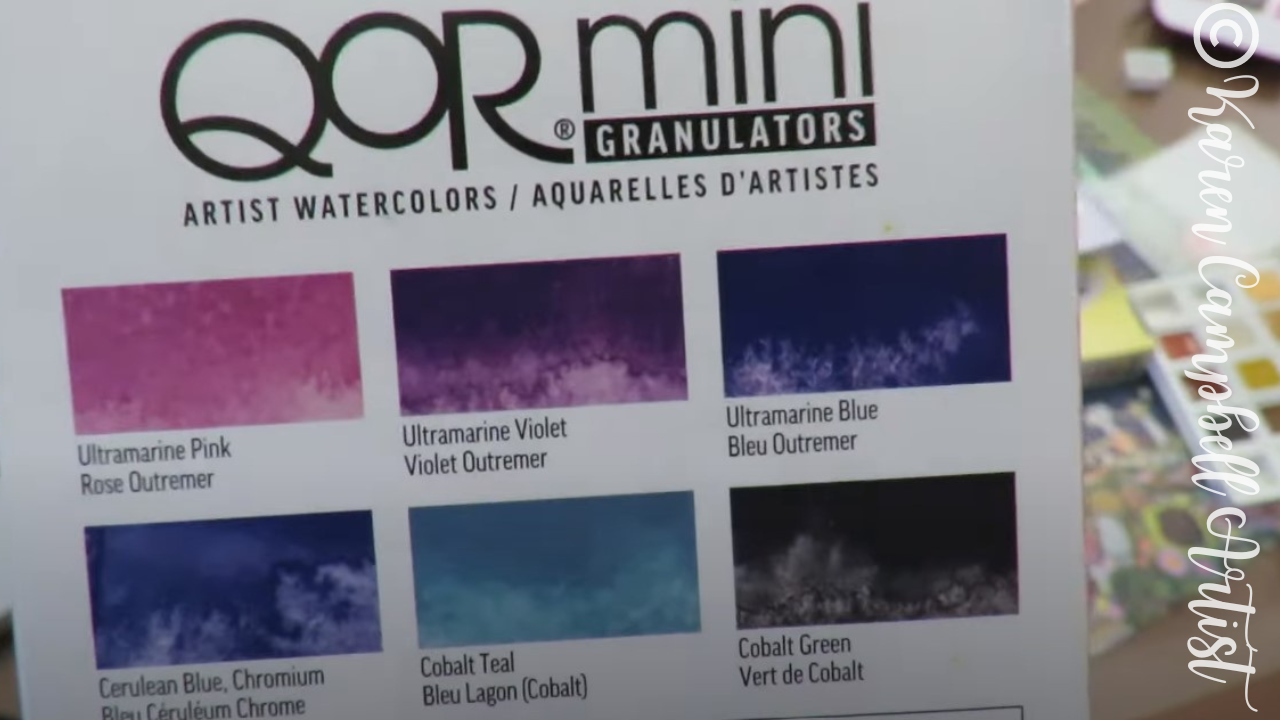
The brand QoR also has a similar travel palette that's been pre-filled with 6 colors, and has 6 empty half pans ready and waiting to hold YOUR favorites!
Just look at how beautiful these color selections are!!
I've really been enjoying the vibrancy of QoR watercolors lately. I recently purchased this QoR set of 24 5ml watercolor tubes and am planning on adding 15 of them into a baby watercolor palette that will clip onto my journal. Its' SO adorable. Make sure you stay tuned till the end for a sneak peek at THAT!
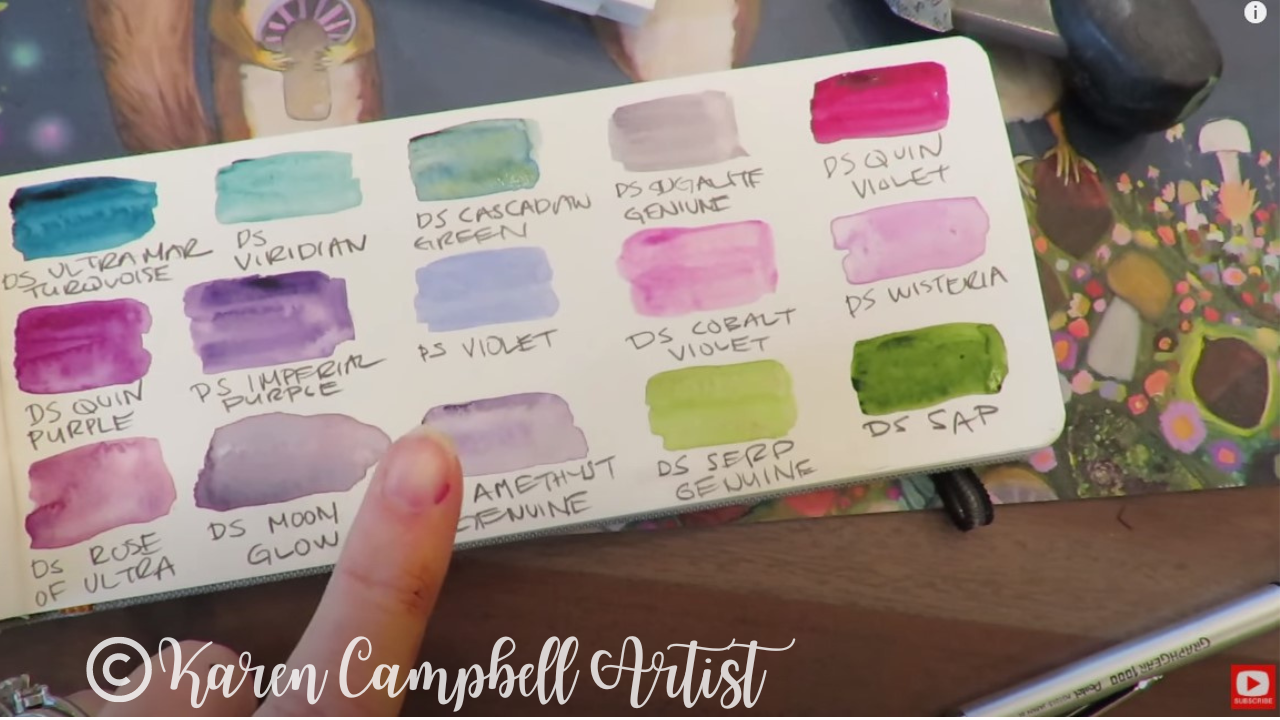
Once I've filled my empty half pans in each palette, I swatch my colors inside a little travel watercolor journal so I know what's inside each palette.
These cute skinny watercolor journals are awesome for swatching!
If you're NOT getting ready for a trip and just want something to make swatching a little more fun, make sure you download my FREE Swatch Sheet! You can use it for watercolors, markers, colored pencils, you name it!!
I hope you found today's video helpful for your next trip!
And if you DON'T have any travel plans right now, who cares?!! You can STILL create some little custom watercolor palettes for yourself.
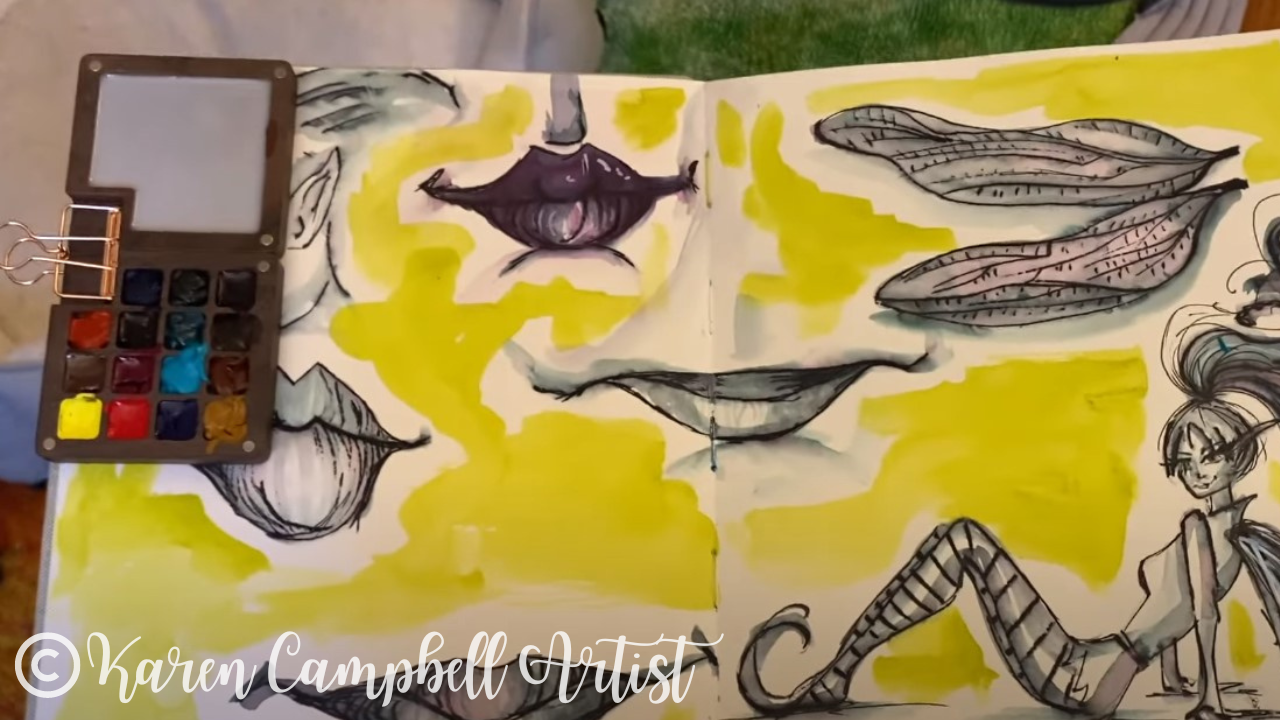
This baby mini travel watercolor palette is completely ADORABLE, wooden, and even clamps onto your journal!! It's perfect for moving your watercolor supplies easily around your house, into your backyard, or for an artsy walk in the park! I can't wait to use mine!!
Need Some Awesome Watercolor Lessons?
Of course you can't just have a set of gorgeous watercolors and NOT use them, RIGHT?! Check out the Celtic Collective art club over at Awesome Art School. It's like Netflix for watercolor and drawing lessons and are all FANTASY themed! So tons of mythical creatures from fairies (good & bad!!) to mermaids, unicorns and more!
Lucy Brydon and I are having a blast with our students, and would LOVE for you to join us!! You don't have to have ANY watercolor skills to join. We'll teach you everything you need to know from the ground up!! Wanna Watch Another Video?
I thought you'd never ask ;) This one's a goodie about ... surprise, surprise... how to make a teeny tiny travel watercolor palette!! It's SOO fun and soo cute!!
Need More Resources?SNEAK PEEK Inside Our *NEW* Fantasy Art Book: How to Draw and Paint Magical Mythical Creatures!9/12/2022
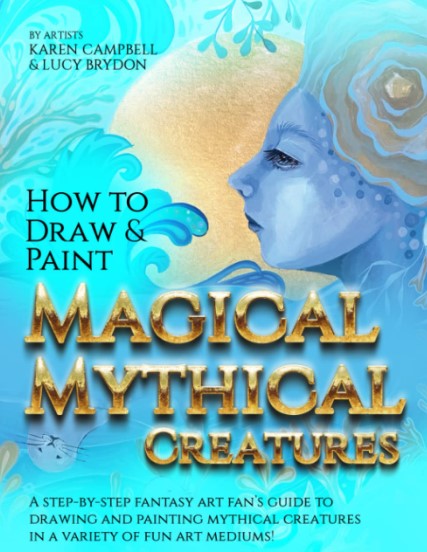
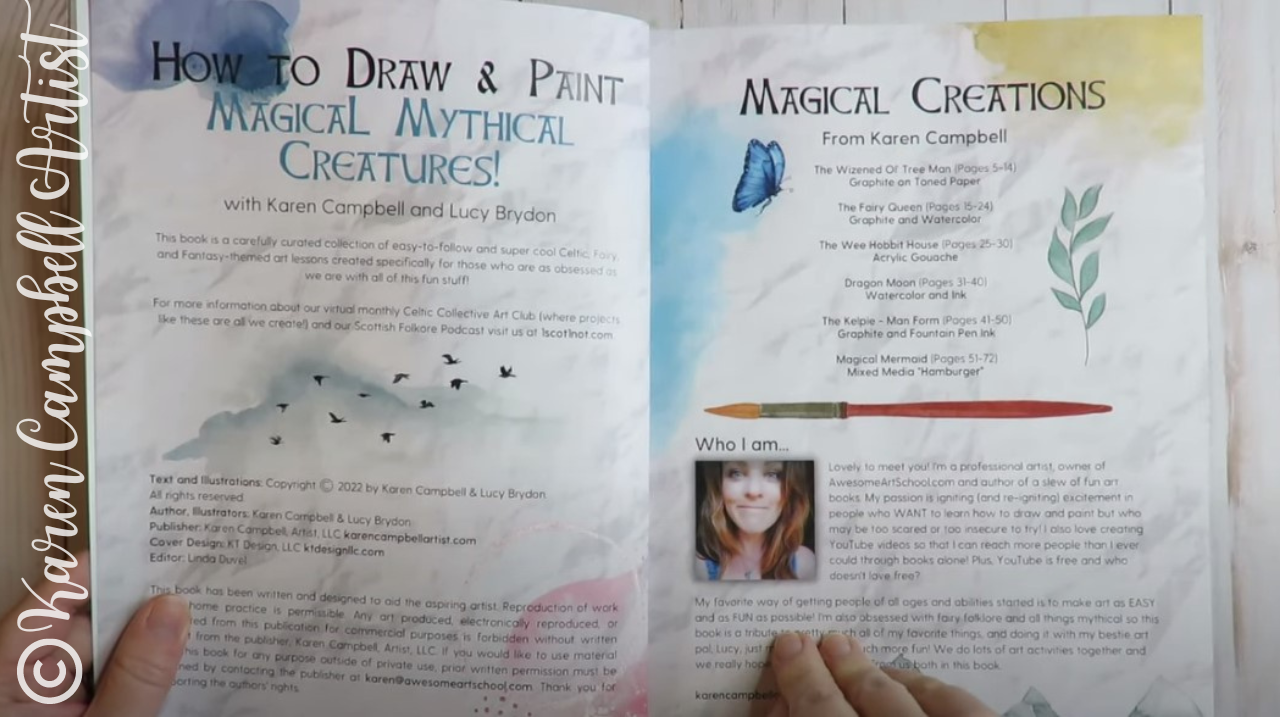
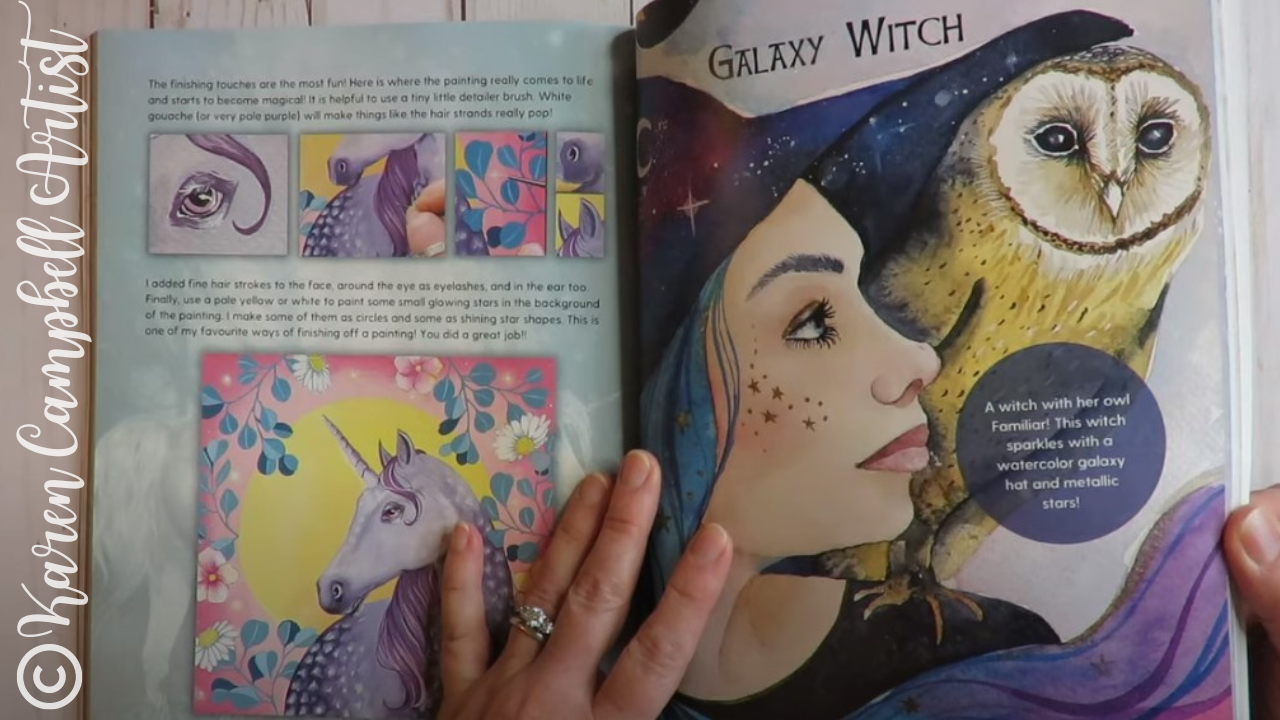
My latest art book, Magical Mythical Creatures, is finally available, and I couldn't be more thrilled! This is book number 35 for me, and is the first book I've CO-AUTHORED with a friend - my Scottish bestie, who is an absolutely gorgeous watercolor and gouache artist, Lucy Brydon.
Lucy and I met online in 2015 and our friendship just exploded over the next few years. We've art-ed together as students and teachers, co-hosted art retreats, started a podcast, and created a fantasy art club with online art lessons together called The Celtic Collective.
This year we had a blast trying something new and co-authoring a fantasy art book together!
Before we continue, super quick announcement: All product links are Affiliate. I may earn a small commission if you choose to order through these links but by law there is never any additional cost to the consumer for doing so. I thank you for your support.
Click the button above to buy your own copy on Amazon, or scroll down to watch a flip-through video and see every single page of Magical Mythical Creatures!
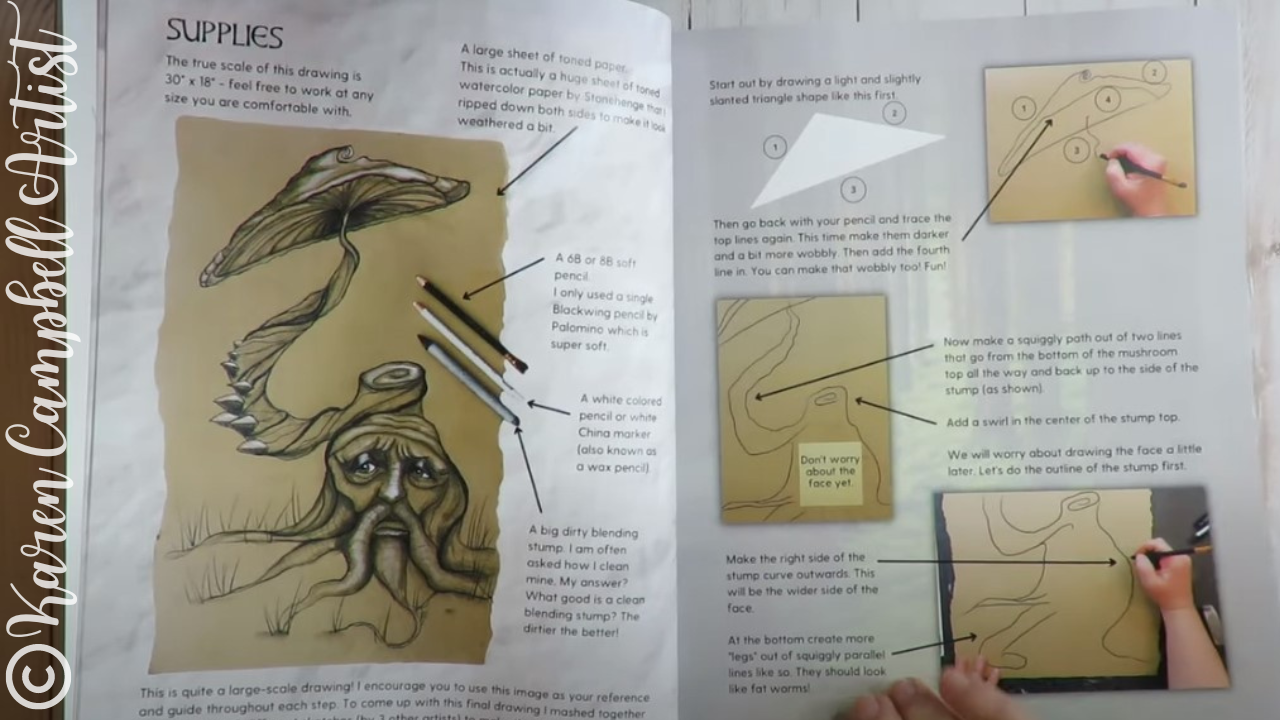
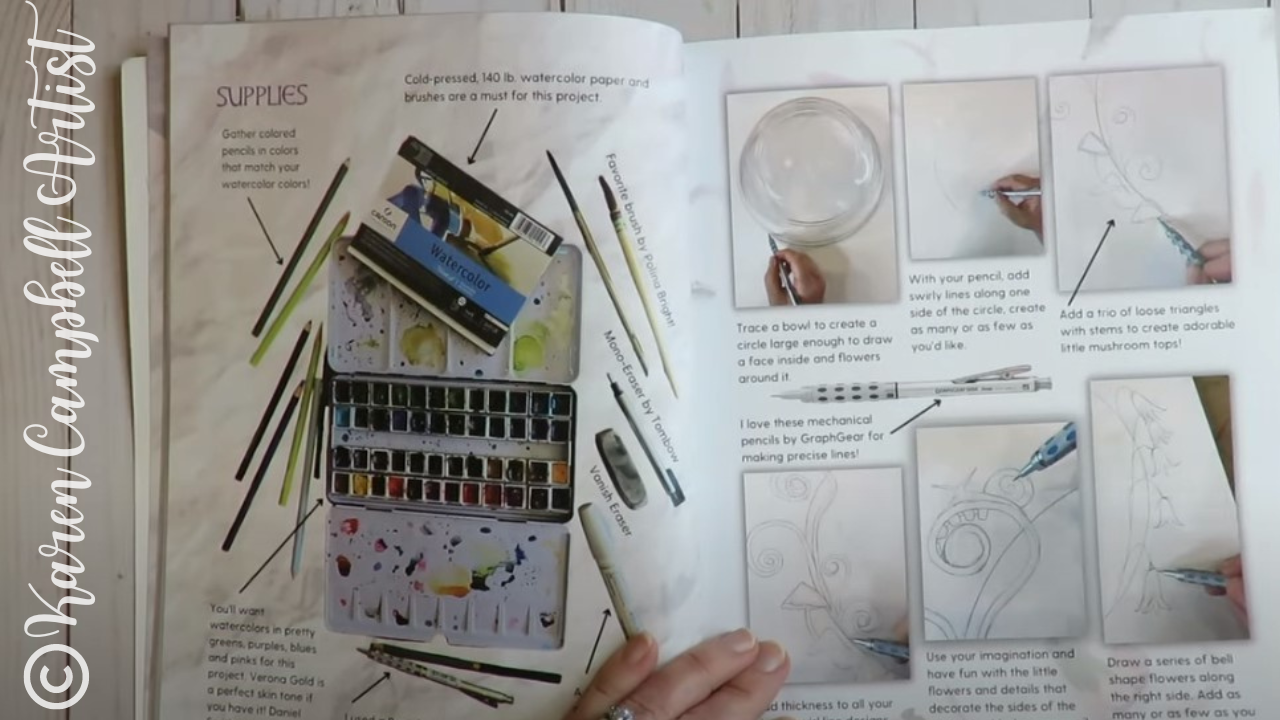
Each project in the book provides a simple art supply list, followed by easy-to-follow art instruction to help you have FUN and create something you can be proud of.
If you've been following me for a while or have purchased one of my art books in the past, you know I'm a stickler for taking my time to explain each step. As an art book hoarder myself, I feel like there's nothing worse than grabbing an art book by an author who skips multiple steps and just expects you to fill in the blanks on your own!
InHow to Draw & Paint Magical Mythical Creatures, you'll find a wide variety of fantasy art projects from fairies and dragons, to kelpies, unicorns, and selkies. Each project gives you the opportunity to try playing with a number of different mediums from toned paper to watercolor, acrylics, gouache and more.
Even if one or some of the art supplies used in this book are new to you as an artist, or if you've never tried mixed media art before (GASP!) - we hope you'll give it a try because it's SO MUCH FUN once someone shows you how to do it!!
Many of the projects in this book also feature faces, so you'll find the appropriate face drawing guidelines within those lessons to help you make the facial features in your own drawings more proportional.
Thanks SO much for hanging out with me today!
Make sure you watch today's video so you can see each and every page of Magical Mythical Creatures!
NEED MORE resources to get your creative juices flowing? ❤️ CHECK OUT MORE of my art books on AMAZON ❤️ CHECK OUT ALL my online art classes @ Awesome Art School ❤️ MY FAVORITE ART SUPPLIES on AMAZON (affiliate links) ❤️ MY BELOVED FACEBOOK GROUP
Recently, one of my super-talented students suggested a mixed media art idea I can't wait to try!!
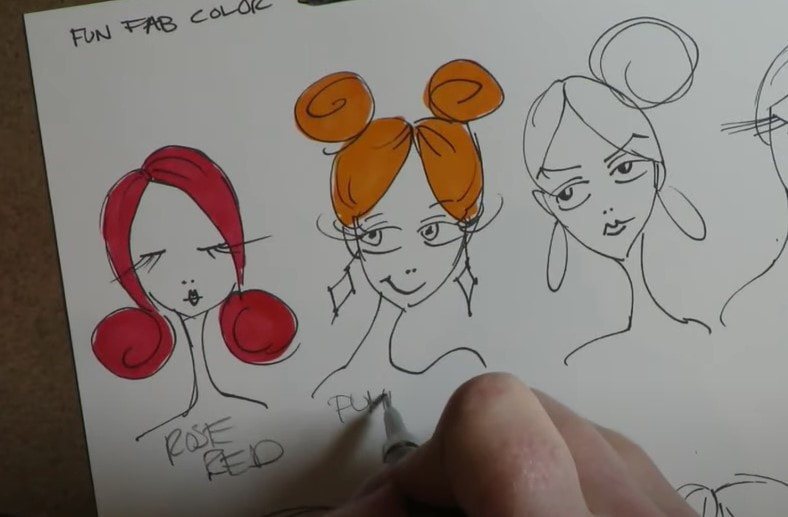
I LOVE creating alcohol marker drawings of faces. Over the years I've discovered quick layers in alternating directions will help me avoid streaks, and colored pencil over alcohol markers can soften transitions between marker shades. My ROCKSTAR student shared an alternative alcohol marker blending technique: pan pastels over alcohol markers. I'm SO intrigued!! Join me in the studio as teacher becomes student, and I discover if THIS is the job my pan pastel set has been waiting for!
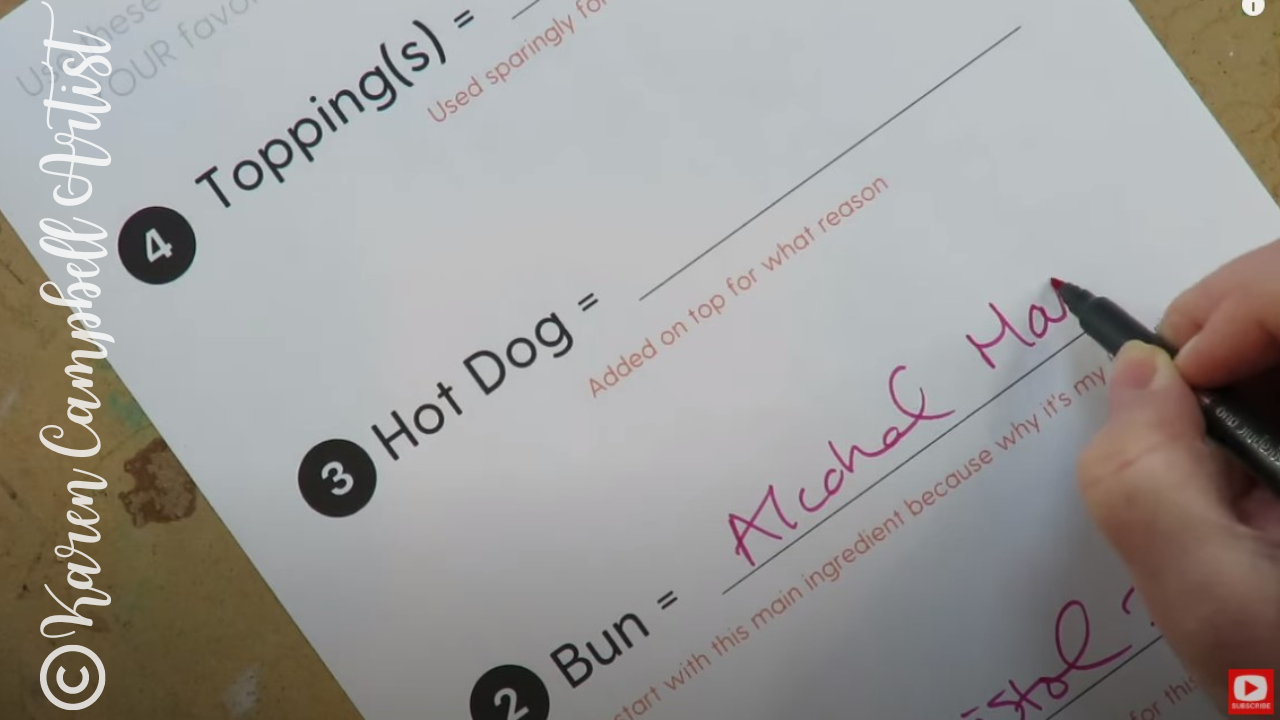
New to mixed media art, feeling intimidated to try it, or overwhelmed by the supplies? I've got 30 FUN Mixed Media Art Ideas with SIMPLE, tried, and true art supply combos like Pan Pastels over Alcohol Markers! Click the button below to download my FREE "Hot Dog Packet! "
Each mixed media example in The Hot Dog Packet reads like a recipe with ONLY 4 art supplies, so it's perfect for mixed media beginners and anyone on the lookout for NEW mixed media art ideas that won't make a hot mess!!
Before we continue, super quick announcement: All product links are Affiliate. I may earn a small commission if you choose to order through these links but by law there is never any additional cost to the consumer for doing so. I thank you for your support.
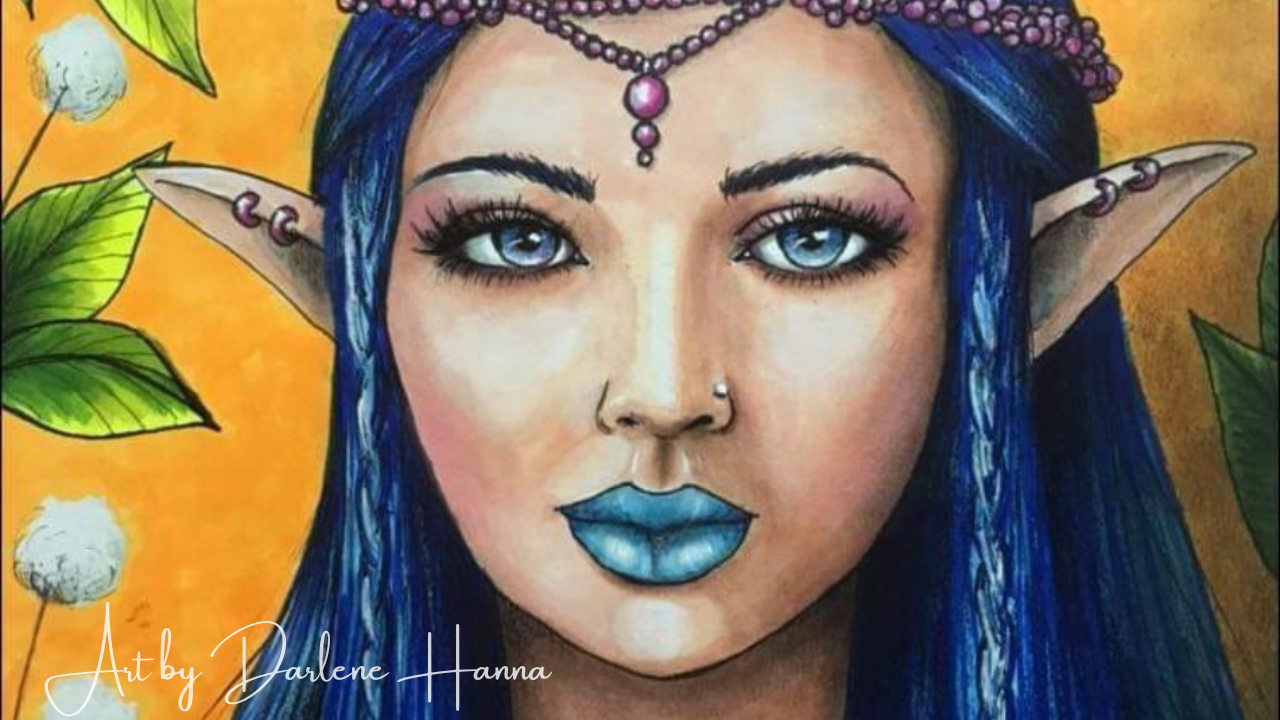
Today's AWESOME mixed media art technique comes straight from one of my AMAZING students over at Awesome Art School, Darlene Hanna.
Darlene has been a part of my world FOREVER, and I'm SO grateful for her ever-supportive presence in my Facebook Group. I LOVE it when she posts what she's working on because everything she does is sheer magic. Just take a look...
Out of this world, right?! There's nothing she can't do!!
Darlene recently shared an alcohol marker blending technique with me that I've never tried before using pan pastels. I really don't know much about pan pastels and have only used them a couple of times. I never dreamed of trying them on top of my alcohol marker drawings.
Typically I only use colored pencils over alcohol markers, as you can see above (along with my white poscas and pentel pocket brush pen). I'm excited to try Darlene's technique AND to finally have a purpose for my ginormous pan pastels set!!
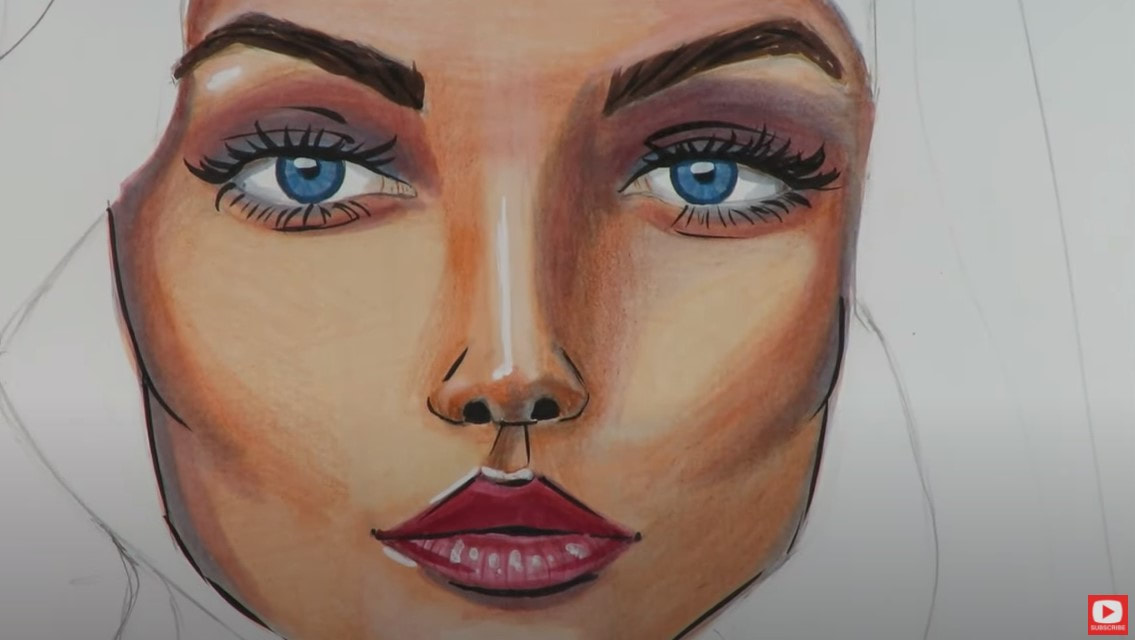
Last week's face chart-inspired alcohol marker drawing is perfect for today's experiment. My only concern is the paper used for this drawing - it's a super smooth Bristol. I *think* panpastels need a little texture in the paper in order to stick? Fingers crossed this paper isn't too slick!!
If you look closely at my drawing above, you'll see there are definitely some transition areas that could benefit from a little more blending.
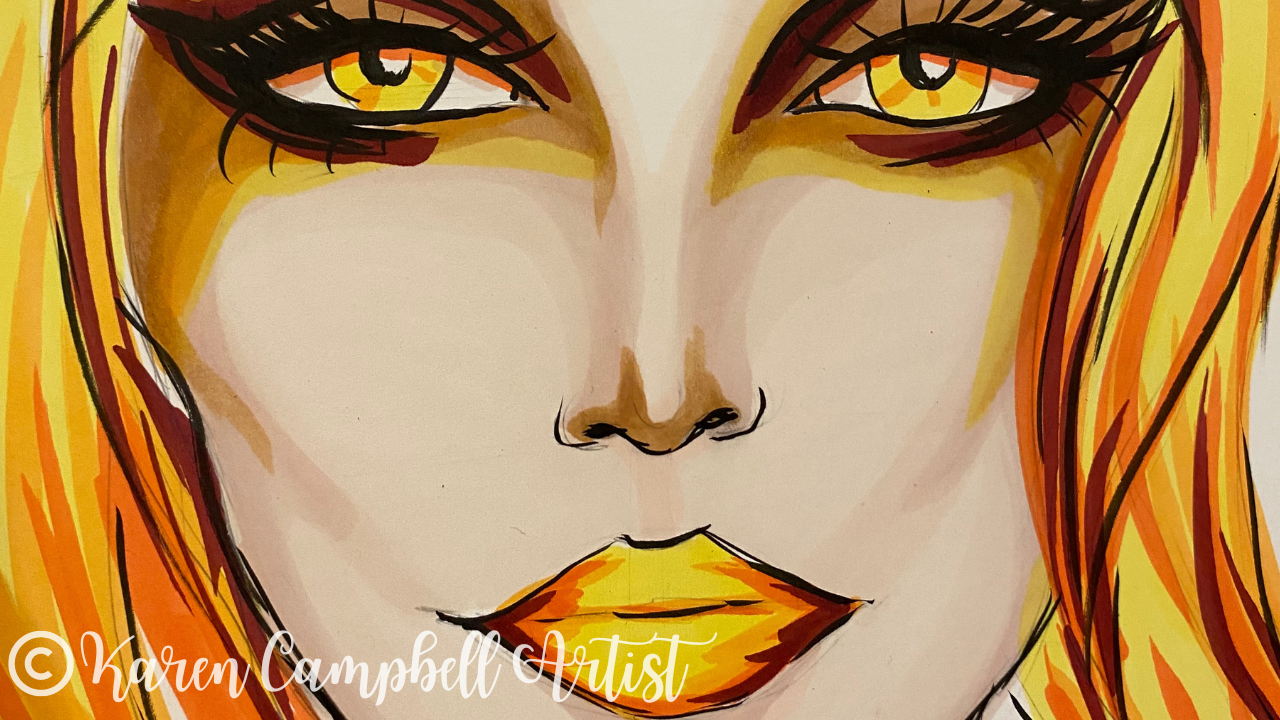
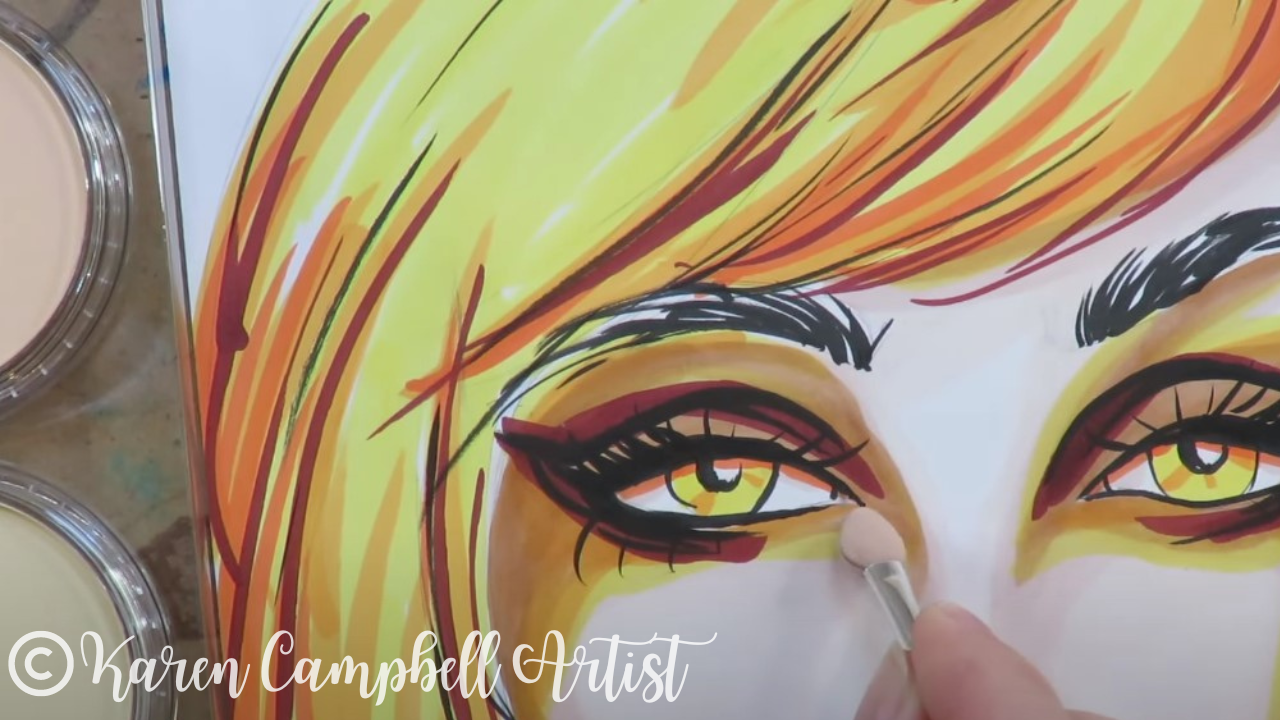
I looked back at my face chart reference photo from last week also to see what else I might want to adjust. I love super dramatic shading and makeup in the faces I draw, so I started out by dabbing a little orange pan pastel around the corners of each eye to kick the makeup in my drawing up a notch.
My first thought as my pan pastel applicator hits the paper is, "WHY HAVE I NOT BEEN DOING THIS MY WHOLE LIFE?!"
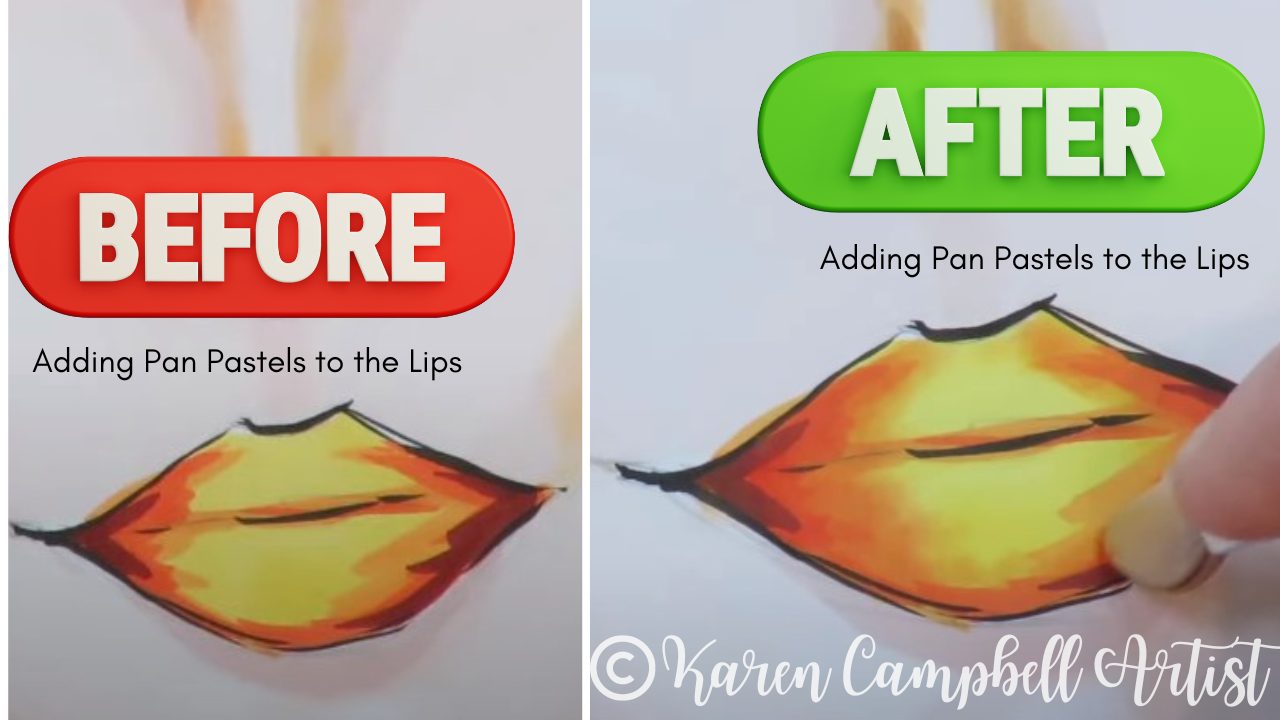
I'm thrilled with the results!! The orange panpastel deepens my shading AND softens the transitions around each eye as soon as I start to apply it. Excited by how this is going, I reach for another shade and move on to the lips! Just look at these results...
The pan pastels are totally like a "corrector method" for alcohol markers!! The next question is if I can use my white posca pens for highlights and my secret weapon for creating gorgeous eyelashes OVER the pan pastel layering?
Watch the video to meet me in the studio and find out!!
Make sure you grab my FREE Hot Dog Packet for more FUN & EASY mixed media project ideas like the one we tried today. If YOU discover another art supply combo YOU love, there are even blank sheets in the packet where you can jot them down!
Thanks for hanging out with me today! And another HUGE shout out to my ROCKSTAR student, Darlene Hanna, for sharing her life-changing alcohol marker blending technique ??
WANNA DRAW the face-chart inspired alcohol marker drawing featured in today's video? Here's the FREE drawing tutorial:
NEED the FACE DRAWING REFERENCE from last week's drawing tutorial? Grab it here! NEED MORE resources to get your creative juices flowing? ❤️ CHECK OUT ALL my art books on AMAZON ❤️ CHECK OUT ALL my online art classes @ Awesome Art School ❤️ MY FAVORITE ART SUPPLIES on AMAZON (affiliate links) ❤️ MY BELOVED FACEBOOK GROUP |
Karen CampbellFounder of Awesome Art School. Mixed Media Artist. Author of 19 Instructional Art Books! Whose work has appeared in...Archives
July 2024
Categories
All
|
|
"Karen is flipping hilarious and she's very real...I like the way she teaches in a way that really gives you confidence, whether you're a beginner or advanced there's always something new to learn!"
- Elizabeth W. |
What Fans Are SayingKaren, you are absolutely fabulous! You make me feel like I can draw anything. I have recently retired and finally have the time to do some of the art that I have loved since I was in school. I am really at the beginning of my art journey and I hope to learn as much as I can. Thank you for all you do. |
Contact ME |






 RSS Feed
