blog
Let's Get Your Creative Juices Flowing!!!
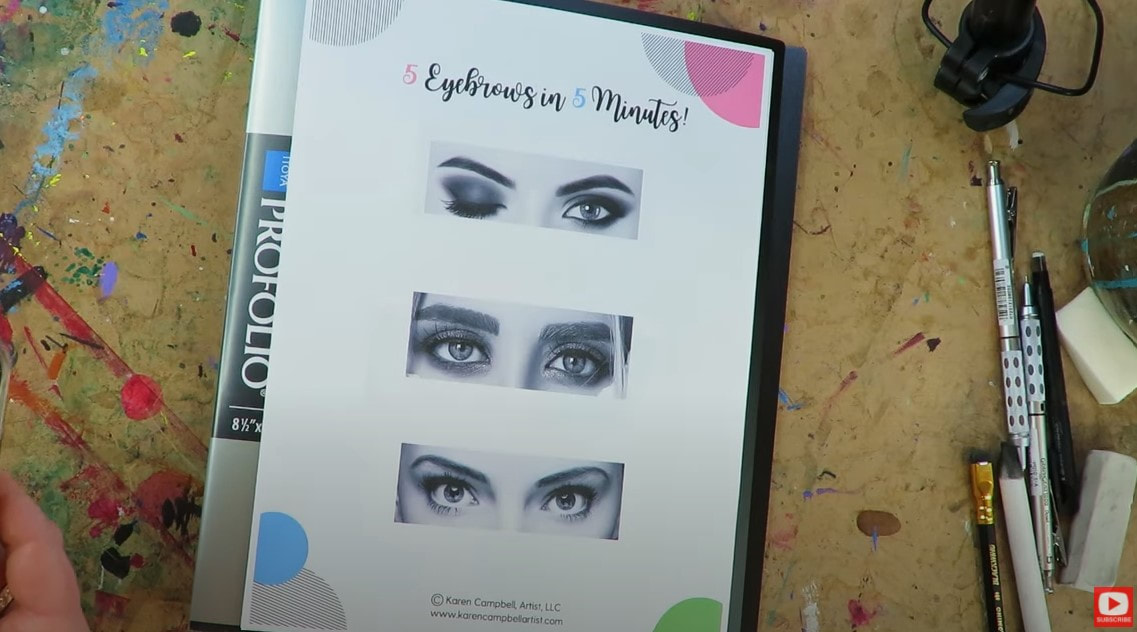
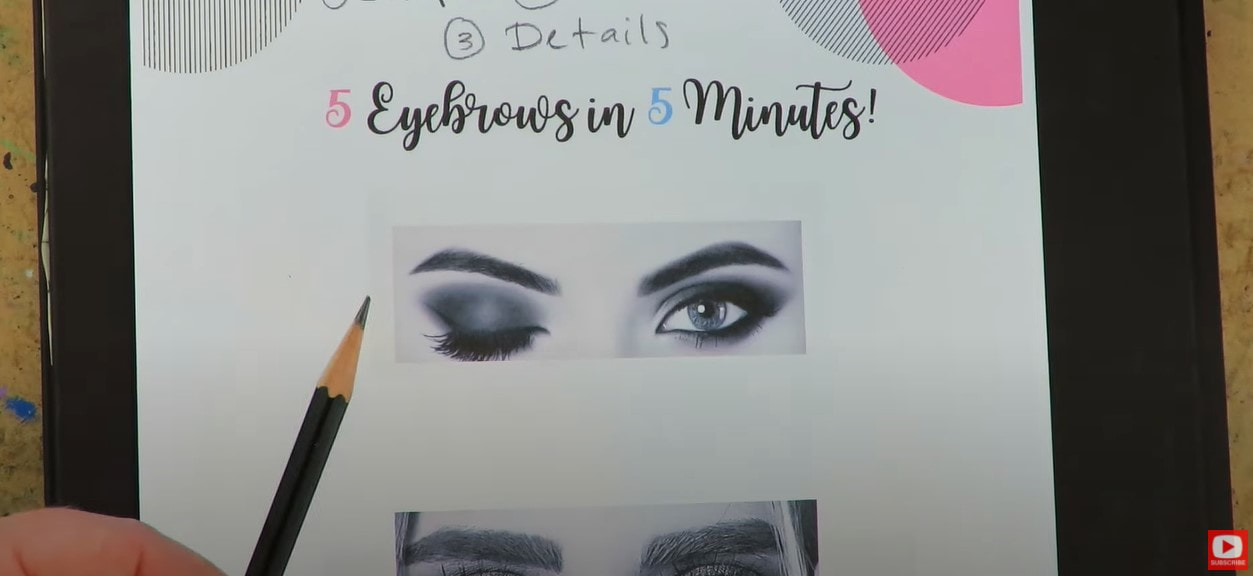
Ready to learn realistic eyebrow drawing in just 5 minutes?! LET'S DO IT!! In today's step by step lesson, we're going to be drawing 5 sets of eyebrows in real time, directly onto my FREE drawing worksheet. If you need help with how to draw eyebrows, have always wanted to learn how to draw a face, are struggling with how to work drawing practice into your daily life, or need to add MORE FUN into your art practice, THIS SERIES IS FOR YOU!!
![]()
I'd love for you to draw right along with me! Simply click the button below to grab my FREE 5 in 5 Facial Features Drawing Packet, and I'll send it straight to your email inbox.
Today's video is a follow up to a facial features drawing series I did a couple of months ago because I'm getting a lot of requests for how to draw eyebrows and how to draw necks!
If you're just discovering this series on how to draw facial features, the whole point of this thing is just to get us practicing our drawing skills. We're not making it our "life's work," it's just a little drawing exercise, and we're just going to spend about 5 minutes working with each reference photo, then we're moving on.
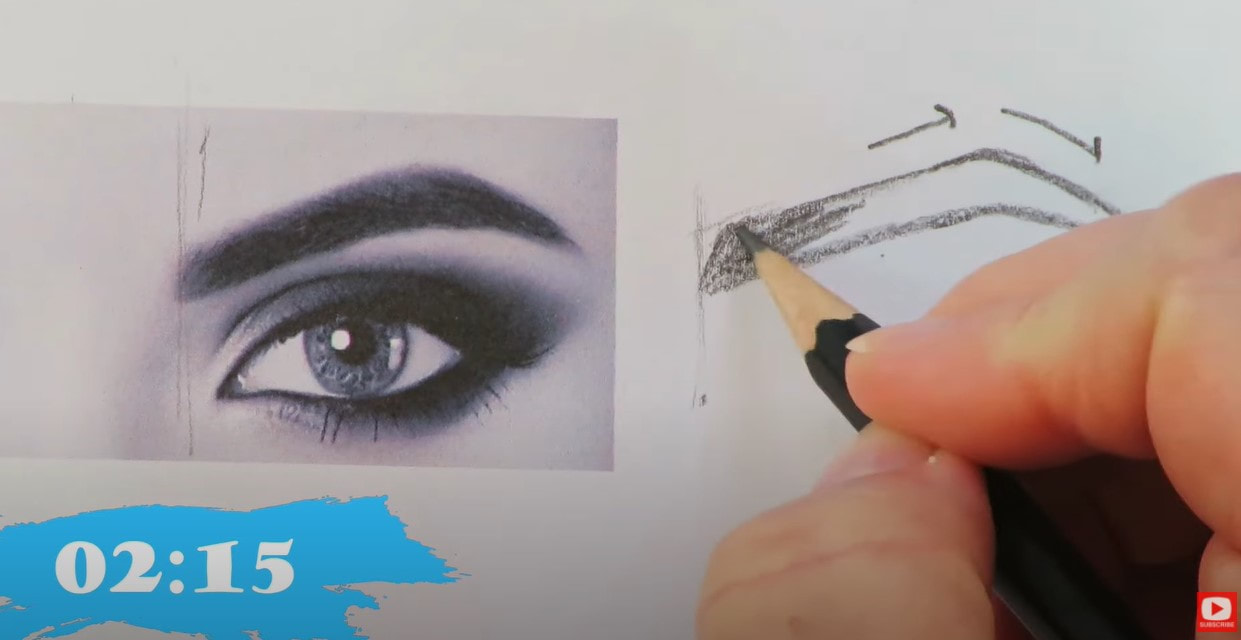
You'll see a stop watch going in the bottom of my screen. It's not here to stress anyone out. It's just to remind me not to spend more than 5 minutes with any one reference image. Before we continue, super quick announcement: All product links are Affiliate. I may earn a small commission if you choose to order through these links but by law there is never any additional cost to the consumer for doing so. I thank you for your support!
There are three things I'd love for your to focus on one at a time, when looking at each eyebrow reference image:
1. Eyebrow Shape 2. Value 3. Details For my supplies today- I'm just using my favorite Blackwing pencil - it's like a soft 4B, and super smooth to work with. You're also gonna need a blending stump, an eraser (I love my vanish eraser and the tombow mono eraser).
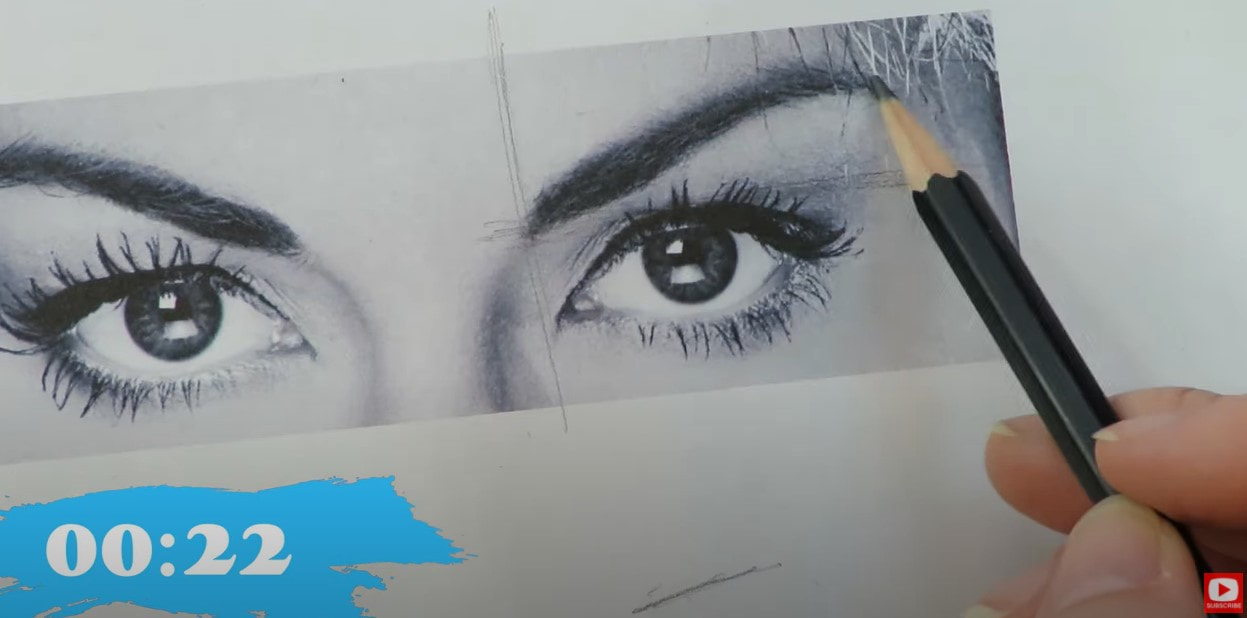
So with our first reference, as you can see- I draw in the general shape I'm seeing for the right eyebrow. The value I see is really pretty black, so I reach for my blending stump right away and then try to add in a few individual hairs even though I don't really see them in this particular photo - they're definitely there.
On the left eyebrow in this reference image, (above) you can definitely see a LOT more individual hairs, so I make sure to add those in where I see them, to make my drawing look more realistic.
![]()
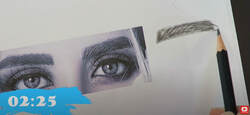
or our second reference image, I'll show you how to draw bushy eyebrows - 2020 style. Lol! After these were drawn in with a little shading added, I carved out some highlights using my tombow eraser for detail.
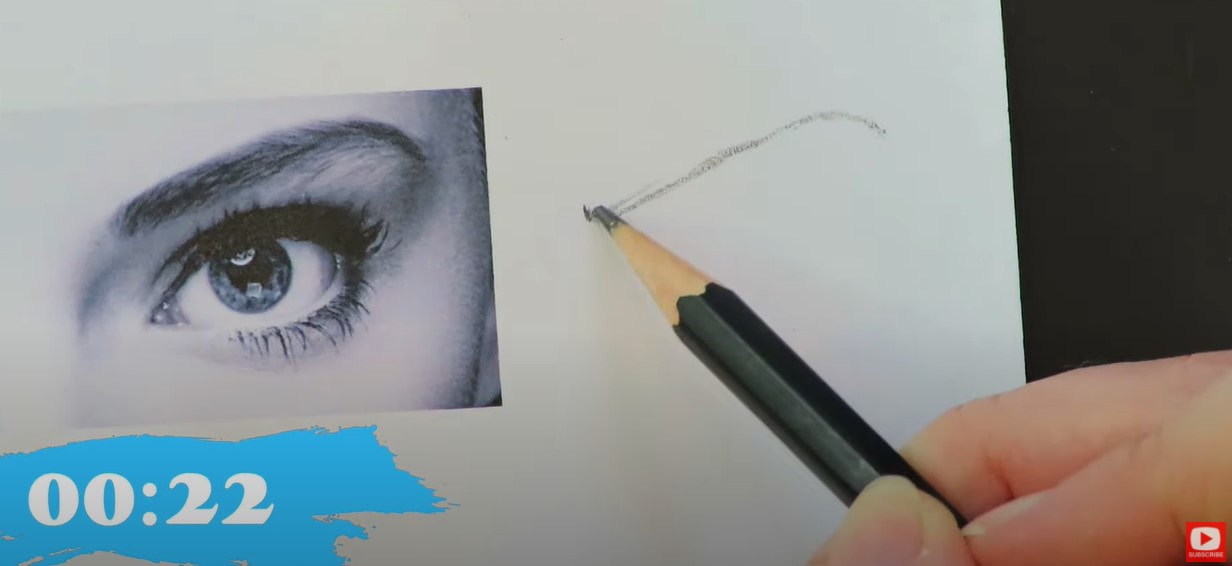
The next face drawing reference has some really unique eyebrows for us to draw. They're much thinner than the last set, and are great practice if you're trying to learn how to draw curved eyebrows.
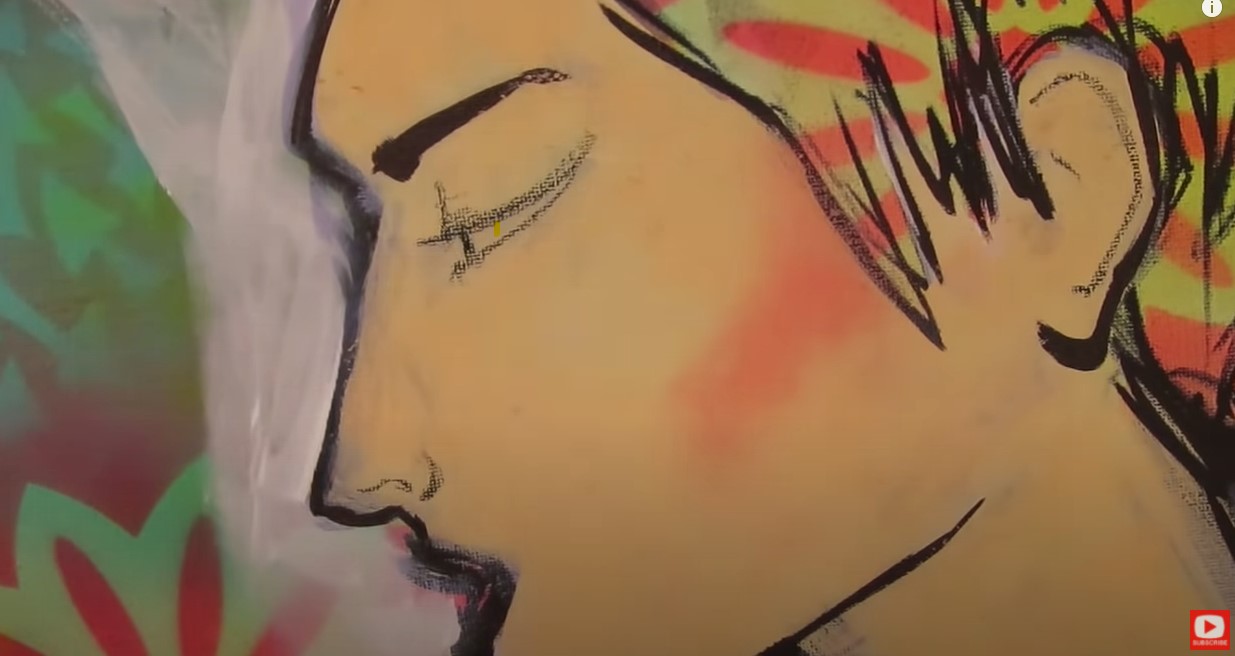
This style (above) is actually my favorite to draw on the mixed media portraits and whimsical drawings I love to create.
QUICK TIP: When you're ready to draw the individual hairs on the eyebrow, make sure your pencil tip is really sharp, or switch to a mechanical pencil. Doing drawing practice like this with drawing reference photos and cheatsheets can help you think of new ways to draw from your imagination later.
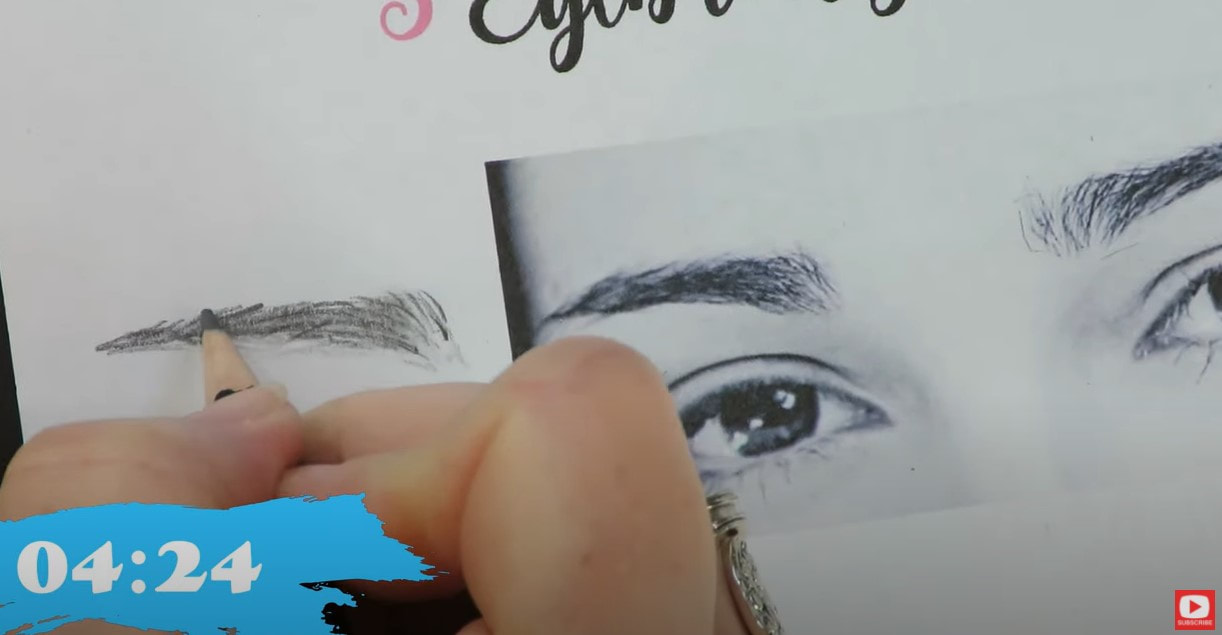
Our fourth reference today has a very different shape and is a great face drawing reference photo if you've been looking for something to help you with how to draw a natural eyebrow.
QUICK TIP: You always draw things that grow (hair, grass, etc.) from the ROOT up to the tip.
I hope you find these eyebrow drawing references helpful for your own face drawing practice. Remember to grab my cheatsheet so you can do your drawing practice right on the drawing worksheet like me. This drawing worksheet is part of my 5 in 5 Facial Features Drawing Series on my YouTube drawing channel. In case you missed that- it's a super helpful 6-part video series on how to draw facial features with a worksheet of drawing references to go with each feature. We worked on how to draw realistic eyes, how to draw realistic noses, how to draw realistic lips, ears, how to draw different face shapes and how to draw fun female hairstyles in 5 minutes. I popped these new eyebrow drawing worksheets at the end of my drawing packet. You'll also see worksheets for how to draw necks - that's coming up on my YouTube channel soon, so stay tuned for that! Thanks for hanging out with me today!
Interested in learning how to create gorgeous mixed media portraits and learning how to draw art deco style? Join me for my upcoming 1-week, online art workshop starting September 27, 2021.
I'll teach you how to upcycle an old record jacket from the thrift shop into your very own mixed media canvas. Then we'll collage our hearts out, do a little mixed media drawing, and I'll show you ALL my tips and tricks to mixed media layering like a pro!
CLICK HERE to SIGN UP for the WORKSHOP and take advantage of my special 60% OFF Coupon Code before September 27th If you do plan to join me for this upcoming workshop, one of the mixed media art supplies I ALWAYS use is faber castell gelatos. I have heard from a number of my students that they can't get their hands on gelatos, so I just did a video on my mixed media YouTube channel about Faber Castell Gelatos Alternatives, and test a huge variety of gel crayons out for you so YOU don't have to! Make sure you check this out before the workshop starts on September 27th. See ya there!! ❤️ CHECK OUT ALL my art books on AMAZON ❤️ MY FAVORITE ART SUPPLIES on AMAZON ❤️ MY BELOVED FACEBOOK GROUP ❤️ FOLLOW ME ON INSTAGRAM
0 Comments
Can't Get Faber Castell Gelatos? TRY THESE Gel Crayons for Stunning Mixed Media Portraits.14/9/2021
Faber Castell Gelatos are a staple in my studio for creating gorgeous shading in the skin tones of my mixed media portraits. Recently I've heard a number of my students can't get gelatos in their part of the world, so I need to recommend a Faber Castell Gelaots alternative. In case you're one of these students, a beginner, or just curious about which gel crayons made it into today's mixed media art supply demo, this video is FOR YOU.
Before we get into the demo, I've got a super exciting announcement!
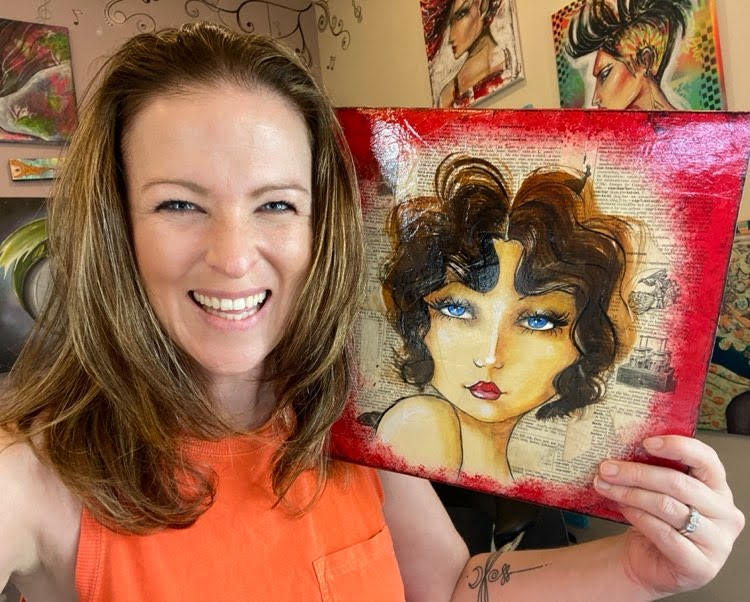
I'm hosting an online art class / online art workshop starting Monday, September 27th. We'll be creating the sassy mixed media portrait shown in the above photo over the course of a whole week!! If you sign up BEFORE September 27th at this super special link, you can get 60% off. I REALLY hope you can join us!!
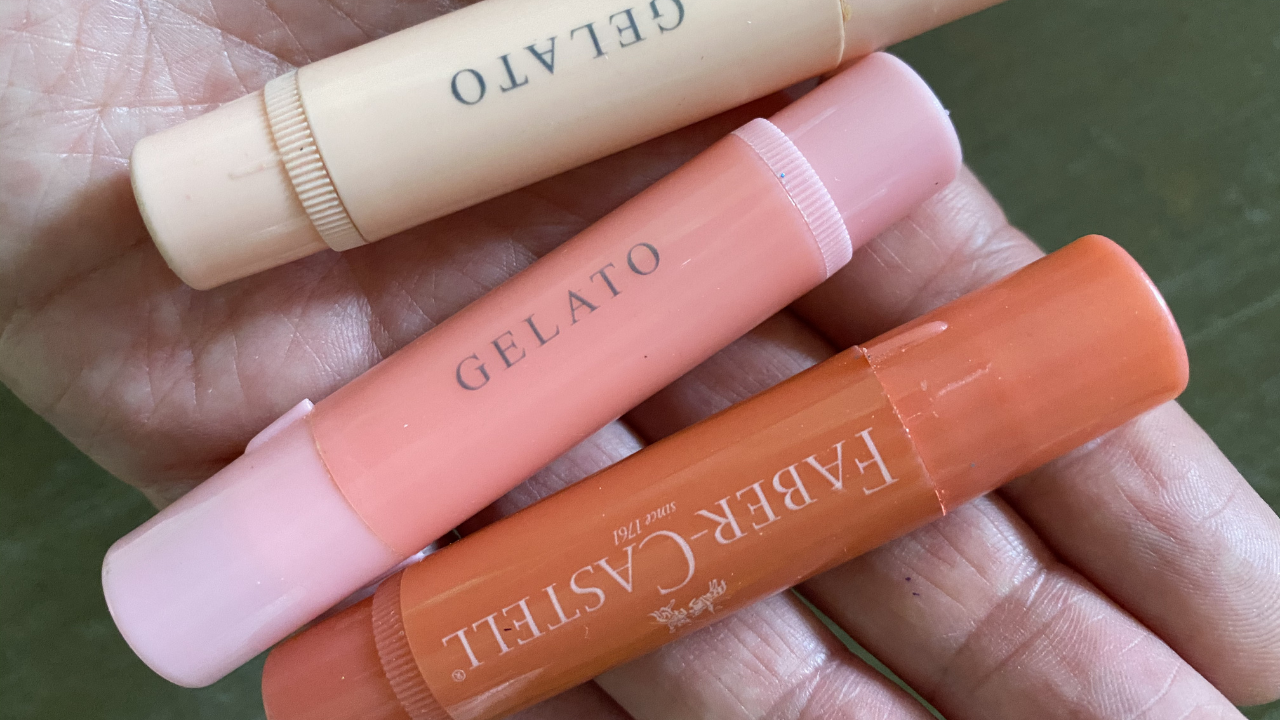
If we haven't met yet, I'm in total LOVE with gelatos by Faber Castell, and use them in almost all of my mixed media hamburger system projects- especially when shading faces of my mixed media portraits.
Gelatos glide beautifully over acrylic paint, and are super easy to blend with nothing more than your finger. If you've been hanging out with me for a while, you know I use them to shade the faces of my mixed media portraits instead of blending my skin tones from acrylic paints because it's MUCH faster & easier.
I was looking for 4 main product features from the alternative gel crayons I decided to test:
1. How easy they are to "dry blend" with your finger 2. What happens when a sealer like mod podge sweeps over them 3. Lightfast qualities (so your art won't fade over time) 4. Cost
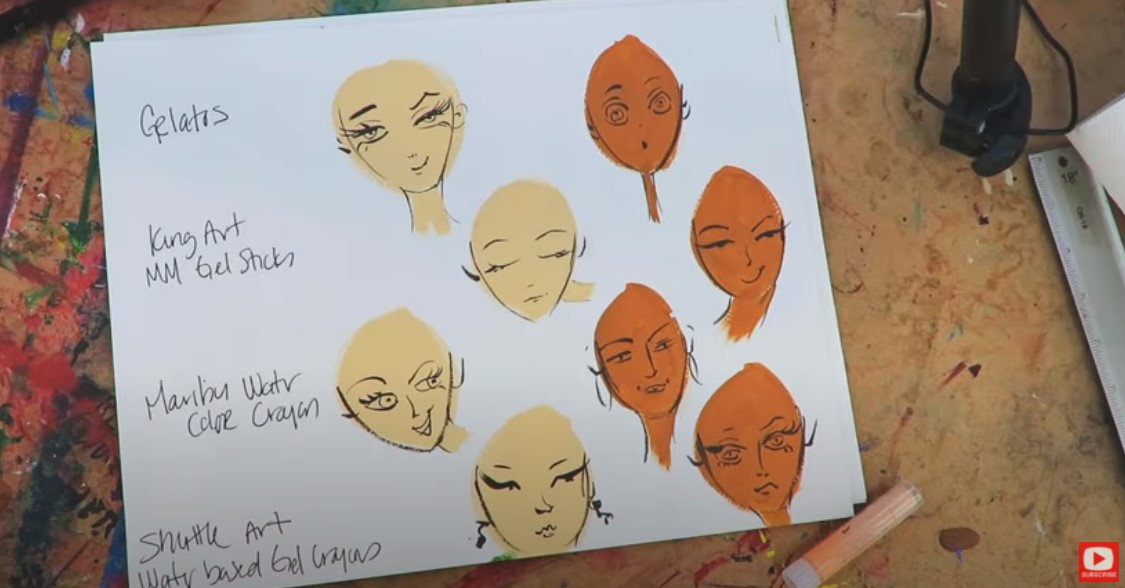
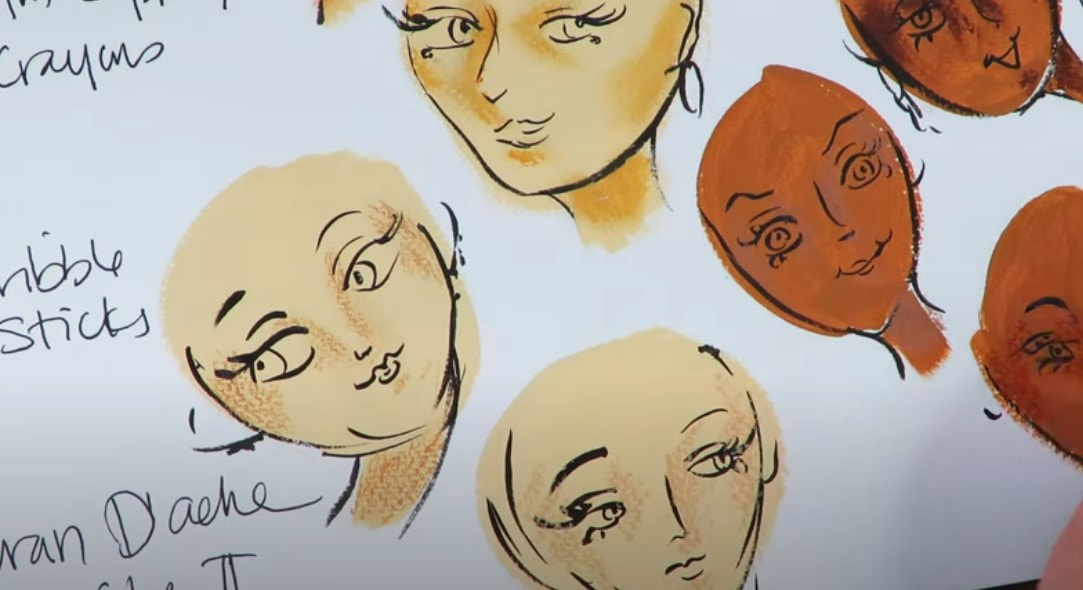
I drew a number of small heads, painted each with a base acrylic skin tone paint, and let them dry. Then I noted which gel crayon was going to be used to shade each face to help me keep everything straight!
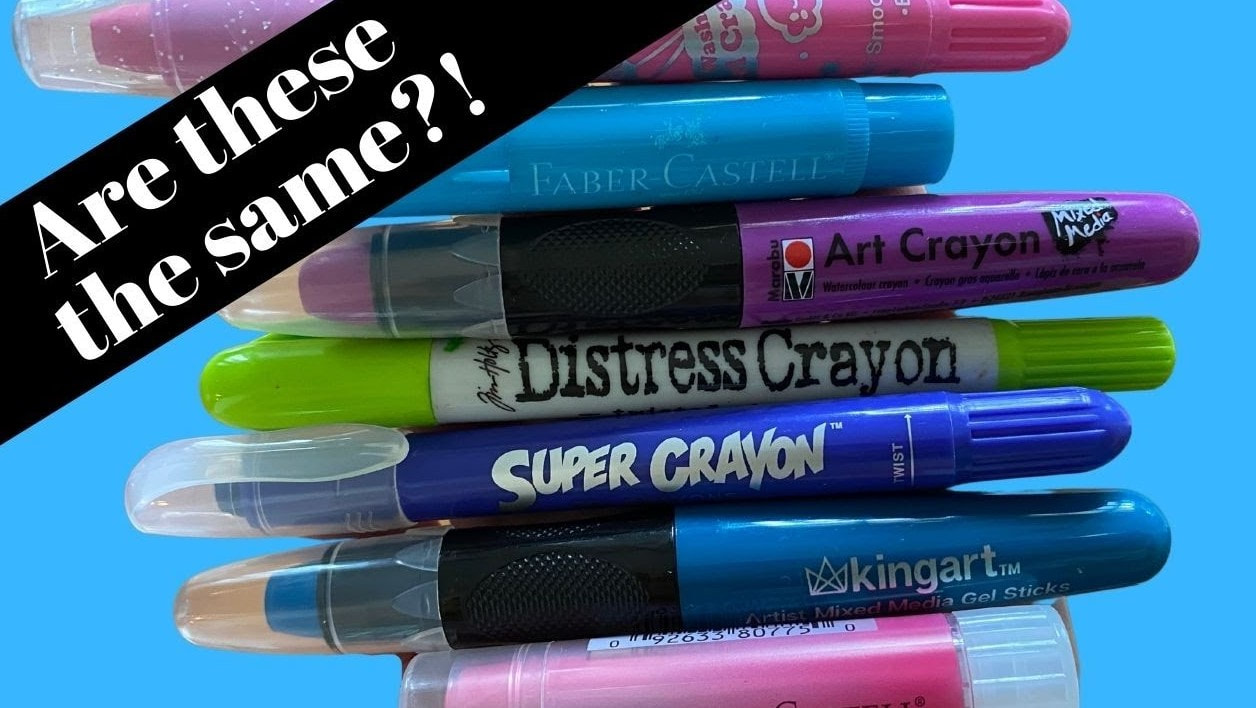
Once I pulled out all of the brands I planned to test, I immediately noticed just how many of them basically had the same packaging. It was a little ridiculous, especially with the gel crayons that were being marketed for kids. Some of them looked EXACTLY like the more expensive fine art gel crayons I had in my studio! Click over to the video to see how they all compared!
I learned a lot during this demo, but here are a few quick observations:
While I was doing this test, I decided to also check a few of the Gelatos product lines out to see how they performed since I've heard people have had issues in the past with the metallic line. I tested Faber Castell Gelatos Metallic, Faber Castell Gelatos Iridescent, Faber Castell Gelatos Brights, and Faber Castell Gel Sticks (the craft/student/kids version of gelatos).
I honestly didn't have any issues with any of these and felt they all dry-blended about the same. The "brights" pack only has 1 light skin tone, so I don't really recommend this one for shading faces. There are some fun colors in the metallic and iridescent sets though!
Final thoughts: I was shocked at how well the products being marketed to kids worked! Definitely check out the demo so you can see for yourself how each brand dry blends, and reacts.
Want to learn MORE about how to use Faber Castell Gelatos gelatos for shading a face mixed media style? Interested in learning more about my Hamburger System? CLICK HERE to binge watch the Hamburger System series on YouTube, and click here to check out the book (affiliate link) that resulted.
That's it from me today! I hope you enjoy my mixed media art supply video testing Faber Castell Gelatos alternatives!
Don't forget to sign up for my upcoming Art Deco Mixed Media Portrait Online Art Class!! Click this link BEFORE Sept.27th to save 60%!! Thanks for hanging out with me today!! I hope to see you in class soon. ❤️ CHECK OUT ALL my art books on AMAZON ❤️ MY FAVORITE ART SUPPLIES on AMAZON ❤️ MY BELOVED FACEBOOK GROUP ❤️ FOLLOW ME ON INSTAGRAM |
Karen CampbellFounder of Awesome Art School. Mixed Media Artist. Author of 18 Instructional Art Books! Archives
September 2023
Categories
All
|
"Karen is flipping hilarious and she's very real...I like the way she teaches in a way that really gives you confidence, whether you're a beginner or advanced there's always something new to learn!"
- Elizabeth W. |
What Fans Are SayingKaren, you are absolutely fabulous! You make me feel like I can draw anything. I have recently retired and finally have the time to do some of the art that I have loved since I was in school. I am really at the beginning of my art journey and I hope to learn as much as I can. Thank you for all you do. |
Contact ME |