|
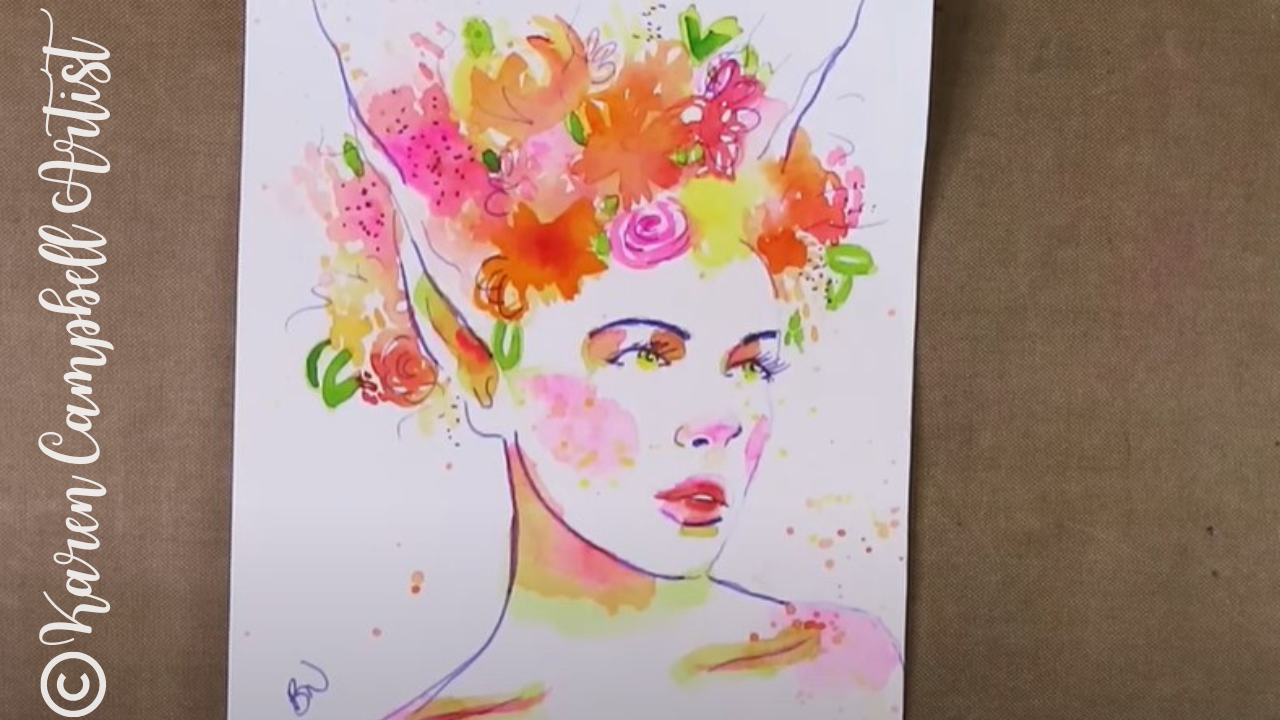
Today's REALISTIC fairy drawing tutorial with watercolor flowers is lesson six of the #50FunFabFairies drawing challenge- featuring Awesome Art School guest teacher, Bryn Nguyen.
A master of the grid drawing method, Bryn will show you step by step how to use this technique to achieve a fairy portrait that looks EXACTLY like any fairy drawing reference image you select! You'll learn how to draw fairy ears in Bryn's whimsical style and how to add colorful, loose watercolor flowers to bring your fairy to life. Enjoy!!
Want easy access to this and even MORE fairy drawing ideas? Join our FREE #50FunFabFairies drawing challenge over at Awesome Art School!
Simply click the button below to receive instant access to ALL the fairy reference images for each drawing prompt (including today's!), plus info on supplies, cheatsheets and more!
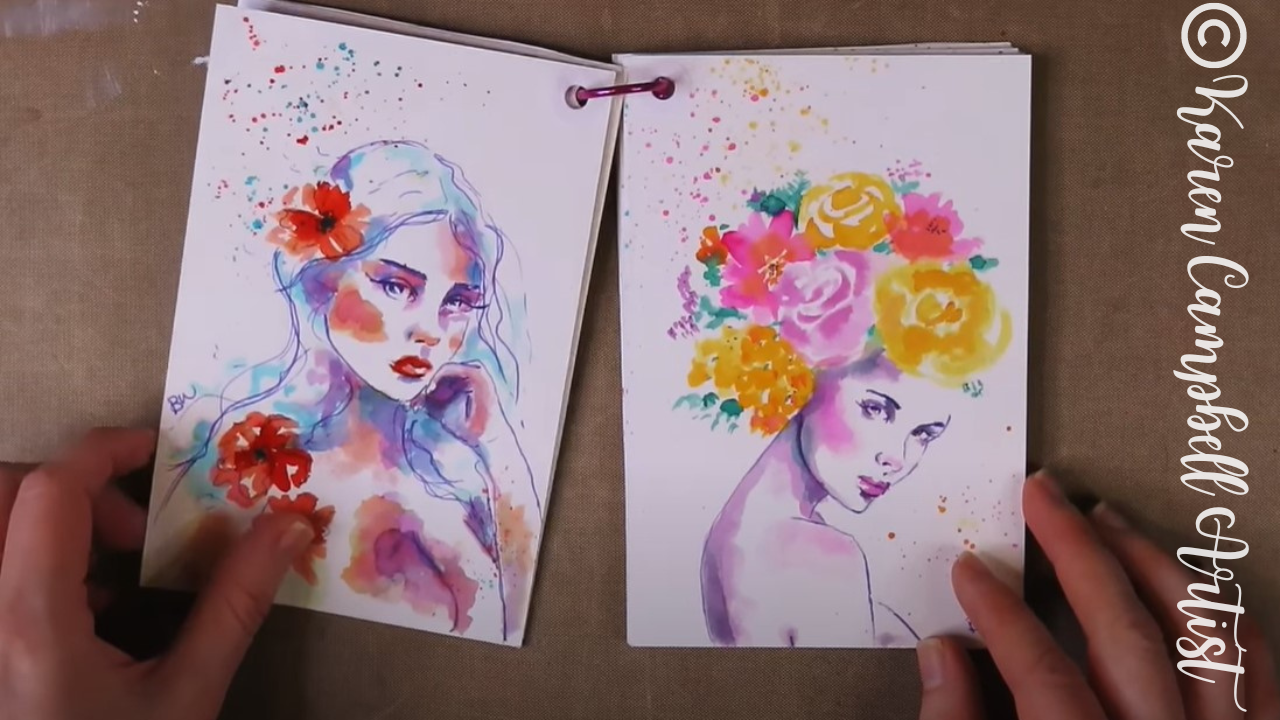
I'm excited to introduce you to today's Awesome Art School guest teacher, Bryn Nguyen. Bryn is a very accomplished artist with a distinct style (below) that my students and I have been admiring in my Facebook Group for years!
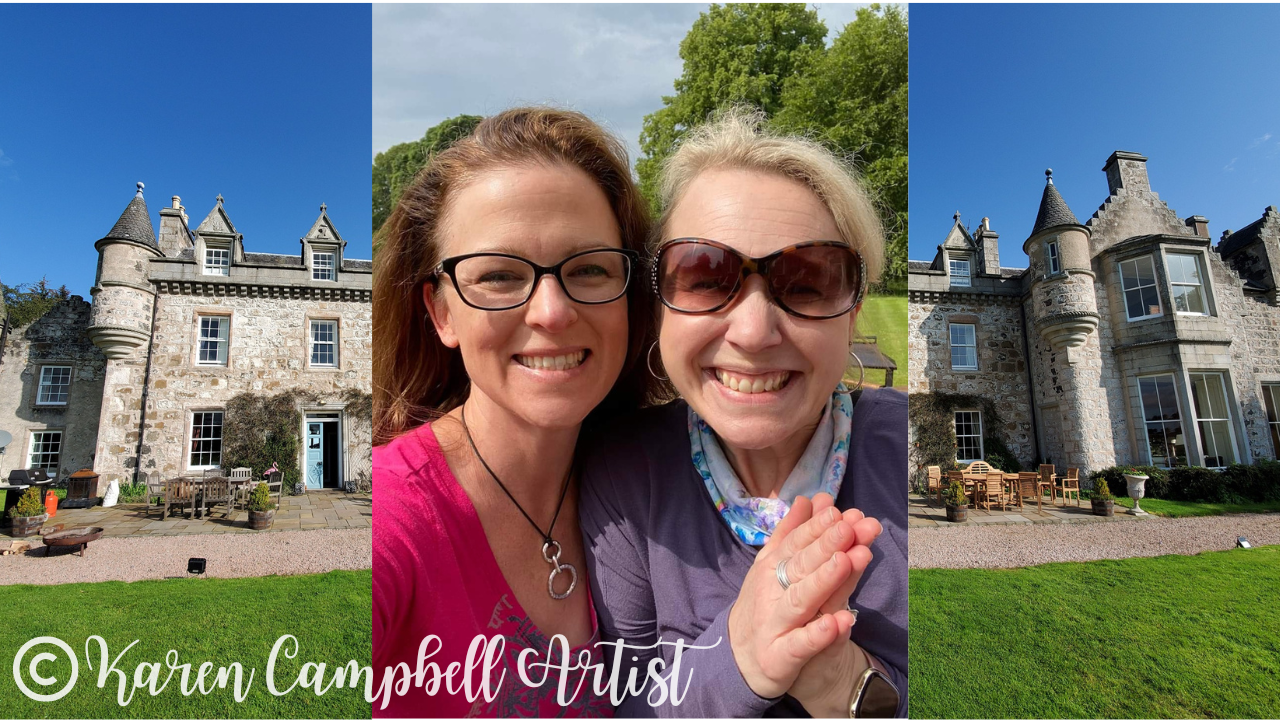
Bryn and I have known each other online for years, but finally got to meet in person for the first time this summer, on my 2022 Scotland Castle Art Retreat at Wardhill Castle with Lucy Brydon!
Before we continue, super quick announcement: All product links are Affiliate. I may earn a small commission if you choose to order through these links but by law there is never any additional cost to the consumer for doing so. I thank you for your support.
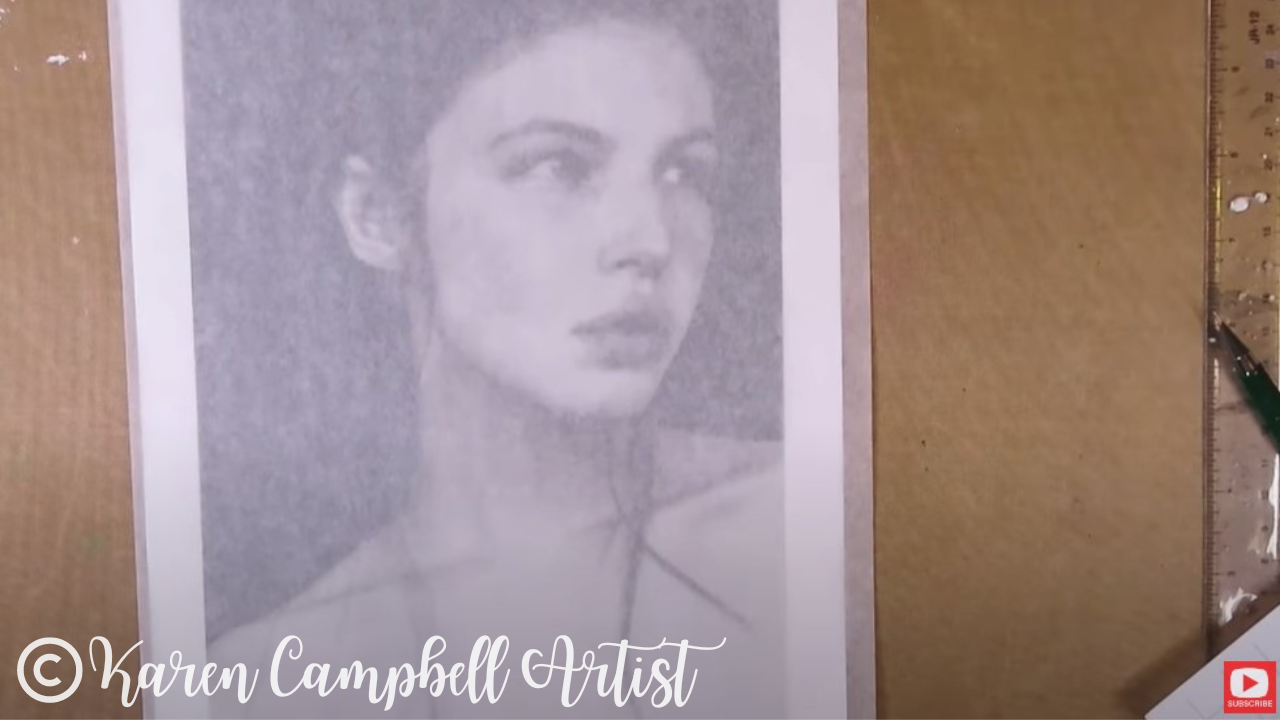
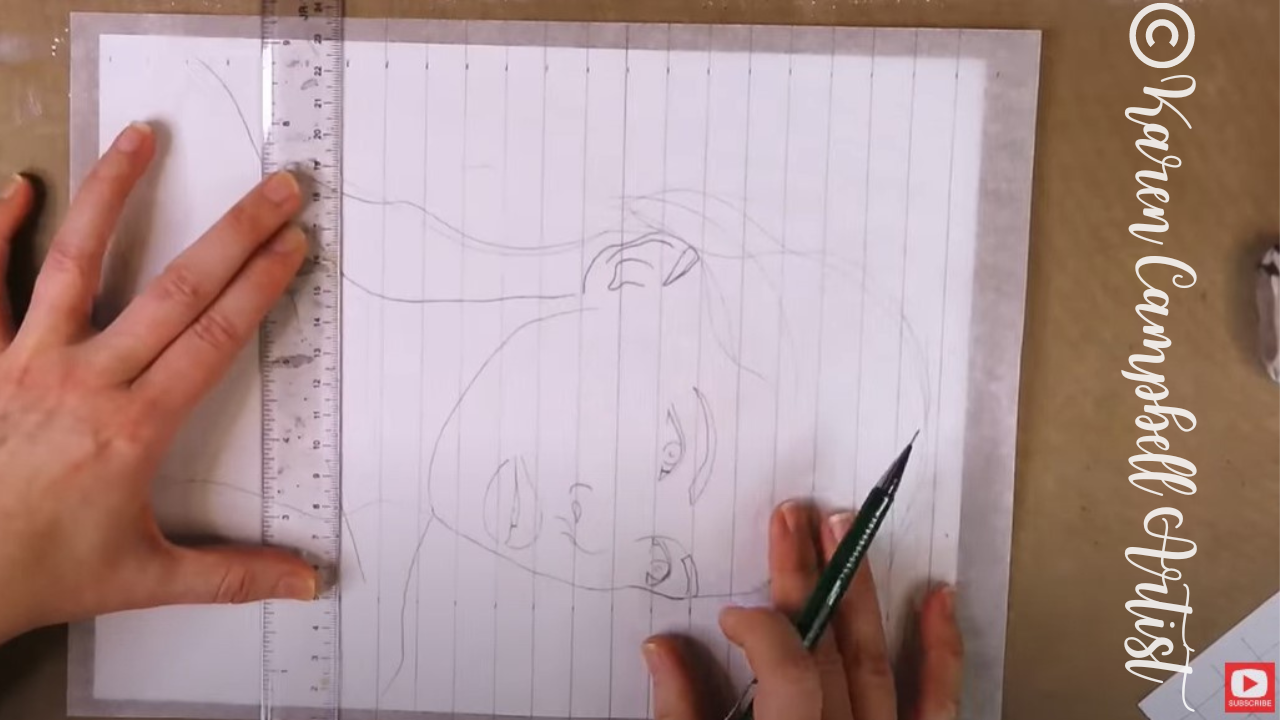
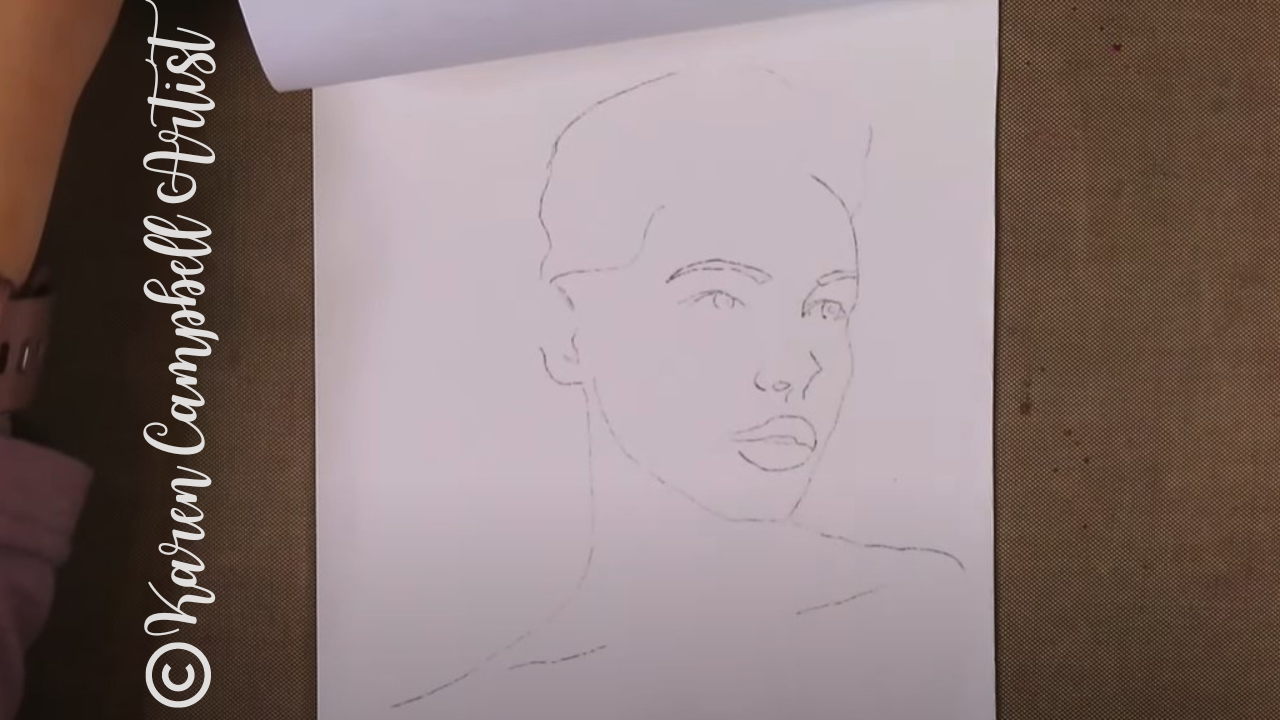
To get us started, Bryn demos how to trace the key lines of a drawing reference image using a sheet of trace paper and a lightboard. This helps her achieve greater accuracy, and she finds the process therapeutic.
You may be wondering why we're tracing today instead of freehand drawing. The freehand drawing part is coming up! As you'll see in the video, this is a great way to zero in on the key features of a drawing reference photo, and removes the distraction of all the shadows and highlights. I've been asked many times over the years if "tracing is cheating" when it comes to art. I believe tracing can be a very effective tool when it's used like it is today to create an original piece of art that's all your own. Check out this video for more of my thoughts on that subject.
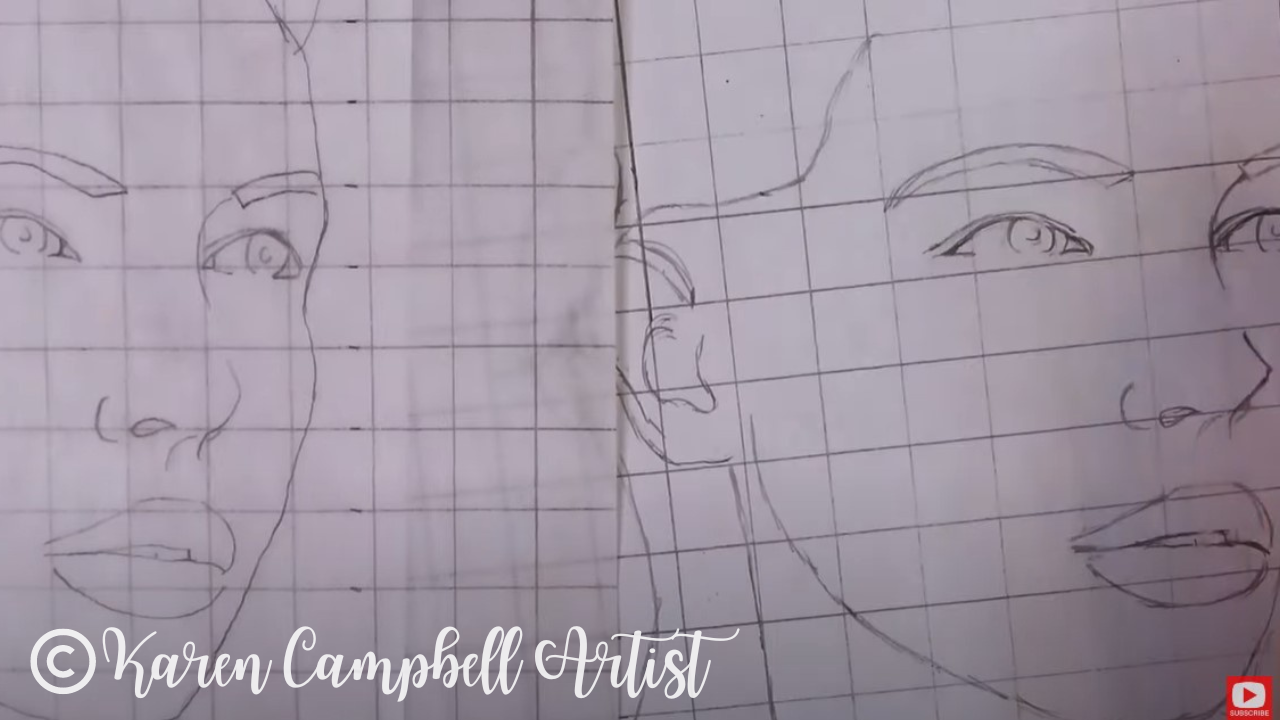
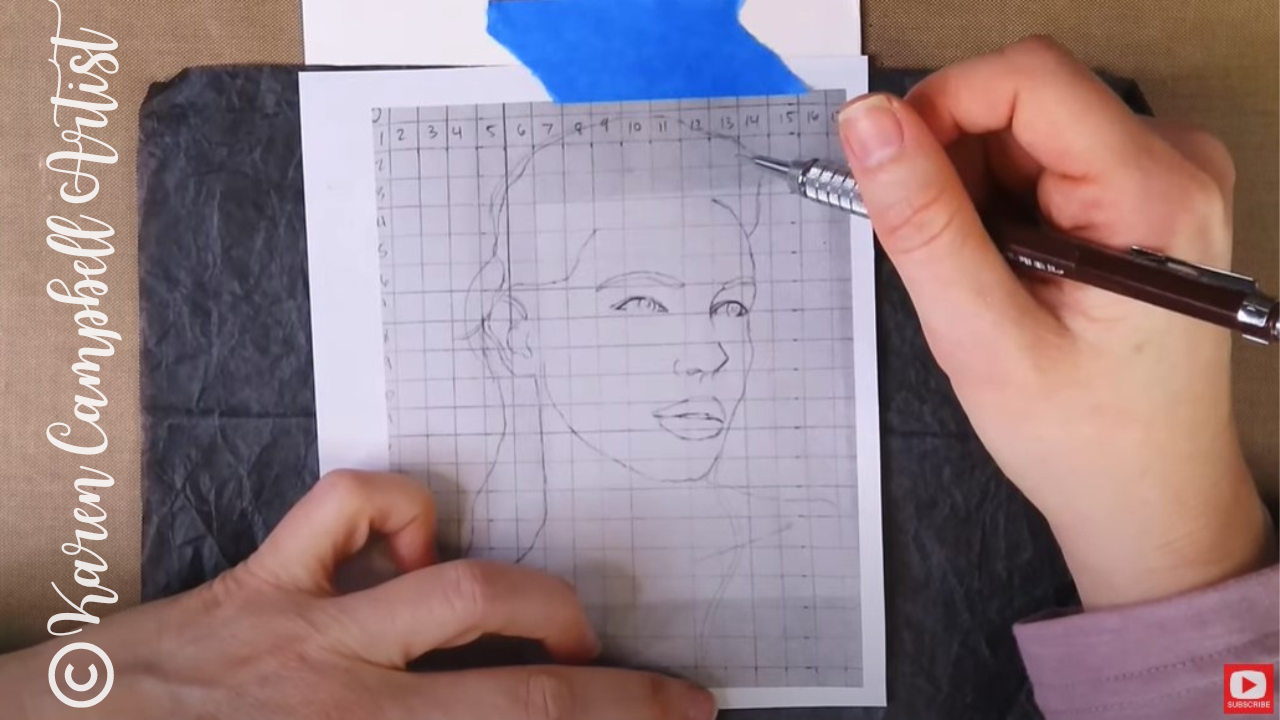
Once her face outline is complete, Bryn explains how to pencil in grid lines over a tracing. She loves to get super detailed at this point and creates 1/2" x 1/2" boxes for this process. Then she transfers what she sees (this is the freehand drawing part!), box by box onto another sheet filled with 1/2" squares.
If you'd like to learn Bryn's process in even greater detail without time-lapsed (sped up) video, Bryn is a guest teacher in The Fun Fab Drawing Club with me over at Awesome Art School in my Realistic Face Drawing classroom. Add your name to the waitlist here to get notified when the Fun Fab Drawing Club is open for enrollment.
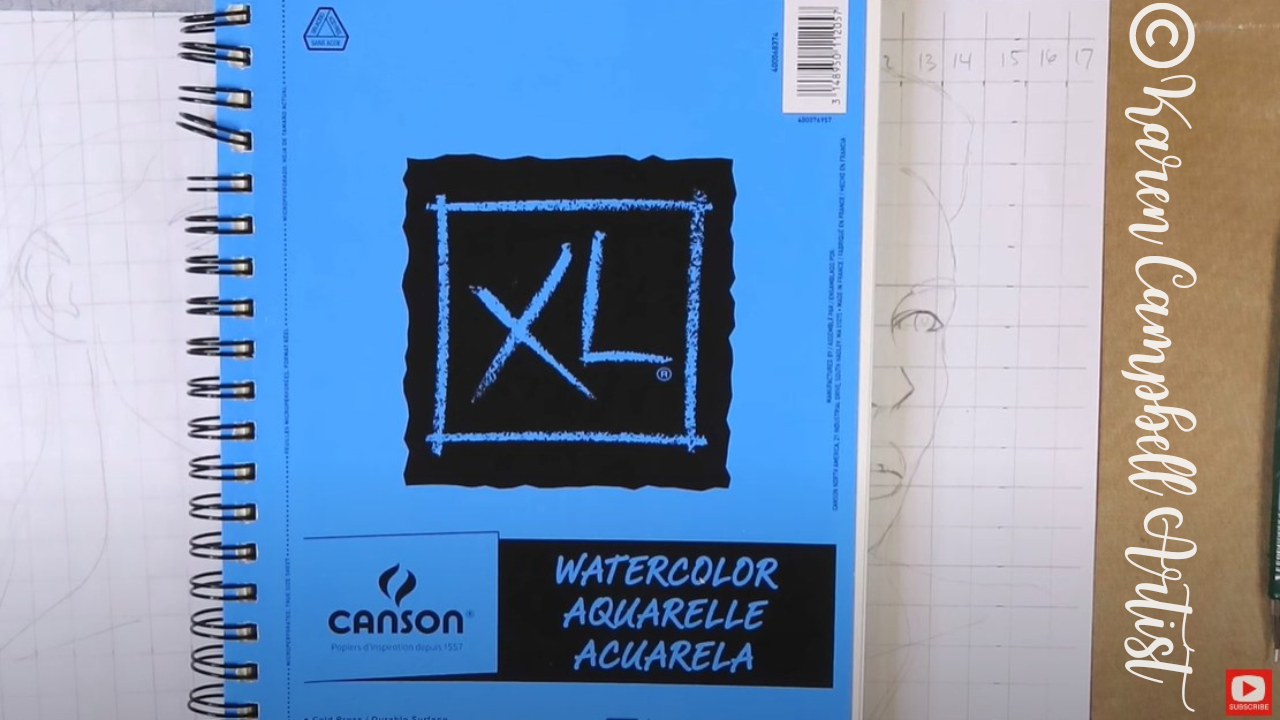
Since Bryn plans to add loose watercolor flowers to her fairy drawing, she needs watercolor paper. Today she's using a sheet of 140 lb. cold press (textured) watercolor paper by Canson. Bryn enjoys working small, so cut a sheet of this paper in half for today's project.
Make sure you watch the video to see exactly how Bryn transfers a scaled down printout of her original drawing to watercolor paper using graphite transfer paper.
I LOVE using transfer paper as well when I'm doing watercolor portraits because this process really saves my paper.
If you do a freehand drawing from scratch directly onto your watercolor paper, you risk wrecking your paper from tons of erasing. Drawing from scratch on another sheet of paper first (even plain old printer paper!) and transfering your finished drawing to watercolor paper is totally the way to go.
As you'll see in the video, Bryn uses a kneaded eraser to lift some of the bold graphite lines from her watercolor paper once her transfer is complete. This is a great tip, because if you skip this step, your watercolors can smear the graphite and turn brown.
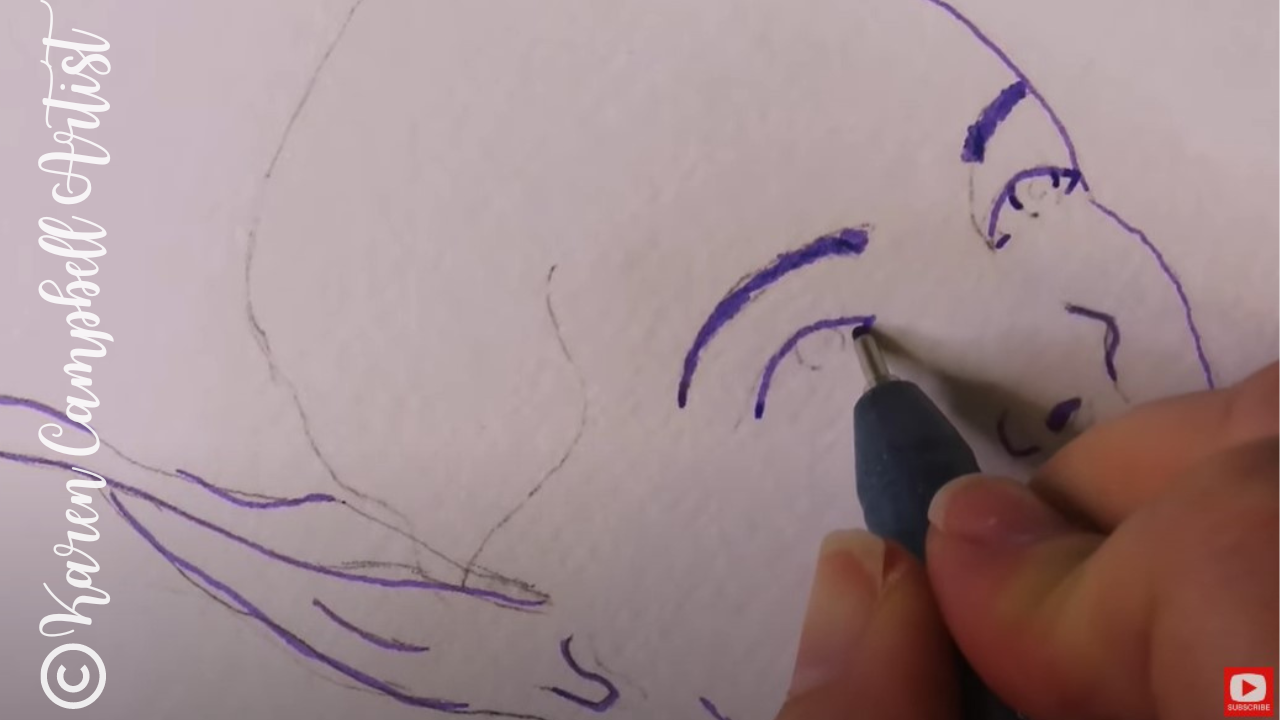
When Bryn's finished with erasing, she uses a purple Copic multiliner (in .5) to outline portions of her drawing. This fineliner is non watersoluble so it will stay put once watercolor is added. Notice how Bryn doesn't add fineliner to each and every line of her drawing, and sometimes only outlines a piece of each line. This technique really adds a sophisticated look to her artwork.
Once the ink is totally dry, you can erase any remaining pencil lines, and get ready to add watercolor! Bryn is using "The Classics" watercolor palette by Prima today for this project, but you can use any kind of watercolor you like. I typically use Daniel Smith watercolors, and have a wide variety of my favorite shades recommended for you in my Amazon shop if you need ideas.
If you need help starting a Daniel Smith watercolor collection of your own, check this video out to learn about Daniel Smith dot cards to inexpensively discover YOUR favorite shades, and this one to start your first Daniel Smith watercolor collection.
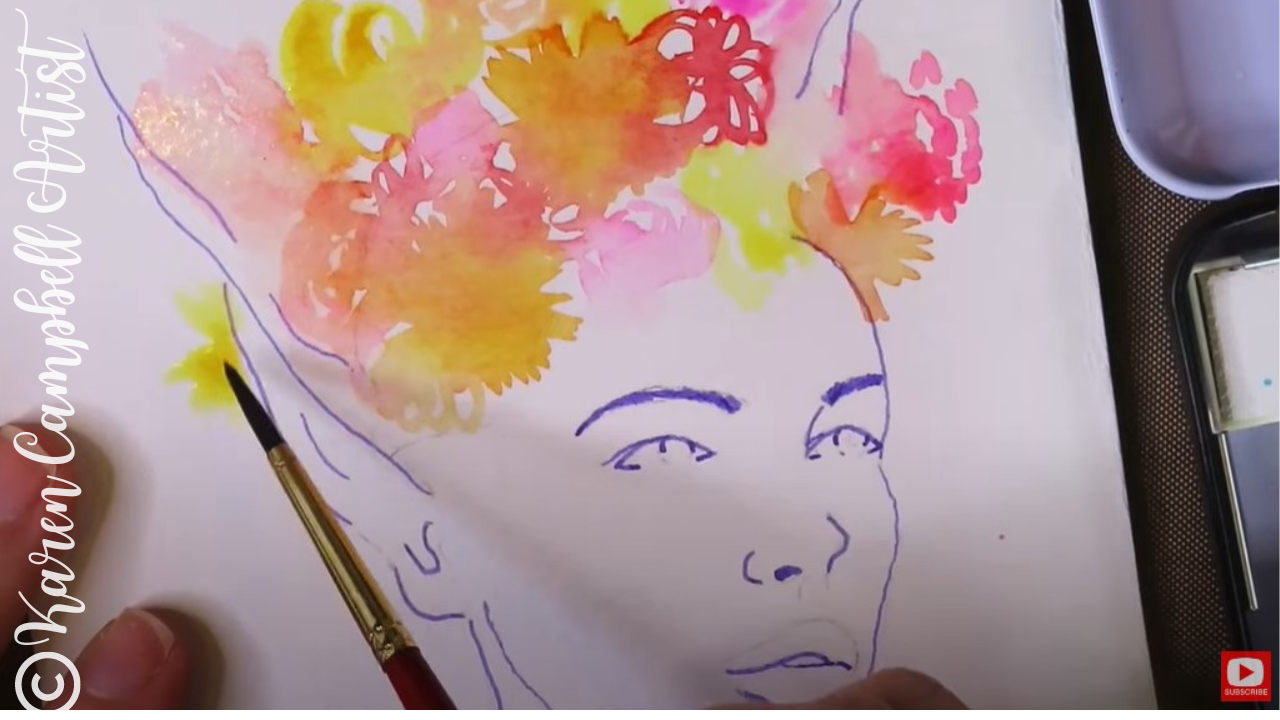
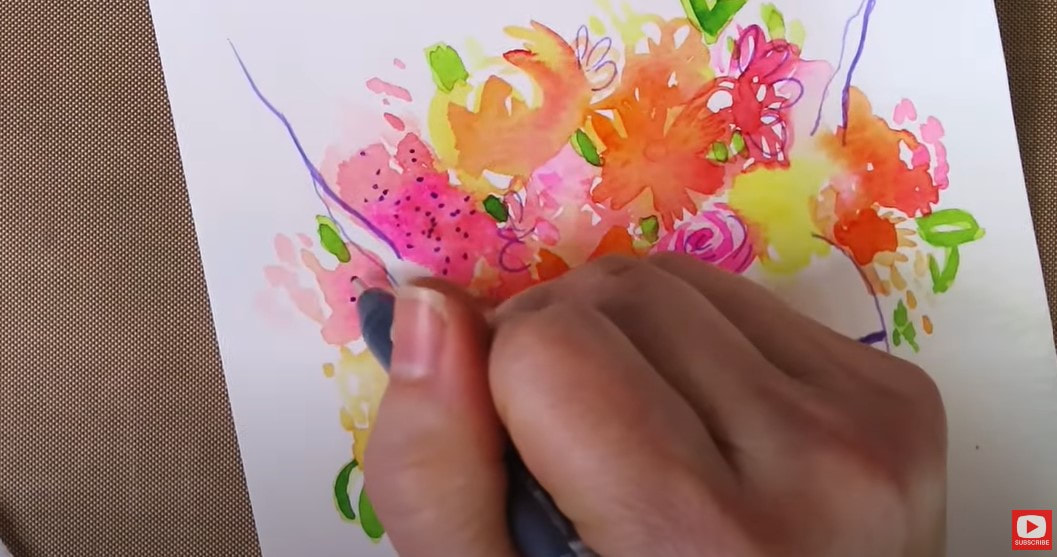
To create loose watercolor flowers on a tiny scale, Bryn uses a #3 round watercolor brush and adds abstract doodles of color in spikes and swirls to indicate flowers. Watch this process in the video because each moment has been recorderd step by step so you can paint along from home.
After the first layer of watercolor is dry, Bryn darkens portions of the flowers to add contrast, and adds bits of yellow green throughout to suggest foilage and leaves.
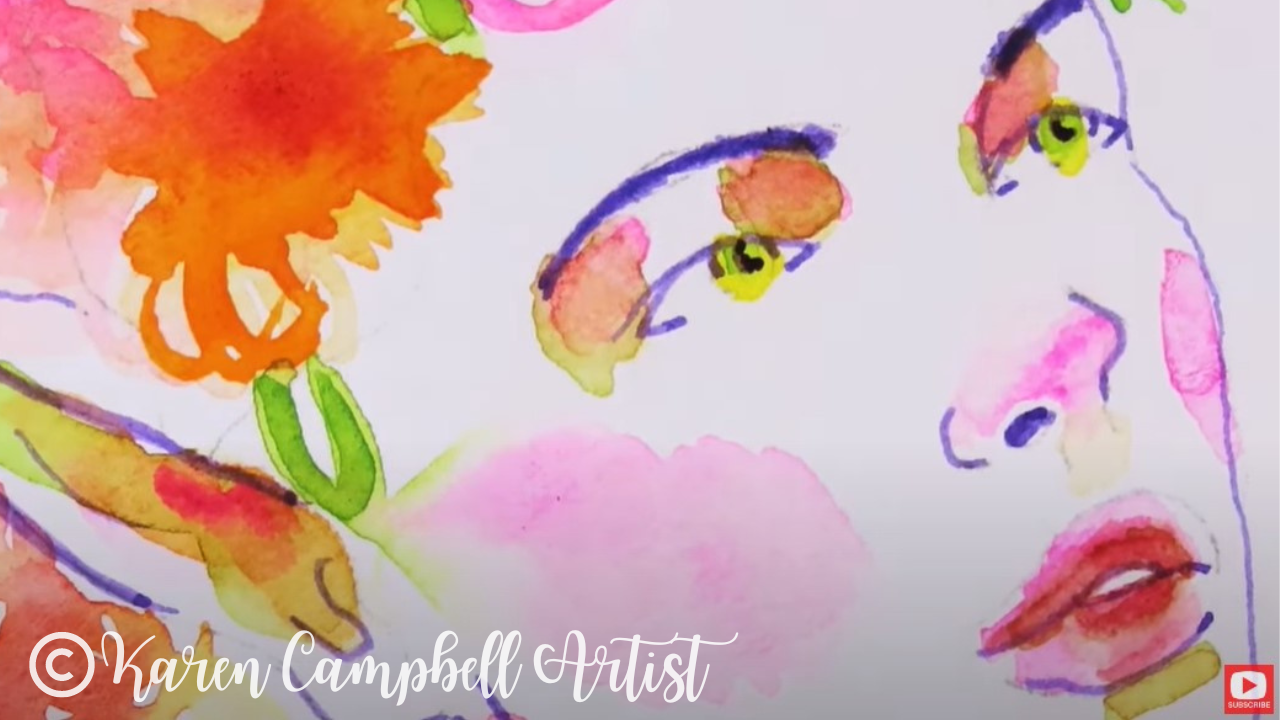
For the skin tones on her fairy's face, Bryn adds in layers of pink from her existing palette. Once these layers are dry, she adds a light layer of yellow green to indicate the darkest shadows.
I LOVE this look! Just make sure your original layers are FULLY dry before doing this at home, so your colors don't turn into brown.
Next, Bryn thickens a few of the lines from her original drawing using her copic multiliner (above), and draws in a few light embellishments throughout her watercolor flowers to tie things together.
To finish her fairy, Bryn adds a little watercolor splatter paint. I LOVE this effect too!! The key to getting this just right is having a really wet brush. Watch the video to see this technique in action, and paint along with Bryn in real time!
Thanks for hanging out with us today! We hope you have fun with lesson six of the FREE #50FunFabFairies drawing challenge!
If you're OBSESSED with fairies and fantasy art like Bryn and I are, you might just LOVE the Celtic Collective art club over at Awesome Art School.
Add your name to the waitlist to be notified next time we're open for enrollment, or when there's a club member cancellation so you can join in the fun with us! ❤️ CHECK OUT ALL my art books on AMAZON ❤️ MY FAVORITE ART SUPPLIES on AMAZON ❤️ MY BELOVED FACEBOOK GROUP ❤️ FOLLOW ME ON INSTAGRAM
0 Comments
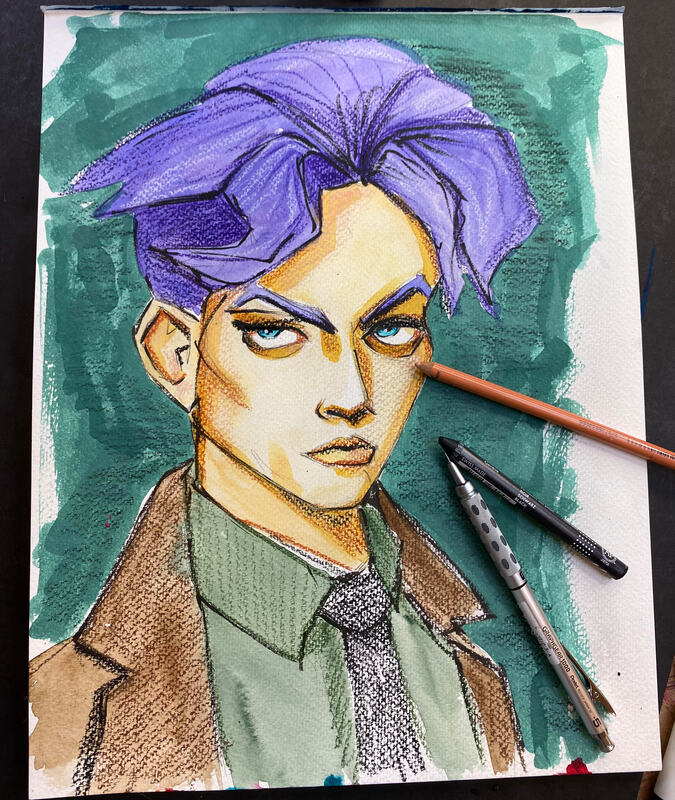
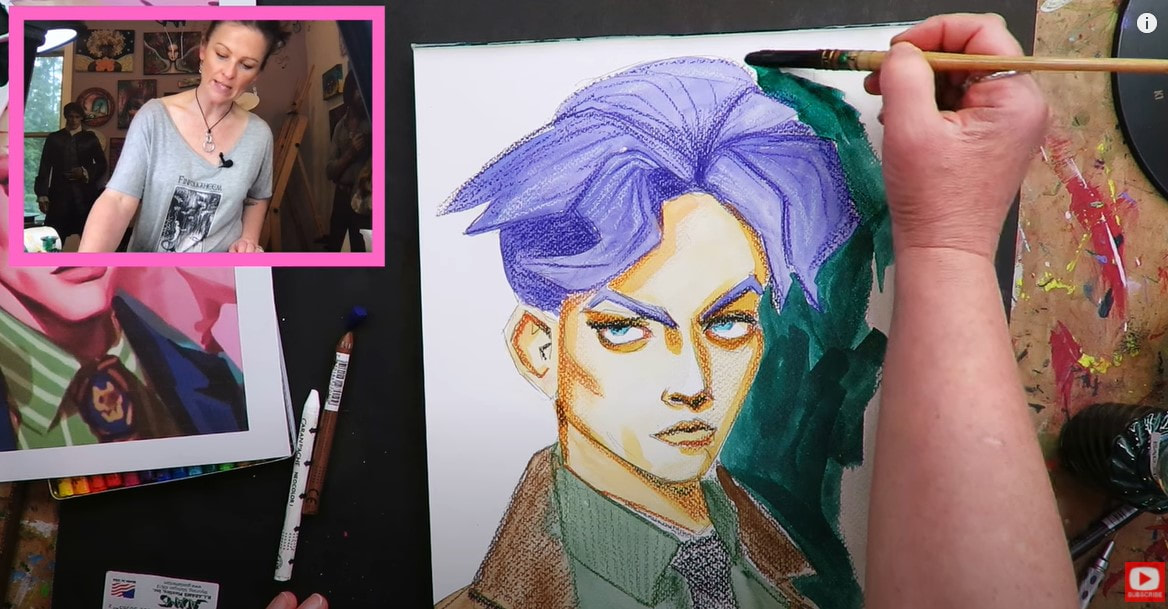
Don't ya just love a funky watercolor portrait with attitude?! Today I'm trying a new-to-me mixed media technique using FOUR simple supplies: Noodler's ink, watercolor and colored pencils with a layer of wax pastels on top!
If you've never tried Caran D'Ache Neocolor Is (basically wax crayons for artists), grab a set to create along with me, and I'll talk you through the project step by step. Or, sit back and relax as I create this "Hot Dog Style" project in my mixed media sketchbook in real time.
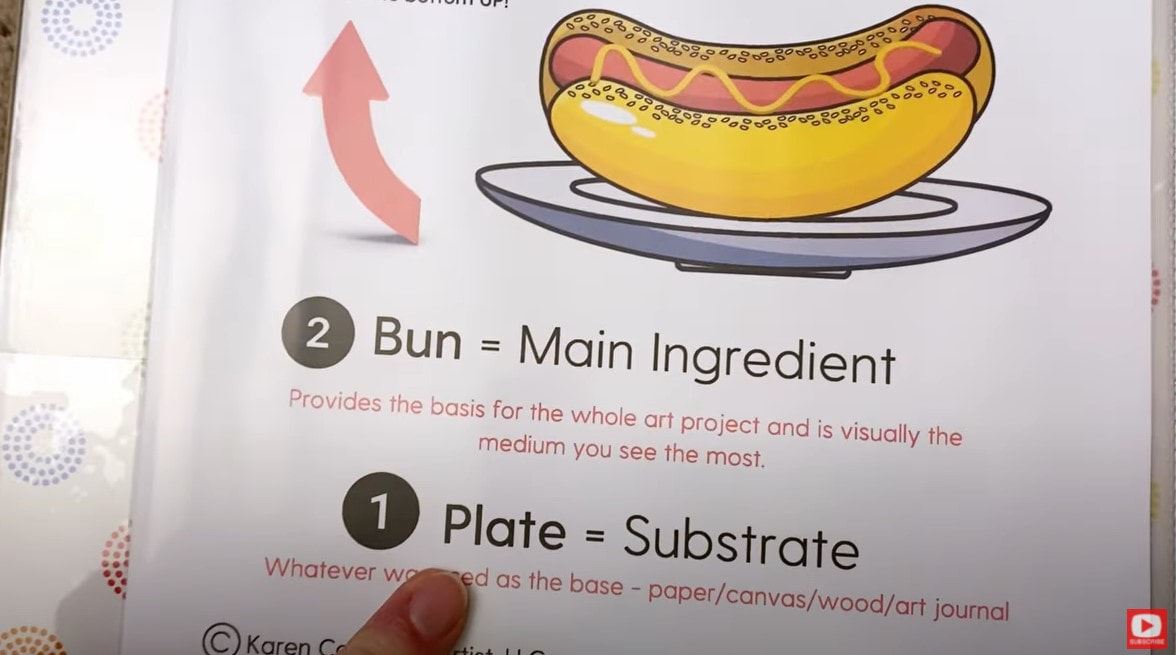
I've been teaching my signature mixed media technique for layering, "The Hamburger System," for almost 2 years now, and it's been a game changer for SO many students!
Sometimes, mixed media beginners can feel a bit overwhelmed by all the new supplies. I recently created a condensed approach using just 4 supplies, called the "Hot Dog System." I also made a ginormous 32-page PDF (you're welcome!) to go with it, giving you examples of 4-art supply layer combos- HOT DOG STYLE- not just from me, but from TWENTY of my artsy friends to inspire you!
Click the button below to download this FREE 32-page stack of cheatsheets just filled with mixed media "Hot Dog System" inspiration!
Before we continue, super quick announcement: All product links are Affiliate. I may earn a small commission if you choose to order through these links but by law there is never any additional cost to the consumer for doing so. I thank you for your support.
Today I'm doing a mixed media project in the style presented by my friend Tara, on page two of my hot dog packet. The four supplies she's using are watercolor and colored pencils, Noodler's Ink, and what is basically a fine art crayon, made by Caran D'Ache. I didn't even have those, so needed to take a quick field trip to my FAVORITE art supply store in town - Jerry's Artarama!
After a quick Jerry's stop, I gathered the rest of my supplies for today's project. Then I did a little Pinterest search through my face drawing references.
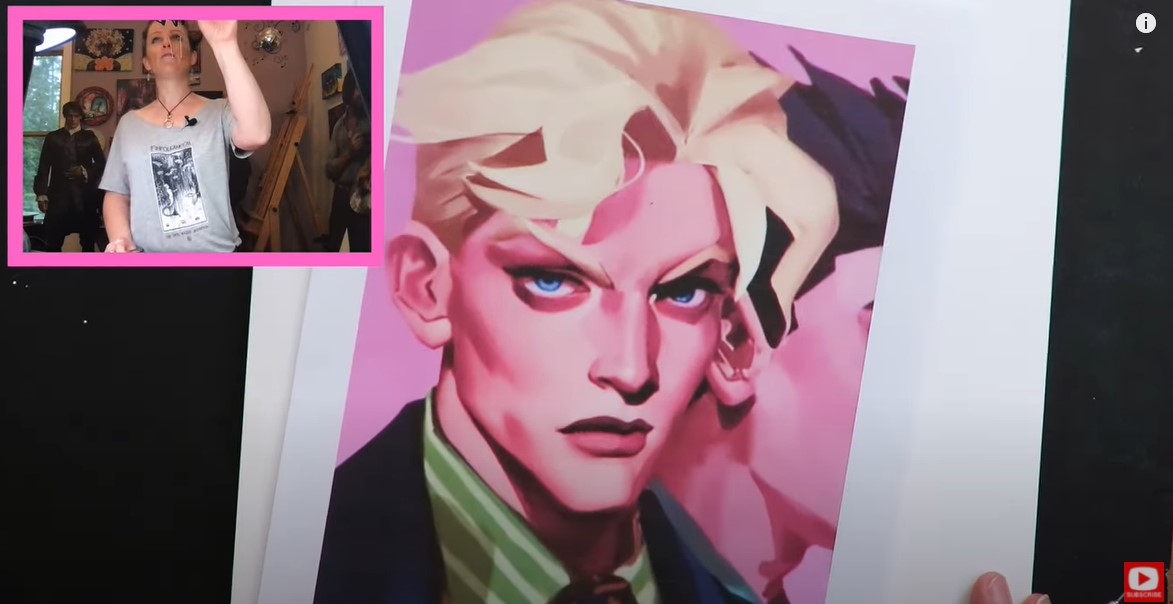
If you're new to my world, you may not know that I have a fascination with digital art. I use digital portraits and characters all the time as faces for drawing reference to inspire my own work. These images are perfect to guide you where you need to add shading, especially if you don't know how to shade faces yet. I also love to challenge myself to recreate digital faces using traditional materials. Take a look at this guy!
I love his deep eyes and dramatic facial features. They're kinda magnificent - like they've been sculpted out of clay or something.
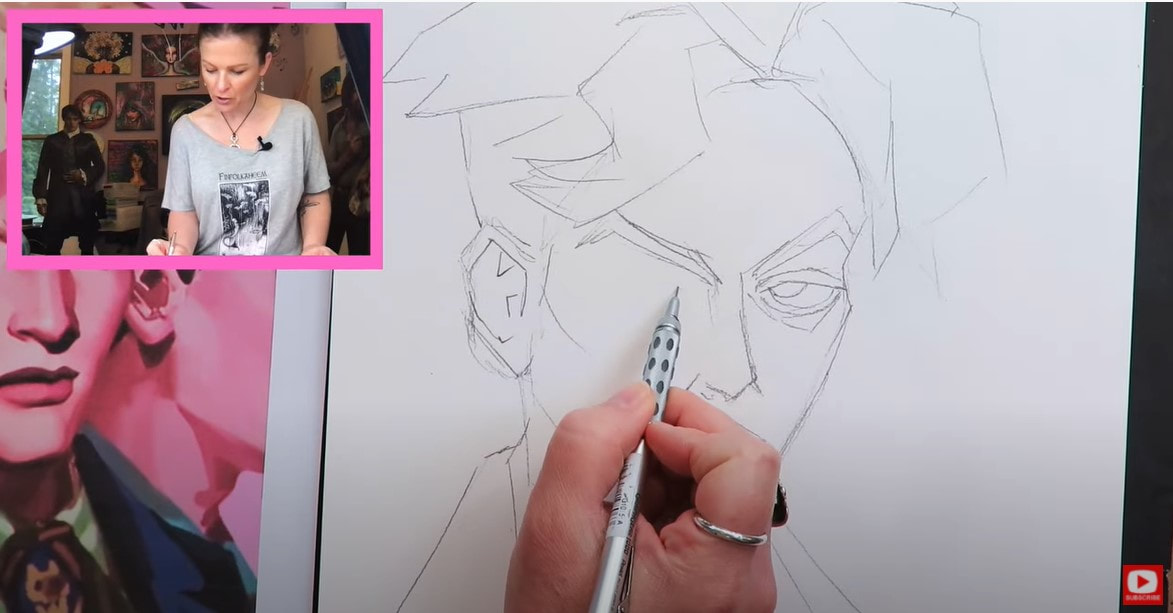
Since the purpose of today's project is to try a new combination of 4 art supplies, I'm not gonna bother with making my drawing perfect. I'm just blocking in what I see from my reference photo with my mechanical pencil . If you don't have one, these are my favorites!
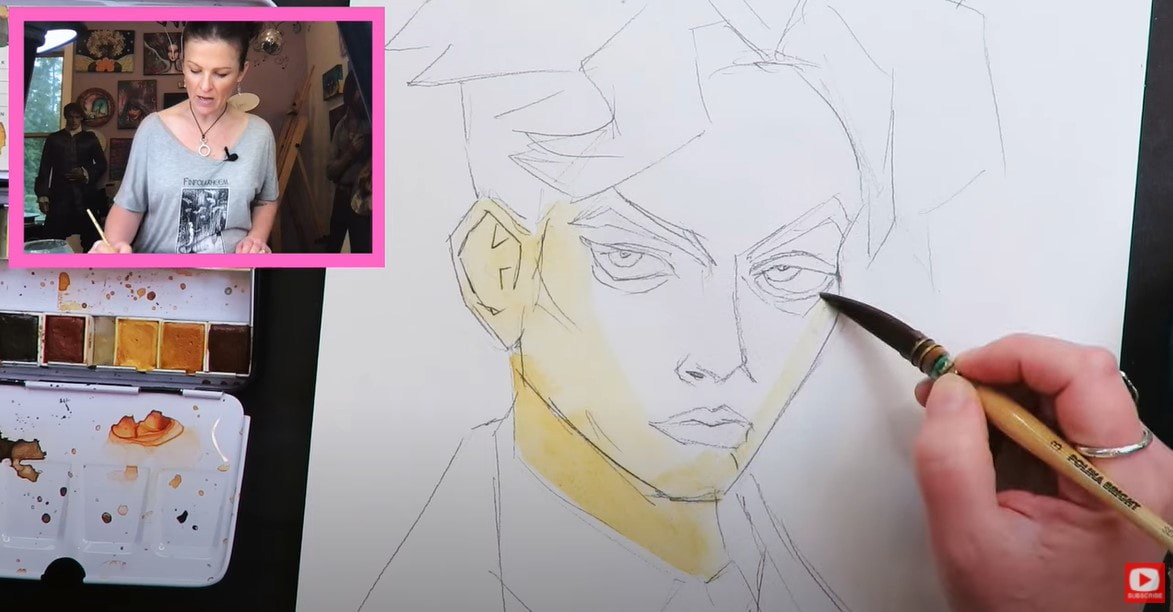
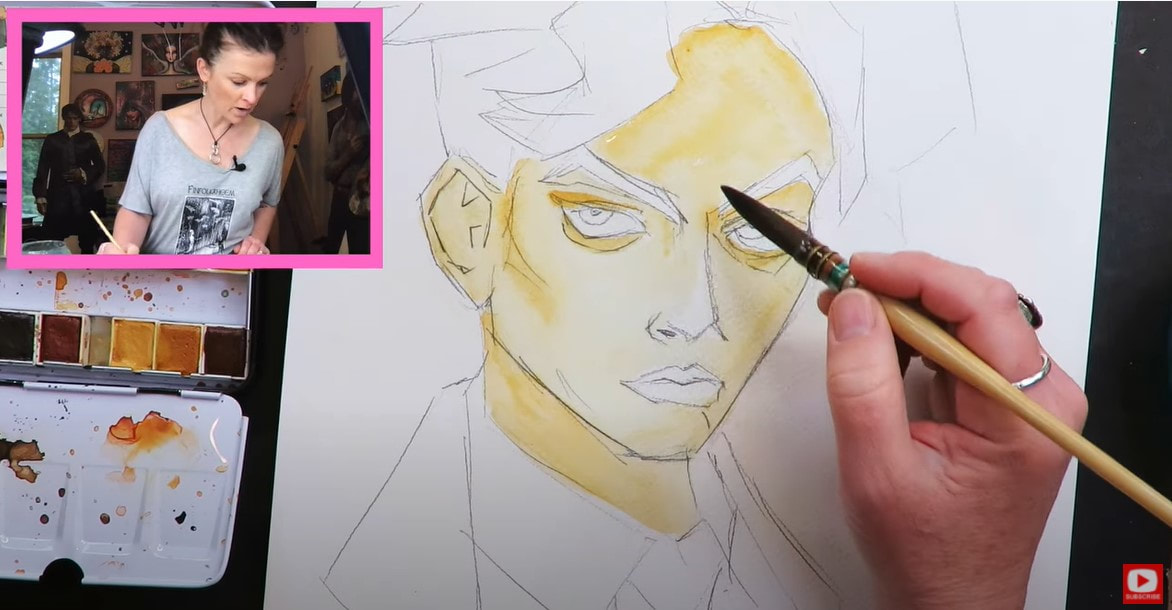
Since the watercolor is my base layer, I'm going to keep it fairly simple, so we can add depth later with our colored pencils and wax crayons.
A lot of my students ask me about my favorite paint brushes. Right now I'm seriously in love with the ones by artist, Polina Bright (shown above). They take a while to ship because they're from Australia, but they are SO worth it!
Polina made a coupon code JUST FOR MY FOLLOWERS, so you can save 10% off your order. Simply enter my name in all caps (KARENCAMPBELL) at checkout on her website. To see how her watercolor brushes compare to two of my other favorite brands, check out this video. As far as skin tone watercolor shades go, I tend to be kinda lazy about mixing colors to come up with my own color. I prefer to use shades someone else created, right outta the box or tube because it's faster! For a couple of years, the Complexion Watercolor Set by Prima has been my go to. It's got some beautiful light, medium and dark skin tones you can play with straight from the palette (or mix if that's fun for you). If you'd like to learn more about it,I did a video on this skin tone watercolor set not too long ago that will answer ALL your questions :)
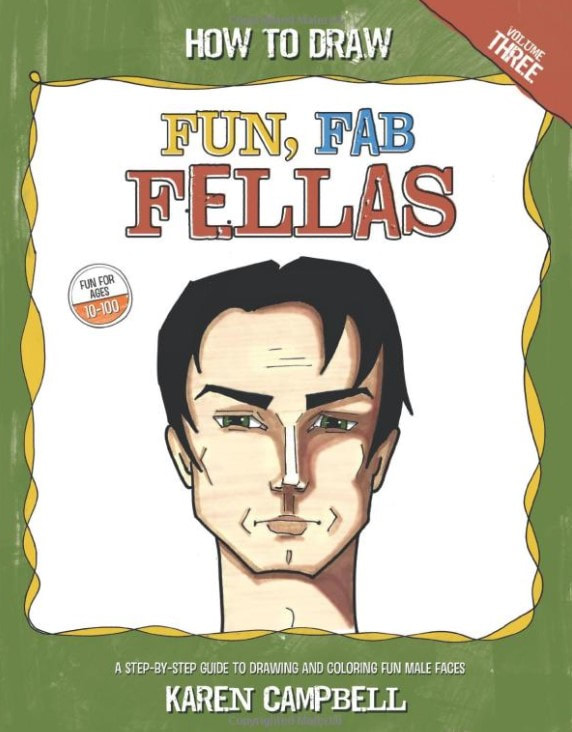
I don't often draw guys, but sometimes I just love to do something a little different. If you're interested in learning how to draw a male face for beginners, I published a book a couple of years ago called How to Draw Fun, Fab Fellas.
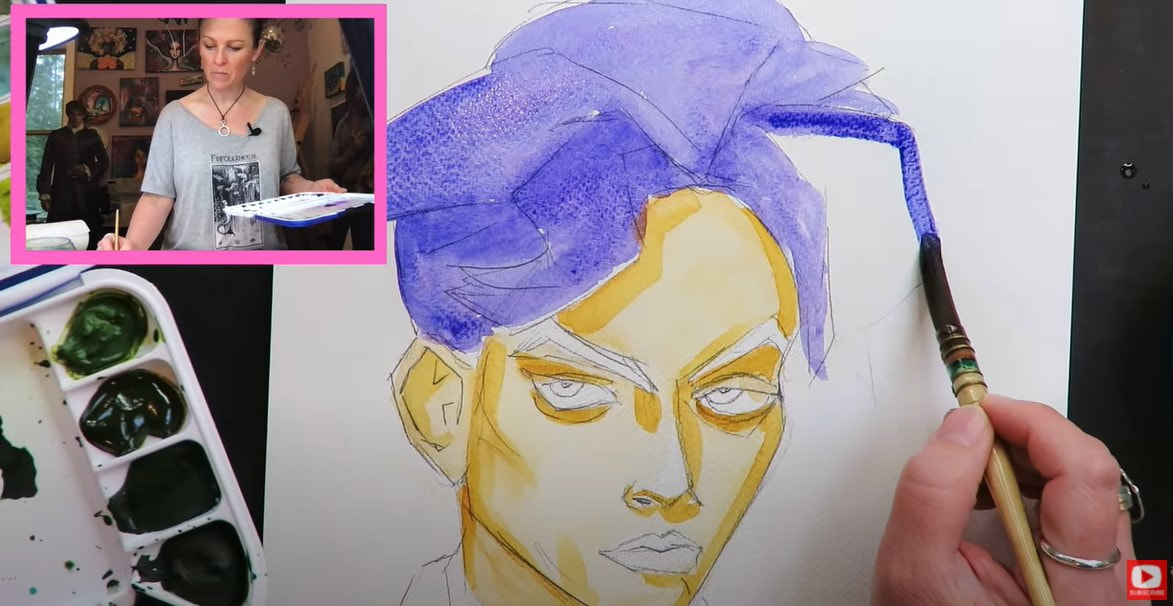
After I get the face shading done for today's dude, it's time to move on to his hair. Cobalt blue violet by Daniel Smith was calling my name. If you're new to watercolor, or thinking about starting a Daniel Smith watercolor collection, be sure to watch this video.
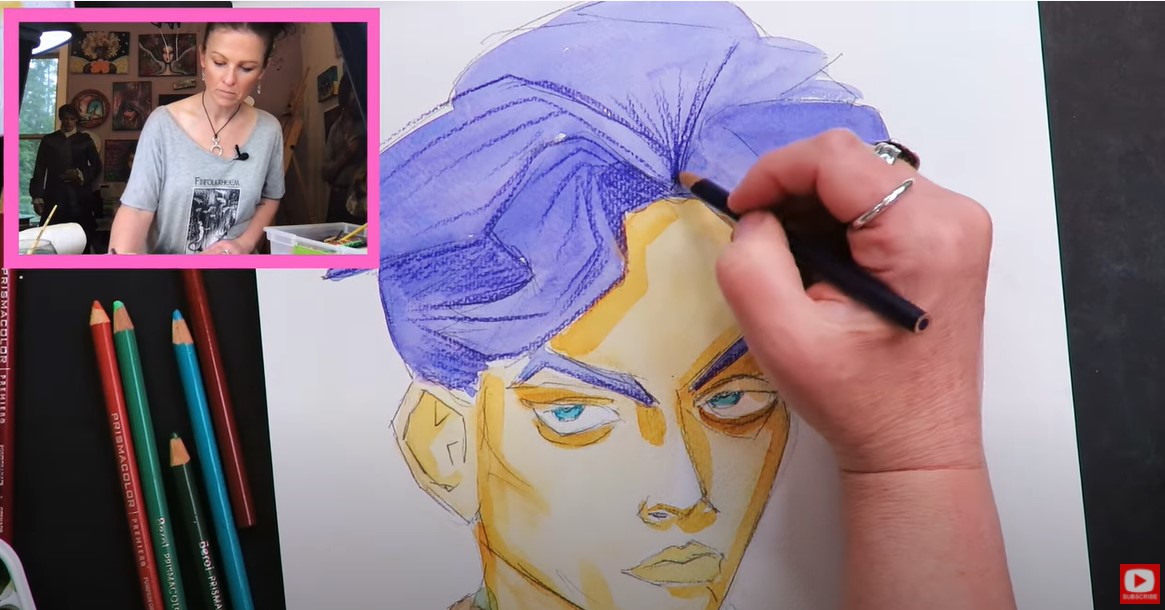
Typically I would shade the larger areas first, and finish off with colored pencil for detail because I tend to work biggest to smallest, but Tara has suggested doing the opposite, so I'm giving that a shot. Out come my prismacolors!
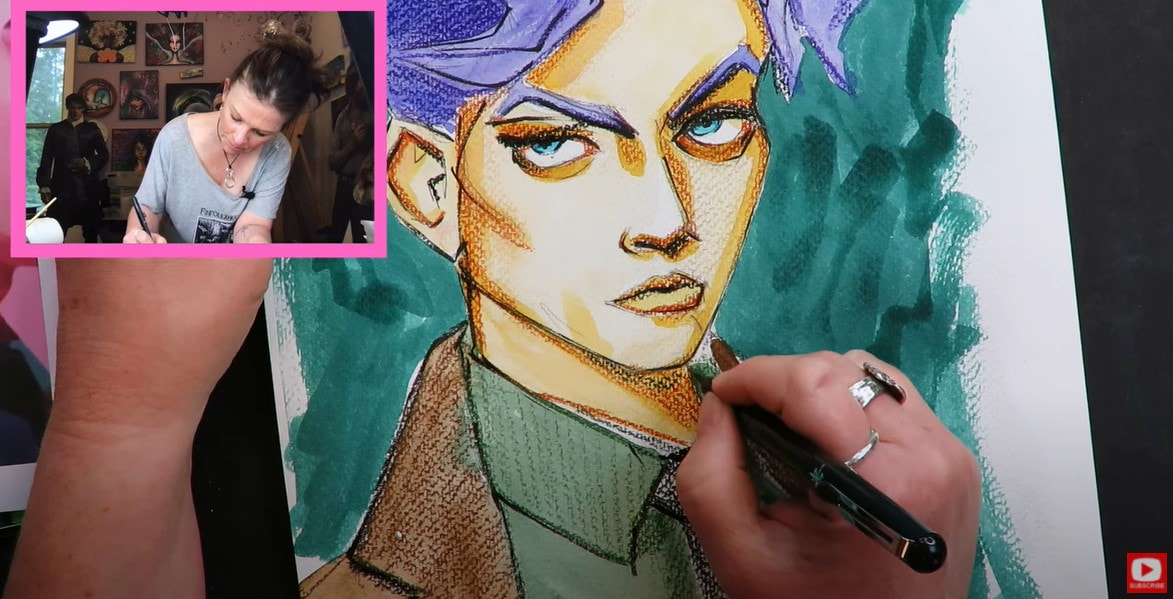
It cracks me up that he looks SO MAD. LOL!
Look at how the colored pencils are really bringing out the texture of my cold pressed watercolor paper. Beautiful! I love that effect.
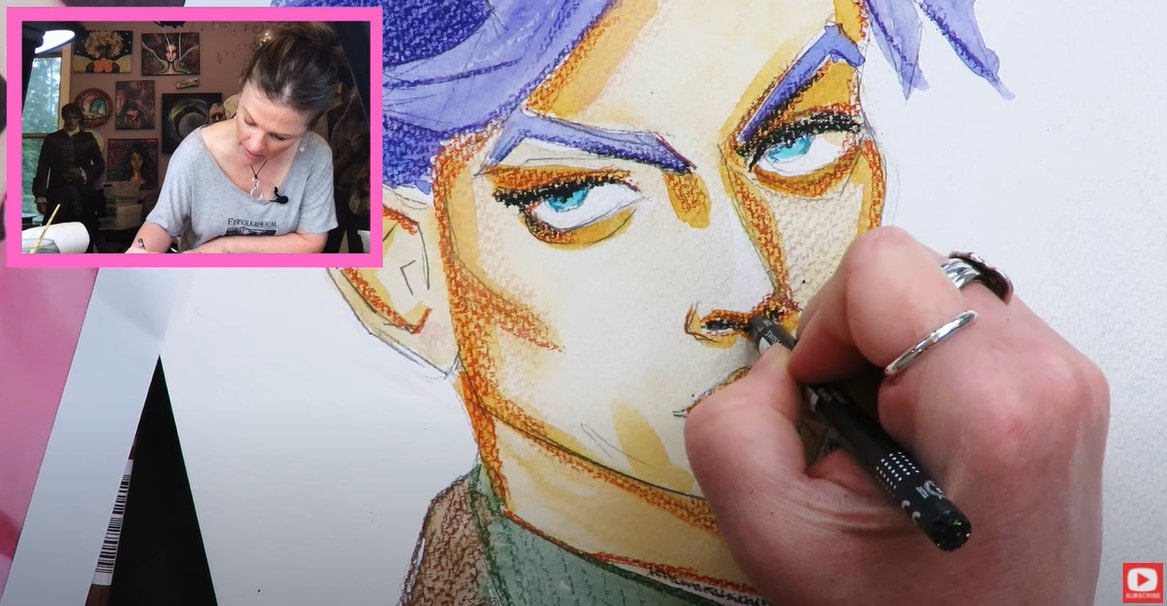
After the colored pencil layer, it was time for the Caran D'Ache Neocolor Ones to come out and play. These really felt like working with crayons from childhood, except that they're a high quality fine art product. I kinda loved them! The white was super opaque too, which really made me happy. I'd love to play with them on hot pressed paper too because I wonder how they would look over a smooth surface without texture.
Whenever I need a super bold, amazing background, I pull out my Noodler's fountain pen ink. It's seriously juicy and so vibrant. This color is called Bad Green Gator. I think it's a perfect backdrop for his crazy hair, don't you?
And as all my students know, the way that I love to finish, 99% of my projects is with my pentel pocket brush. It's perfect for outlining and detail work. It's also amazing for drawing eyelashes on my female mixed media portraits!
I hope you enjoyed today's project and learned something new! Not familiar with my "Hamburger System"? It's a simple order of operations for collage, acrylic paint, mod podge and ALL my favorite mixed media art supplies. I'm sure you'll love it! Check out my Hamburger System playlist for FREE on YouTube to see the entire process step by step, in action. Here's the FREE cheatsheet to go along with it! ❤️ CHECK OUT ALL MY ONLINE ART CLASSES & Art Clubs ❤️ CHECK OUT ALL my art books ❤️ MY FAVORITE ART SUPPLIES on AMAZON ❤️ MY BELOVED FACEBOOK GROUP |
Karen CampbellFounder of Awesome Art School. Mixed Media Artist. Author of 19 Instructional Art Books! Whose work has appeared in...Archives
July 2024
Categories
All
|
|
"Karen is flipping hilarious and she's very real...I like the way she teaches in a way that really gives you confidence, whether you're a beginner or advanced there's always something new to learn!"
- Elizabeth W. |
What Fans Are SayingKaren, you are absolutely fabulous! You make me feel like I can draw anything. I have recently retired and finally have the time to do some of the art that I have loved since I was in school. I am really at the beginning of my art journey and I hope to learn as much as I can. Thank you for all you do. |
Contact ME |





 RSS Feed
