blog
Let's Get Your Creative Juices Flowing!!!
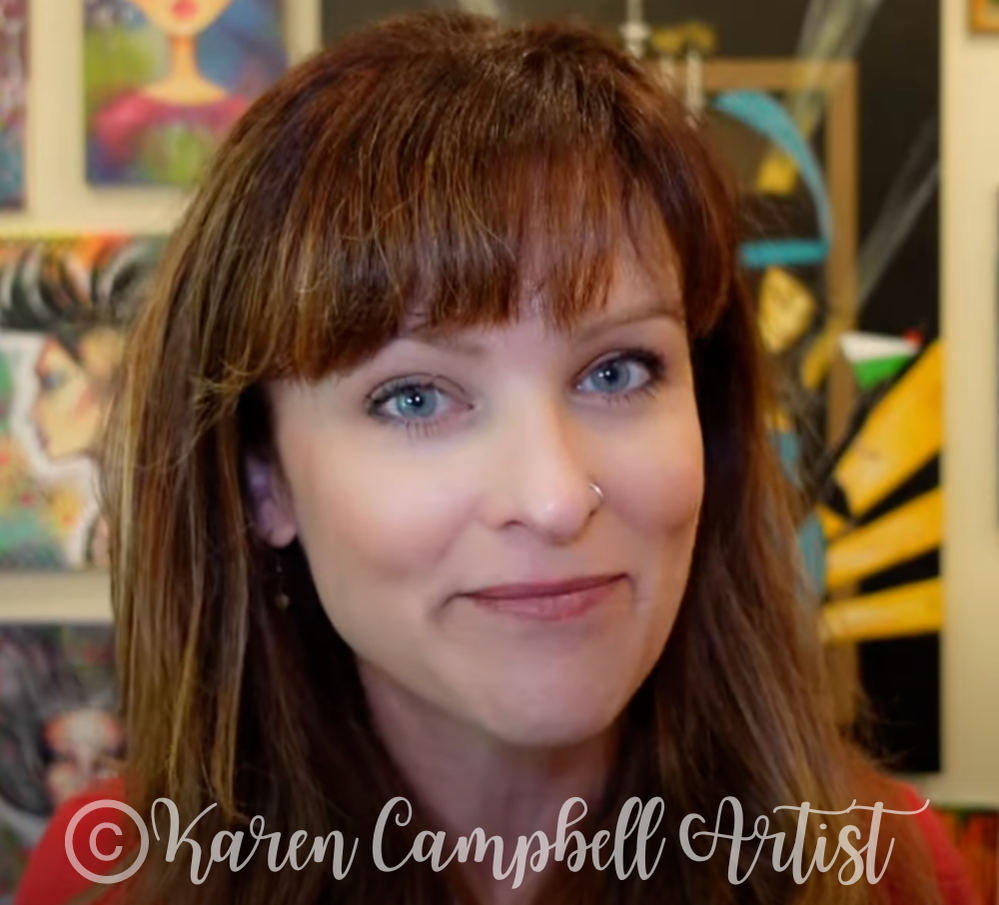
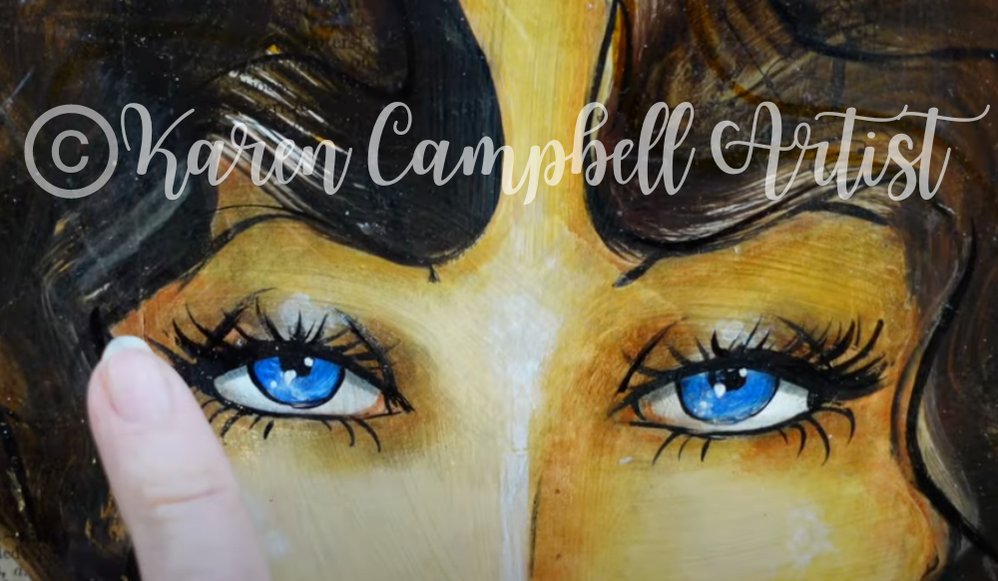
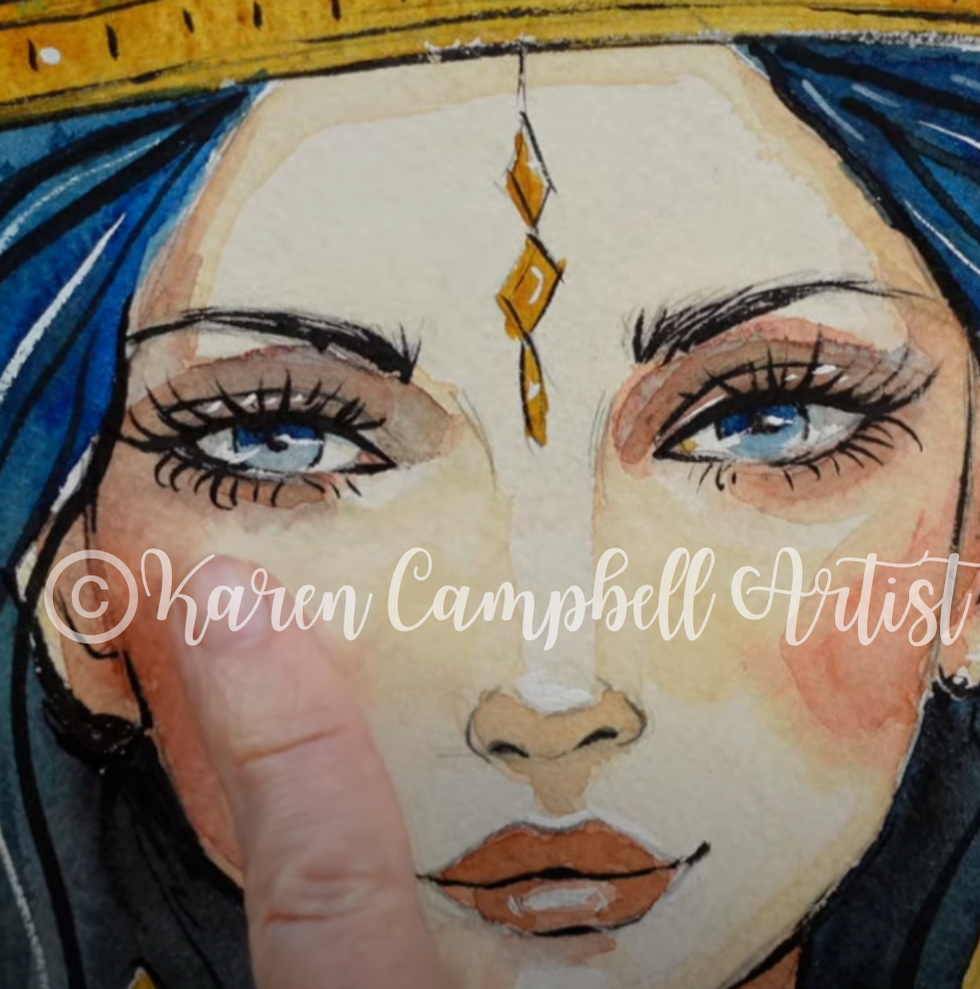
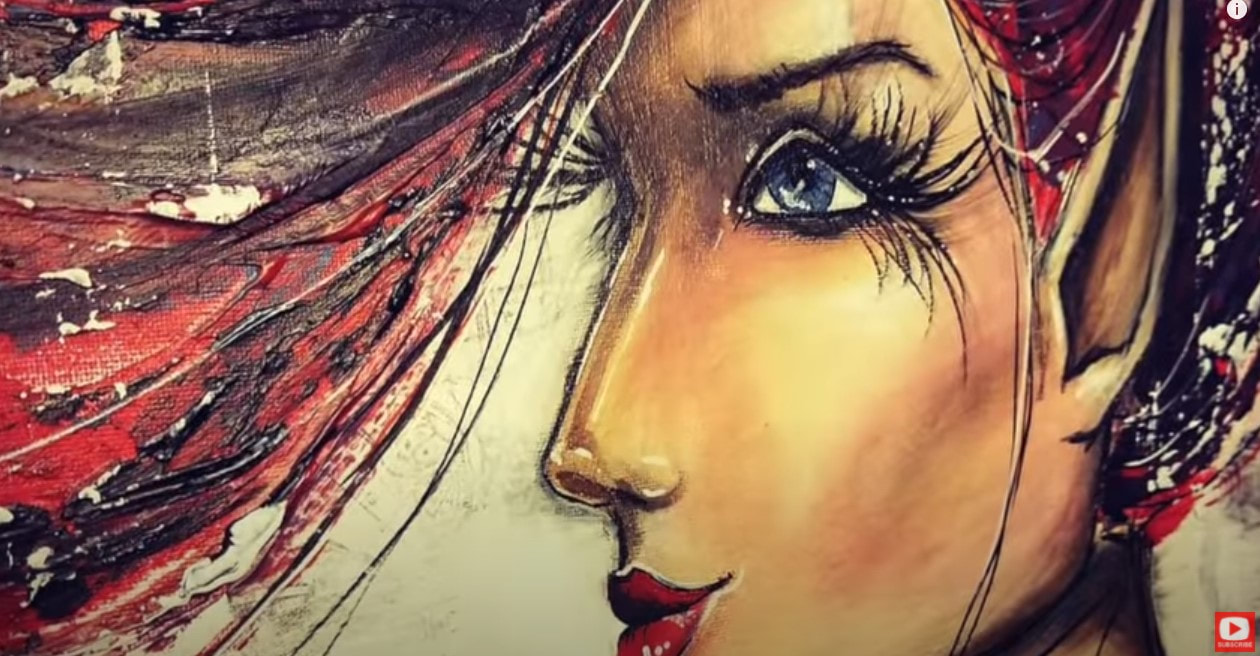
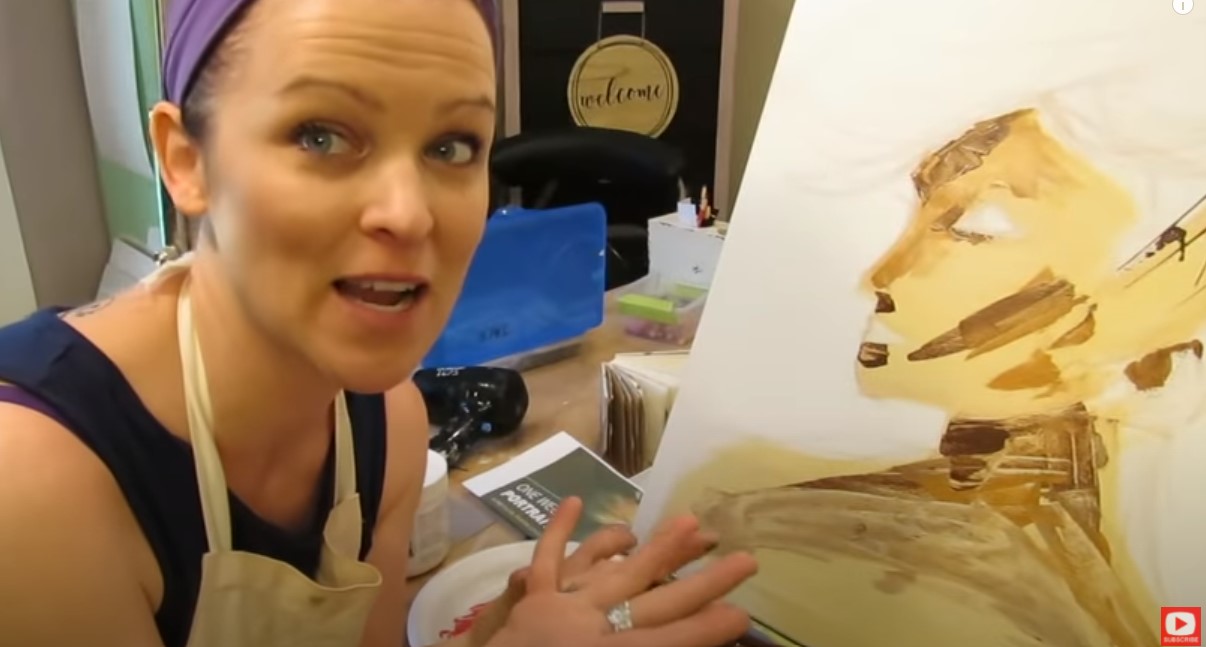
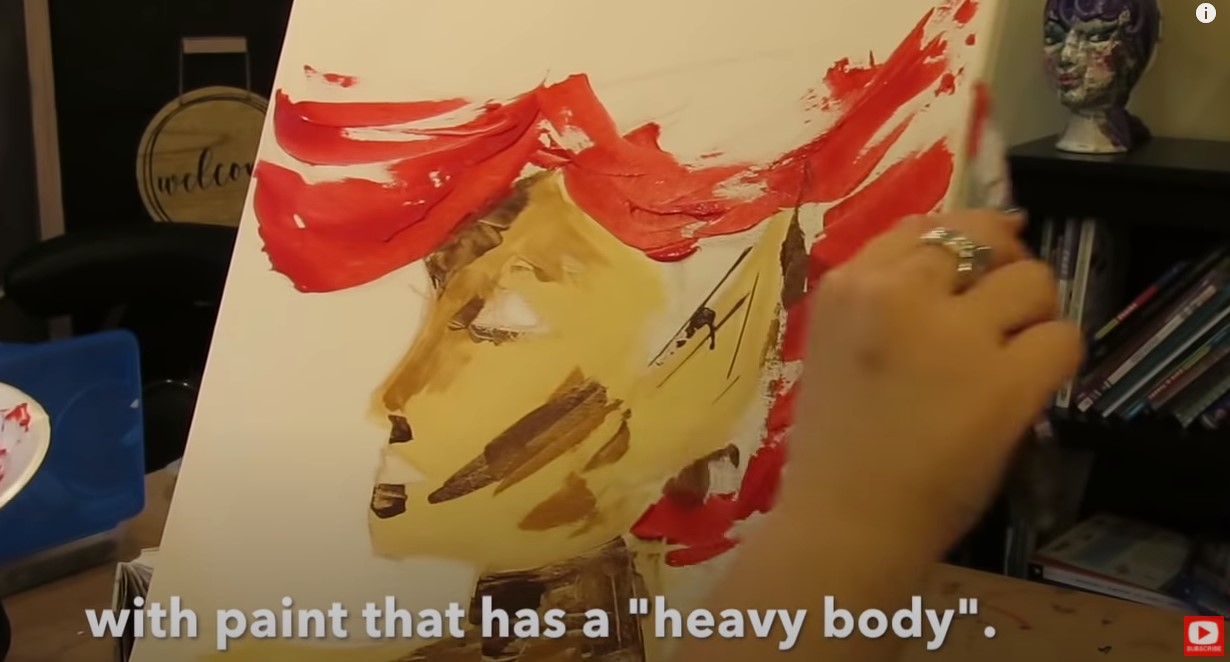
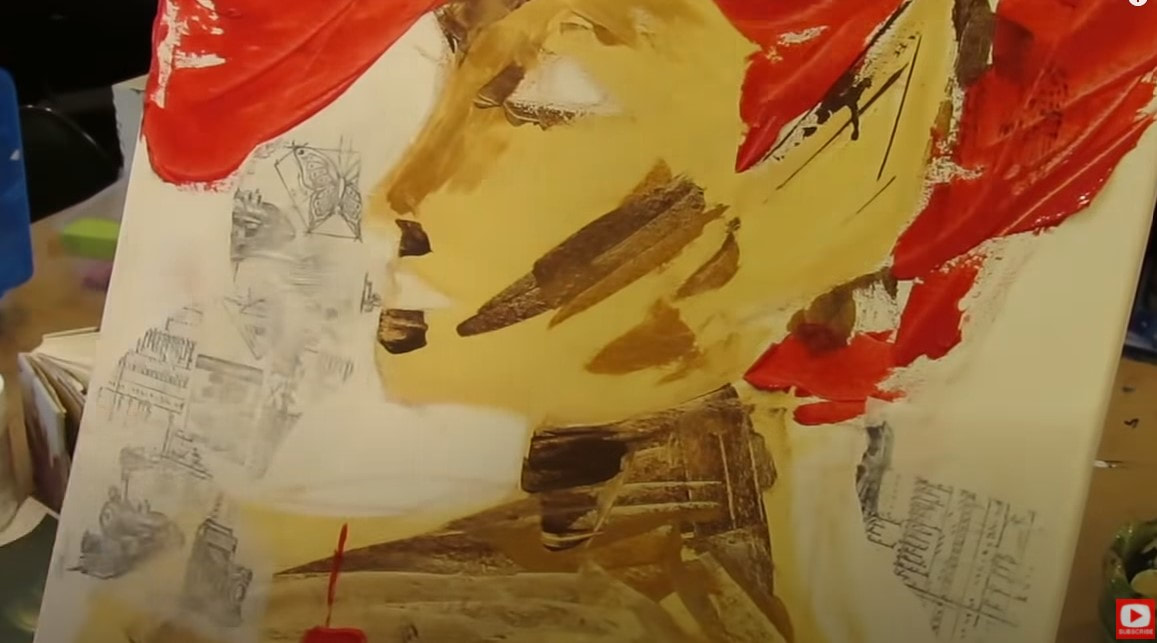
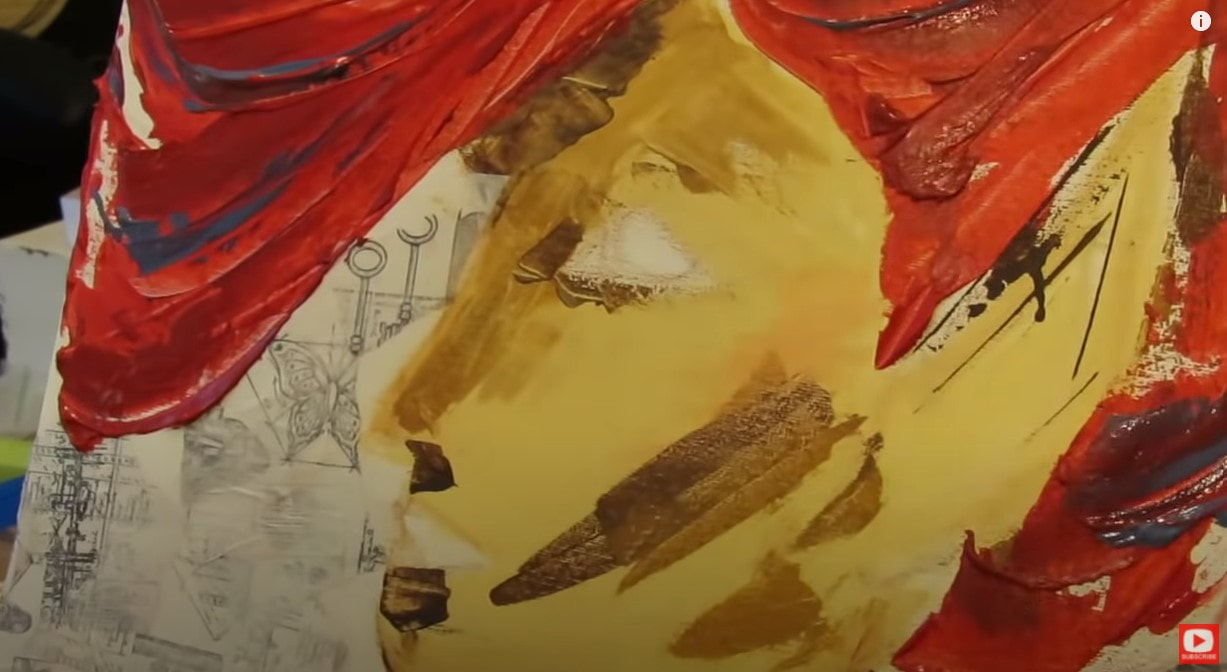
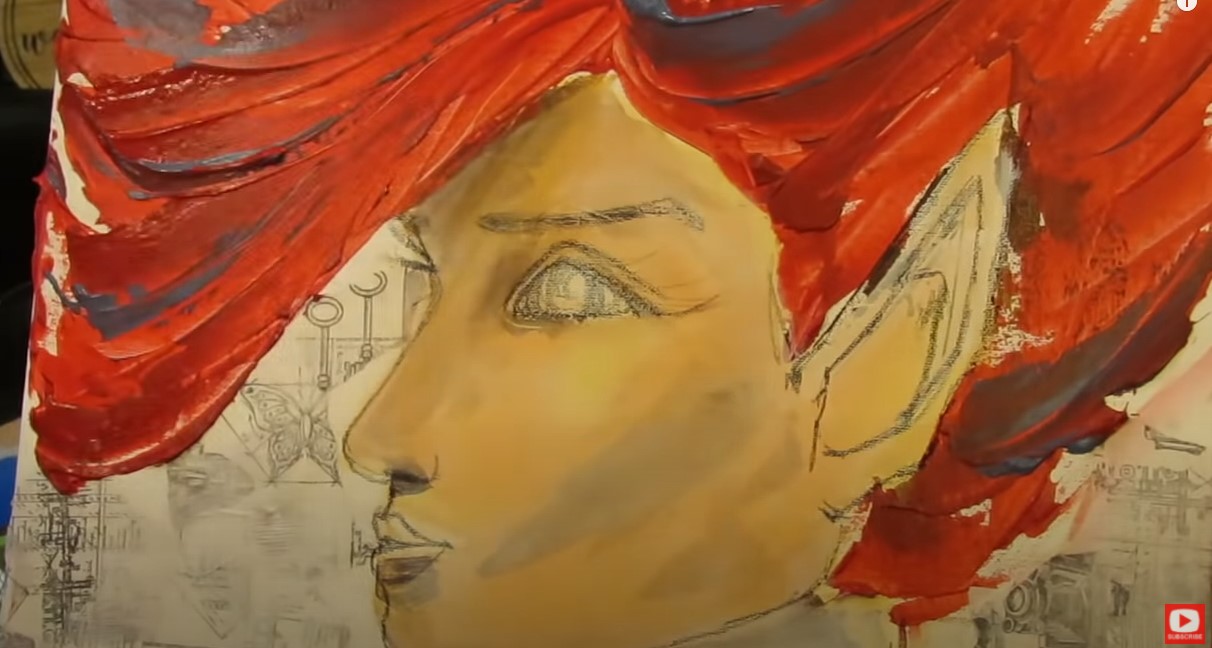
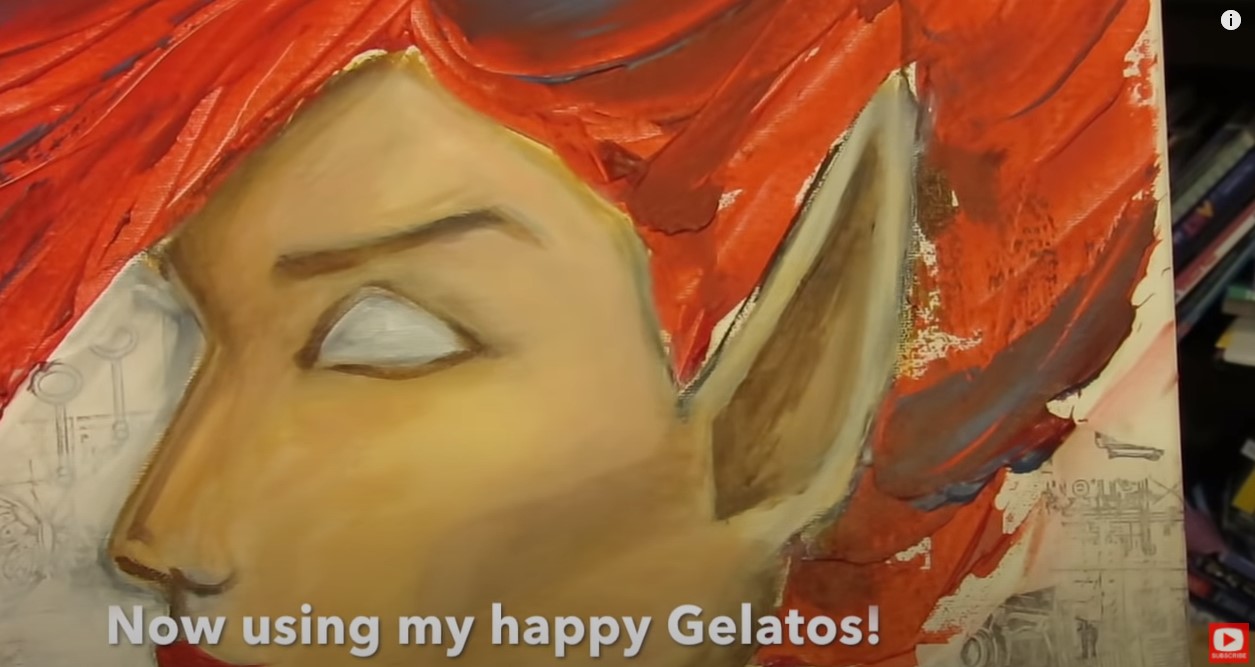
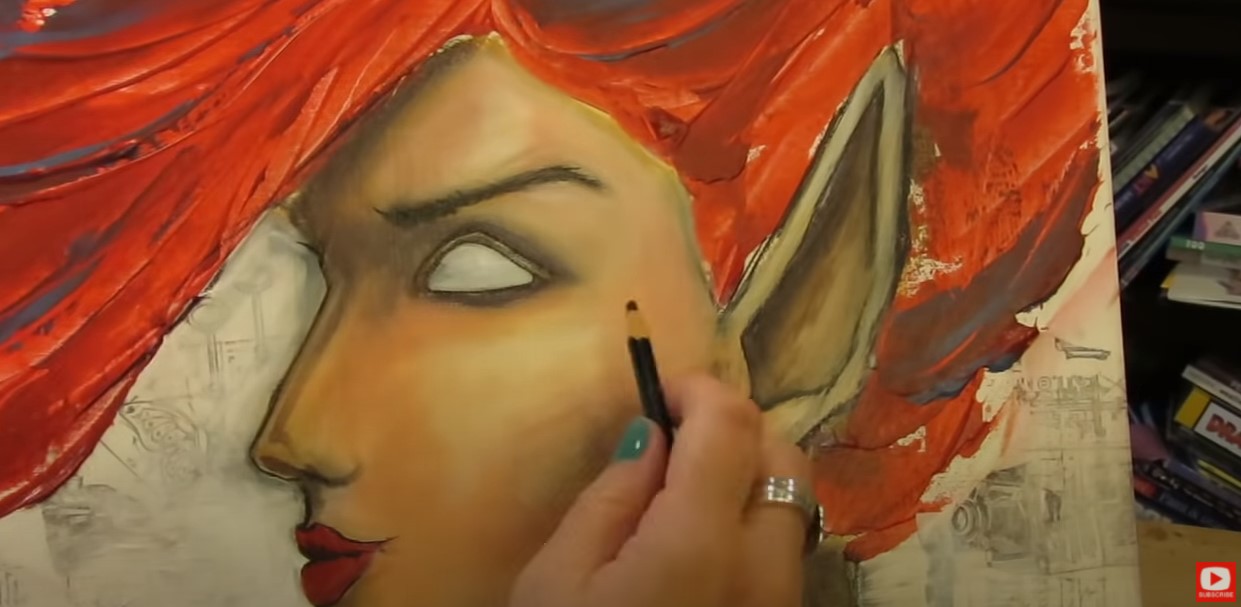
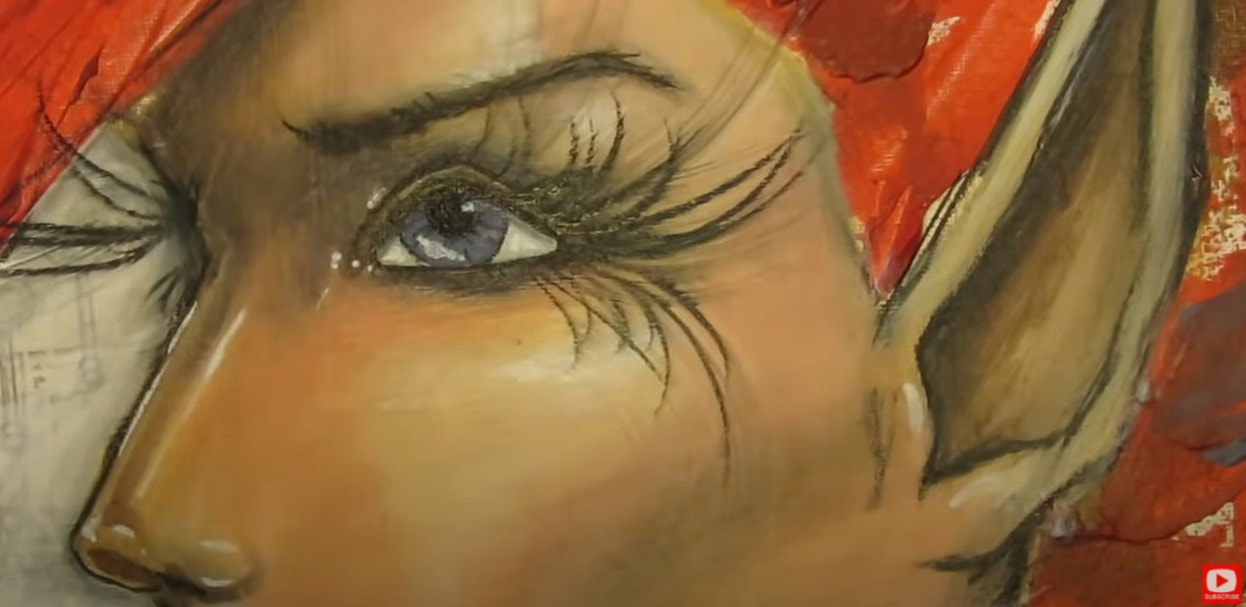
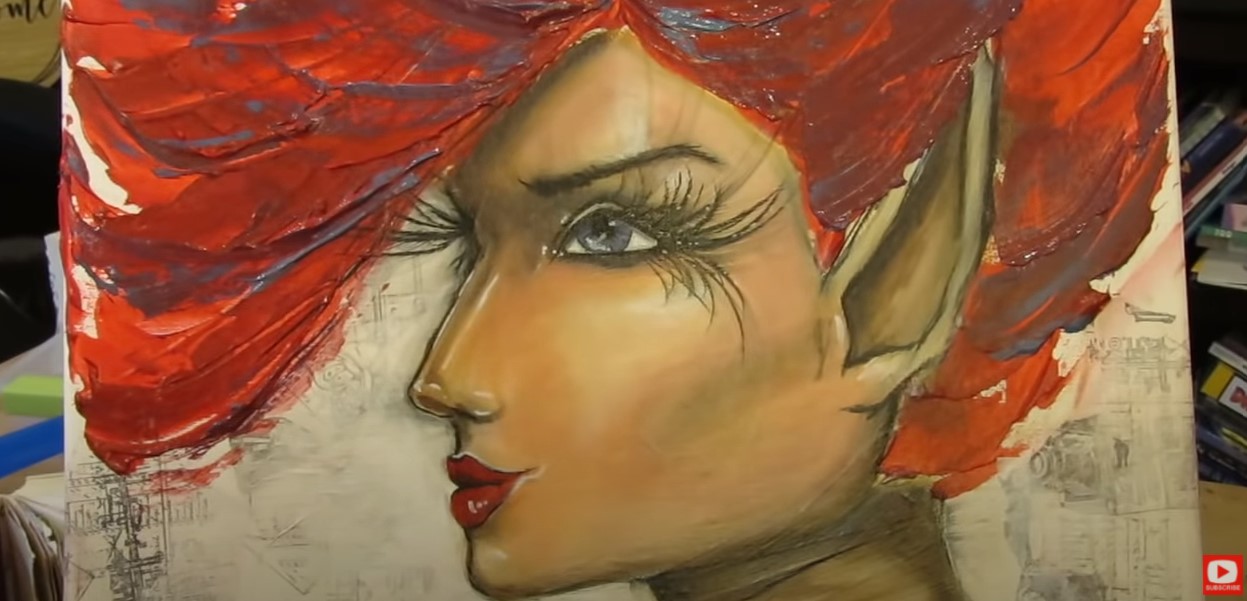
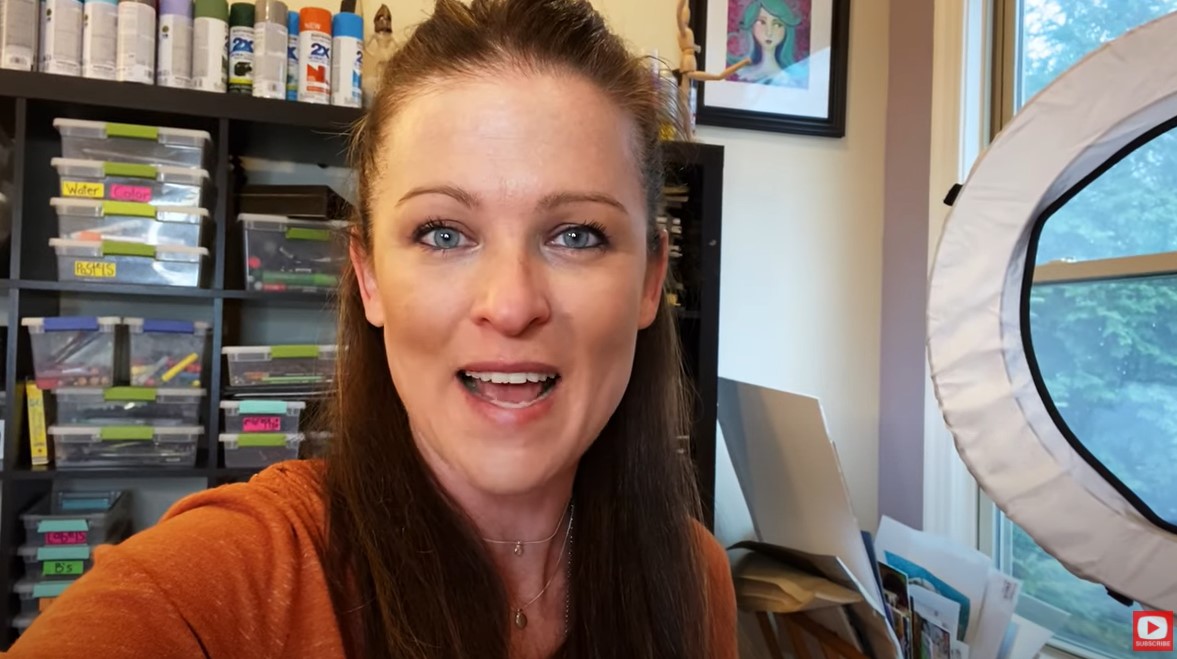
I've never tried palette knife painting with acrylic paints for one of my mixed media portraits until today! It was actually SUPER FUN!! I created some thick, edgy texture in the hair, and kept things a bit more delicate for the face using my mixed media art supply go-tos: faber castell gelatos, pitt pens & my black stabilo all pencil! Join me to see just how this MAGICAL mixed media fairy canvas comes to life!! Below, I'm looking a little unsure about how the palette knife painting is gonna go for her face... LOL! But I quickly got a LOT more into it when I started adding layers of thick red acrylic paint for hair!! If you've been following me for a while, you probably know that most of the time I START my mixed media art projects with collage. Every once in a while I'll do my foreground subject (typically a face!!) first, and then try another collage art technique like in today's project. This collage paper was actually sent to me by a friend who MADE it, so I was thrilled to include it in this piece. Are you loving "the ugly phase" on this girl?! LOL!! It makes me cringe, but oh well!! Do what I always say - JUST KEEP GOING!! This means you're about half-way done with your project!! After quite a bit of blending I added back some definition to my original lines with my black stabilo all pencil and pulled out my paintbrush to activate it with a little acrylic. I LOVE how this adds shading all by itself! Cool, right?! Then it's time to play with my Faber castell gelatos! I'm in LOVE with these for creating my mixed media portraits! I recently did a video ALL about the magical goodness of gelatos and why you need to check these out if you've never played with them before. They're amazing for shading faces. Look at that smooth complexion I've blended in below... I love the contrast with her thick hair - full of texture! Take a look at these killer lashes up close!! Tons of people have trouble with drawing eyelashes! I KNOW these can be super tricky, so I've done a number of eyelash drawing tutorials on how to draw eyelashes successfully. Here's one on my drawing channel, and another on my mixed media channel. I've also created a free cheatsheet to help you out that you can download and use as a reference when you're practicing eyelash drawing. It teaches you how to draw eyelashes step by step, along with the THREE important things to think about every time you're drawing eyelashes. Click the button below and I'll send it straight to your inbox! For this particular project, I used my stabilo to draw eyelashes on this girl. When I activated these lines, it created the look of more dramatic eye makeup. I'm always down with THAT! Check out the video to see how I added in some magical blues to her hair and eyes, and of course layered in my signature white highlights to make EVERYTHING POP at the end!! SO FUN!! Thanks for hanging out with me today! I hope you have a fab week!!
❤️Want FREE, immediate access to my Fun Fab Drawing Club and/or Mixed Media Society plus discounts on all my art books, sneak peek at YouTube videos and new book content, behind-the-scenes fun and MORE? Join me over on Patreon today and get HUGE PERKS in return for a small monthly donation. ❤️ CHECK OUT ALL my art books on AMAZON (available in both Kindle and Paperback) ❤️ SIGNED COPIES of my art books on ETSY ❤️ MY FAVORITE ART SUPPLIES on AMAZON ❤️ MY BELOVED FACEBOOK GROUP ❤️ FOLLOW ME ON INSTAGRAM ❤️ FOLLOW ME ON FACEBOOK
1 Comment
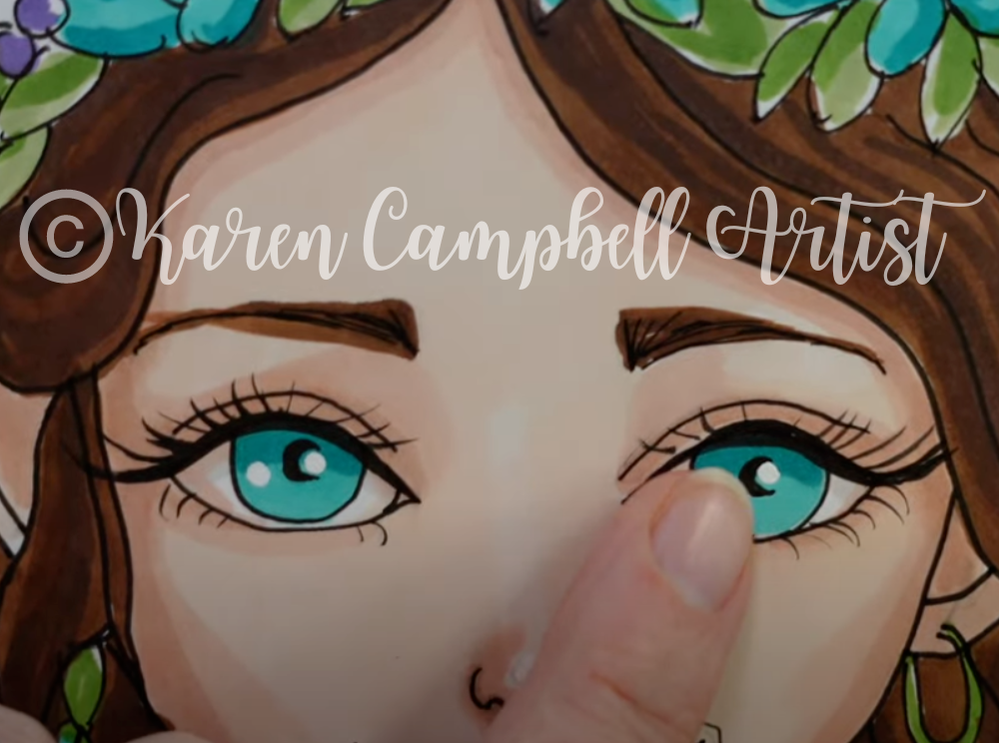
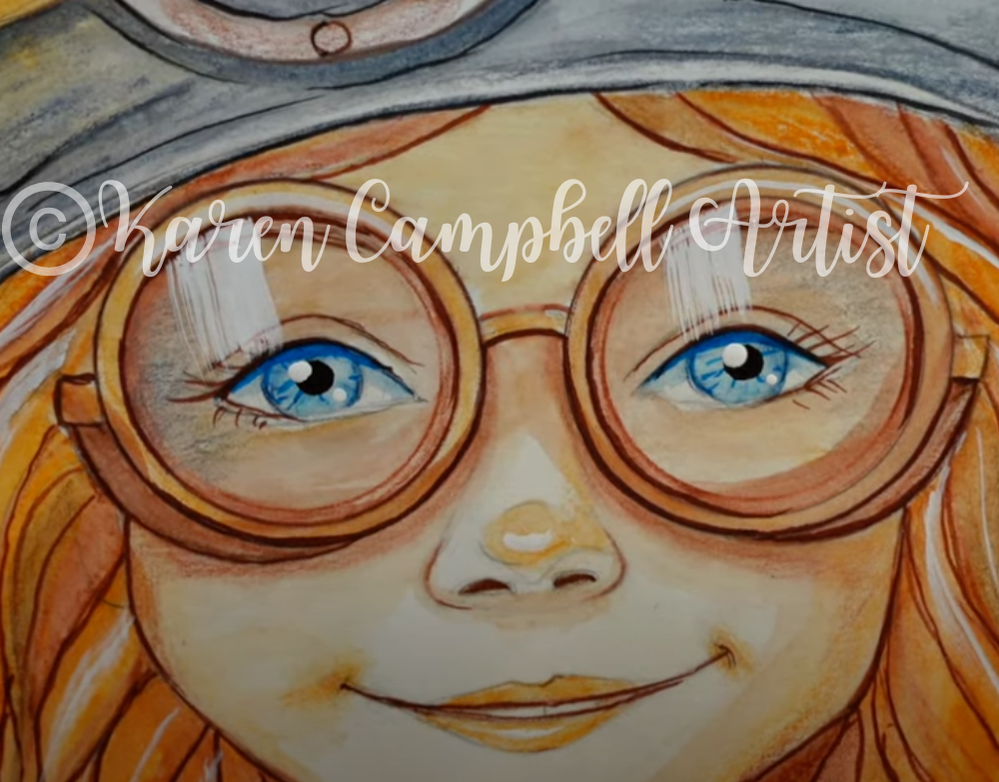
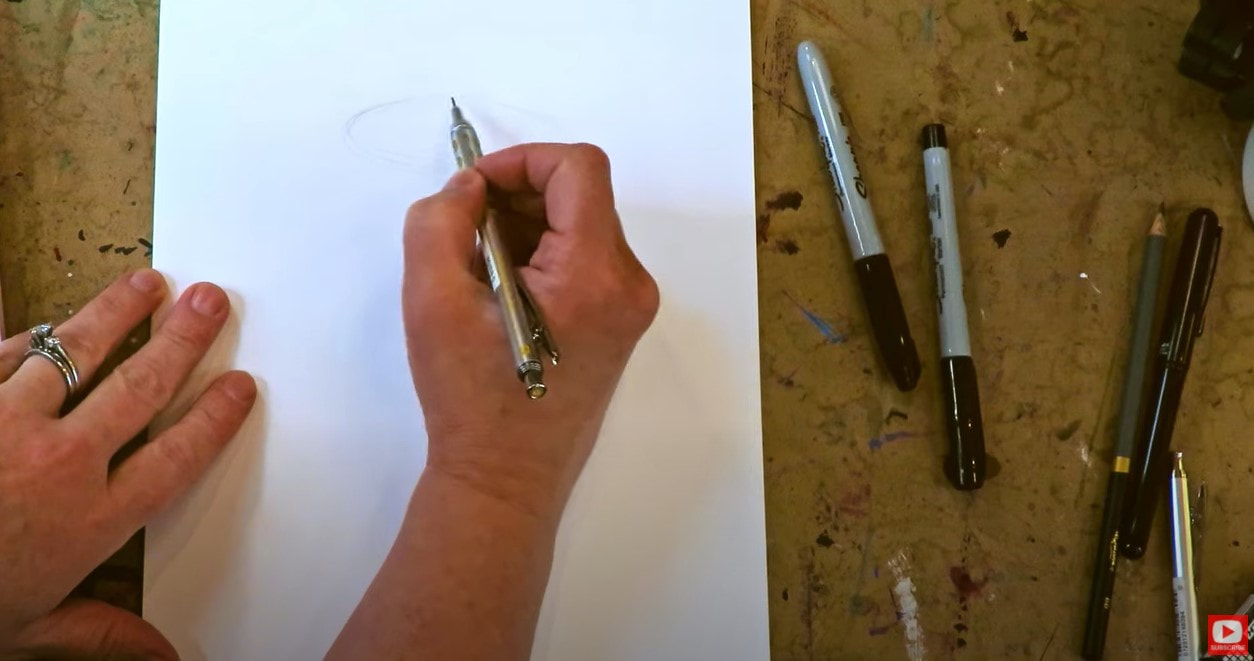
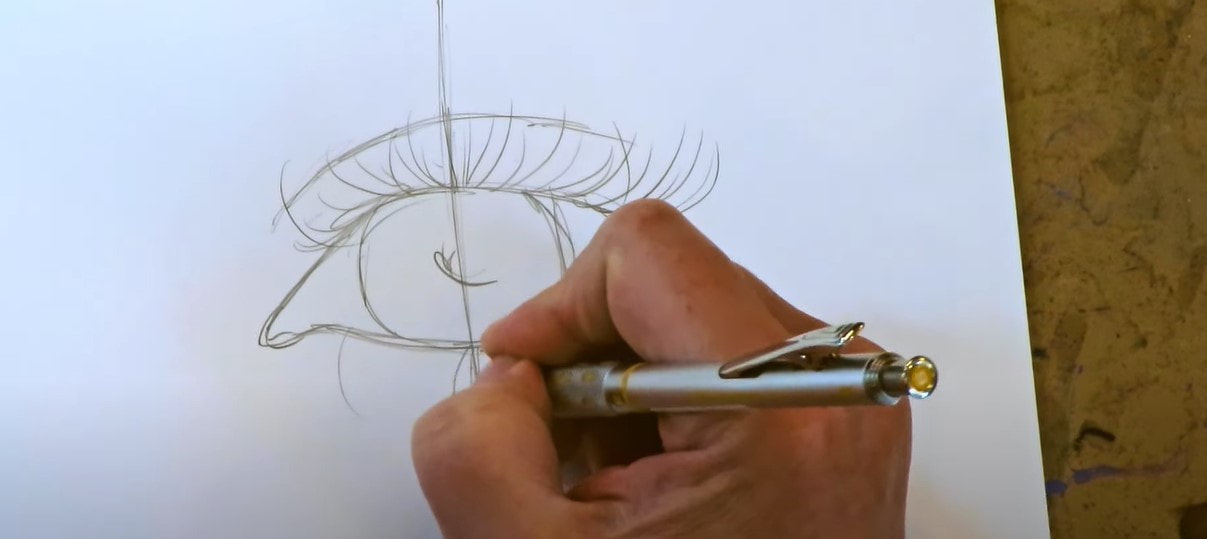
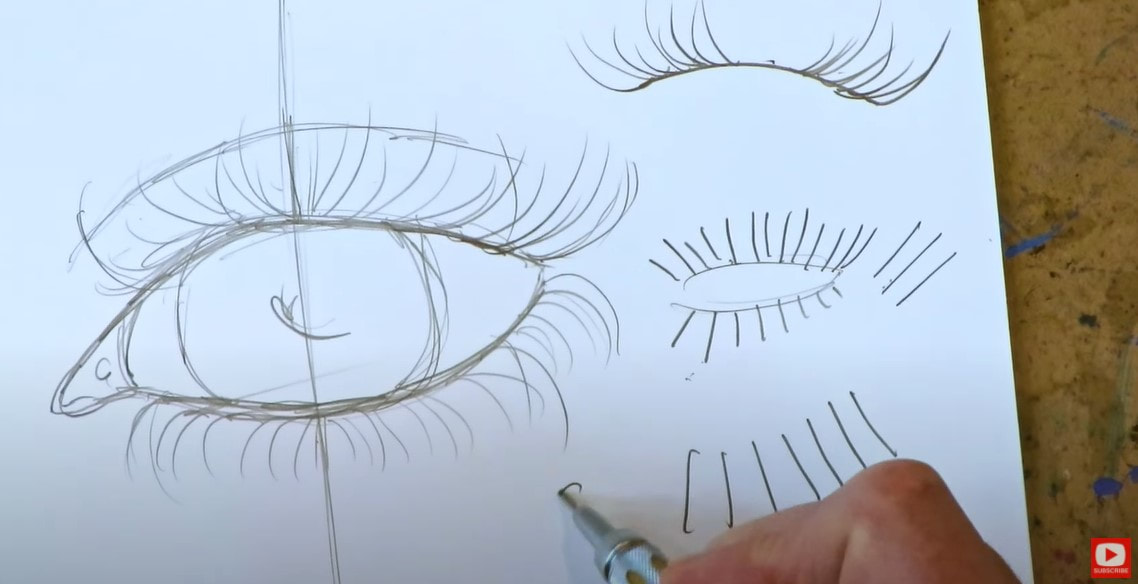
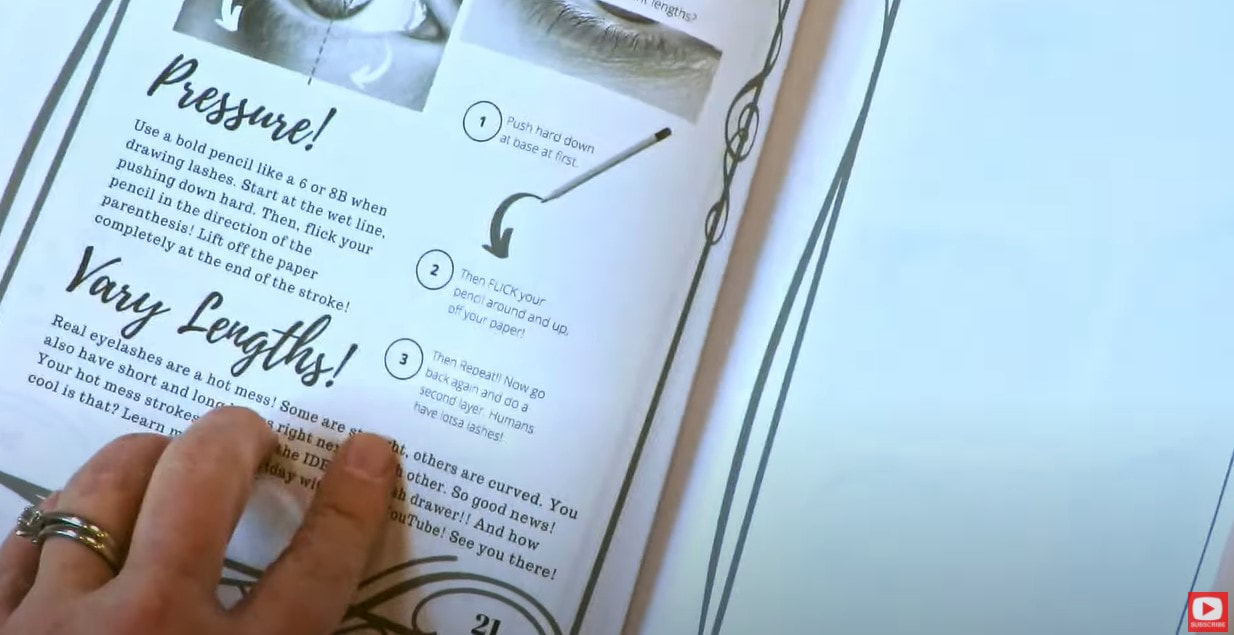
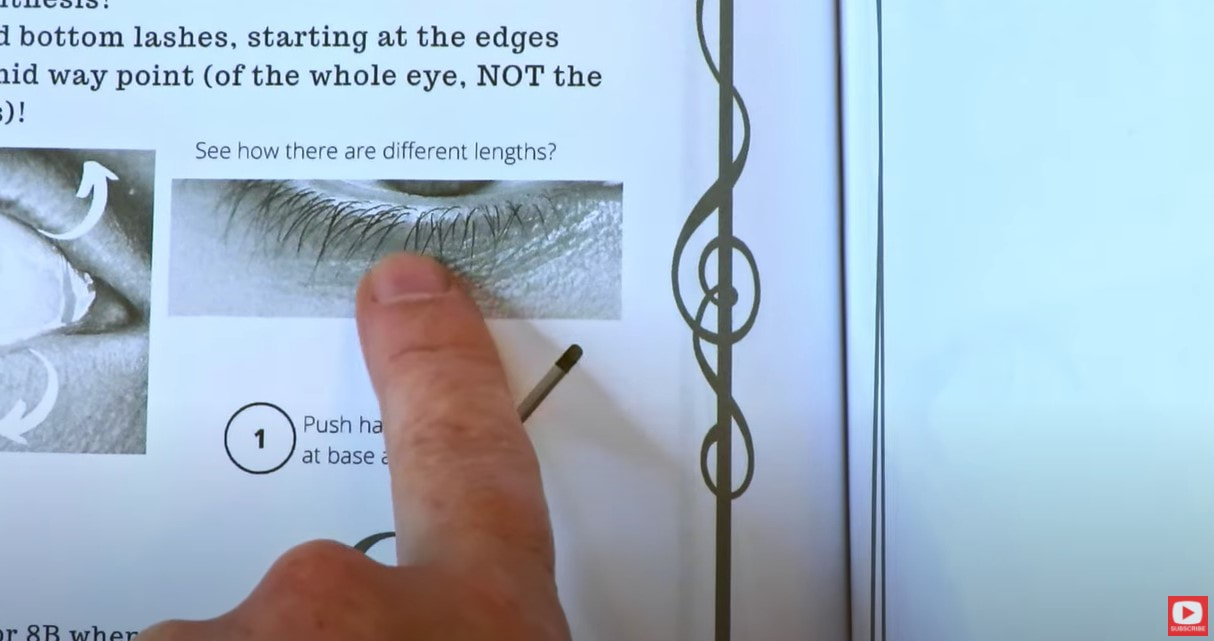
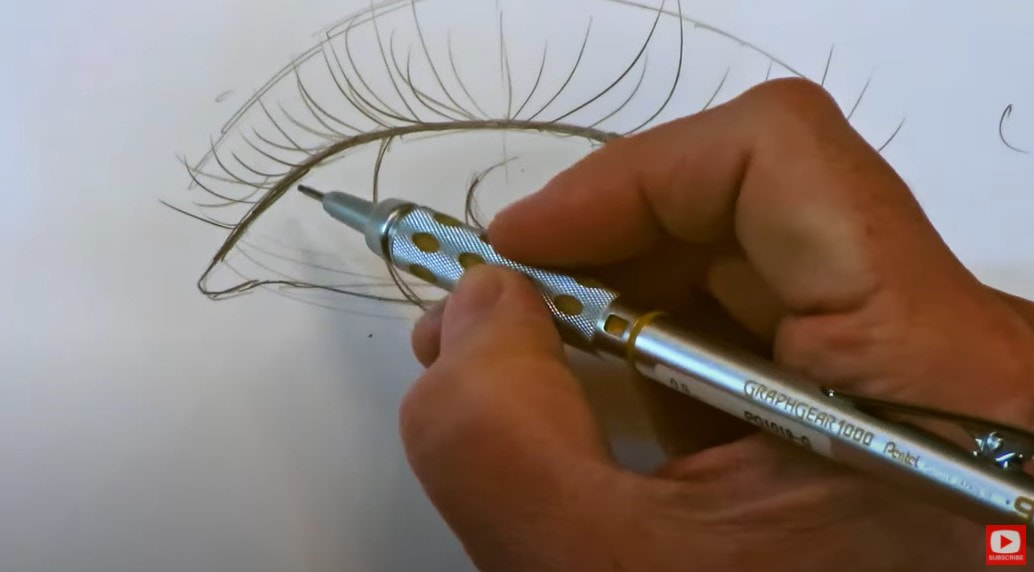
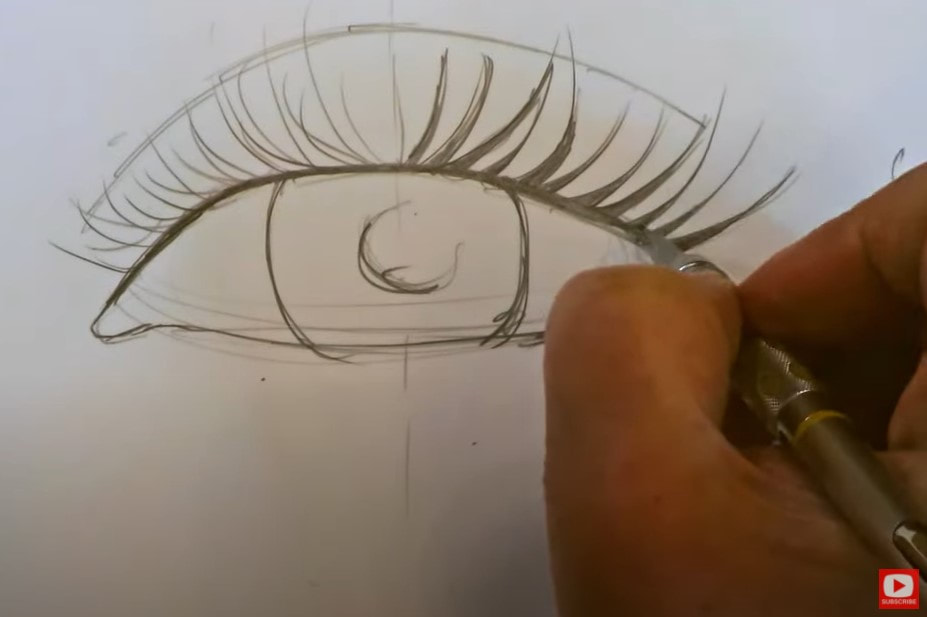
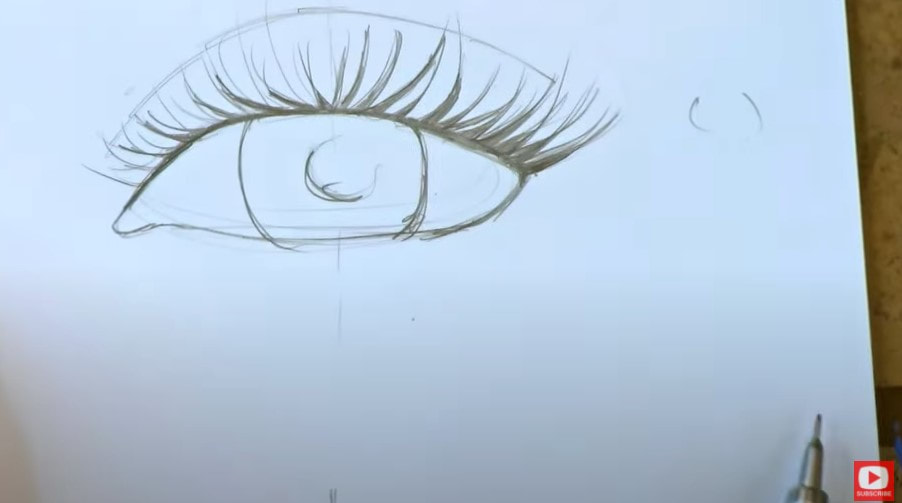
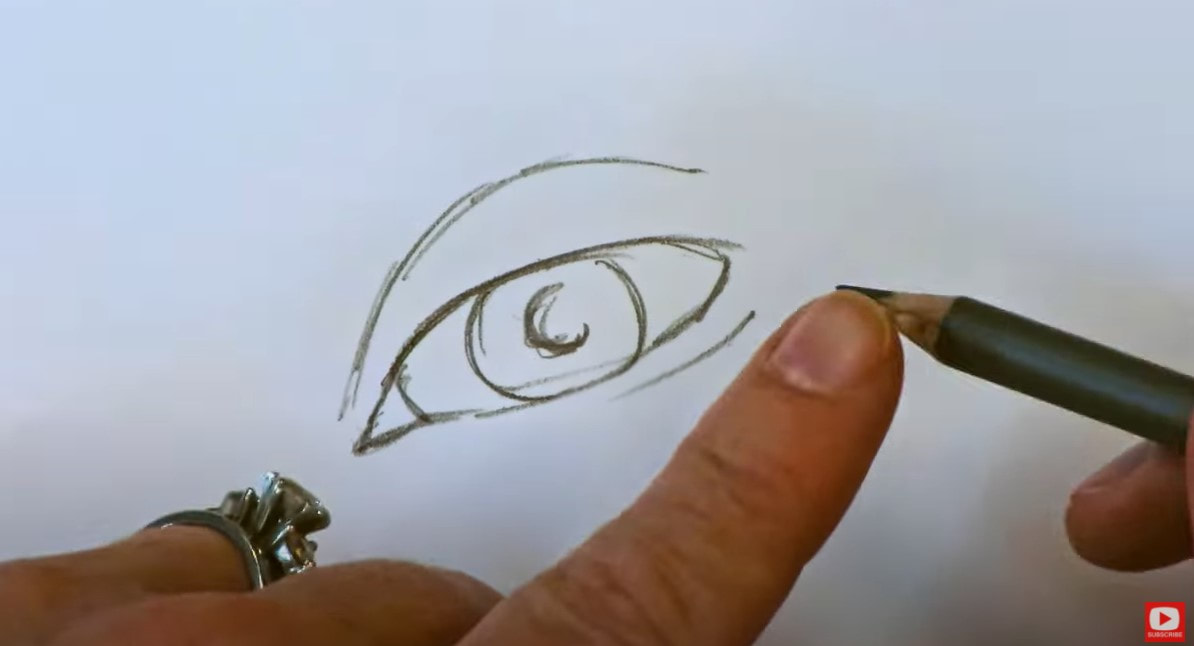
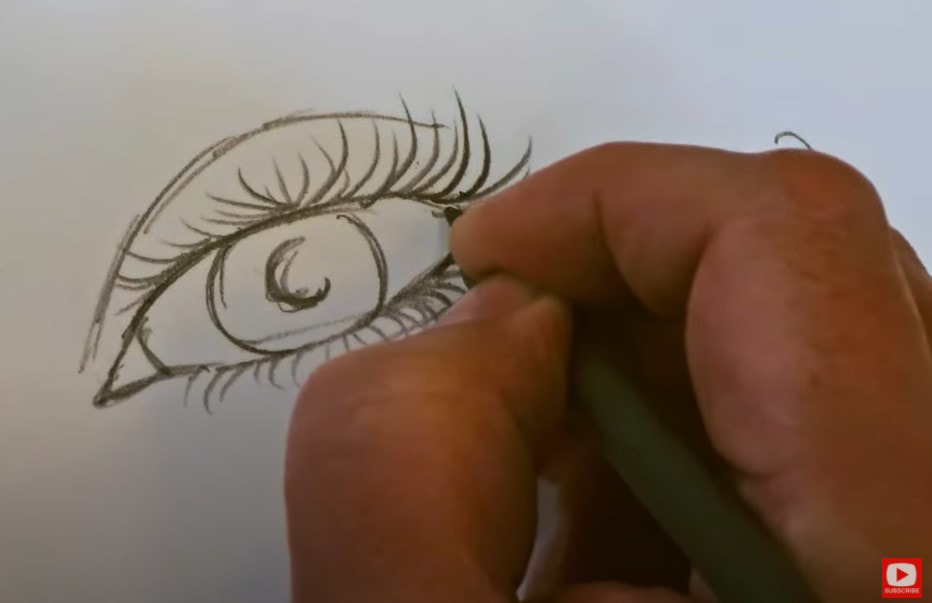
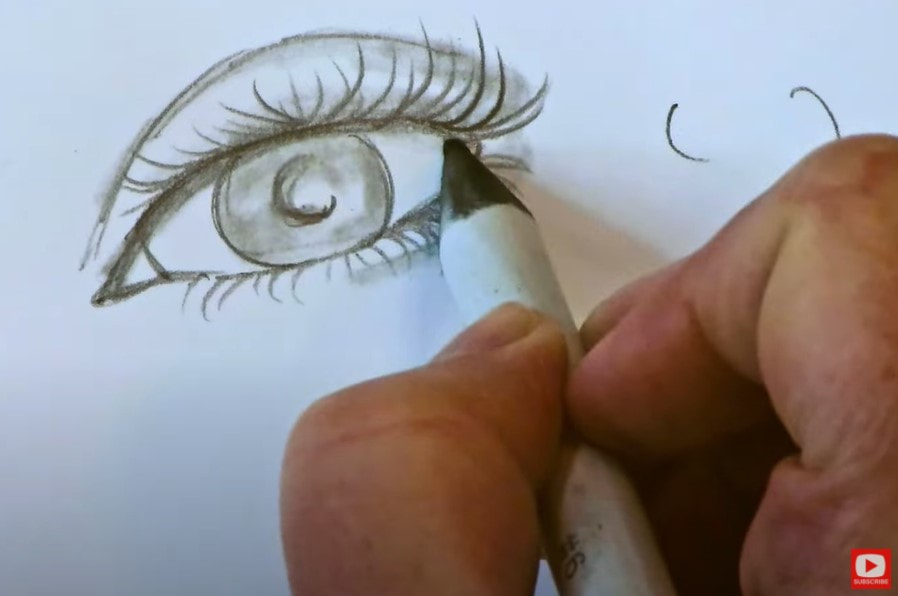
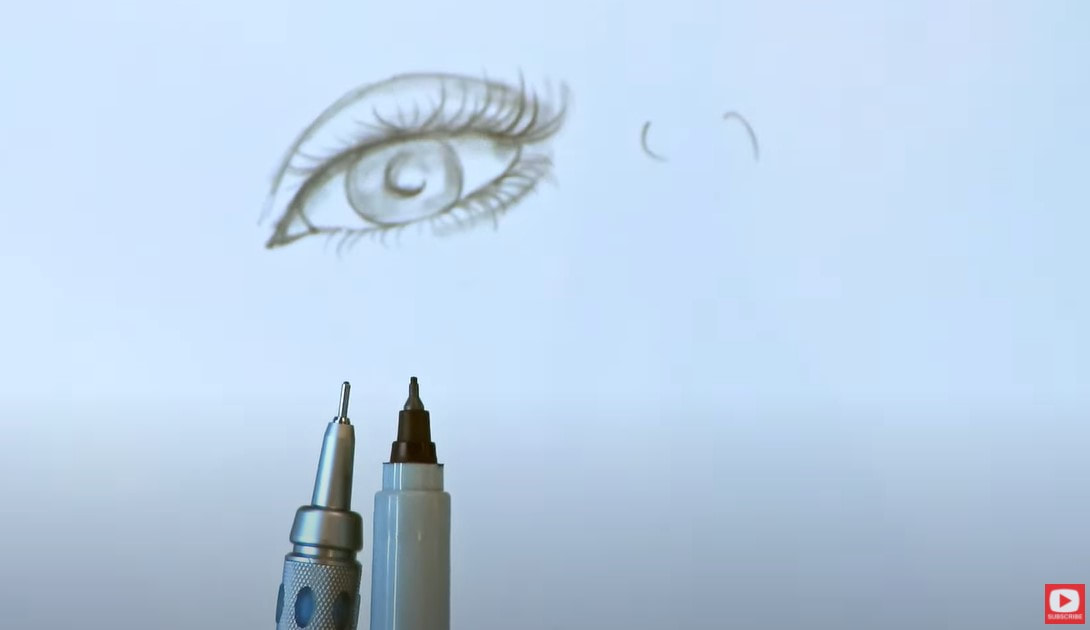
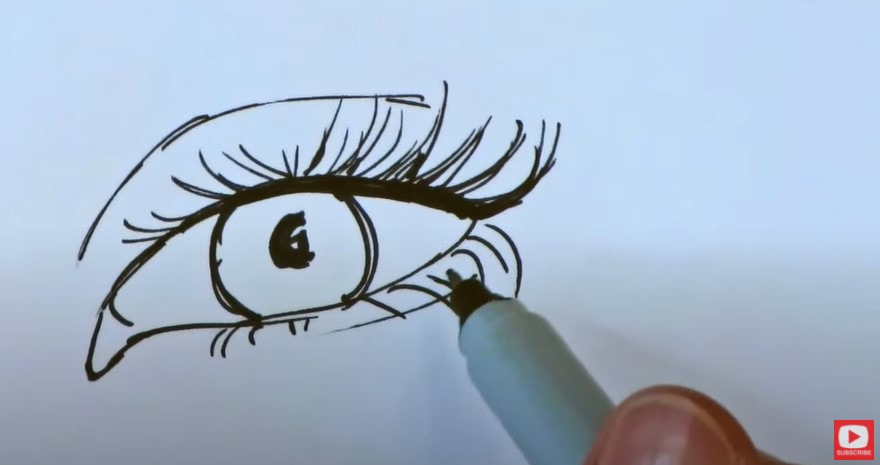
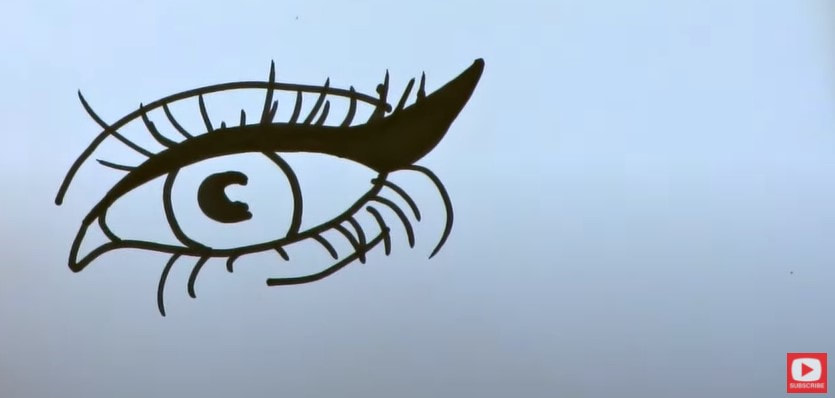
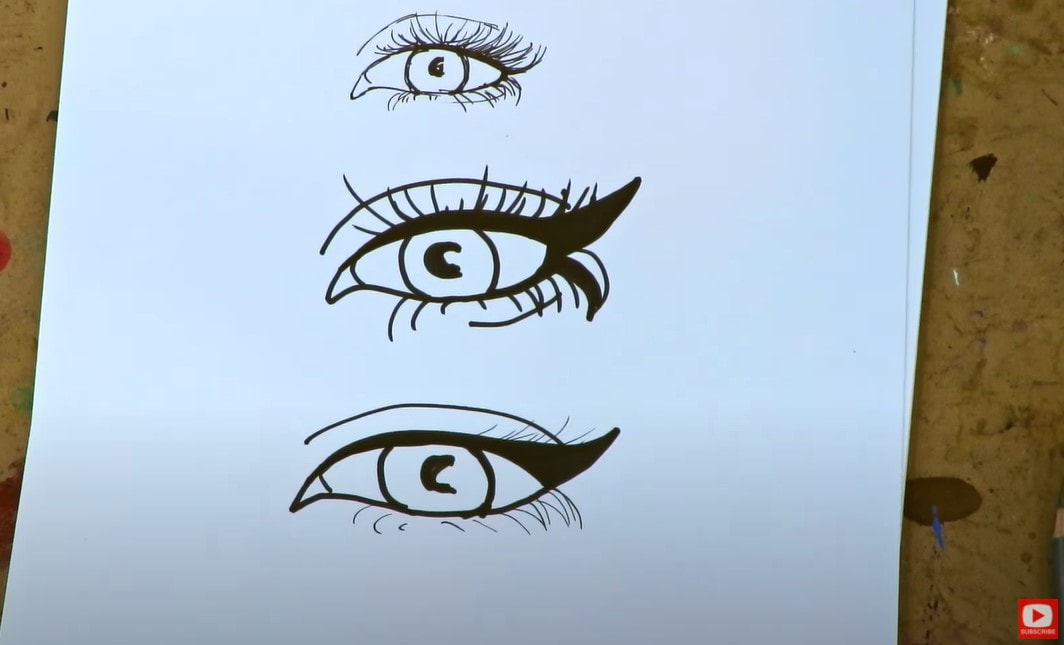
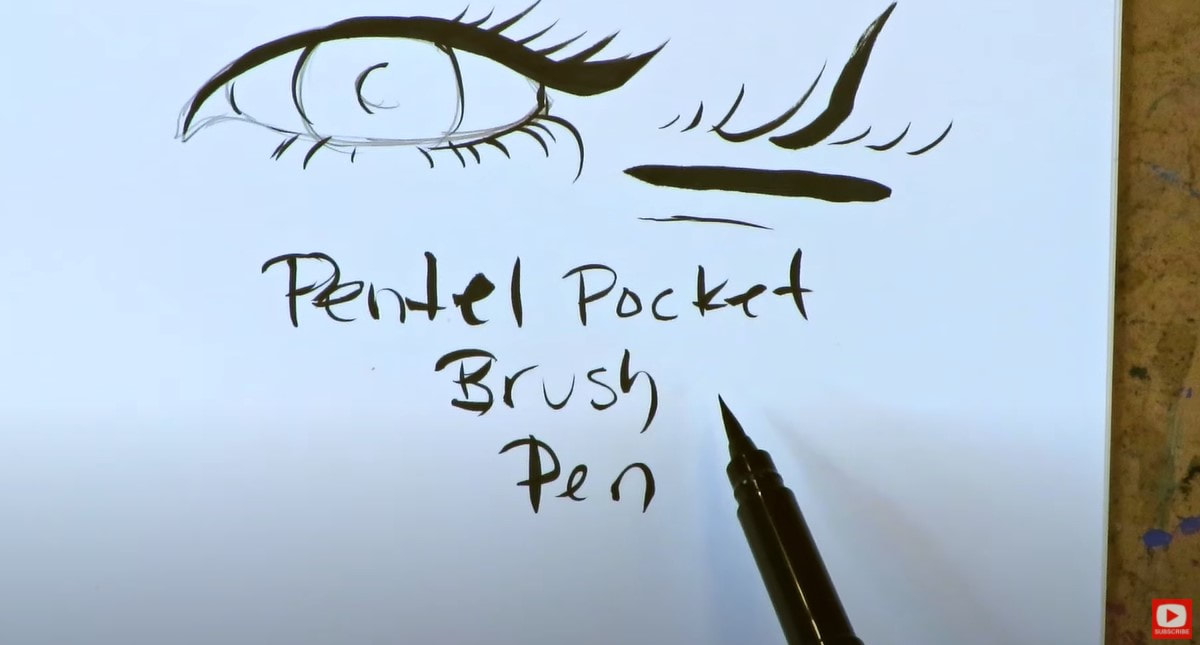
Drawing eyelashes is something SO many people struggle with!! In today's real time eyelash drawing tutorial, I'm sharing 3 QUICK TIPS to make eyelash drawing easier, and will demo how to draw eyelashes using a mechanical pencil, an 8B pencil, two kinds of sharpies, & my super SECRET weapon for lashes drawing across all mediums!! Let's get to it!! I love to use drawing references to inspire me as I create because I feel it helps inform my decisions when I'm drawing, and my work will look more realistic- even if I'm doing a whimsical face drawing!! Using a face drawing reference is SO much easier than trying to dream up ideas in my own head for the faces I want to create in my art journals and canvases. I've got two eyelash drawing references in my EYELASH DRAWING CHEATSHEET for you, along with 3 QUICK TIPS on how to make drawing eyelashes easier :) Click the button below and I'll email it right over! I hope you find this helpful!! Once you've got your eyelashes cheatsheet printed, let's pull out a piece of paper or your sketchbook and get started. The easiest way to draw an eye is to start with a squished oval, then do some fine tuning. If you need help with drawing eyes (or drawing ANY facial feature!) - please download my 5 in 5 Practice Packet and be sure to watch the video series because it will really help you zero in on the nuances for how to draw eyes and ALL of the facial features. For today's purposes- I'm not adding any detail there- we're headed straight for the lashes. As you'll see in today's video - eyelashes have a definited DIRECTIONALITY to them on every human eyeball. I like to think of them as parentheses. You will switch the direction of your parentheses at the mid point of whatever eyeball you're drawing. Watch the video and you'll see exactly what I'm talking about!! Lots of time I will see students drawing stick straight lashes like in the pic below at the right. These tend to end up looking more like SPIDER legs than eyelashes, so make sure you ALWAYS keep in mind my second quick tip for drawing eyelashes - PRESSURE. There is a flicking motion I use when I'm drawing eyelashes- no matter what medium I'm drawing in. Be sure you check out the video to see what I'm talking about. It's WAY easier to understand if you SEE it. Tons of people have trouble with how to draw bottom eyelashes. I have a super weird analogy that helps me with this! I think of eyelashes kinda like shark teeth! When you think about shark teeth - they have multiple rows, right? We have the SAME thing going on with eyelashes! Take a look at my cheatsheet's eyelash drawing reference pictured above. When I zoom in on that (or if you print it at home), you'll see there are actually multiple rows of teensy hairs! Taking point #3 into account, let's put this into practice... As you can see from the photo above, these lashes aren't finished. That's because I don't have ENOUGH eyelash LAYERS layers going on in my top row. This is a mistake I see happen all the time. There's an easy trick to it though! Just add MORE!!! You can also make some of your lashes THICKER at the root. If you're drawing a large scale eye (like the above pic), as I'm doing in today's video - the lashes look like they're missing something, don't they? They're missing volume! See how it changes when I add a little more thickness below? It's starting to look better, right? All of this was done using my mechanical pencil. It can take FOREVER to draw eyelashes with a mechanical pencil, even though you can get some beautiful effects!! If you're a little less patient (like me!!), using a really soft pencil (like an 8B), can be very helpful to vary your lines more quickly. Then take into consideration, my 3 QUICK TIPS of Directionality, Pressure, and Varying Lengths. When you watch the video, you'll see how quickly I was able to knock all three out using my 8B pencil. Add in a blending stump, and you'll achieve even more QUICK results! If you decide to draw eyelashes with a thin sharpie, you'll find this is very similar to working with a mechanical pencil. It can be a little difficult to vary your thickness in the strokes, but can also be very precise if that's what you're going for. It helps to use a DOUBLE LINE when working with a thinner lead or marker nib like this. Another trick I use if I feel like my eyelashes are looking a little wonky or if I want to make it look like the girl I'm drawing is wearing eyeliner, is to thicken that lid line. Then that line takes a bit more center stage and people might not notice the wonky eyelashes as much :) When I'm doing my mixed media faces, eyelashes are typically the LAST thing I add to my girls! Sometimes if I'm having issues with how the lashes are coming out, a great cheat is to turn whatever you've done into cat eye makeup! Then you can cover up whatever mistakes you've made and make it look intentional, like this was the look you meant to do all along!! Another trick that works AMAZINGLY for mixed media faces is to just simplify the lash line completely and turn it into cat eye makeup without additional lashes on the top or bottom. It looks really cool, is super fast and you're done!! Pretty fail safe!! You can always add in a few thinner lashes if you feel like you want to - but you totally don't have to. Using a brush pen is another AWESOME way for drawing eyelashes! It doesn't matter which medium - I've felt my pental pocket brush pen is amazing for drawing eyelashes because it has such a sensitive nib. It takes no effort to vary the pressure, and I feel like the eyelashes I draw here look SO much more realistic because of the varying pressure. I use this pen across both mixed media and drawing. It does take a bit of practice- so if you just dive in with this product at the end of a project that you're in love with - you have to be careful. I highly recommend practicing with it off to the side until you get the feel of how it works and what kind of pressure you need to use to get the line weights you're looking for. Be sure to watch the video to see how the various effects and line variation you can achieve from this amazing tool!! I hope you found this video helpful!! Thanks SO much for hanging out with me today!! I'll see you back here NEXT Monday!! Have a wonderful week!!!
❤️ Want FREE, immediate access to my Fun Fab Drawing Club and/or Mixed Media Society plus discounts on all my art books, sneak peek at YouTube videos and new book content, behind-the-scenes fun and MORE? Join me over on Patreon today and get HUGE PERKS in return for a small monthly donation. ❤️ CHECK OUT ALL my art books on AMAZON (available in both Kindle and Paperback) ❤️ SIGNED COPIES of my art books on ETSY ❤️ MY FAVORITE ART SUPPLIES on AMAZON ❤️ MY BELOVED FACEBOOK GROUP ❤️ FOLLOW ME ON INSTAGRAM ❤️ FOLLOW ME ON FACEBOOK |
Karen CampbellFounder of Awesome Art School. Mixed Media Artist. Author of 18 Instructional Art Books! Archives
May 2023
Categories
All
|
"Karen is flipping hilarious and she's very real...I like the way she teaches in a way that really gives you confidence, whether you're a beginner or advanced there's always something new to learn!"
- Elizabeth W. |
What Fans Are SayingKaren, you are absolutely fabulous! You make me feel like I can draw anything. I have recently retired and finally have the time to do some of the art that I have loved since I was in school. I am really at the beginning of my art journey and I hope to learn as much as I can. Thank you for all you do. |
Contact ME |