|
Today we're doing some EASY pencil shading techniques to add drama to our three quarter portrait face drawing! This is part two of my 3/4 face drawing series on my Drawing Channel over on YouTube.
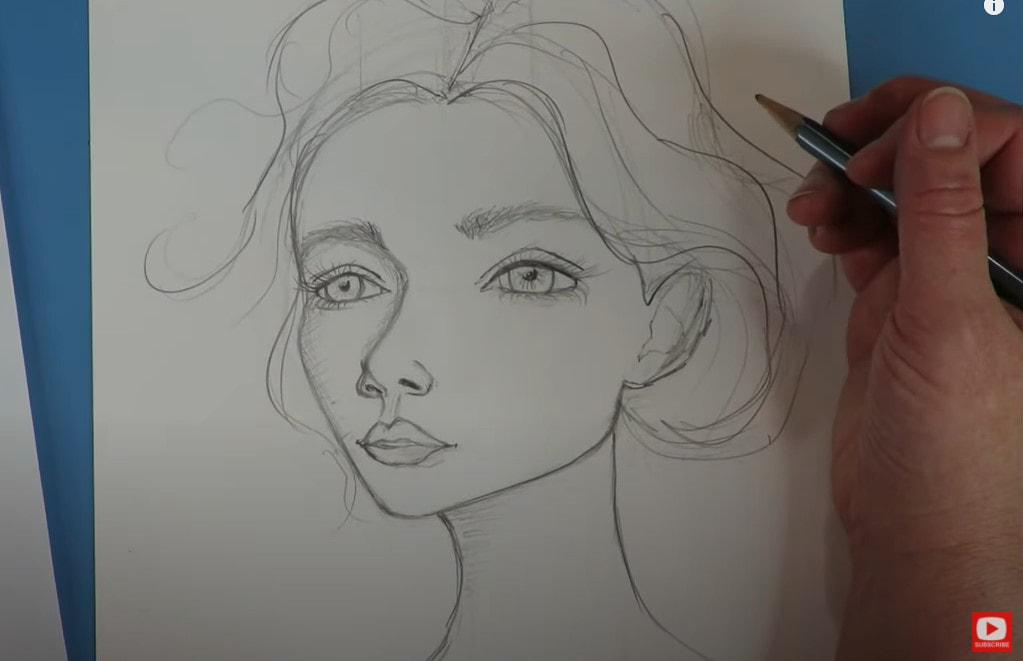
If you missed the first episode, make sure you click the button below to download my FREE 3/4 view face drawing guidelines so you can draw along with me in episode one.
Once you've got your three quarter portrait guidelines printed and you're all set to begin practicing, click here so you can draw this girlie along with me in episode one. When that video is over, today's shading video should begin automatically so you can keep on going!
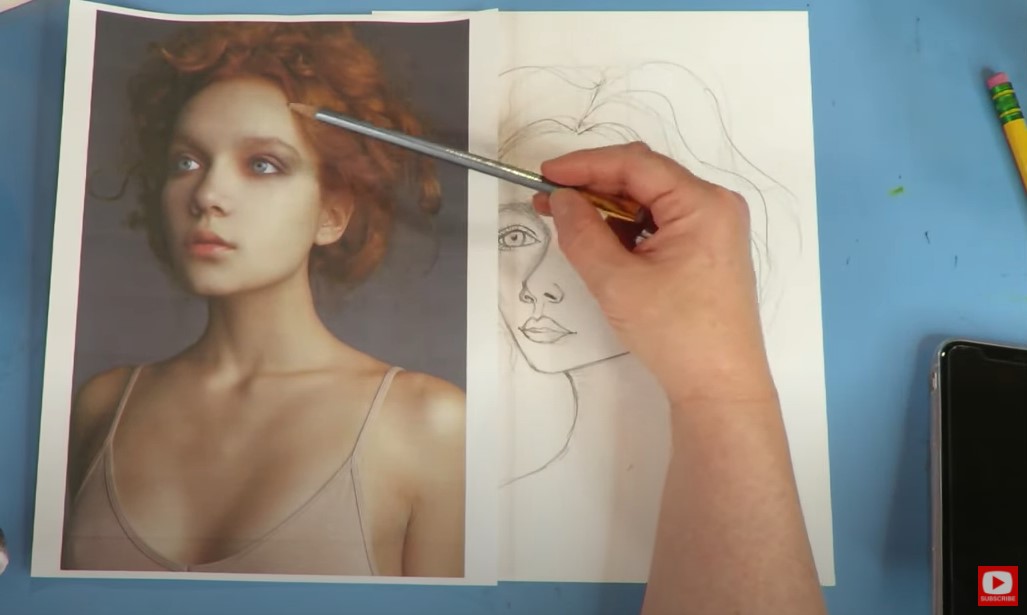
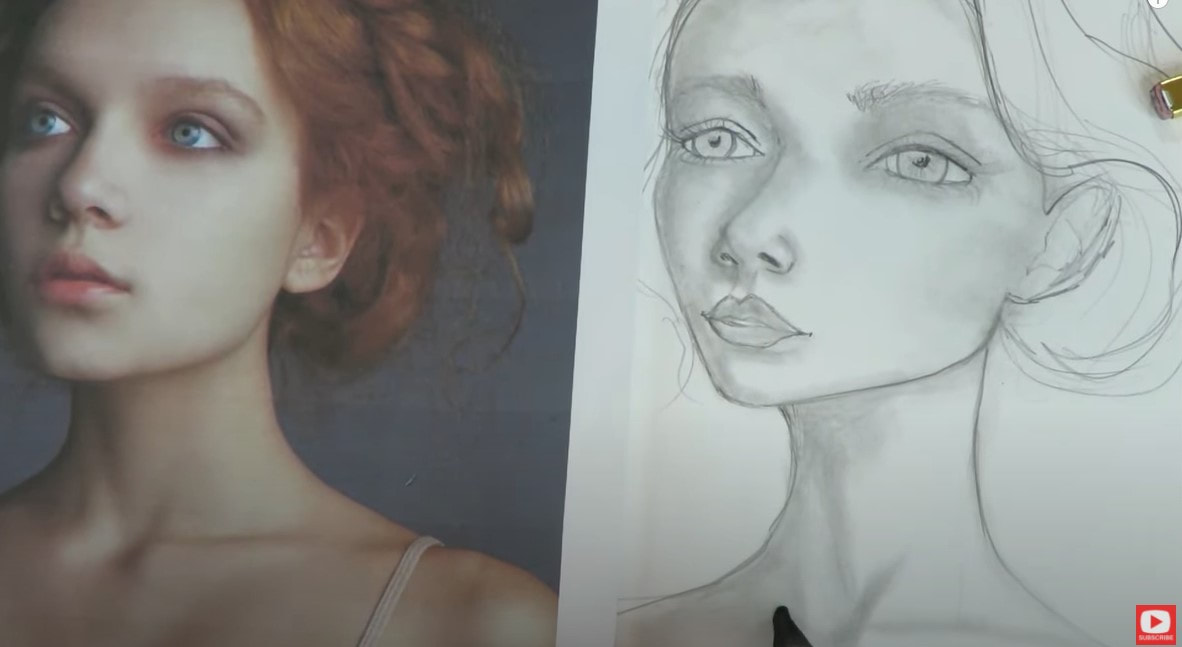
I used the same photo reference to give me some face shading ideas today as I did to sketch my original 3/4 portrait for this series.
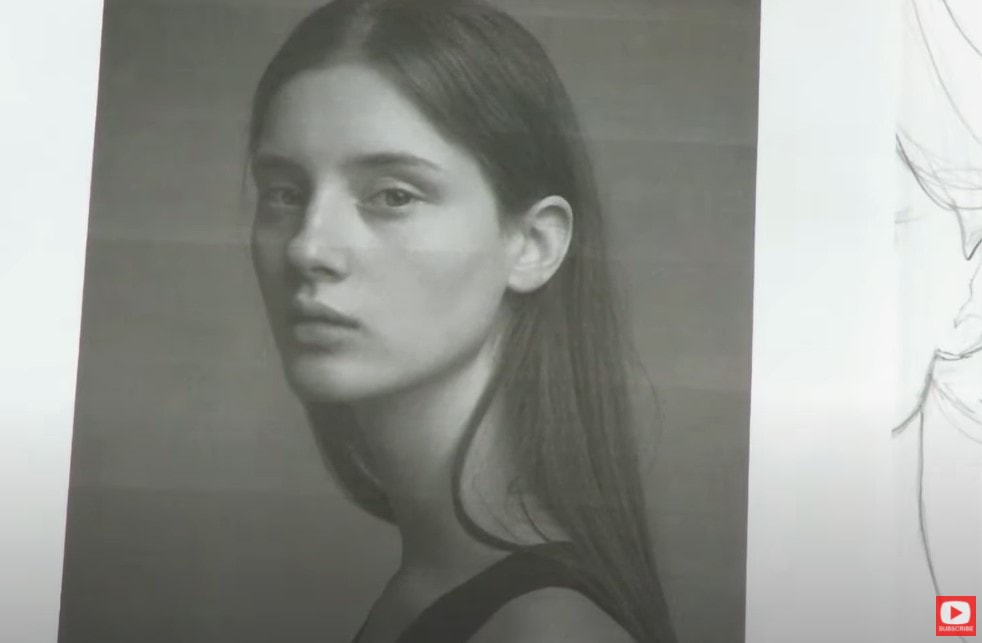
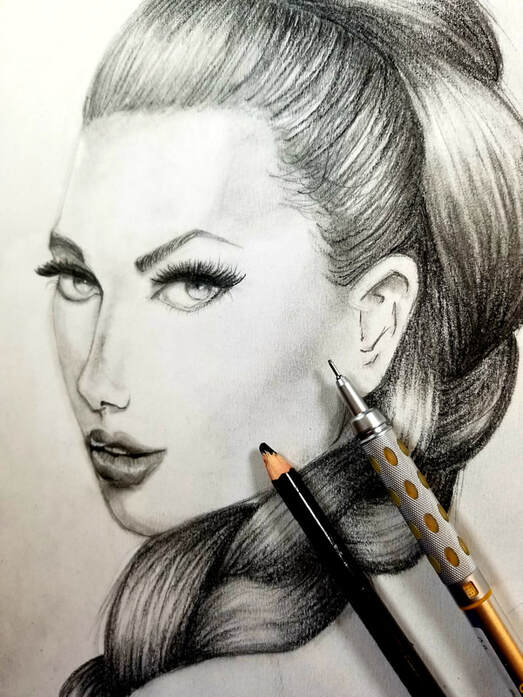
Even though my drawing is semi-realistic / whimsical, I feel it makes a HUGE difference in my work if I use a reference photo to tell me where I should add in shadows, and how dark they should be. One of the fun things about drawing in a whimsical style, is I can mix and match reference photos for my work and use them in different ways. For example, I really LOVE the dramatic shadows and highlights in this image (below). If I'm shading a face in pencil, I feel like it's super helpful to use a black and white shading reference like this one...
Before we continue, super quick announcement: All product links are Affiliate. I may earn a small commission if you choose to order through these links but by law there is never any additional cost to the consumer for doing so. I thank you for your support.
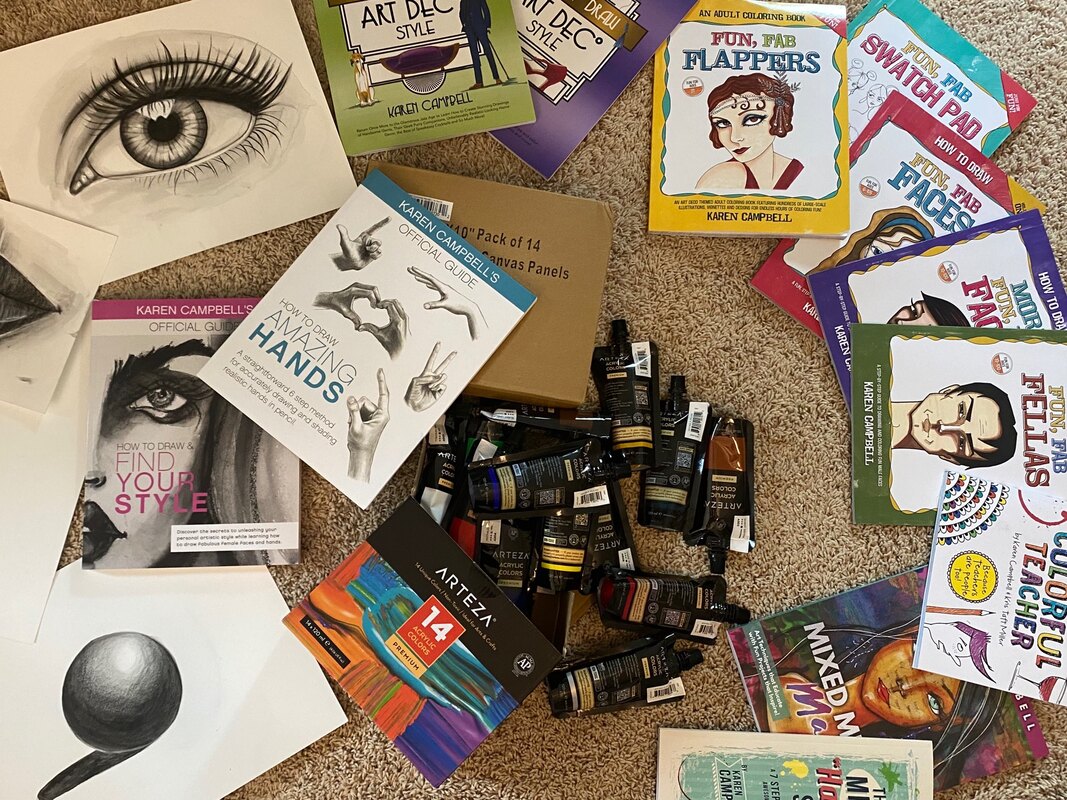
In my How to Draw and Find Your Style book, I talk in depth about how to take advantage of the value scale when you are shading, because it adds so much more depth and dimension to your drawings and sketches. The more tones you incorporate into your drawing from the value scale like bright white highlights, and dark black shadows, the more sophisticated your work will be.
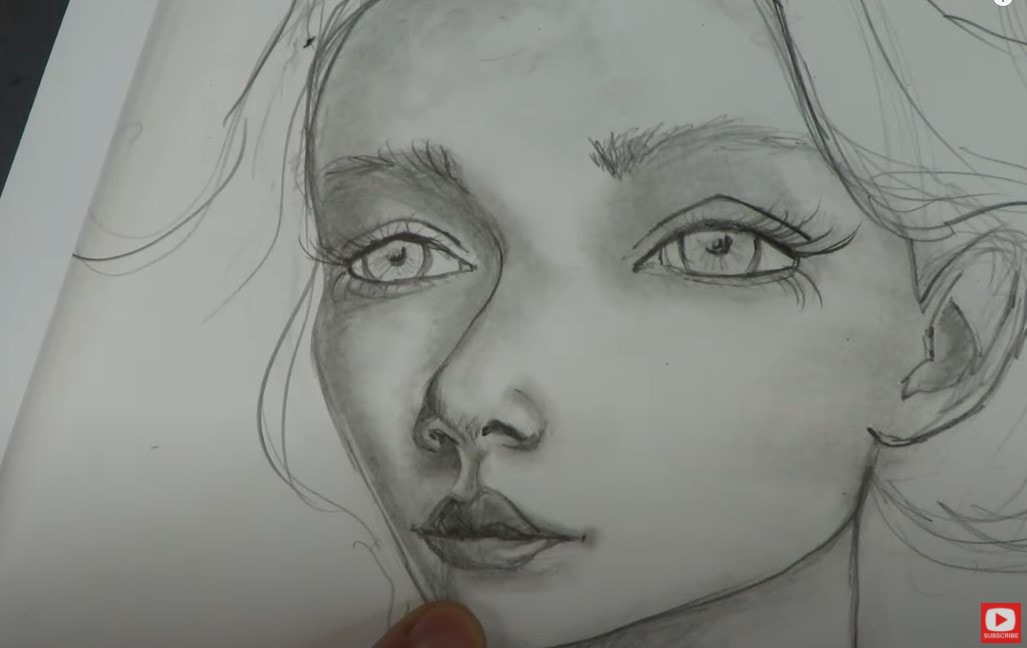
In today's shading tutorial I'm using one of my Blackwing pencils (TOTALLY unnecessary, but I SO LOVE THEM!!!). This one is equivalent to about a 4B, but you can absolutely use a simple #2 school pencil, so don't stress about your supplies! I start applying graphite by looking at my reference photo for the darkest areas first. When I'm shading, I often use the side of my pencil to begin. My initial layer of shading is very light and almost scribbly. After I have a light layer of shading down, I use my blending stump to "moosh" the graphite around. In this particular reference photo, the model is very light skinned, so I actually use the cleaner side of my blending stump to work my shading in and around the face. If I lay down too much, I simply pick a bit of that graphite back up with my eraser and moosh some more! For the darkest areas, I use the super dirty side of my blending stump.
When you're starting out with drawing and shading, I think it's SOOOOO much easier to practice in a whimsical drawing style. It just takes the pressure off and keeps things light and fun! And if you're having fun...you'll practice more, and if you practice... your skills will only grow and improve!!
When my first layer of shading is done, I go back for a second layer of shading to really punch up my details that could have been lost while "mooshing" my graphite around with my blending stump. This is where the drama starts to come in!! Sometimes it can also help you to look at a reference photo with squinted eyes. It may sound funny, but doing this can often help you see darks and lights a bit more. The objective of shading for me is to use the WHOLE value scale. So you'll see me use a black colored pencil for the darkest darks - found in the crease of her lips and in her pupils. Additionally, for my brightest white highlights, I will typically carve out some of the graphite I already put down with an eraser.
I hope you have fun with this face shading practice!! Please stay tuned for next week's video. I'll be shading another 3/4 portrait using copic markers.
Thanks for hanging out with me today!
Wanna learn more about my How to Draw & Find Your Style book? Press play below to see the flip through of EVERY PAGE!
3 Comments
I hope you had a fantastic weekend!! I have a LOT to tell ya today, so buckle your seat belt... On Friday, I did a LIVE STREAM on my mixed media channel to celebrate 30K subscribers!! While I was there, I showed a sneak peak of some of my 30K giveaway prizes: MY 30K GIVEAWAY PRIZE WINNER WILL RECEIVE:
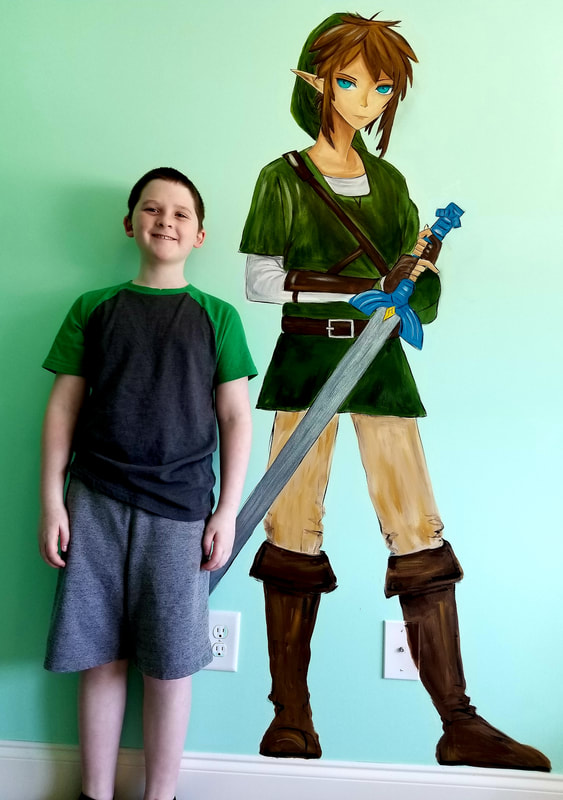
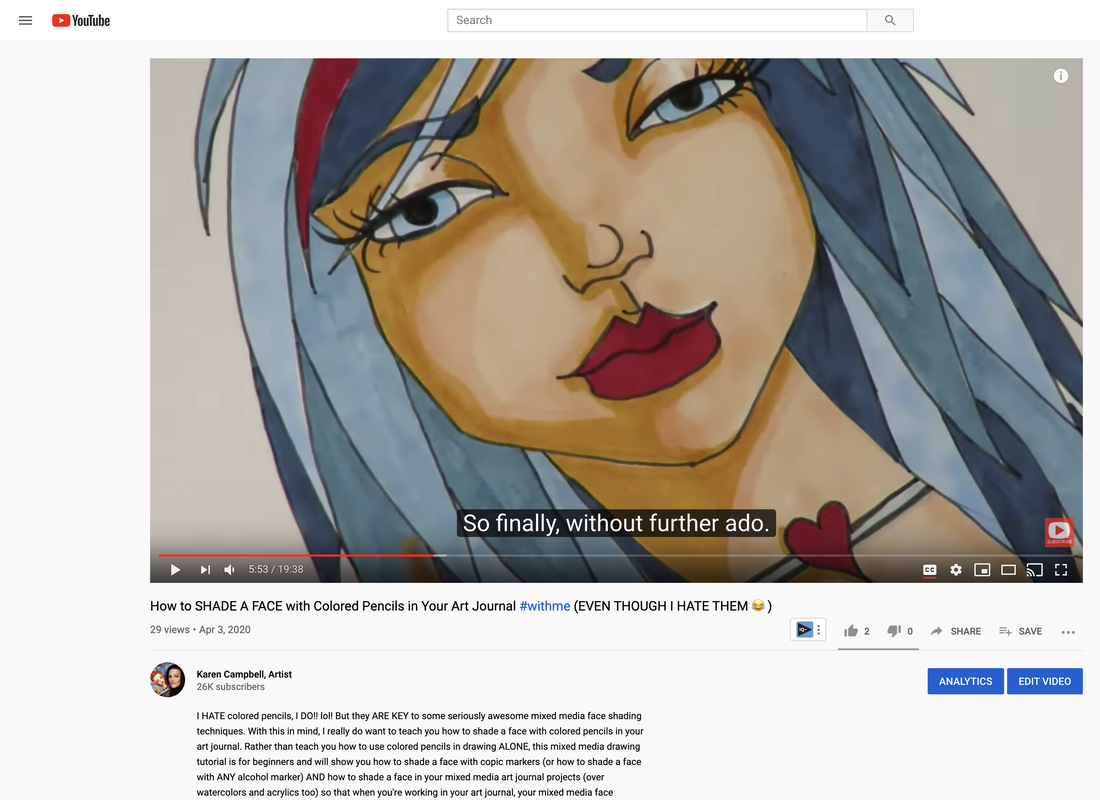
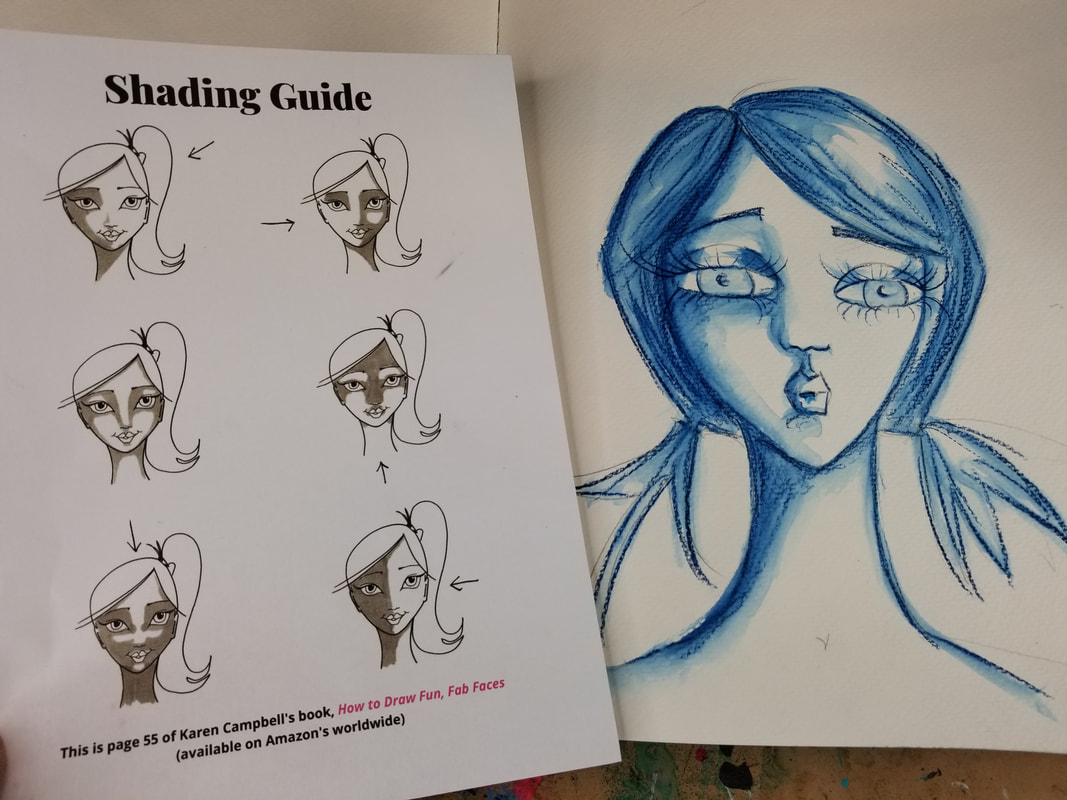
HOW CAN YOU WIN the GIVEAWAY PRIZES? All you need to do is subscribe to my new Drawing Channel on YouTube. After that- just pop back over to my LIVE STREAM video from Friday, and leave a comment telling me you've subscribed. That's it ;) The winner will be selected at random and announced this Friday (9/4) on my Mixed Media channel!! KAREN's CHALLENGE DETAILS While I was LIVE on Friday, I also announced ALL the details about the Challenge I'm running next month!!! I decided to go BIG... We're starting September 21st, and the Challenge will run for 5 days. I'm giving away prizes EVERY SINGLE DAY in my Facebook Group!!! CLICK HERE to learn more & sign up for my DRAWING CHALLENGE - beginning Sept. 21st CLICK HERE to learn more & sign up for my MIXED MEDIA CHALLENGE - beginning Sept. 21st **IF you're a Club member of either The Fun Fab Drawing Club or The Mixed Media Society - you've automatically been enrolled in the challenge and will see that bonus in your classroom.** If you're NOT a club member, it's just $5 to participate in either challenge to receive the daily 1-hour lesson. I HOPE you'll join me!!! NEW Drawing Video Today My last bit of news today is to let ya know I've added another video to my profile series on my Drawing Channel. Today she's an adorable fairy that I've shaded using some super cheap copic marker alternatives from a brand called Par Koo! I was actually really surprised by how much I loved these juicy markers! Even better- they're only 37 cents/ each - so if you're in the mood to add a ton of colors to your alcohol marker stash - I highly recommend giving them a try!! CLICK HERE when you're ready to watch today's drawing tutorial & please draw along with me!!! See ya next week!!! I hope you're staying safe indoors and have found some activities to keep your mind, heart and soul occupied and happy. I personally find the best way to keep my heart and mind happy is to keep my body busy!! I've gone on A LOT of walks. But I'm also keeping busy with painting and drawing!!! You may remember from last week's email that we painted our son Max's room? Well yesterday I painted his favorite video game character in there too. Lifesize. 'Cause, really, why not if it keeps me busy and him DELIGHTED! Seemed like a double win so we went for it! Sadly it only took me 2 hours so I still had to keep busy for the rest of the day but it definitely helped me take my mind off of things for an afternoon. Since being creative is working so well for ME these days, I thought maybe it would work well for you too! So today I'm bringing you a fun demonstration tutorial about how to use colored pencils to help you shade your mixed media drawn faces. The funny thing is that I REALLY DO HATE COLORED PENCILS. You can see so (and learn why) in the video!! lol! But then you can also see how I use them to really pack a shading PUNCH to my best art journal faces. Here's a peek! Ready to learn and see? Grab some pencils and meet me at your art table. Then press play and let's gooooo! Are you still afraid or unsure of where to put shading on your drawn or painted faces? You are SO NOT ALONE!! I hear this all the time from my Awesome Art School students. And I finally figured out a really fun but also CONCRETE way to not only explain how face shading works, but also how to SHOW you. Sooooo many people are SCARED of shading, this video was made to HELP YOU! I know money is tight for so so many these days so along with the video, I'm also giving out a FREE 4 page pdf bundle of Face Drawing Cheatsheets that go along with the video. Because you are on my newsletter list, I am giving you the link here that will allow you to download all four incredibly helpful resources: I do need to add though, you're sort of wasting your time printing these out without watching the video today, they really go hand in hand. So really, to get the full understanding of the sheets, go and watch the video below and THEN go download the pages when you're ready to give it a go! My YouTube community has been LOVIN' all the fun and free series lately and I hope you are taking advantage of all this free, content rich, well, content!! In the winter it was the Mixed Media "Hamburger" Series which, in 9 episodes covered my ENTIRE Mixed Media process I use to create 99% of my mixed media projects! Have no idea WHAT I'm talking about in regards to Hamburgers and art?! You can get started by watching the first video in the series here! Then earlier this year I did a 4 part Art Journaling Series and that was soooo fun too!! While the Mixed Media series armed everyone with the technical art skills that enabled them successfully layers up on layers of supplies, the Art Journaling Series got people over their fear of starting, their fear of the blank page and on to the super-having-fun part!! I've seen soooooo many fun projects come to fruition as a result of that series, I cannot get over it! If you need a kick in the pants because you're too nervous to get started, that series is a must for you too!
I LOVE creating mixed media portraits! If you're new to my world, my name is Karen Campbell, and I LOVE to draw and create mixed media portraits on canvas or in my art journal. Even more - I LOVE to break the steps down in simple to follow instructions so others can create right along with me.
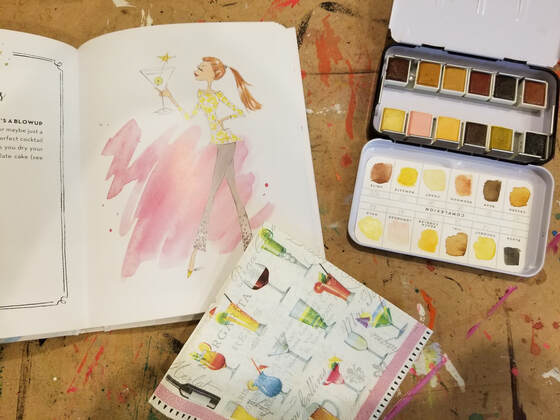
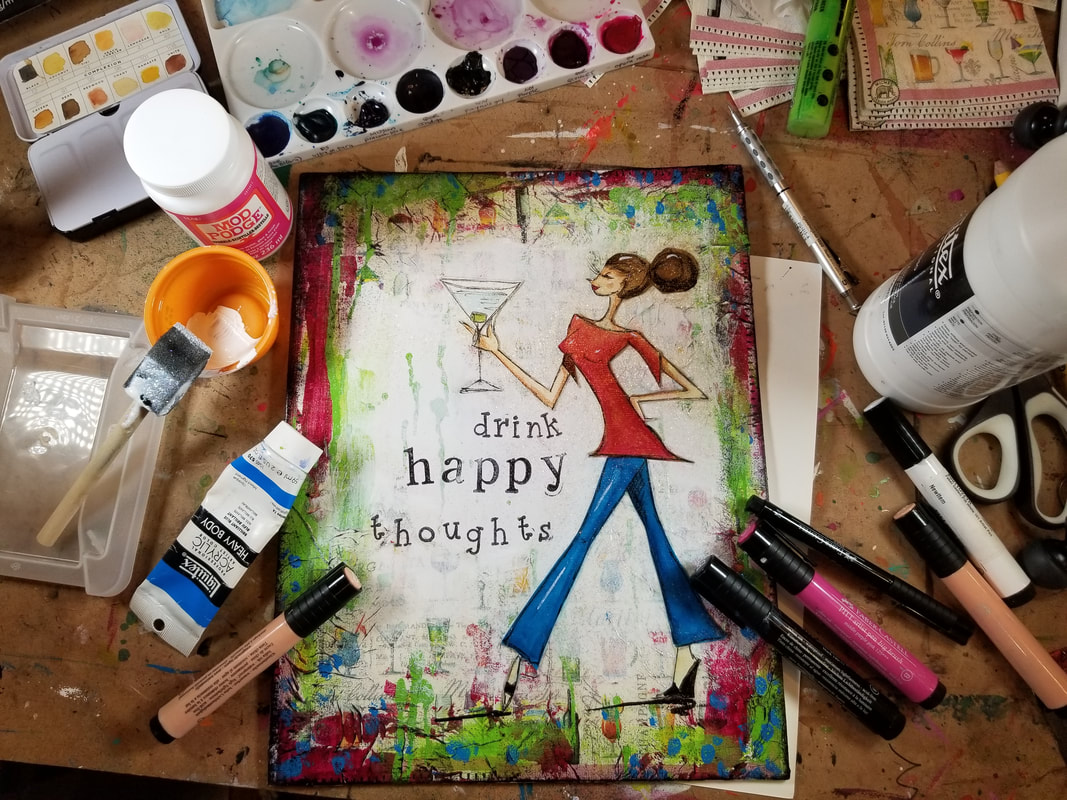
When I'm getting ready to create something, I often look for reference images to get my creative juices flowing. Check out the ADORABLE illustration (below) by Anne Keenan Higgins, and the cute cocktail napkin I found to go with it!
I honestly don't know what I love more in this picture. The illustration, the cocktail napkin, or my skin tone watercolor palette!
Regardless of what colors or medium you select for your own project - it's important to SWATCH your colors. I've tried to make this process MORE FUN for you by creating this FREE Swatchsheet! Simply click the button below, and I'll send it straight to your inbox.
The collection of inspiration above lead me to the development of one of my VERY FIRST LESSONS in my art club called The Mixed Media Society over at Awesome Art School.
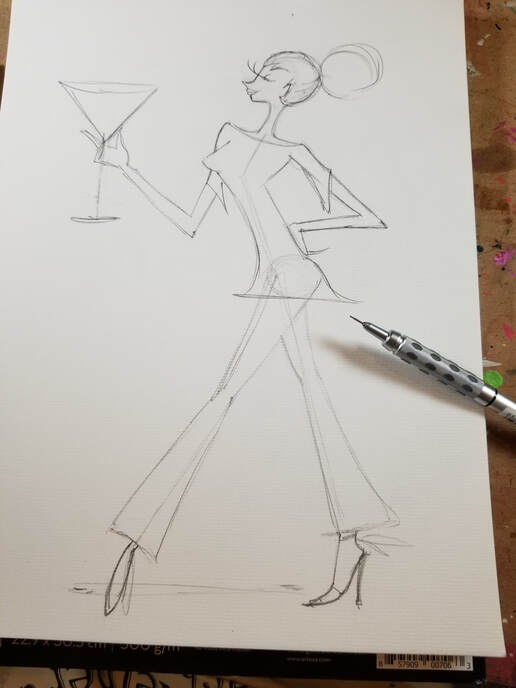
We started out by sketching this cute figure below... then we grabbed our watercolors!
Before we continue, super quick announcement: All product links are Affiliate. I may earn a small commission if you choose to order through these links, but by law there is never any additional cost to the consumer for doing so. I thank you for your support!!
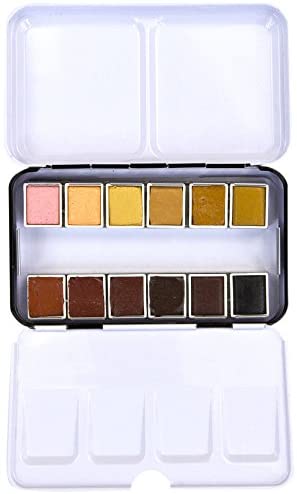
If you're lazy like me, or struggle with getting JUST the right skin tone when you're watercoloring faces, the Watercolor Complexion Set by Prima is an amazing "out of the box" solution! (Scroll down for product review video).
I don't know about you, but I have grabbed the wrong tube of paint or marker ZILLIONS of times (based on the tube or cap color), only to find out the hard way, (when I applied it right to my drawing) that it wasn't the color I had expected! It's the WORST if you're working with skin tones.
Lesson learned. Swatch every color for every project - don't just grab and go like I have!! Use my FREE Swatch Sheet to swatch your colors, and you'll be good to go. Here's a look at the finished project from this cute Mixed Media Society lesson. Isn't she so cute?!
If you're interested in doing this lesson with me (and SO many more!!), check out The Mixed Media Society over at Awesome Art School. Baby beginners are welcome!!
Only into drawing? Or don't know how to draw, but have always wanted to learn how to draw faces? Check out The Fun Fab Drawing Club! Interested in fantasy art, watercolor and trying your hand at drawing fairies, castles, and other mystical creatures? Join my Scottish bestie, Lucy and I in The Celtic Collective! Wanna see my full product review video of the Prima Complexion Watercolor Set? Watch the video below. Thanks for hanging out with me today!! ❤️ CHECK OUT ALL my art books on AMAZON ❤️ CHECK OUT ALL my online art classes @ Awesome Art School ❤️ MY FAVORITE ART SUPPLIES on AMAZON ❤️ MY BELOVED FACEBOOK GROUP Drawing a realistic braid isn't nearly as hard as you might think. It just so happens I recorded the whole process to share with you!! I know drawing hairstyles intimidates so many people, so I've taken it upon myself to break it down for you, step by step! Now before we get to drawing hair, we need to get this face drawn properly. See how her head is turned in a profile, but not ALL the way? We can still see her right eye a little bit in this pose. It's called a three quarter view portrait, and is actually one of the hardest facial positions to draw. If you've never drawn this view before, or struggle with 3/4 portraits, simply click the button below and I'll send my 3/4 Portrait Face Drawing Guidlines straight to your inbox. Once you've got your three quarter profile face drawing guidelines printed out, click over to watch this video and see how I put everything into practice, and add on this gorgeous braid. Wishing there was a slower version of this? I know. YouTube is so awesome because it's so free and fast and FUN! But I know for a lot of my students it's just too darn fast.
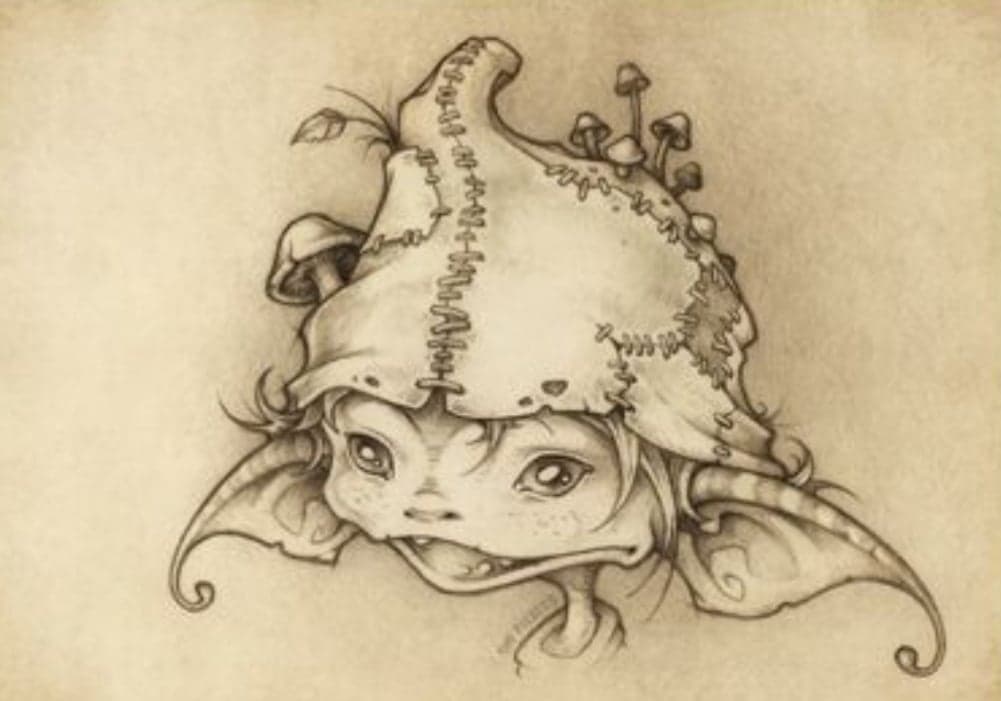
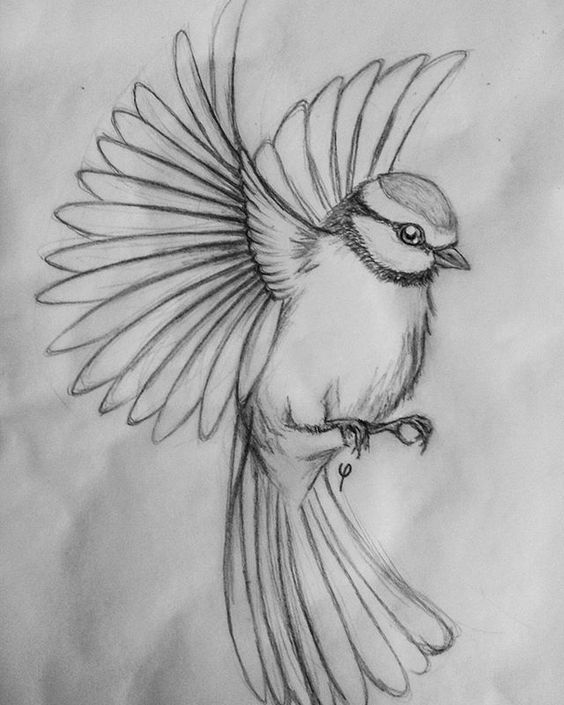
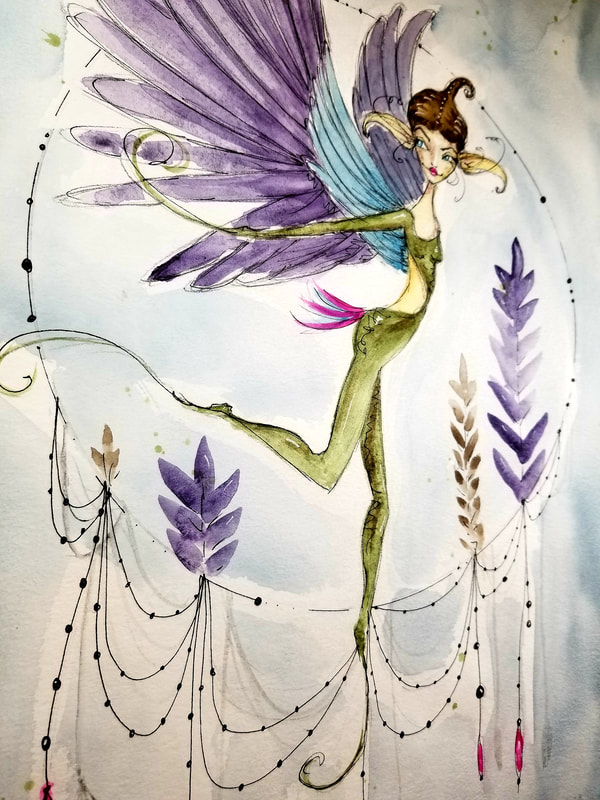
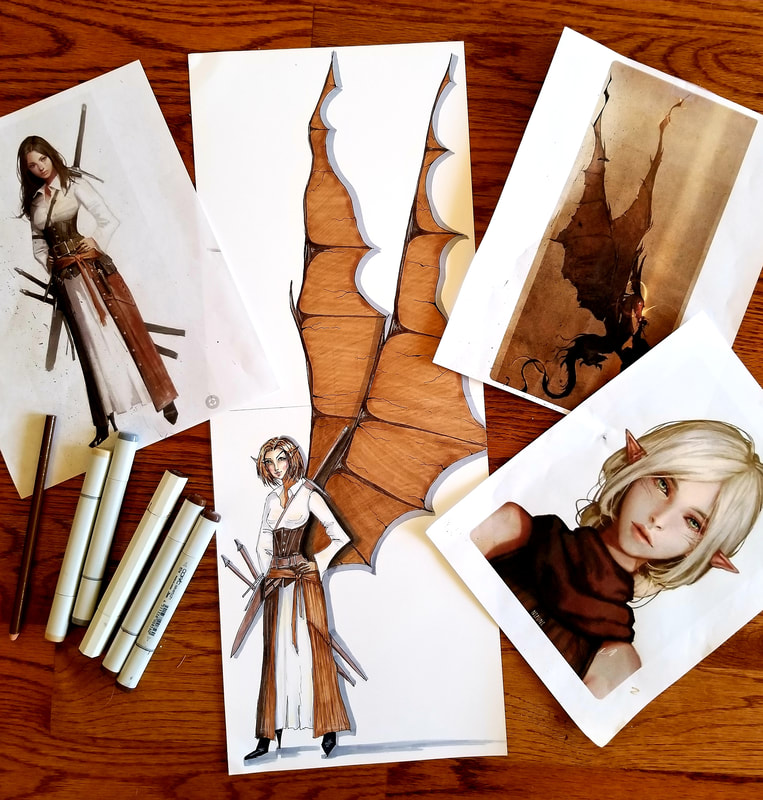
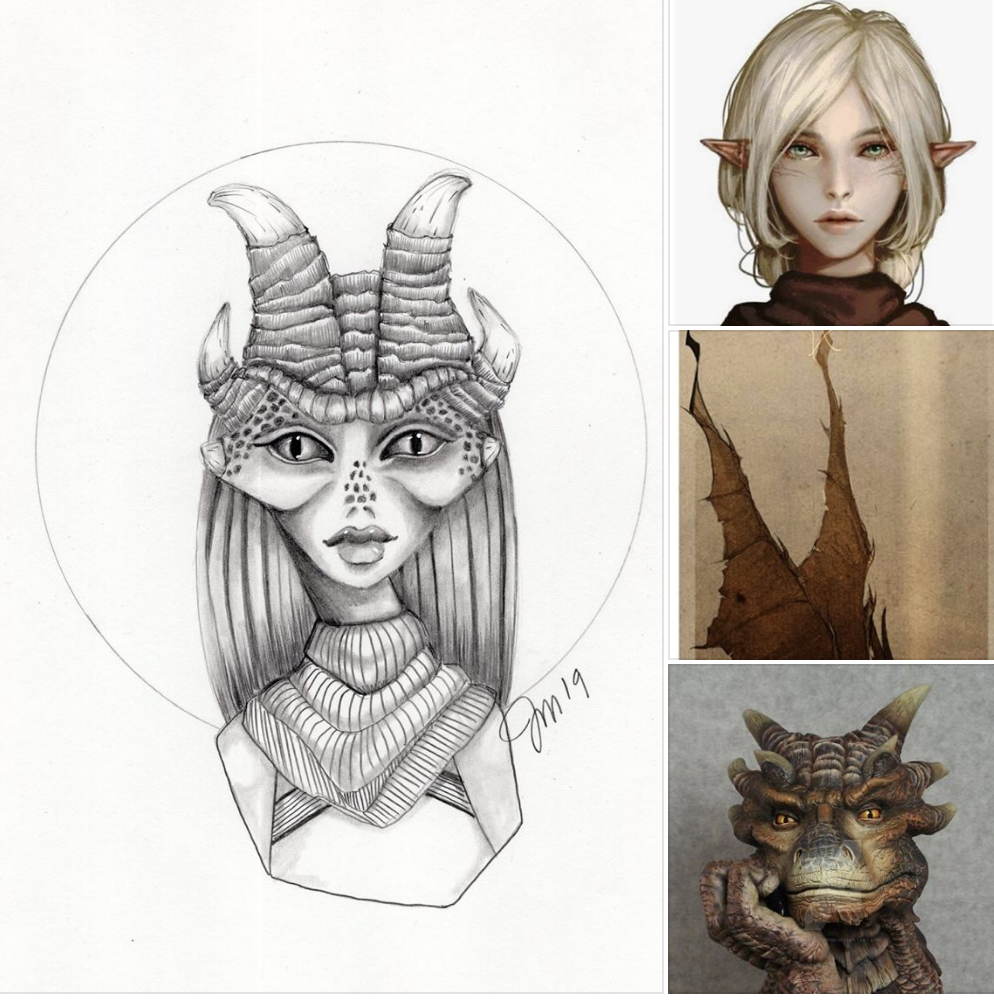
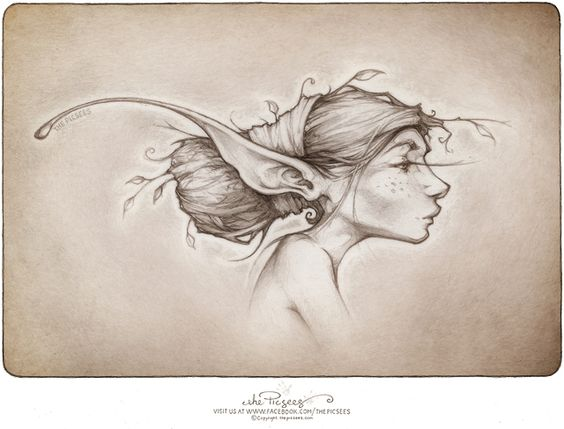
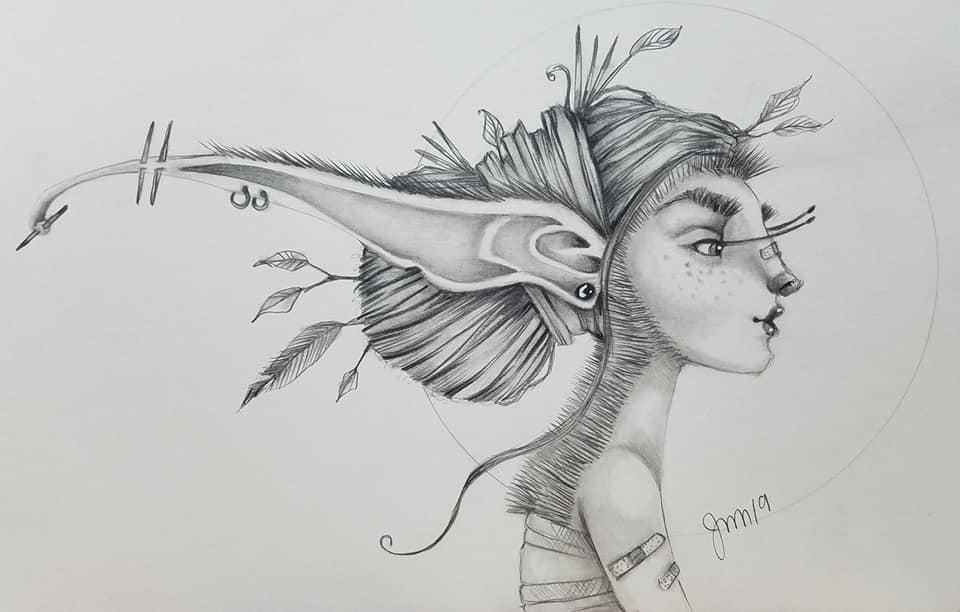
If you'd like to take this entire drawing (including step-by-step, real time, how to draw this face...everything from eyelashes, nose, mouth, hair...from SCRATCH) I've included it as a full length lesson in one of the advanced classrooms of The Fun Fab Drawing Club over at Awesome Art School. Feel like the braid drawing lesson is a little tough, and you'd like to practice drawing a 3/4 face with your new cheatsheet? Check this playlist out on my YouTube Drawing channel. It's just for beginners! Thanks for hanging out with me today. ❤️ CHECK OUT ALL my art books on AMAZON ❤️ MY FAVORITE ART SUPPLIES on AMAZON ❤️ MY BELOVED FACEBOOK GROUP ❤️ FOLLOW ME ON INSTAGRAM I have been having an absolute BLAST mixing and matching certain mythical references and combining them in new and exciting ways to produce new, unique works of art. I think what's even more fun is that I'm not even playing this fun game by myself, no sireee. My Friend, Artist Jenny Manno and I, have enlisted the help and fun of our respective Facebook Groups to play along with us and the results are sooooooo so much fun! Here are the references this week! The first one is my the amazingly talented folks over at thepicsees.com. If you don't know them you ought to!! They are amazing!!
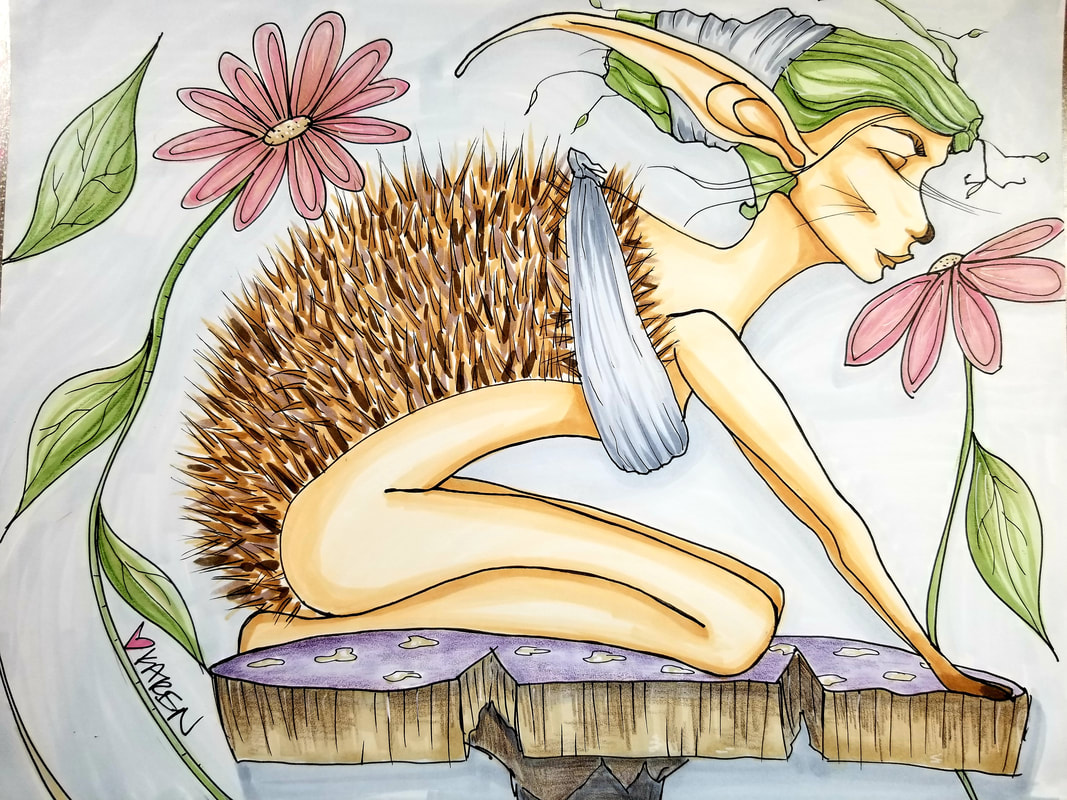
The second reference (both chosen by Jenny this week, is this sweet bird sketch she found on Pinterest. Personally, I needed a bit more to kick start my creativity so I added two additional references...and here are my results! I blame my Daniel Smith Watercolors for her success, along with my giant 15" x 22" watercolor pad of Strathmore Paper. Who ever said bigger is better was RIGHT! If you'd like to see what other references I used and watch the entire process unfold I made a sweet video of the process, voiceover and timelapsed for your enjoyment (and so that it doesn't take up too much of your precious time). I hope you enjoy! I had so much fun running the #100funfabfaces challenge that ran for 20 weeks in the winter of this year that I'm coming back for more! I'm so happy to announce that MONDAY/MYTHICAL/MAGICAL/MASHUP has begun! This is a Fantasy Art Collab between California based artist, Jenny Manno and myself . Here's the skinny: We give you two references and we all have to mash them together to create a new Fantasy Masterpiece!!! To help you along, Jenny and I will also be filming our process so you can get different ideas of what to do or how to do it! I had to bring in a third reference to help me mash these all together and here's what I came up with! Here's what week 1 looked like! I had so much fun I made a video so you could see the process unfold! I also made this a full length lesson in my Fun Fab Drawing Club if you want to learn how to make this while literally drawing along with me in real time! Click here to join and get access free for 30 days! And here is Jenny's!!! Isn't she insanely talented?! HOW FUN IS THIS?!?!?!So then last Wednesday I spent completing a NEW drawing for Magical ~ Mythical ~ Mystical Mashup! This week we start with this cute little Hedgehog... 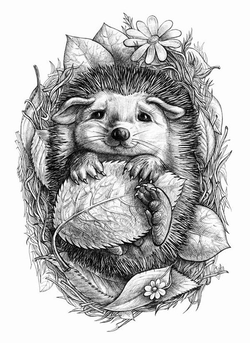 And this adorable fairy from thepicsees.com. If you haven't checked out their page you must! There art is off the charts!!! And this ridiculous thing is what I came up with!!! Wait, why are you laughing so hard?? Is it the bandage bra??!? My 12 year old was editing the video for it, I was desperate to cover up her you-know-whats!!!! And here I was thinking I was all clever, having it match her head wrap and all, sheesh. Here's the video if you wanna watch (and laugh along with me!) Wanna see Jenny's??!?! IT IS SO COOL! Her drawing skills are OFF THE CHARTS!!! What do you say, are you going to give this exercise a try? Is it hard, um...YES! BUT IT IS ALSO SOOOOO SO FUN!
You'd be amazed at the fun things that people are coming up with every week!! Hope to see you in the www.facebook.com/groups/awesomeartschoolFacebook Group soon! If you don't feel like participating, that is totally cool!!! You are always welcome to simply scroll through the art - it will be sure to put a smile on your face!!! Tag me while you're there and say hello! |
Karen CampbellFounder of Awesome Art School. Mixed Media Artist. Author of 19 Instructional Art Books! Whose work has appeared in...Archives
July 2024
Categories
All
|
|
"Karen is flipping hilarious and she's very real...I like the way she teaches in a way that really gives you confidence, whether you're a beginner or advanced there's always something new to learn!"
- Elizabeth W. |
What Fans Are SayingKaren, you are absolutely fabulous! You make me feel like I can draw anything. I have recently retired and finally have the time to do some of the art that I have loved since I was in school. I am really at the beginning of my art journey and I hope to learn as much as I can. Thank you for all you do. |
Contact ME |




 RSS Feed
