blog
Let's Get Your Creative Juices Flowing!!!
DRAWING FEMALE HAIRSTYLES in Just 5 MINUTES! (#DrawingFacialFeatures with Karen Campbell)1/3/2021 Ready to learn about drawing female hairstyles in just FIVE minutes?! In today's step by step lesson, we're going to be drawing 5 hairstyles in real time. If you've always wanted to learn how to draw a face, have been struggling with how to work drawing practice into your daily life, or need to add MORE FUN into your art practice, THIS SERIES IS FOR YOU!! We're in week five of the 5 in 5 Drawing Facial Features series on my YouTube Drawing Channel, and this week is focused on girl hairstyles drawing! Make sure you download my 20-page drawing practice packet so you can draw right along with me. It's got all the hair drawing reference (female) images for this week, and all the drawing reference photos for every other week in the series. Best of all, it's yours, FREE. Simply click the button below, and I'll send it straight to your inbox! Even though I'm on week five of the series, don't feel like you're behind if you are just discovering this. These drawing exercises are for YOU to do on your own time, at your own pace. There is no schedule, just FUN!! All you need to do the drawing exercises in my 5 in 5 Practice Packet is basically a good eraser and a pencil. You totally don't have to get fancy. Before we continue, super quick announcement! All product links noted below are Affiliate. I may earn a small commission if you choose to order through these links, but by law there is never any additional cost to the consumer for doing so. I only reccommend products I actually use and love. Thank you for your support! If you are interested in some fancier drawing tools - I'm using three of my favorites: a Blackwing pencil, vanish eraser, and my Tombow Mono Eraser (that's the one that looks like a mechanical pencil, but is an eraser!). This thing is AMAZING for carving out teensy highlights!!! If you have a blending stump - get your dirtiest one ready! If you don't have one - just use your finger or a q-tip to help you with blending. If you're just finding this series, I'm trying not to spend more than 5 minutes on each drawing prompt. It's not because I'm trying to "hurry" myself, but because I'm specifically trying NOT to get bogged down with details. This keeps our drawing practice light-hearted and more FUN. And- if we're having fun - drawing practice is something we'll want to do again, which will naturally make us better artists! As I have done with each of the videos in this series, I'm asking you to focus on three things with each drawing prompt:
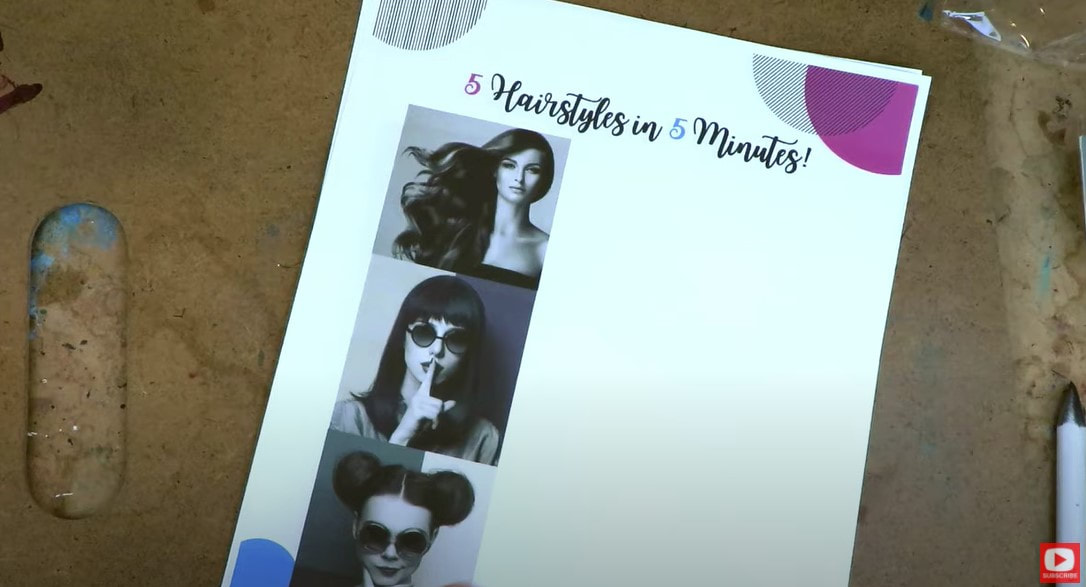
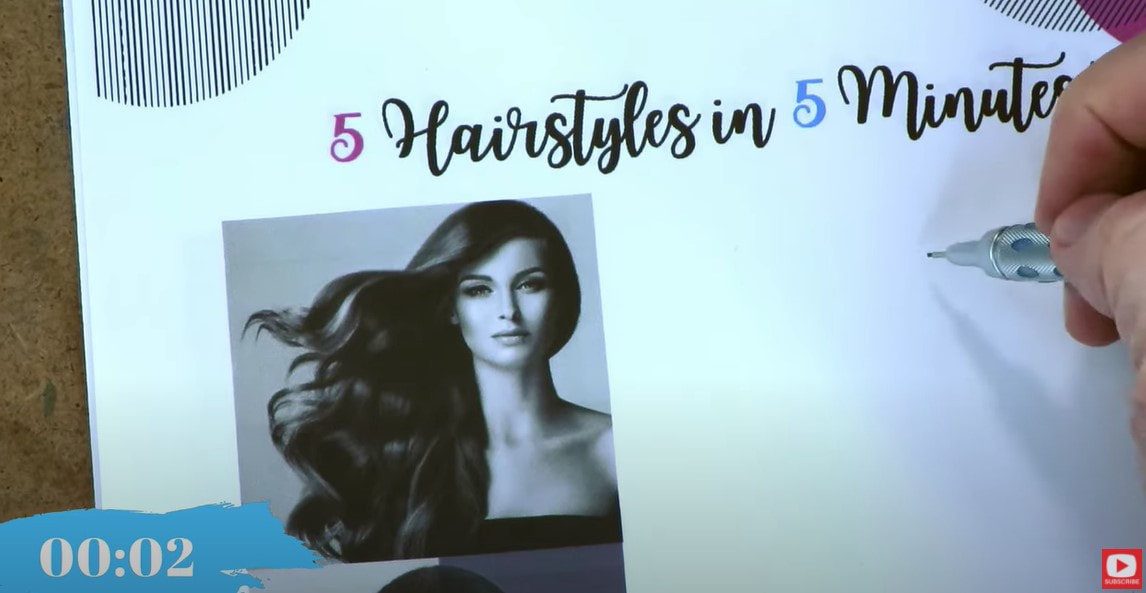
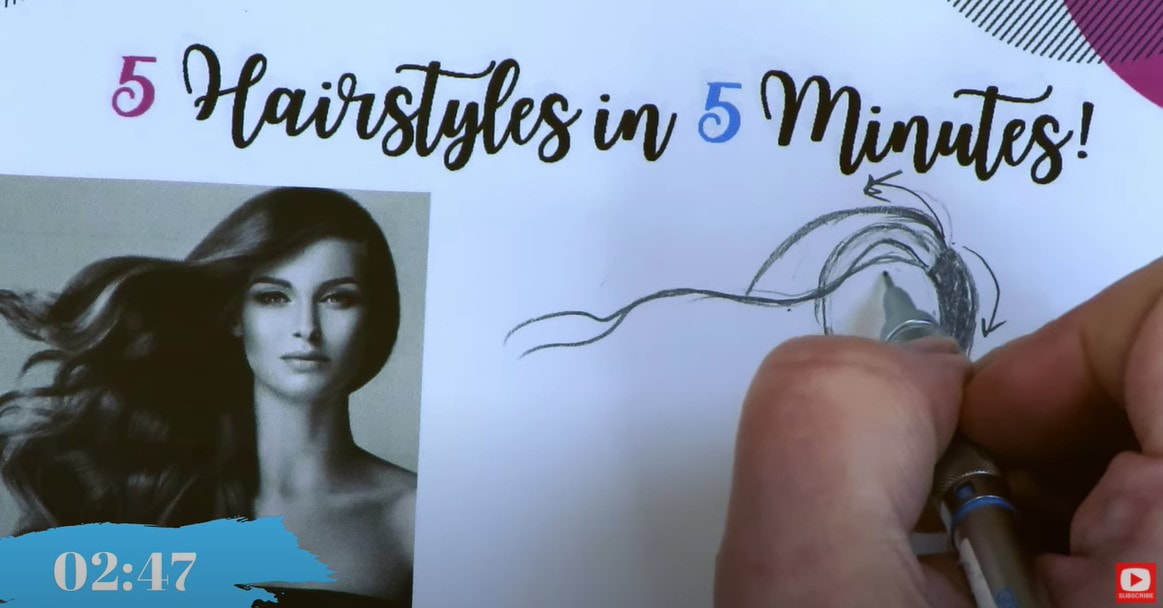
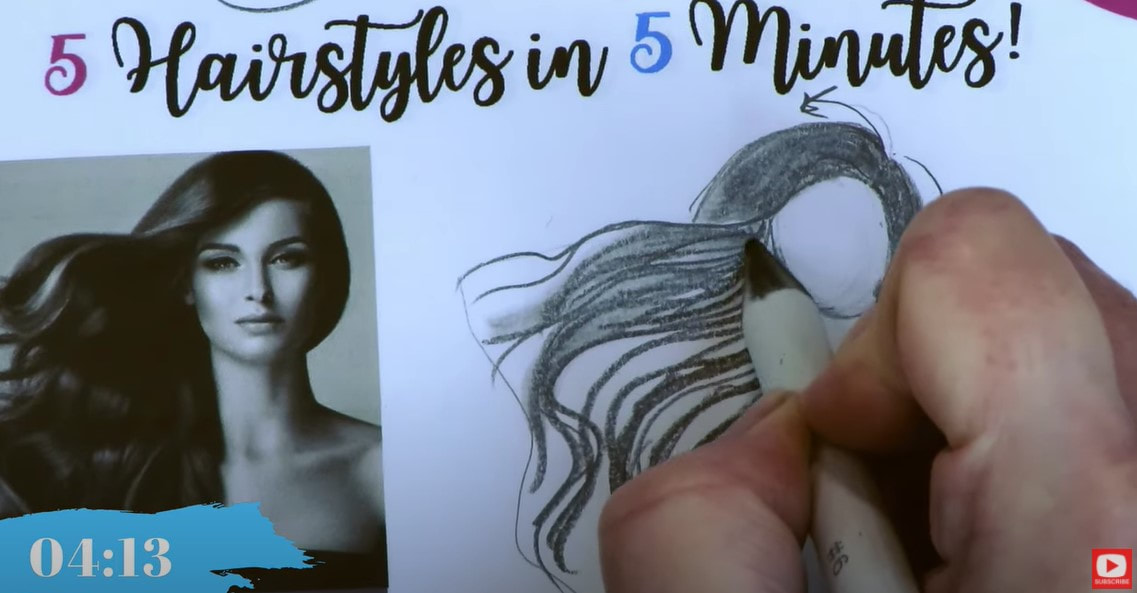
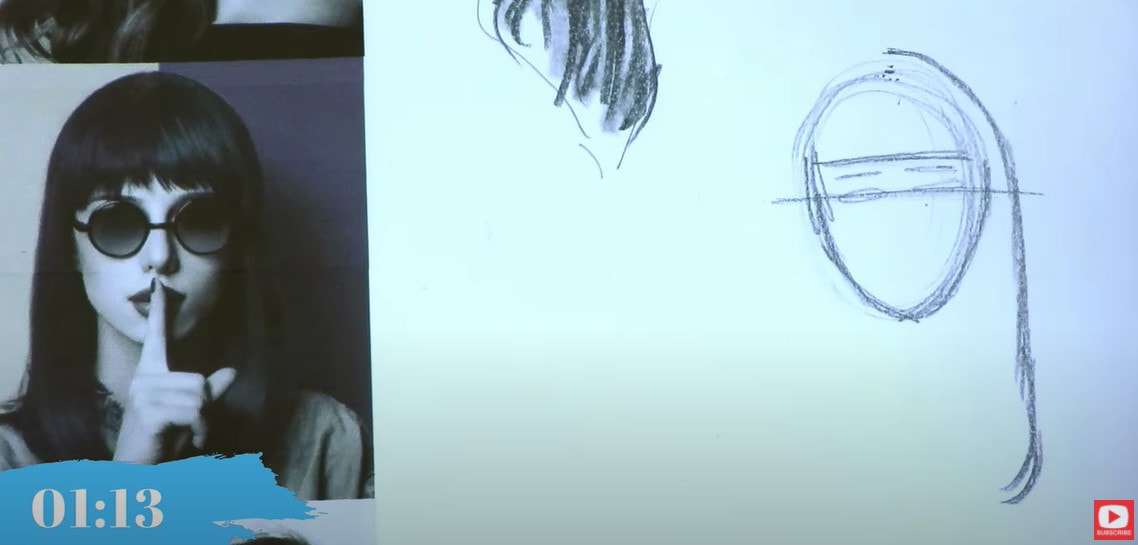
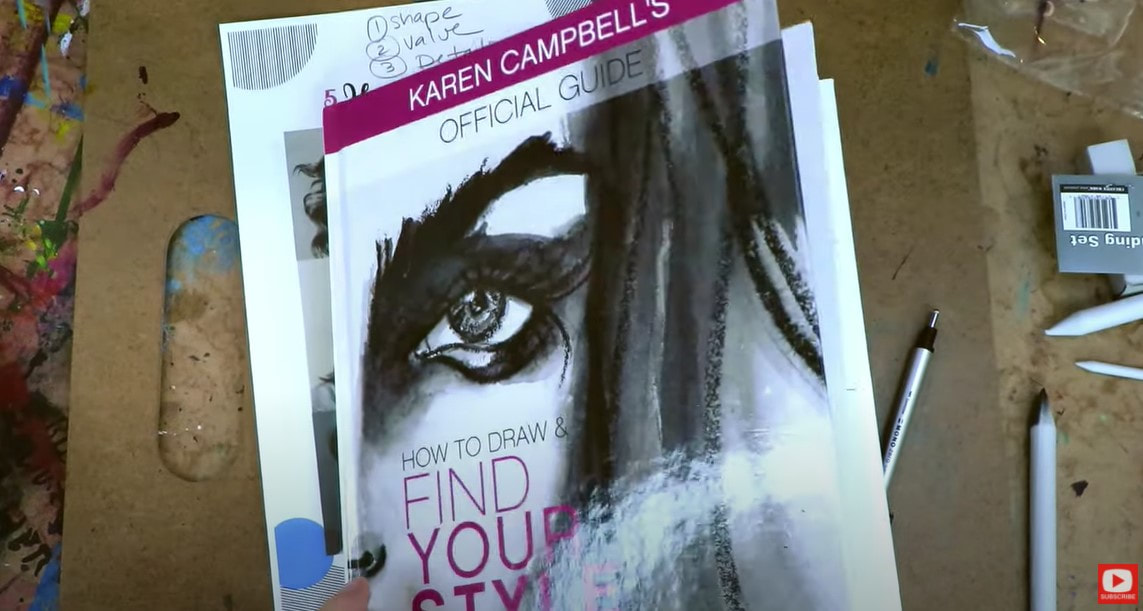
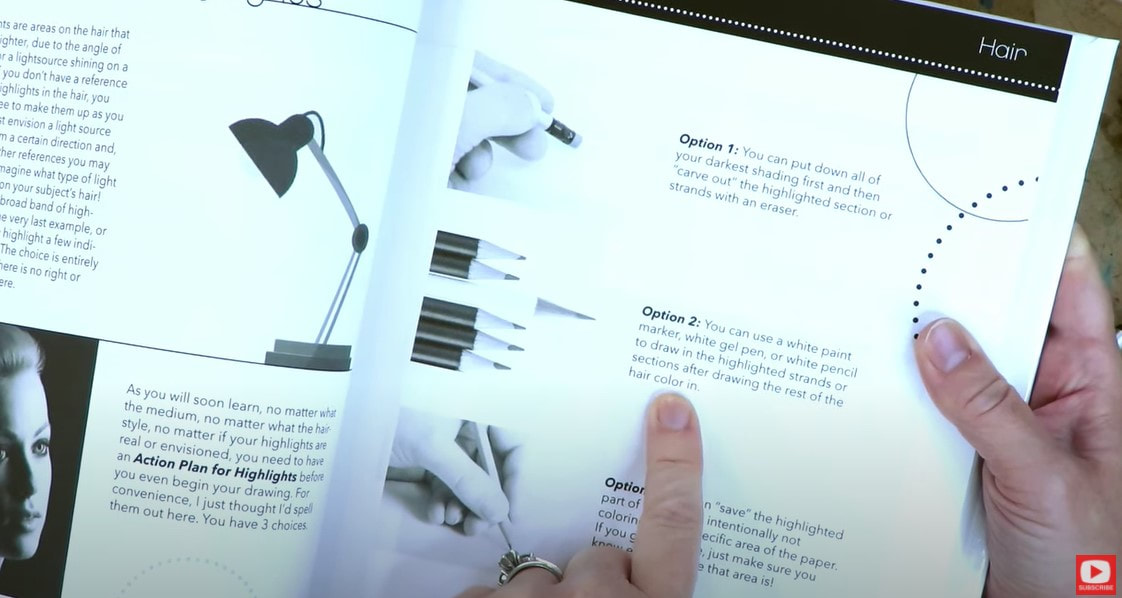
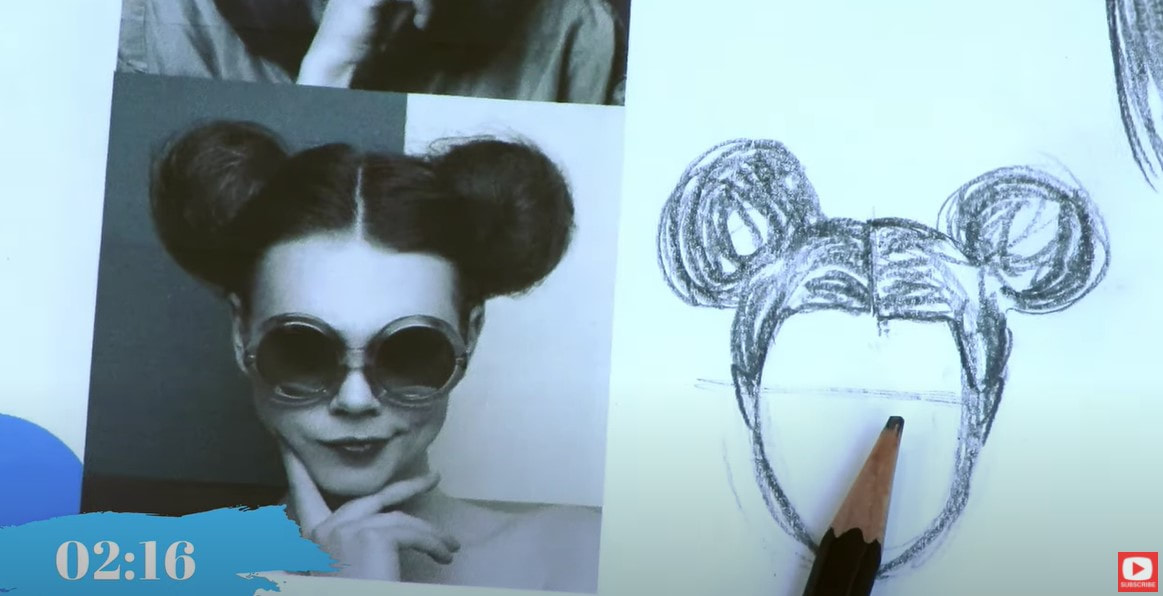
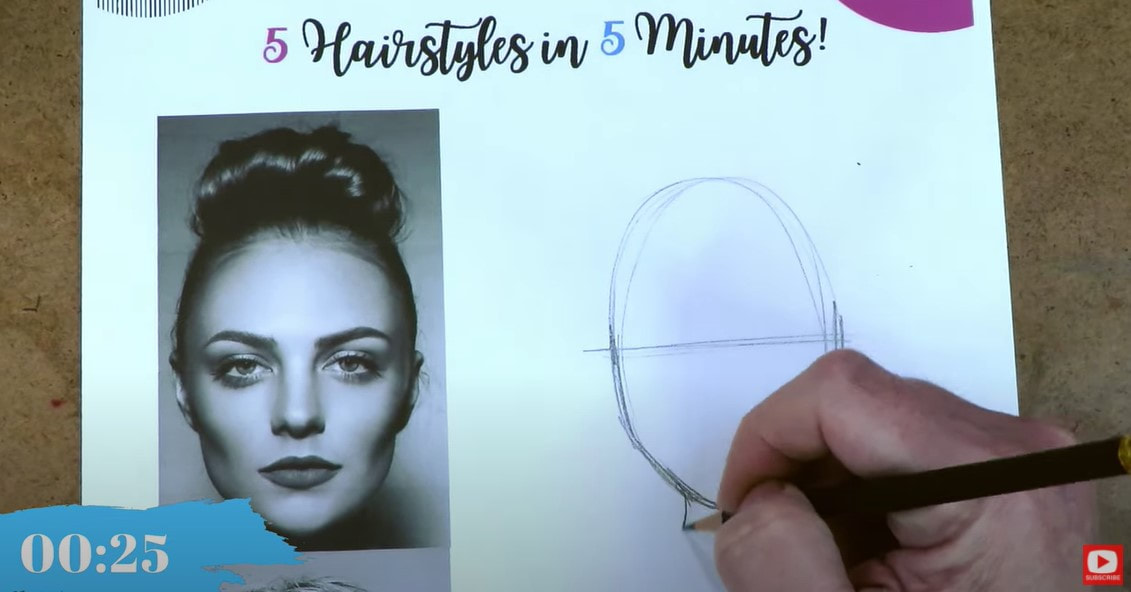
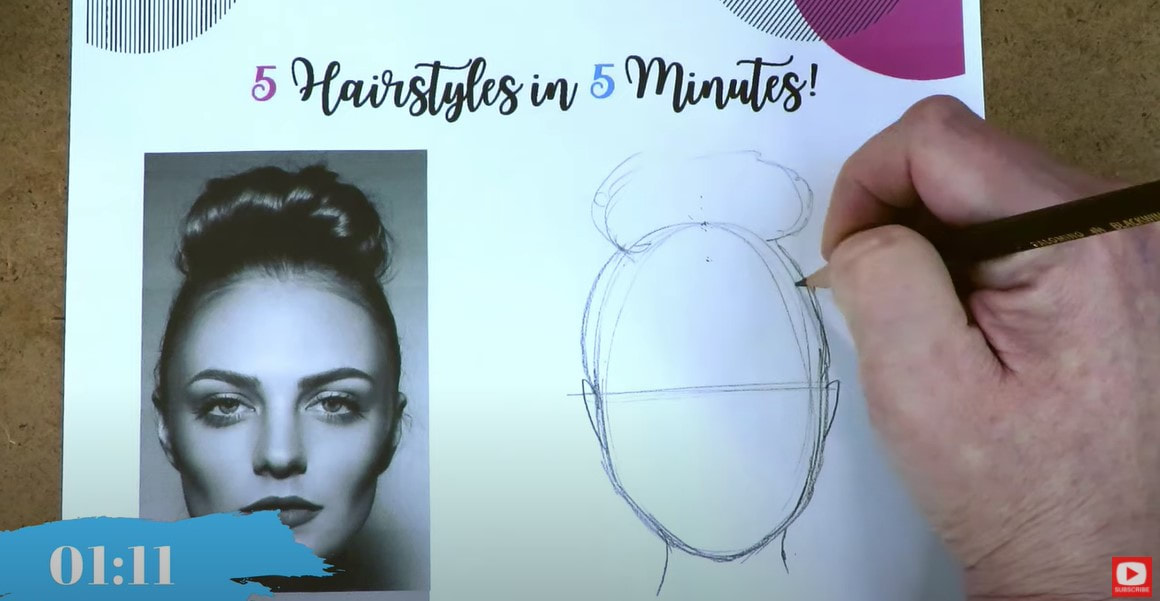
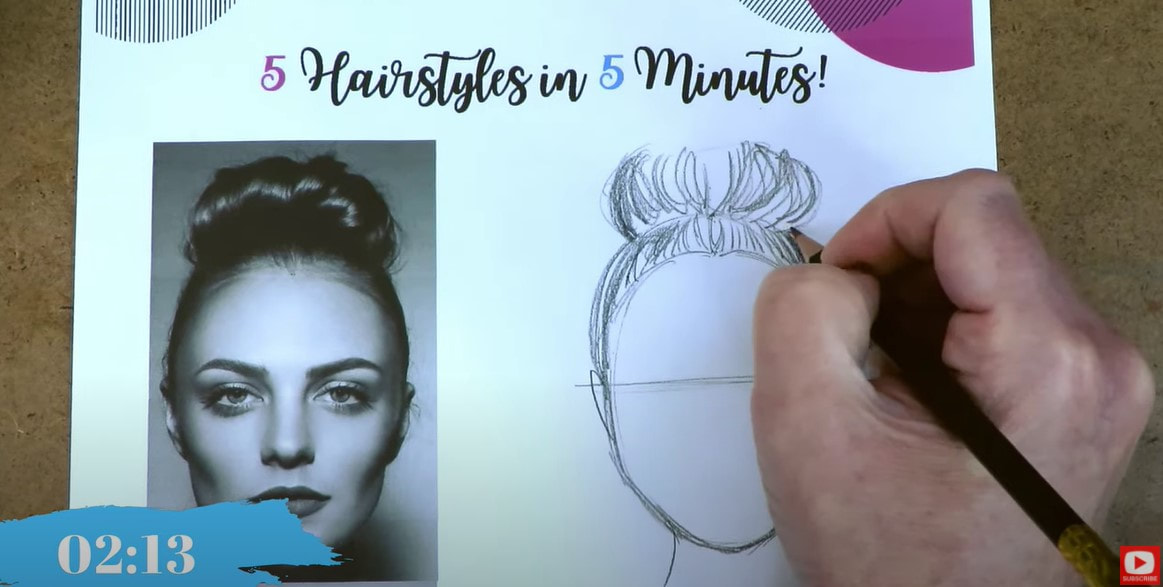
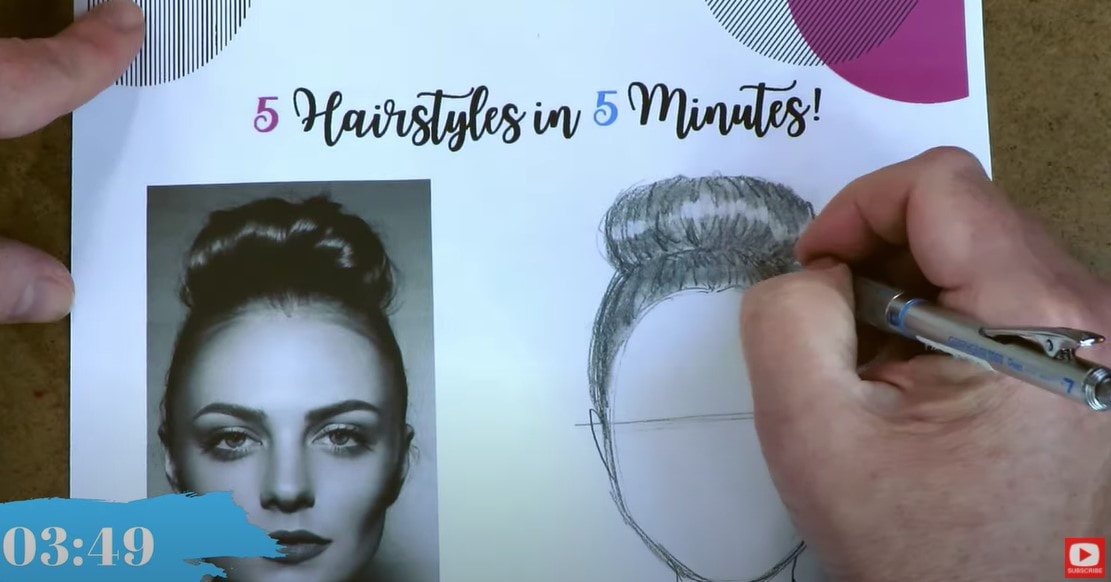
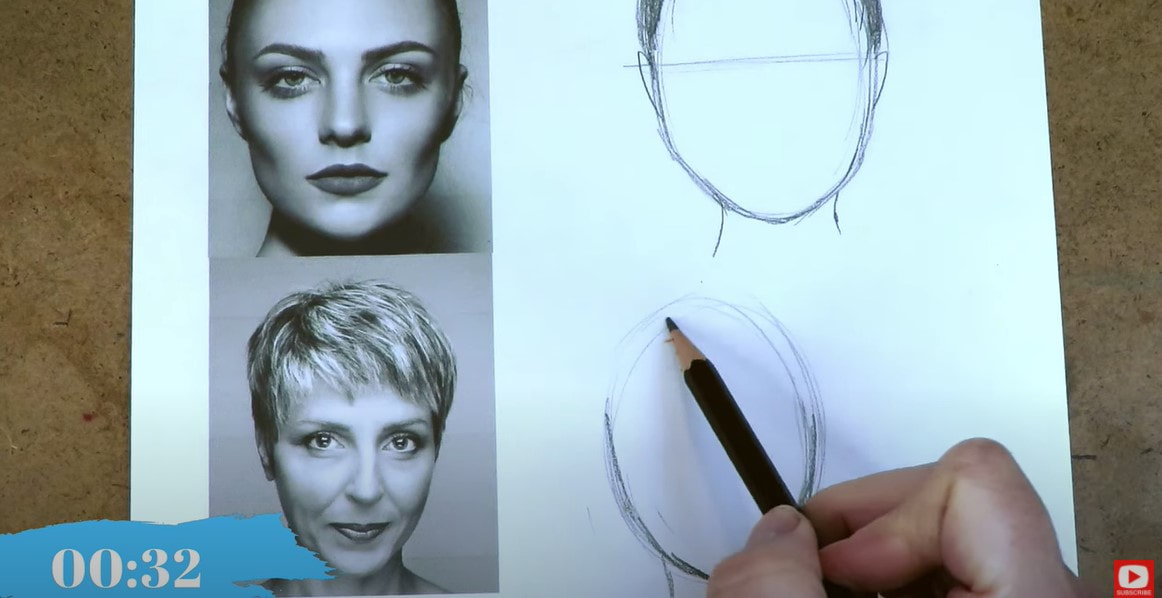
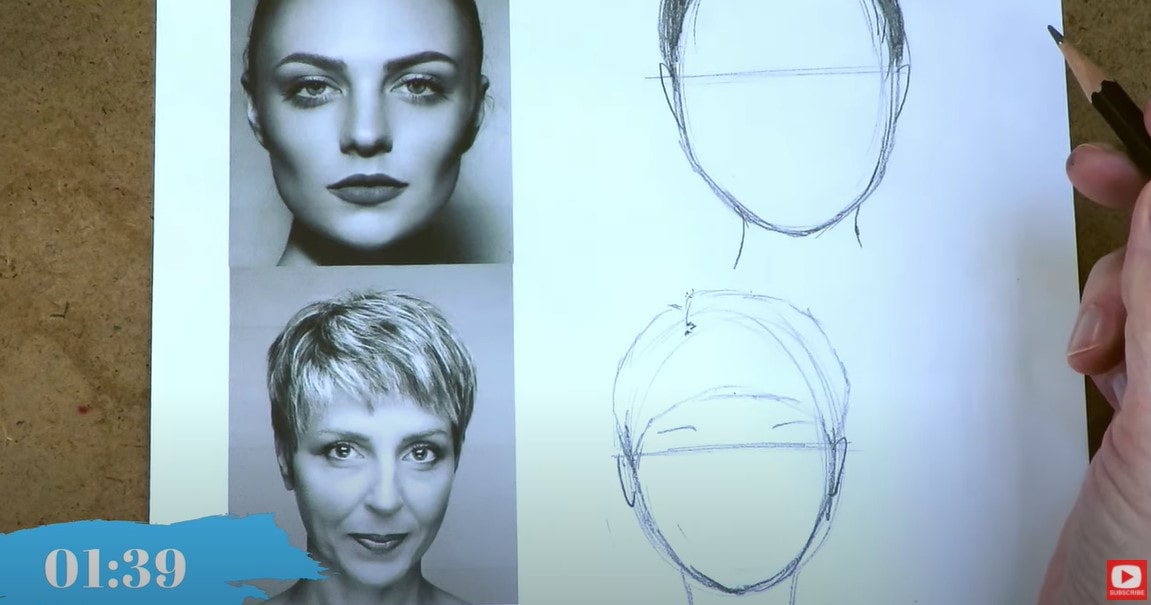
If you like to paint and are familiar with my Mixed Media channel on YouTube, you may recognize the first reference image as one of my favorite hairstyles! I LOVE painting variations of this one, and am excited to teach you how to draw hair blowing in the wind! To get started, draw an oval for the face. I'm not drawing in any of the facial features today because this lesson is focused on simple hairstyles drawing only. If you missed any of the previous episodes, click here for LIPS, here for NOSES, here for EYES, and here for EARS. When your oval is ready, go ahead and sketch in a horizontal line across the approximate middle of your oval. This is our imaginary "eye line." Next, check your reference to see which way her part is going. Draw a mark on your oval to note that location. Then take another look at the reference to see which direction the hair is going out of that part. When you're working with a photographic reference it makes drawing super easy because the "answers" are right in front of you. Your brain can kinda relax and just record what you're seeing in the reference on your drawing paper! One of the most important things to remember about hair is that is has VOLUME to it. That means it always extends UP and OVER the face shape you've drawn. It also will typically fall into the face shape as well in some way. I usually just sketch in a general outline for the hair shape I see in my reference, then add shading and detail. To make this a quick drawing and shading practice, simply scribble in the areas that are super dark with your pencil. Then we'll drag that graphite around with a blending stump, and chisel some highlights out with an eraser at the end. It's a bit tricky to see the part on reference #2, but since her hair is perfectly symmetrical, we can assume her part is down the middle. Mark your page in the middle of your oval for her part. Then go ahead and sketch out the general outline of her hair, including the bangs. Remember to sketch her hair shape UP and OVER the oval of her face to indicate volume. For hair this dark, you don't have to draw every line, and we've got a blending stump to help us as our time saver "cheat" today. Feel free to add in some loose strands if you want to with the same pencil or a mechanical pencil to vary the line weight. If you'd like to learn MORE about drawing different hairstyles, the hair section of my How to Draw & Find Your Style Book has some great hair drawing tips, including an "Action Plan" for highlights. Be sure to watch the video so I can explain these options to you so they make sense. For the third and fourth hair drawing references today, we're focusing on bun hairstyles drawing. Our third image is a set of super cute, double buns! Follow the same method we did for the other prompts. Look for the part, then draw an outline of the hair shape that extends UP and OVER the oval head. Even though this girl's hairstyle is pulled back, she still has volume extending outside of her "oval," if you look closely. Making observations like this will help your whimsical drawings look more realistic. After our double buns, I'll show you how to draw hair in a bun on top of a girl's head. I LOVE this cute top knot! She is gorgeous, and I'm already excited to add her glossy highlights in! Like prompt #2, this one doesn't show a visible part. When that happens, we again can simply assume it's in the middle - especially if you see a hair bun or ponytail in the middle of her head. After we note a spot for the part and sketch in an outline of the hair, I draw individual lines and pay special attention to the directionality so what I'm drawing resembles my hairstyle drawing reference. Once I've blended the graphite, I'll show you how to draw hair highlights. These highlights remind me of some of the glossy higlights we had in our Realistic Lips drawing video. I find it super easy to carve a few highlights out with my mono eraser in cases like this. Just replicate the shapes you feel the highlights are making on the bun as your eye moves across it. Since I spent so much time on long hairstyle drawing, I thought we DEFINITELY had to do a little SHORT hairstyle drawing as well, so for our last drawing prompt today, I'm going to show you how to draw a pixie cut! After you get your head shape drawn, sketch in the eyeline (half-way down the oval). Then pencil in some approximate eyebrows, note the part location, and start sketching in where the bangs fall. Even when you're drawing short hair, there is volume, so be sure your hair outline indicates that. If you're not sure how to draw short hair, make sure you're watching the video here because everything is in real time, and will help you SO much!! Before you start penciling in the strokes of individual hair strands, make sure you really look at your short hair drawing reference to consider the directionality of her hair. Which way does it extend from the part? I hope you found this video on drawing female hairstyles super helpful!! I'll see you back here NEXT Monday for our next facial feature...
Have a wonderful week!!! Want to learn how to draw a simple whimsical face in pencil? Want to work on shading a face? ❤️Want FREE, immediate access to my Fun Fab Drawing Club and/or Mixed Media Society plus discounts on all my art books, sneak peek at YouTube videos and new book content, behind-the-scenes fun and MORE? Join me over on Patreon today and get HUGE PERKS in return for a small monthly donation. ❤️ CHECK OUT ALL my art books on AMAZON (available in both Kindle and Paperback) ❤️ SIGNED COPIES of my art books on ETSY ❤️ MY FAVORITE ART SUPPLIES on AMAZON ❤️ MY BELOVED FACEBOOK GROUP ❤️ FOLLOW ME ON INSTAGRAM ❤️ FOLLOW ME ON FACEBOOK
0 Comments
|
Karen CampbellFounder of Awesome Art School. Mixed Media Artist. Author of 18 Instructional Art Books! Archives
September 2023
Categories
All
|
"Karen is flipping hilarious and she's very real...I like the way she teaches in a way that really gives you confidence, whether you're a beginner or advanced there's always something new to learn!"
- Elizabeth W. |
What Fans Are SayingKaren, you are absolutely fabulous! You make me feel like I can draw anything. I have recently retired and finally have the time to do some of the art that I have loved since I was in school. I am really at the beginning of my art journey and I hope to learn as much as I can. Thank you for all you do. |
Contact ME |