
Can't Get Faber Castell Gelatos? TRY THESE Gel Crayons for Stunning Mixed Media Portraits.14/9/2021
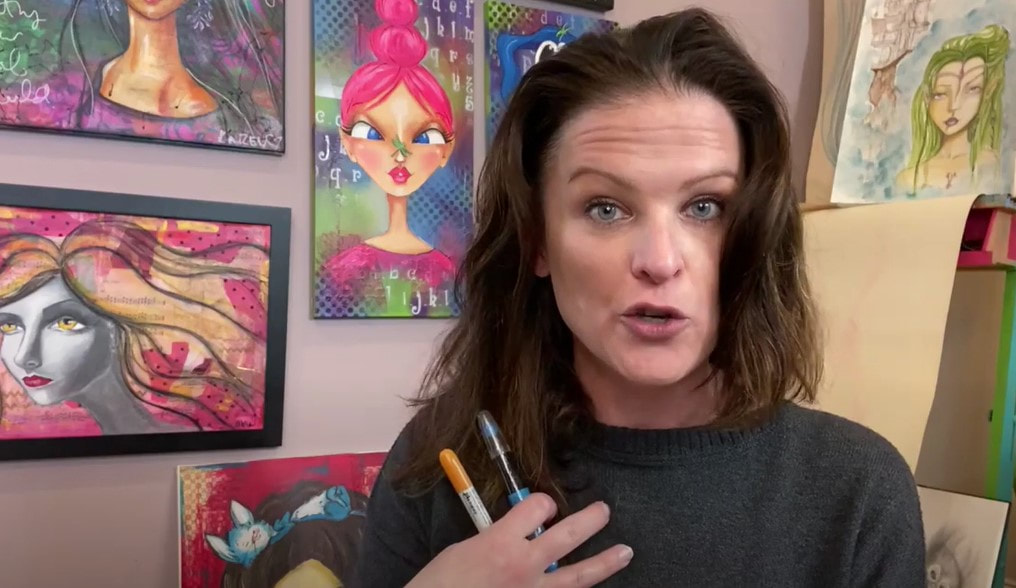
Faber Castell Gelatos are a staple in my studio for creating gorgeous shading in the skin tones of my mixed media portraits. Recently I've heard a number of my students can't get gelatos in their part of the world, so I need to recommend a Faber Castell Gelaots alternative. In case you're one of these students, a beginner, or just curious about which gel crayons made it into today's mixed media art supply demo, this video is FOR YOU.
Before we get into the demo, I've got a super exciting announcement!
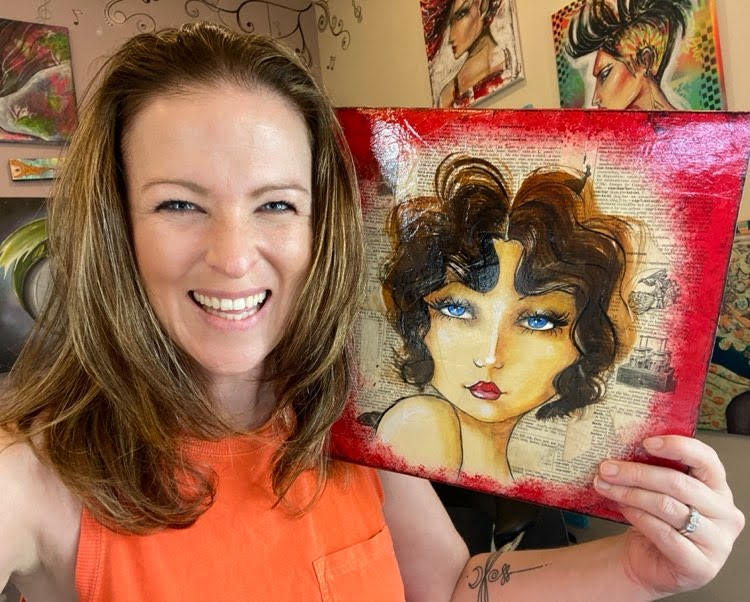
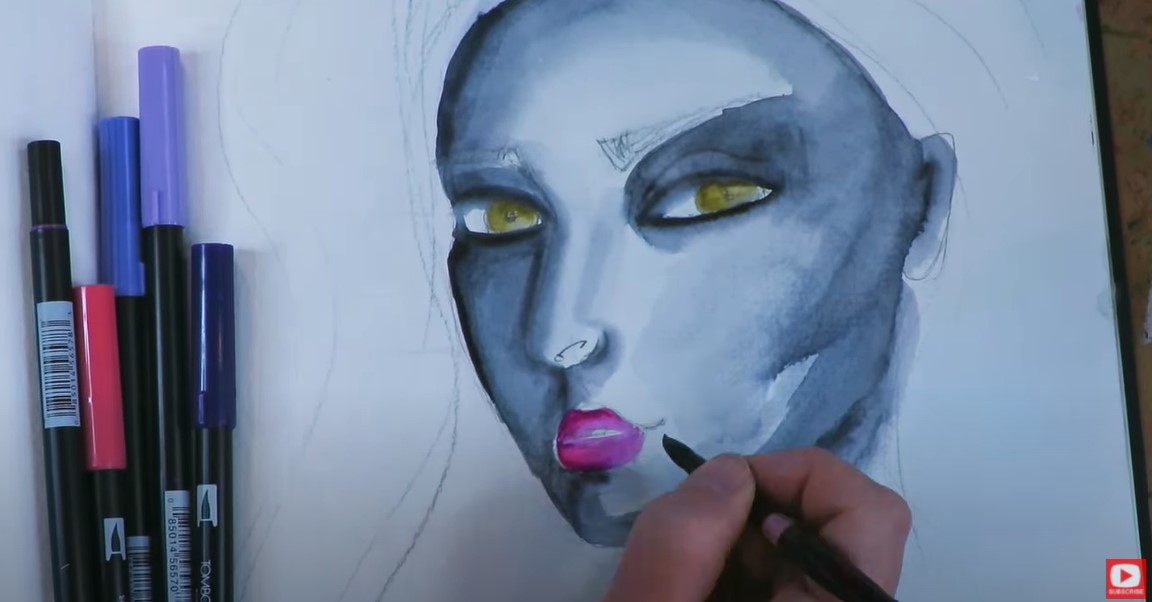
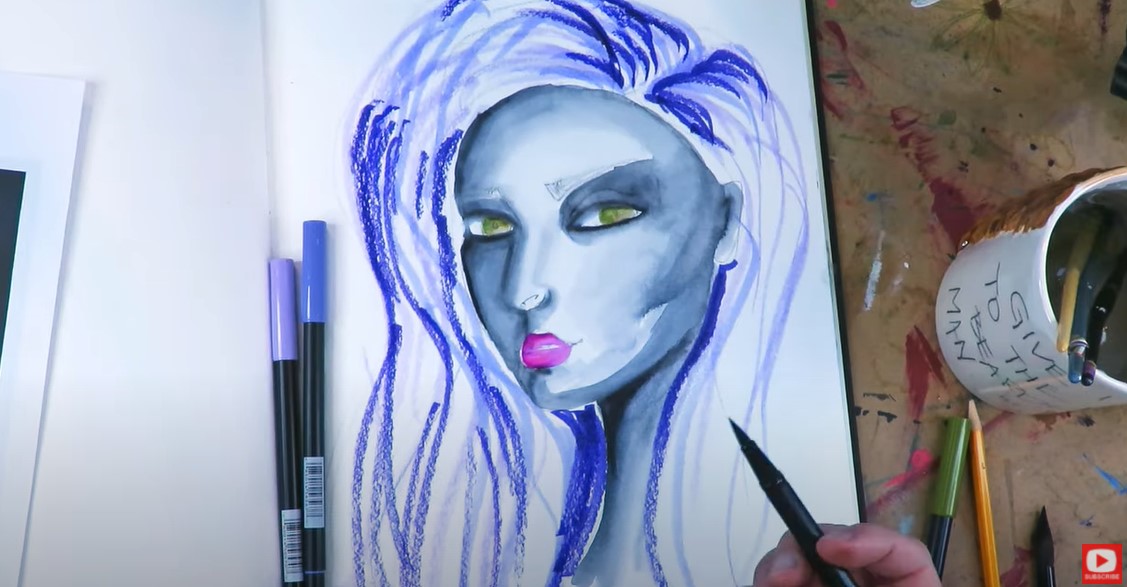
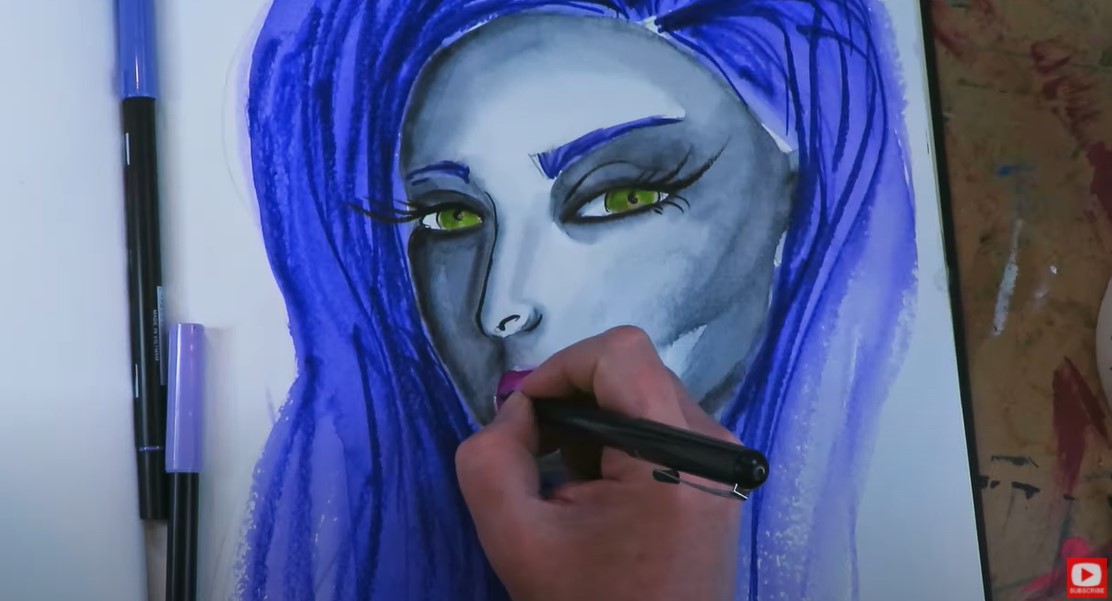
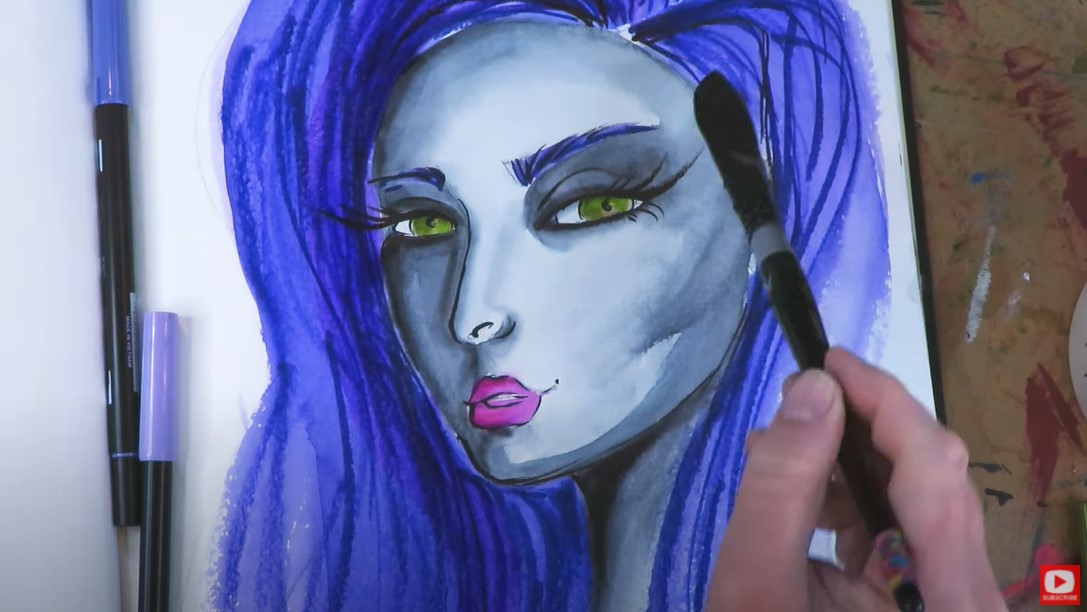
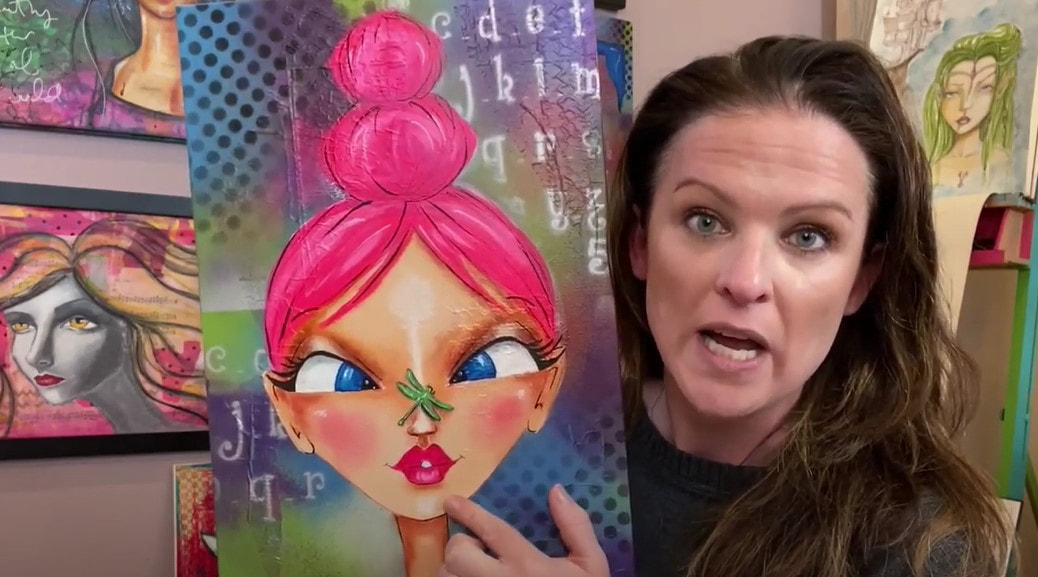
I'm hosting an online art class / online art workshop starting Monday, September 27th. We'll be creating the sassy mixed media portrait shown in the above photo over the course of a whole week!! If you sign up BEFORE September 27th at this super special link, you can get 60% off. I REALLY hope you can join us!! 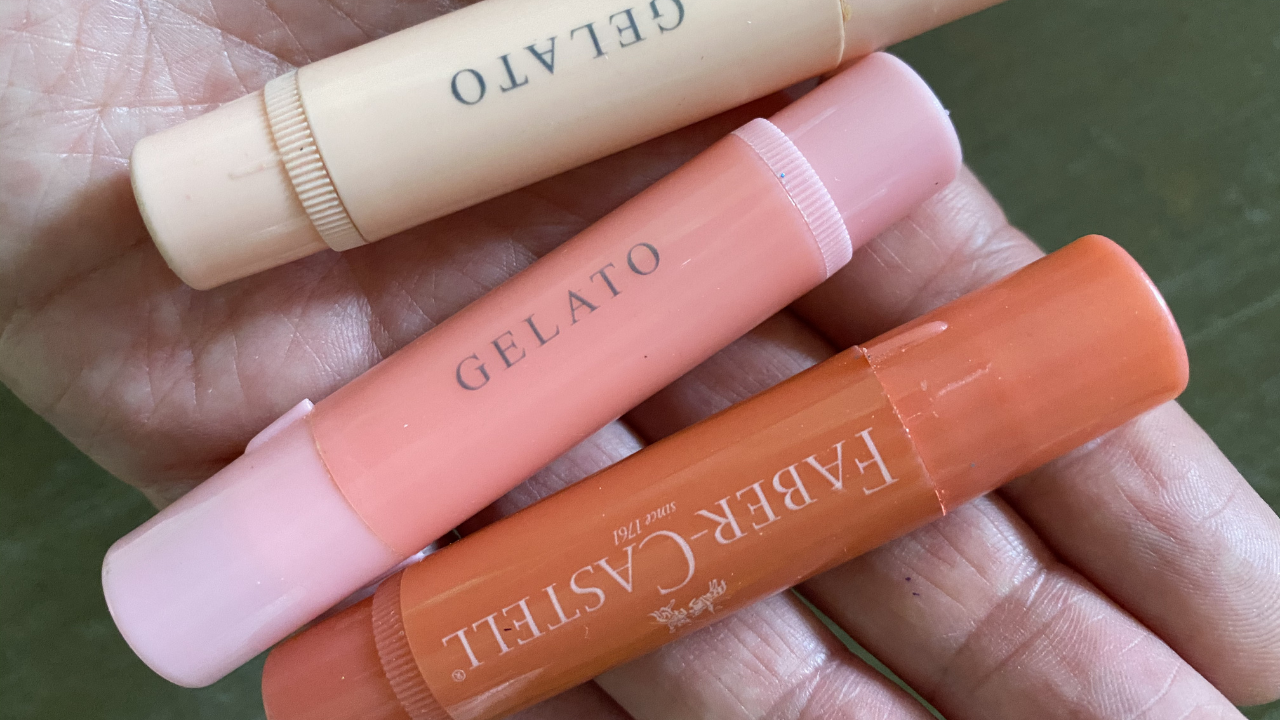
If we haven't met yet, I'm in total LOVE with gelatos by Faber Castell, and use them in almost all of my mixed media hamburger system projects- especially when shading faces of my mixed media portraits.
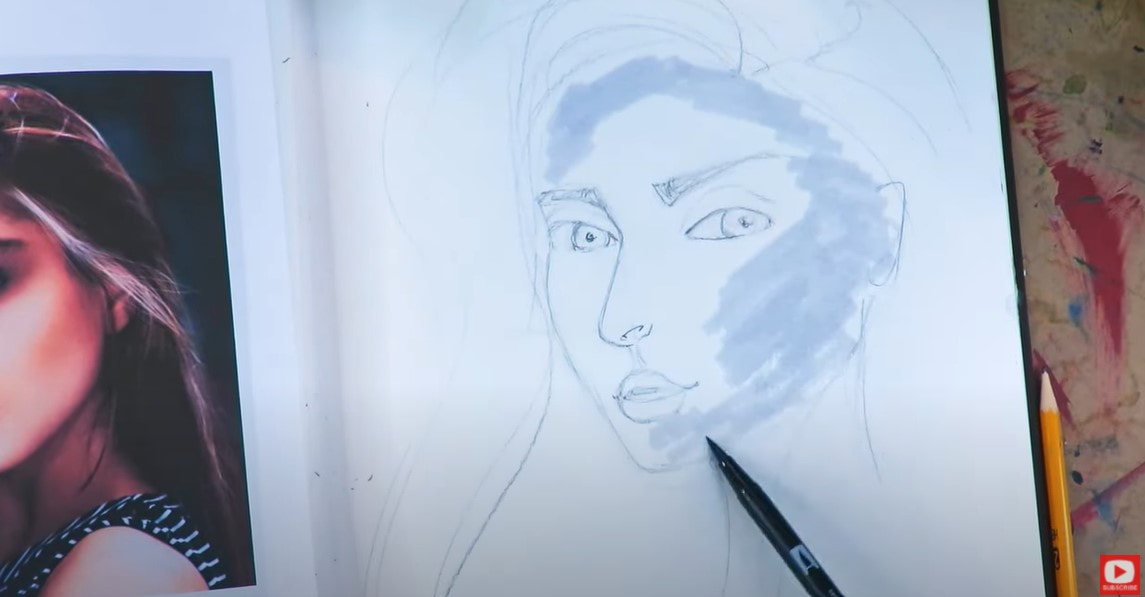
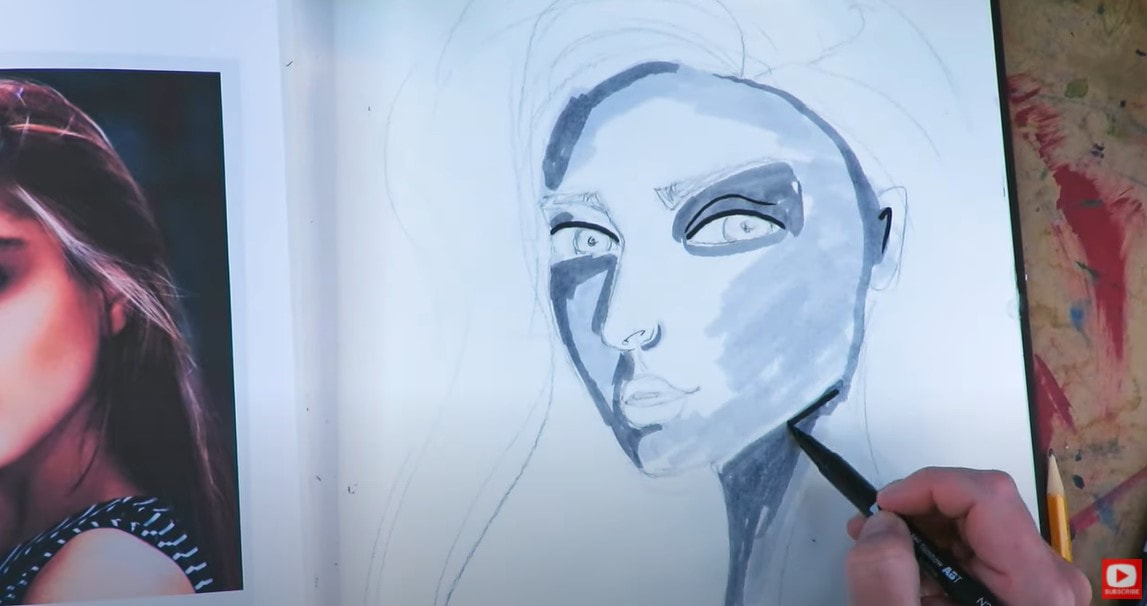
Gelatos glide beautifully over acrylic paint, and are super easy to blend with nothing more than your finger. If you've been hanging out with me for a while, you know I use them to shade the faces of my mixed media portraits instead of blending my skin tones from acrylic paints because it's MUCH faster & easier. 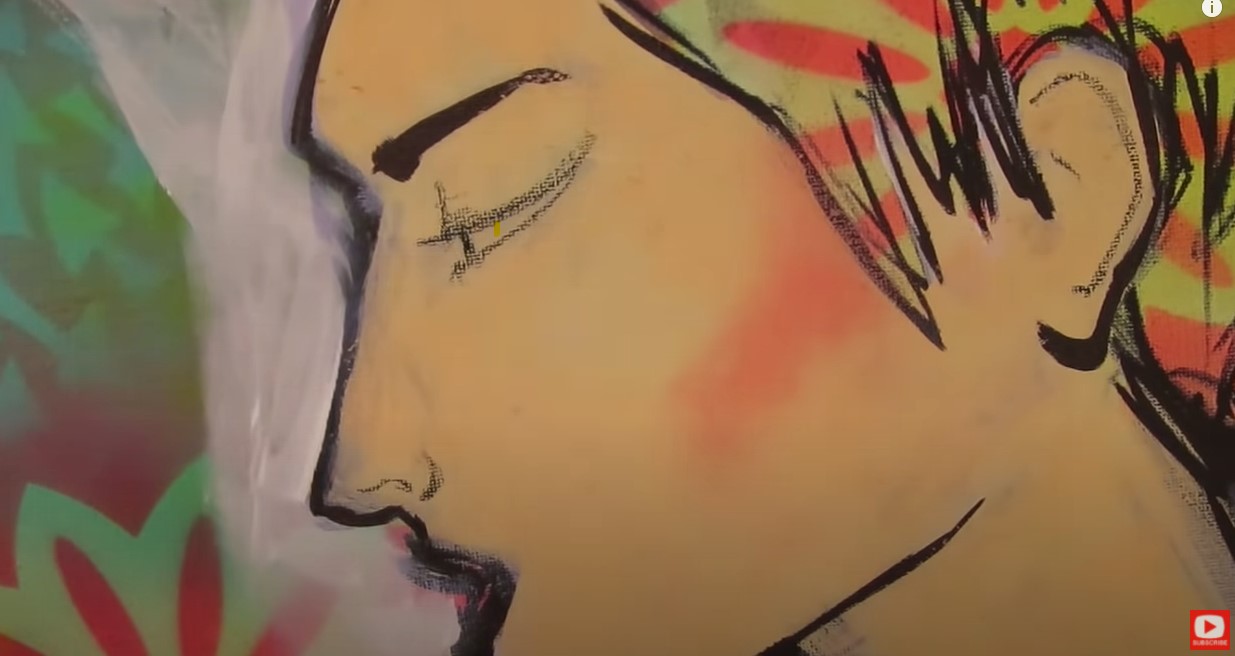
I was looking for 4 main product features from the alternative gel crayons I decided to test:
1. How easy they are to "dry blend" with your finger 2. What happens when a sealer like mod podge sweeps over them 3. Lightfast qualities (so your art won't fade over time) 4. Cost 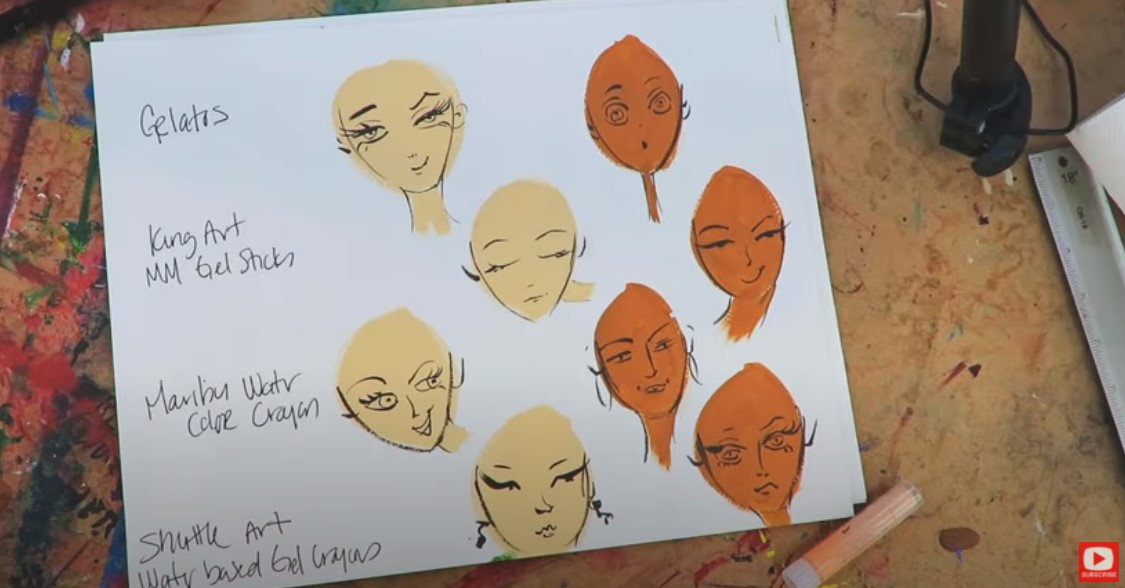
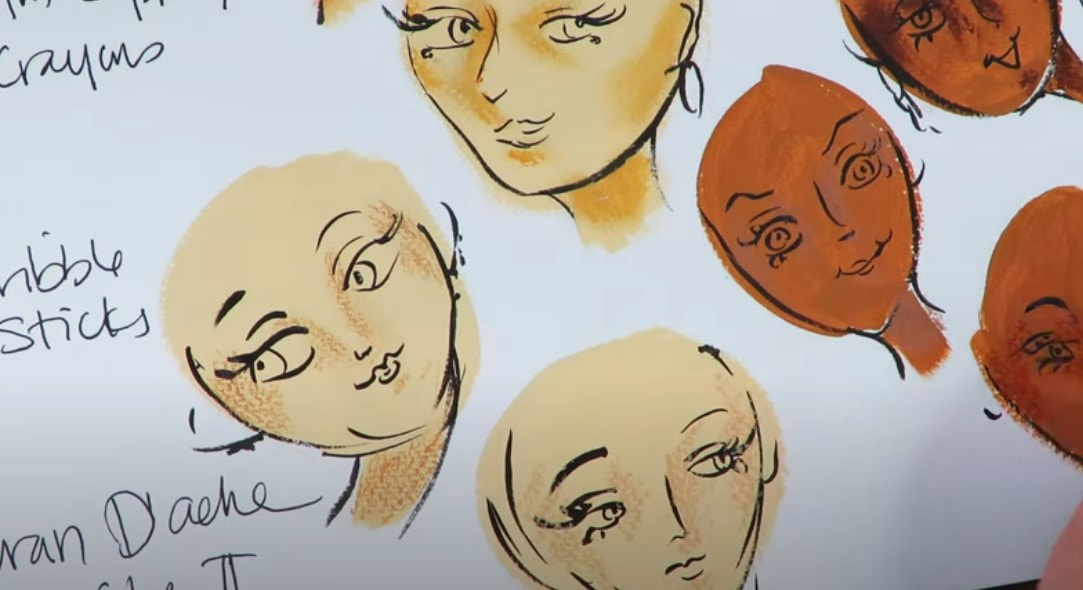
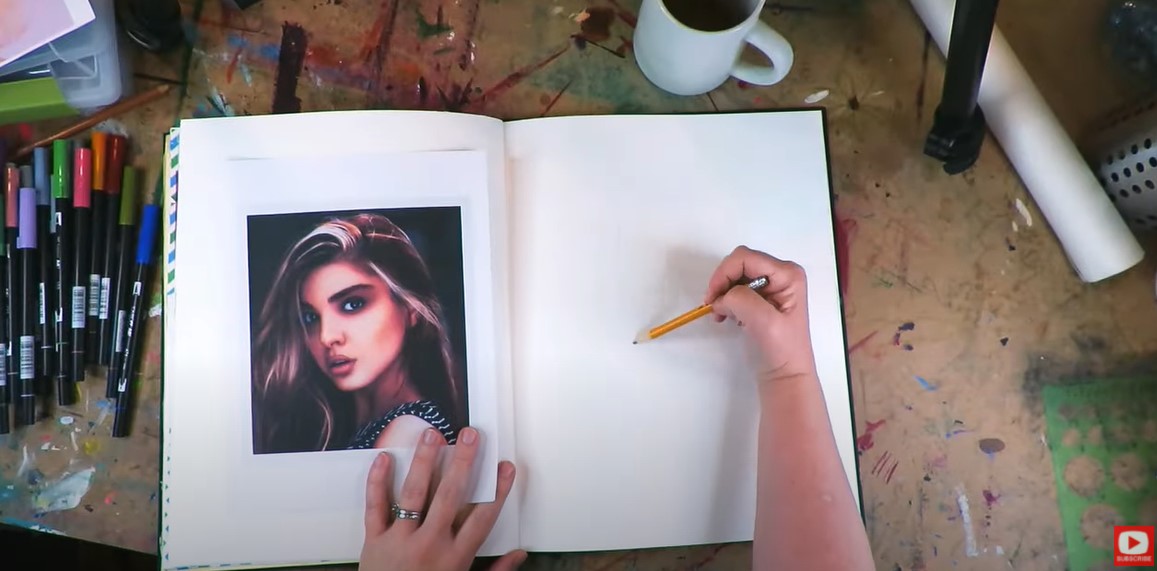
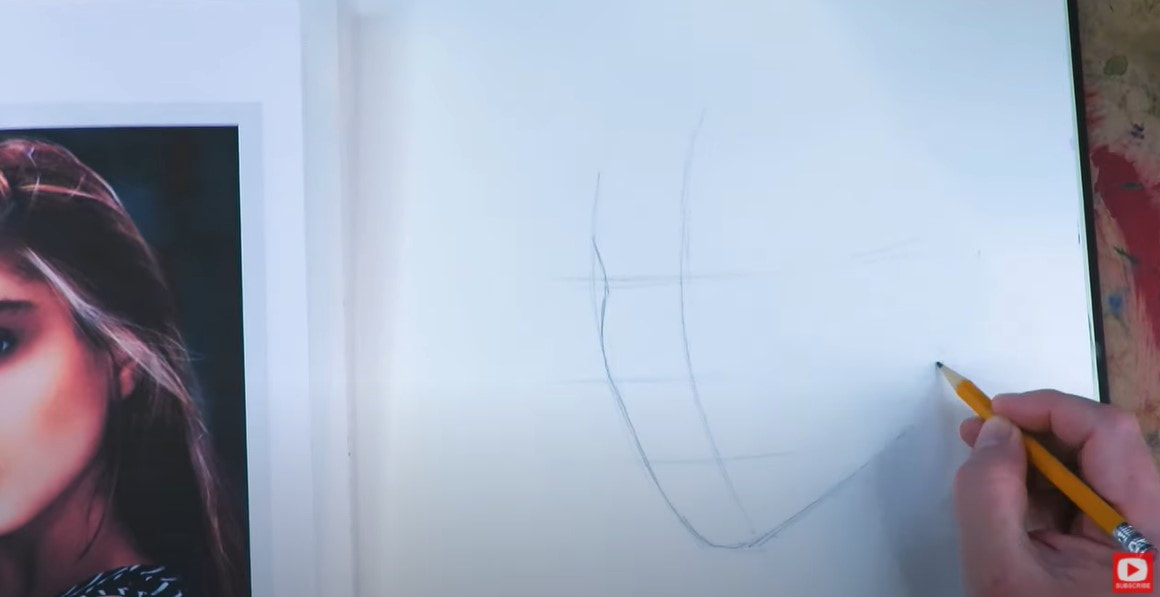
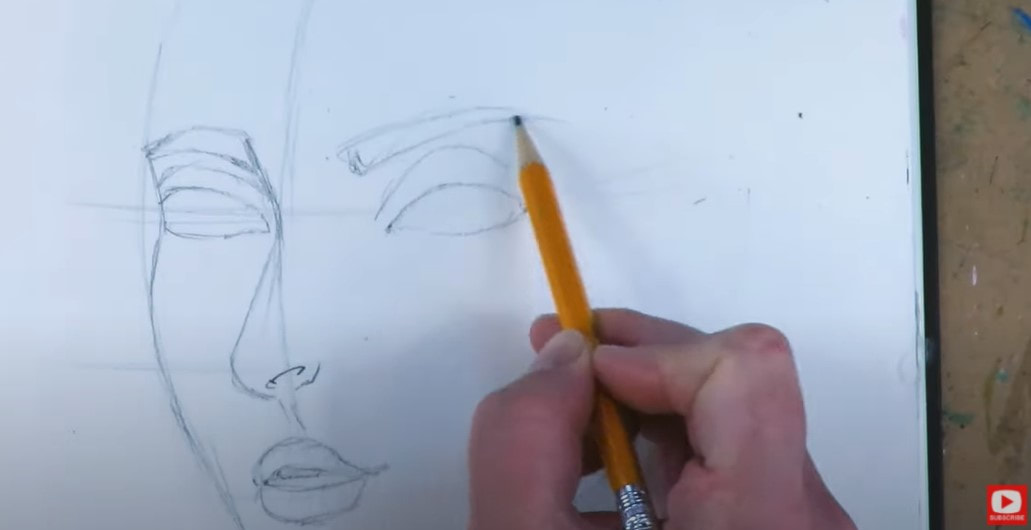
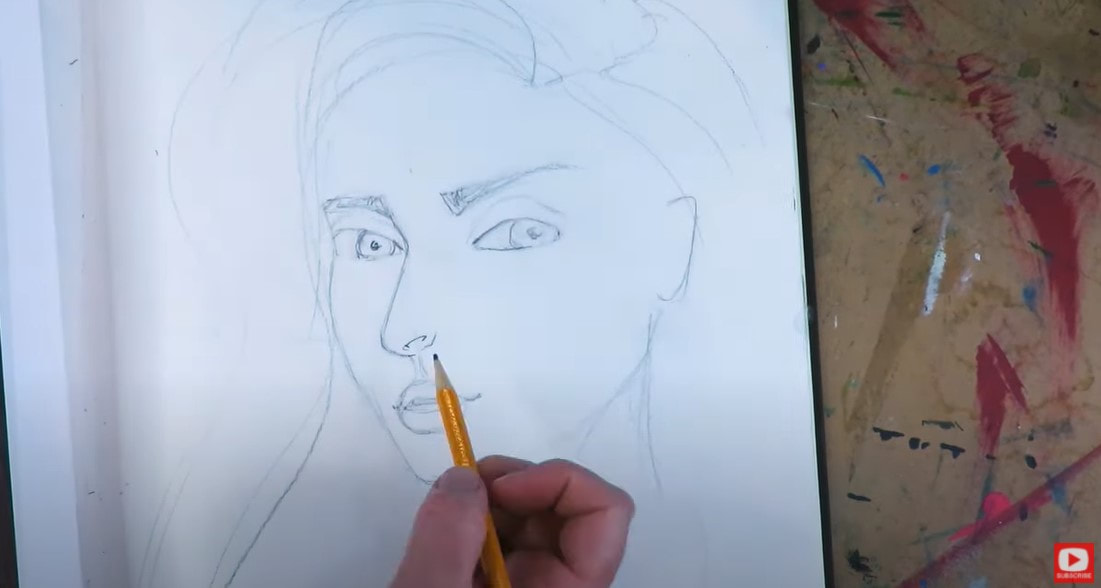
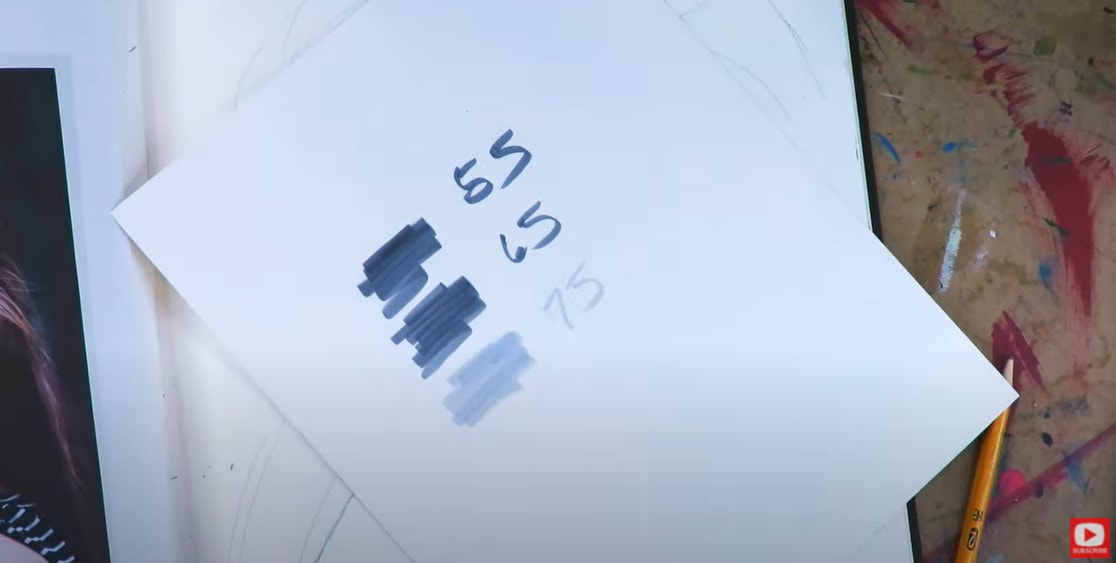
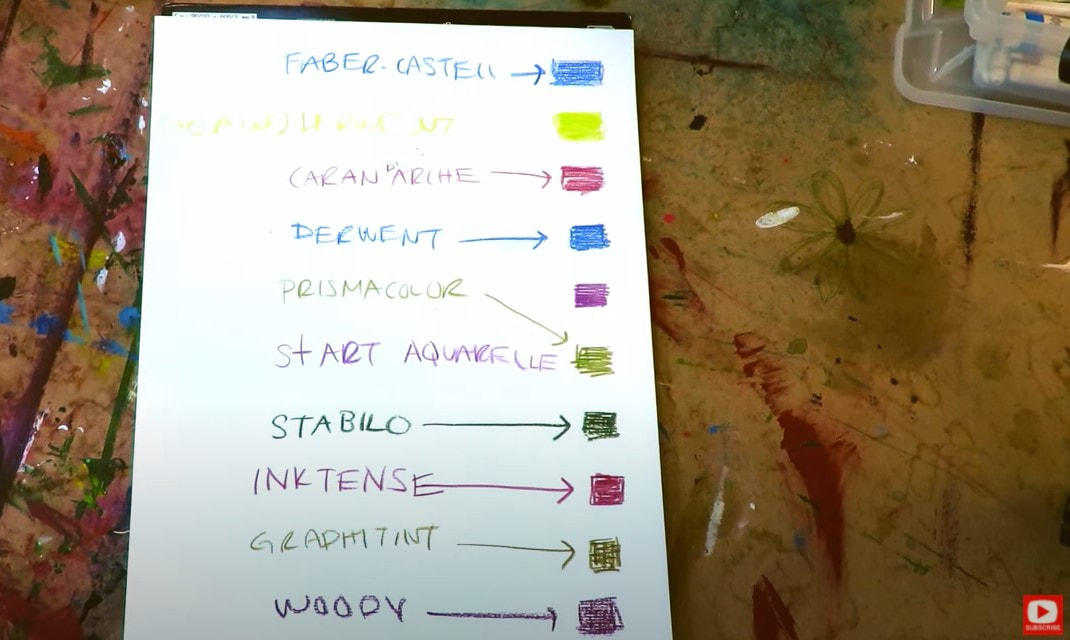
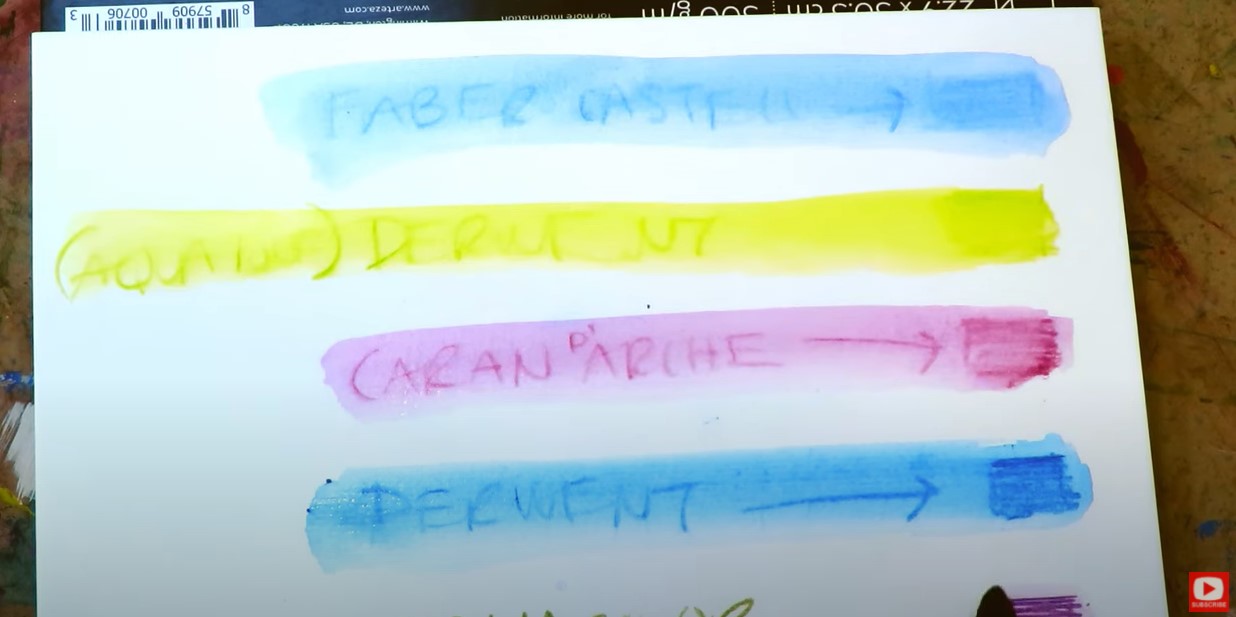
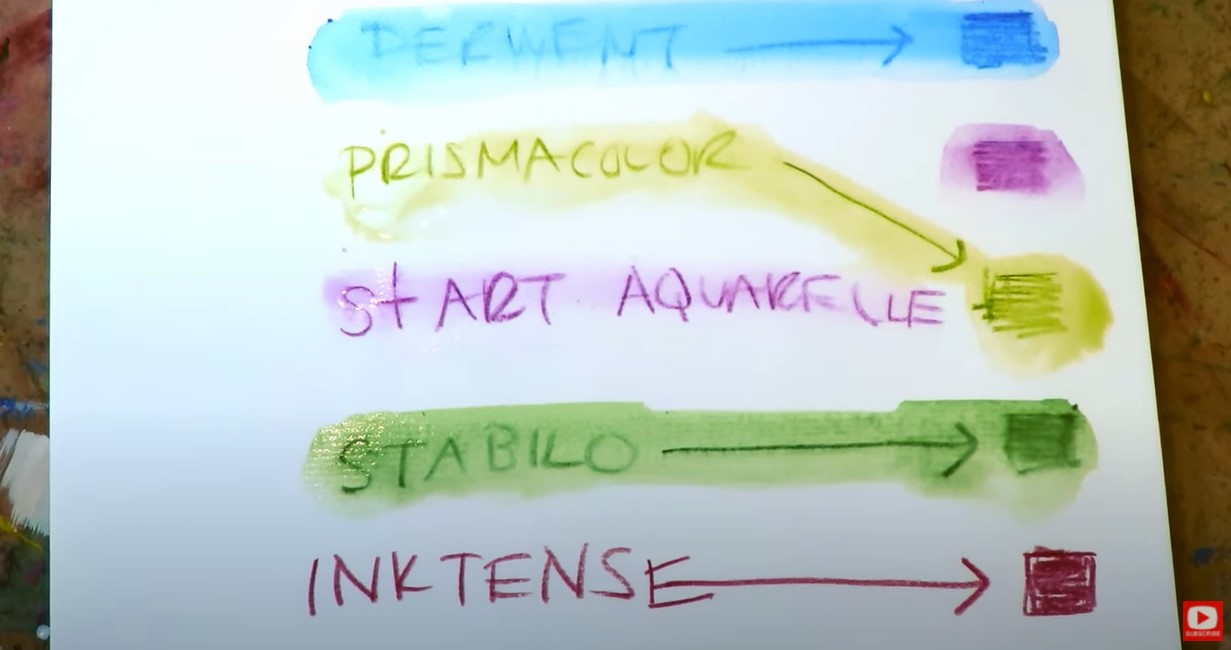
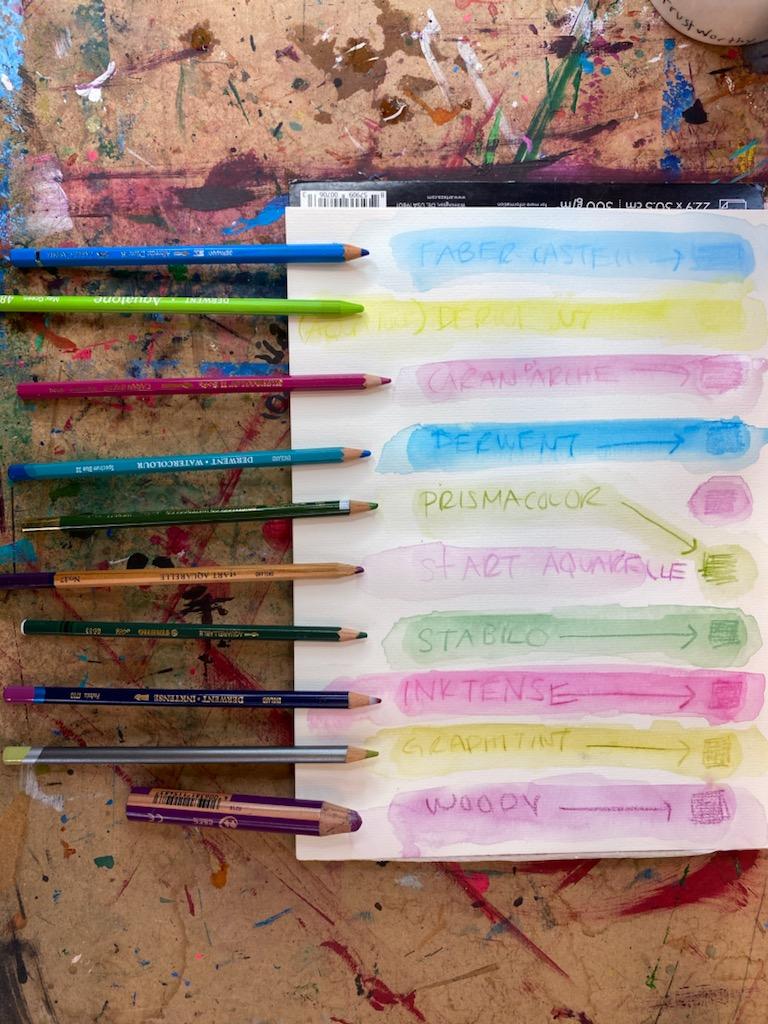
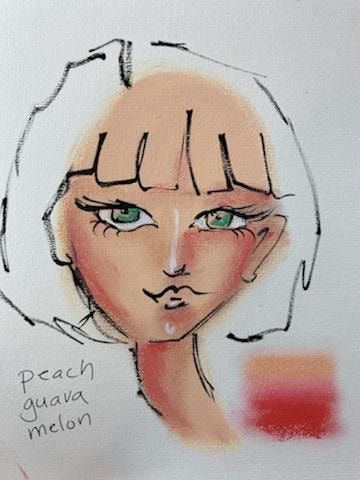
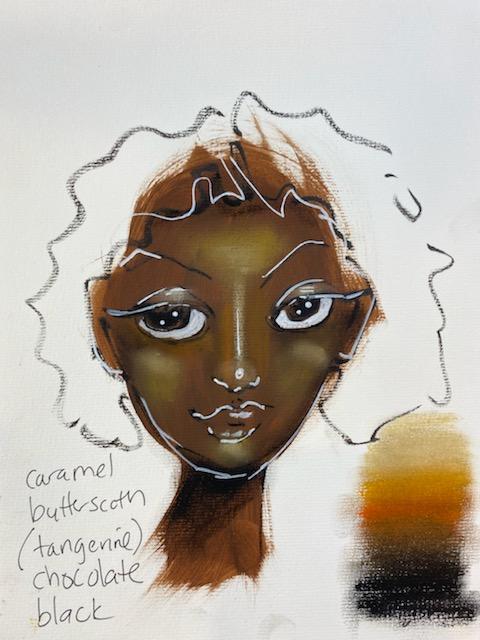
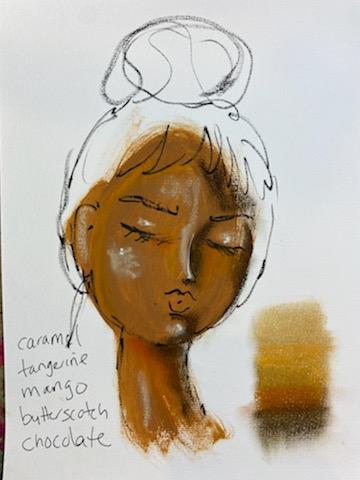
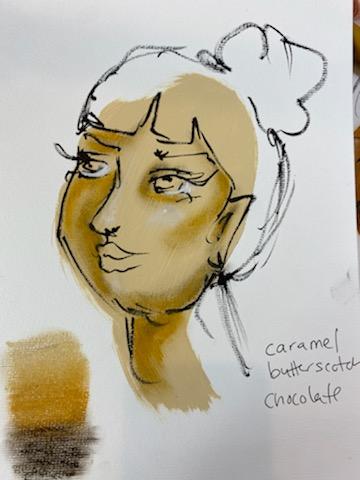
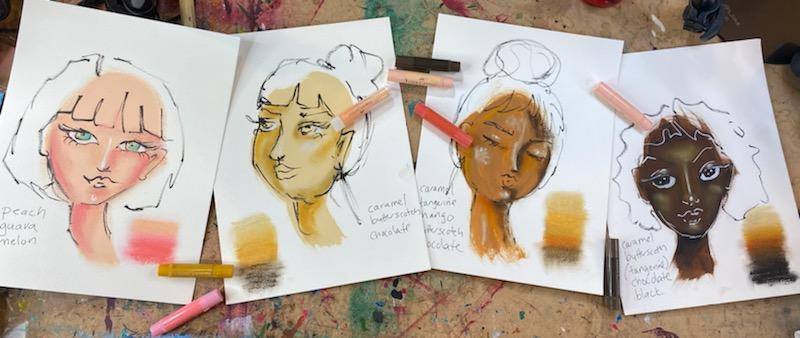
I drew a number of small heads, painted each with a base acrylic skin tone paint, and let them dry. Then I noted which gel crayon was going to be used to shade each face to help me keep everything straight!
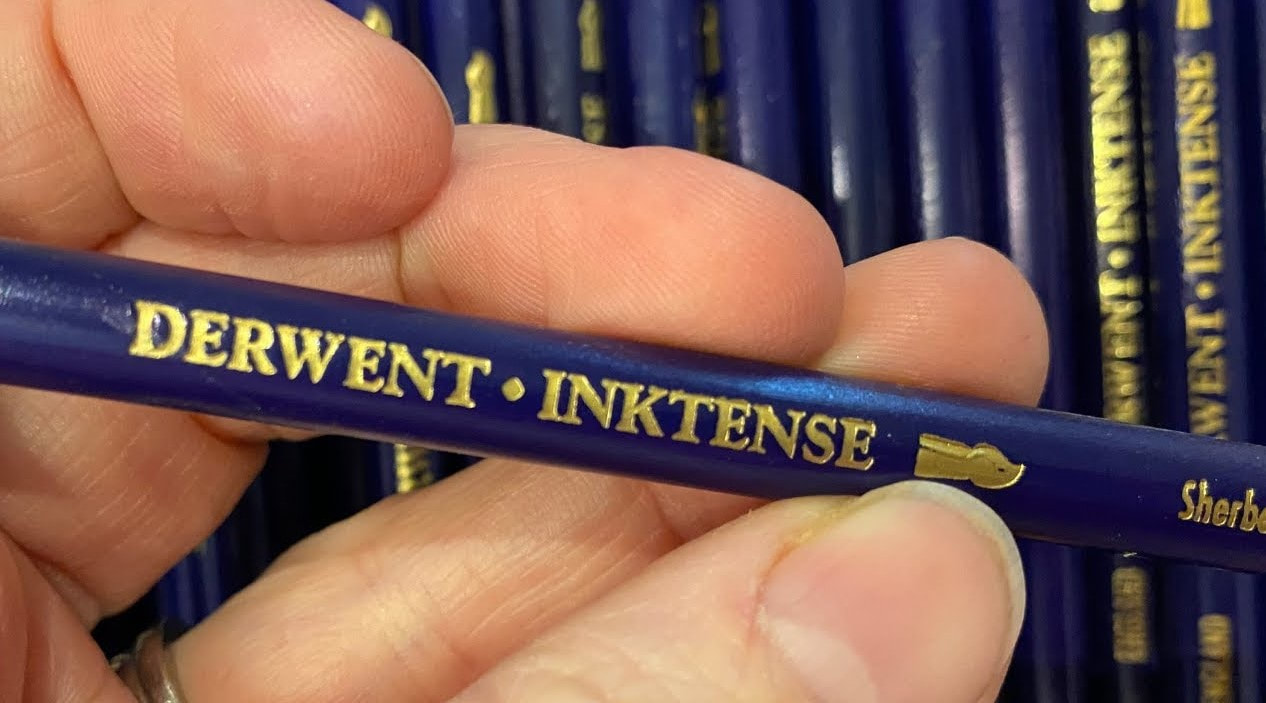
Once I pulled out all of the brands I planned to test, I immediately noticed just how many of them basically had the same packaging. It was a little ridiculous, especially with the gel crayons that were being marketed for kids. Some of them looked EXACTLY like the more expensive fine art gel crayons I had in my studio! Click over to the video to see how they all compared! 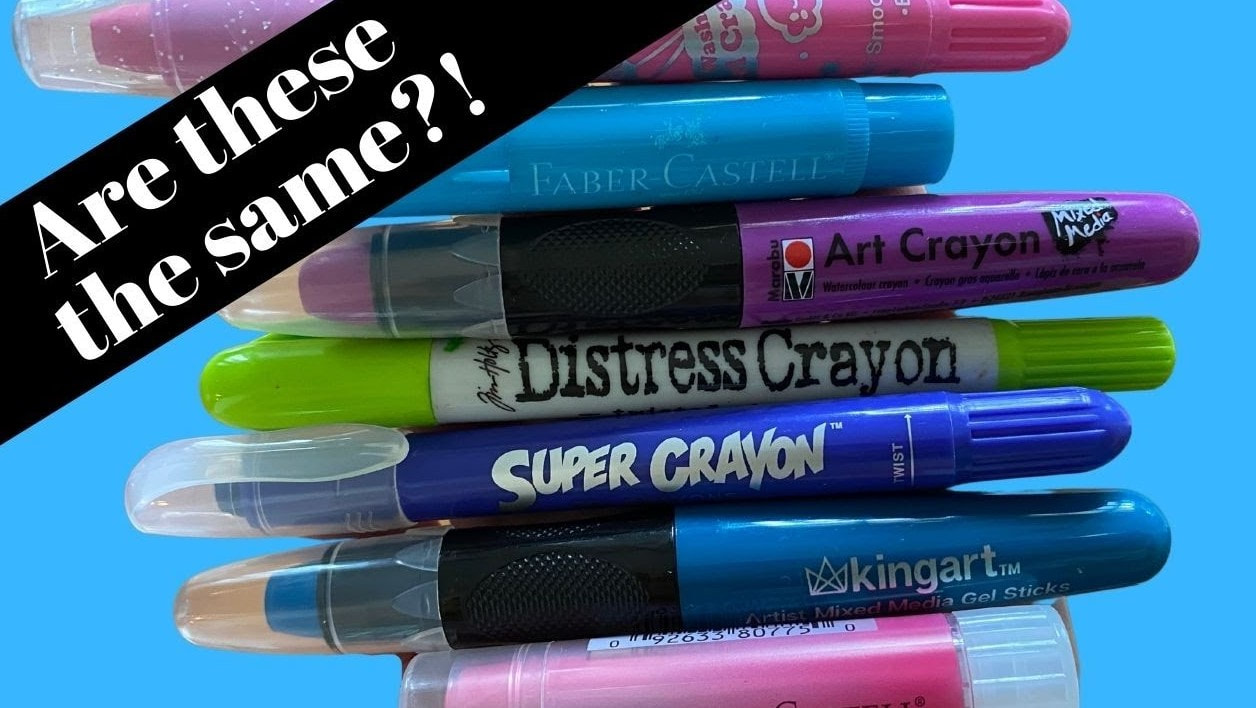
I learned a lot during this demo, but here are a few quick observations:
While I was doing this test, I decided to also check a few of the Gelatos product lines out to see how they performed since I've heard people have had issues in the past with the metallic line. I tested Faber Castell Gelatos Metallic, Faber Castell Gelatos Iridescent, Faber Castell Gelatos Brights, and Faber Castell Gel Sticks (the craft/student/kids version of gelatos).
I honestly didn't have any issues with any of these and felt they all dry-blended about the same. The "brights" pack only has 1 light skin tone, so I don't really recommend this one for shading faces. There are some fun colors in the metallic and iridescent sets though!
Final thoughts: I was shocked at how well the products being marketed to kids worked! Definitely check out the demo so you can see for yourself how each brand dry blends, and reacts.
Want to learn MORE about how to use Faber Castell Gelatos gelatos for shading a face mixed media style? Interested in learning more about my Hamburger System? CLICK HERE to binge watch the Hamburger System series on YouTube, and click here to check out the book (affiliate link) that resulted. 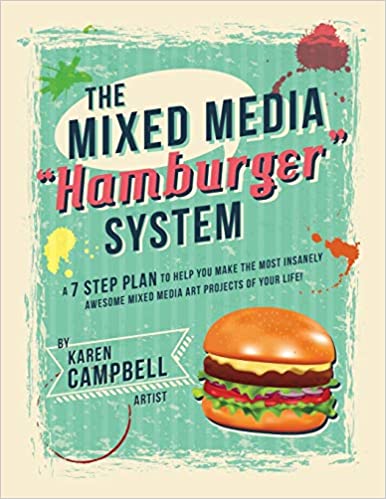
That's it from me today! I hope you enjoy my mixed media art supply video testing Faber Castell Gelatos alternatives!
Don't forget to sign up for my upcoming Art Deco Mixed Media Portrait Online Art Class!! Click this link BEFORE Sept.27th to save 60%!! Thanks for hanging out with me today!! I hope to see you in class soon. ❤️ CHECK OUT ALL my art books on AMAZON ❤️ MY FAVORITE ART SUPPLIES on AMAZON ❤️ MY BELOVED FACEBOOK GROUP ❤️ FOLLOW ME ON INSTAGRAM
0 Comments
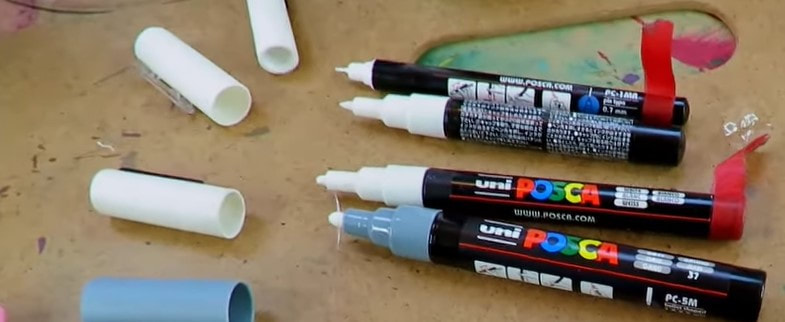
Posca paint pens are one of my all time FAVORITE art supplies! In today's art supply demo, I'll show you why they're a MUST HAVE in my studio + the EASY way I use them to create MAGICAL effects on my mixed media portraits. If you're a beginner in the world of mixed media art, or just curious about what posca paint pens can do for you - today's video is a MUST SEE!!
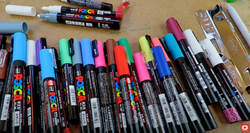
Uni posca paint pens are available worldwide and filled with acrylic paint. Posa pen sizes range from fine tip to thick tip, so you're sure to find what works best for you.
If you're like me and struggle with doing details using a paintbrush - these paint pens make it SUPER easy to add those in. You'll love the control of a pen with the look of acrylic paint!
I've found white posca pens make some of THE BEST highlights on my mixed media portraits! They layer up beautifully over whatever you've got going on from acrylic paints and mixed media collage, to sealers like mod podge, matte medium, etc. They're a really fantastic product!
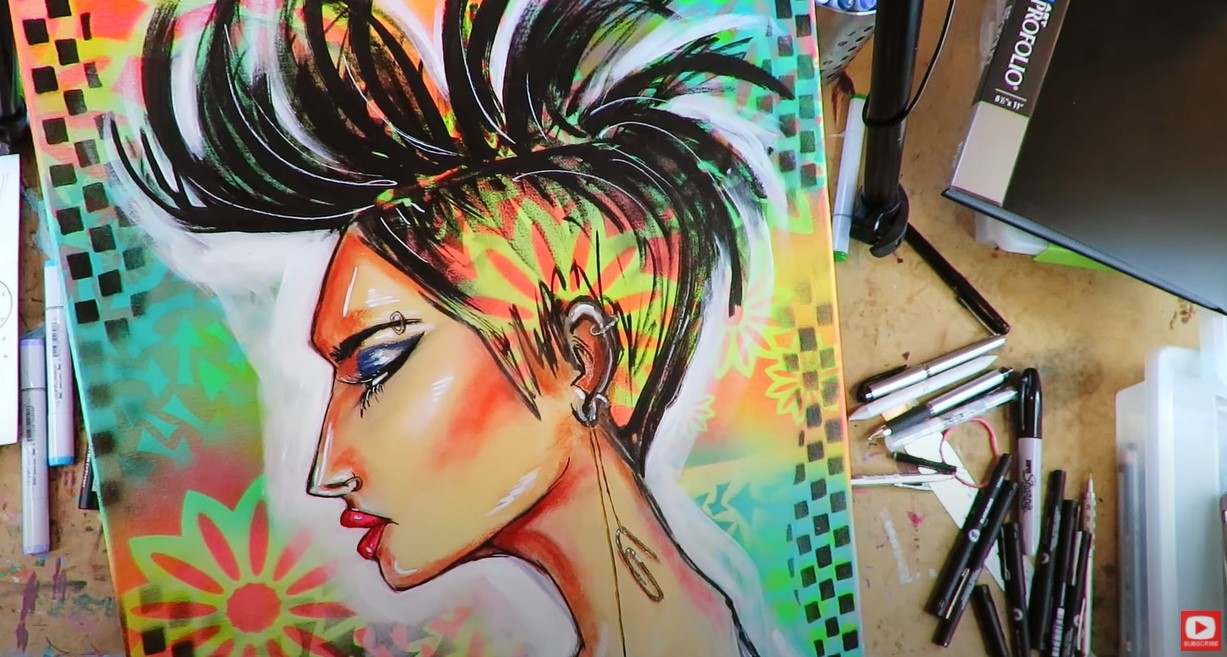
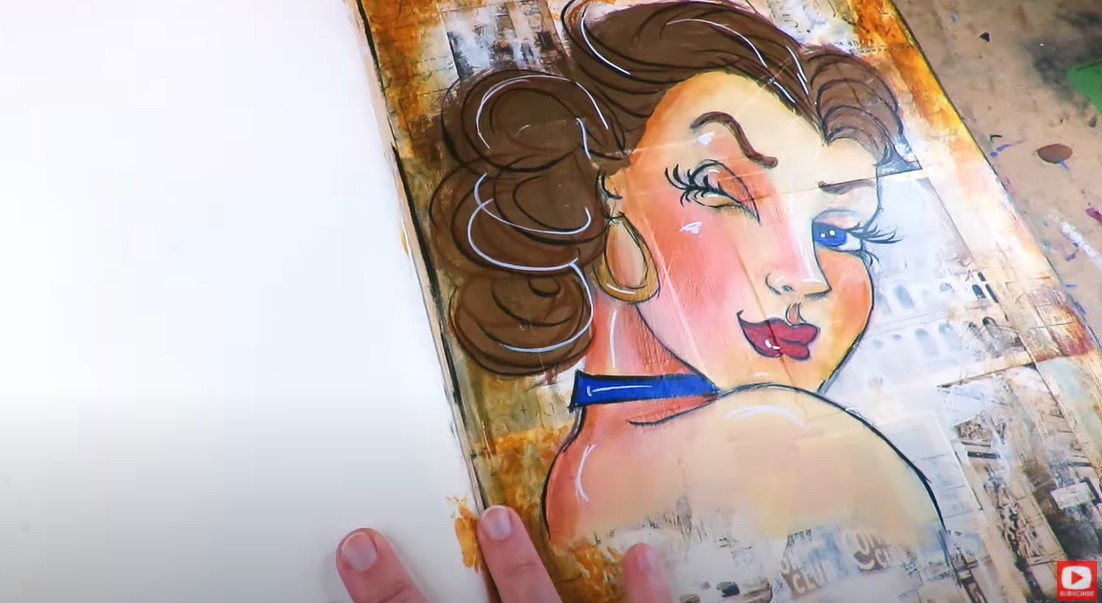
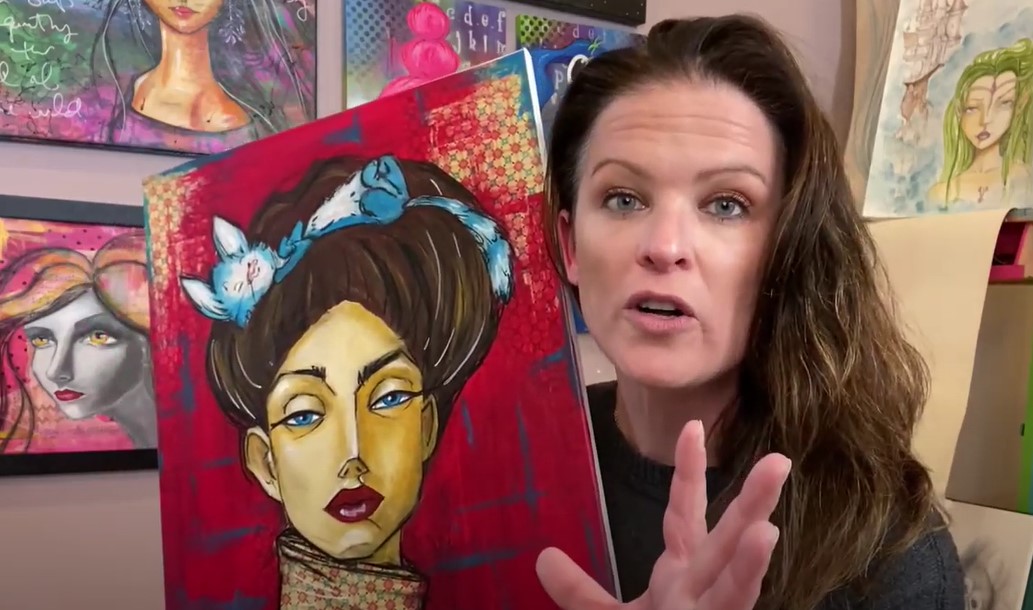
Look closely. Do you see all the fine white doodly lines in this chick's hair and on her face? Look at her eyelid, nose bridge, top lip, cheekbone and even her jawline and eyelashes. Those were all made with my white posca pen!
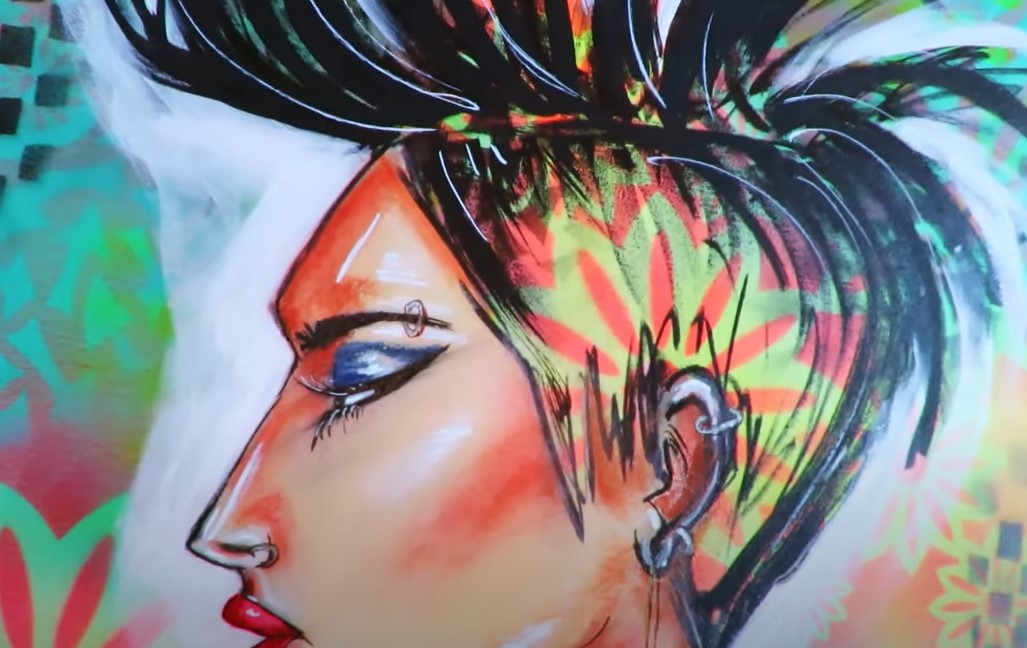
Popping in a few posca pen white lines helps bring this mixed media portrait to life! Suddenly she has more dimension with this added detail. AND- I had more control because I'm using paint PENS instead of traditional acrylic paint on a brush.
Here's another example of teeny detail in the same mixed media painting. I used my gold posca pen to indicate a gold chain on this chick's funky earring and just a couple of tiny white dots to indicate reflections or sparkle. 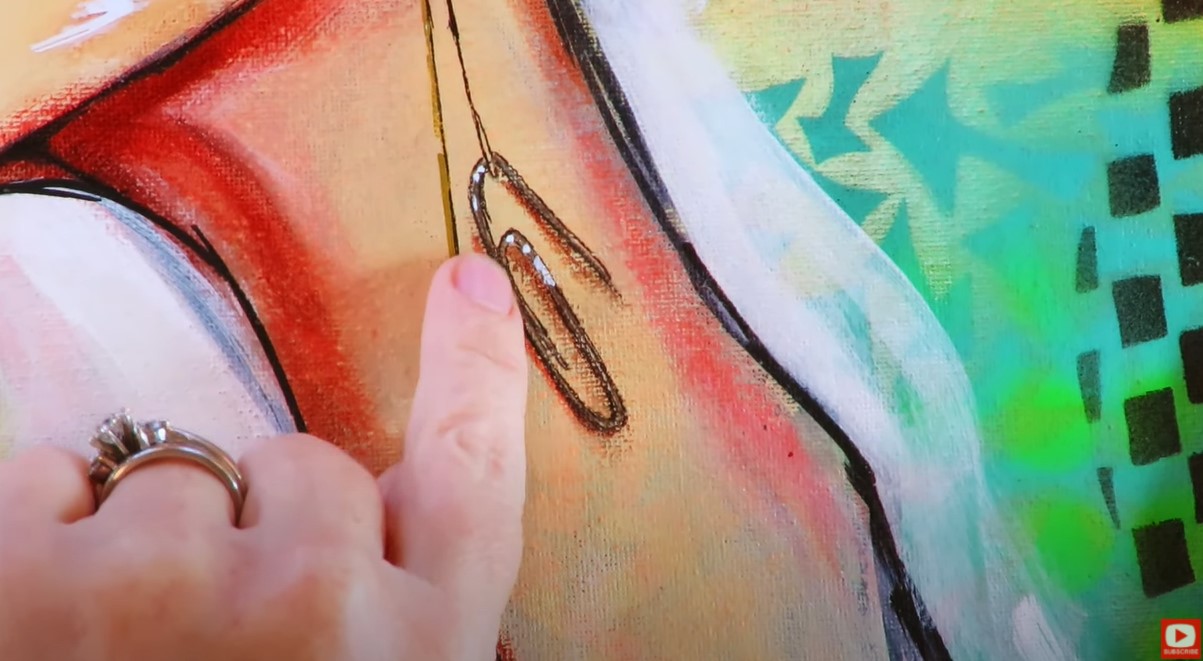
If you were hanging out with me last week on my Drawing YouTube Channel, I of couse added white highlights with my paint pens in this mixed media drawing as well.
I happened to be using a water based Sharpie paint pen in that video. 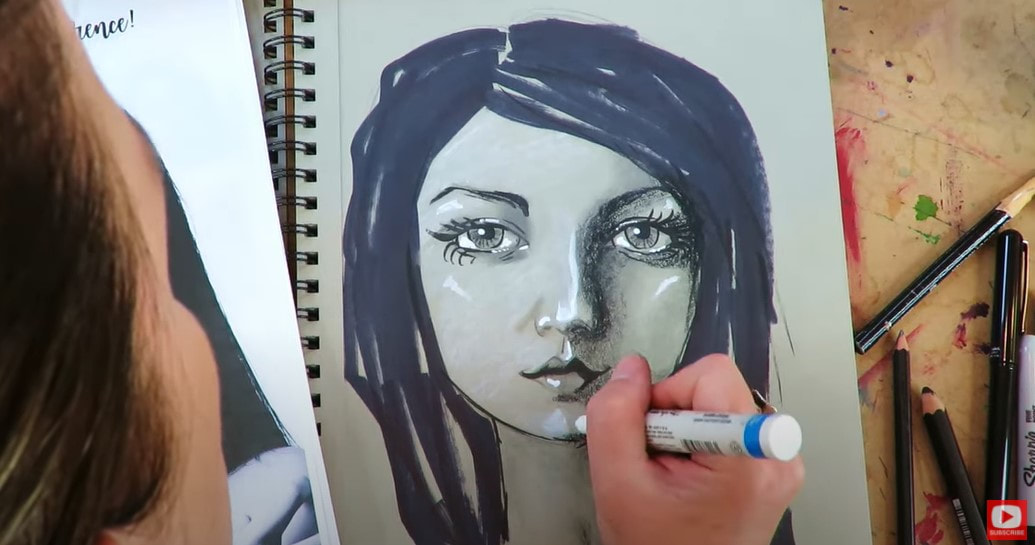
You'll notice similar highlights have been marked on this mixed media portrait - on the eyelids, checkbones, brow bones, nose, lip, chin and my favorite - the tiny white eyeshine dot in the pupils!!
Sharpie makes an oil based paint pen too. I really don't recommend that one because they can be a pain in the butt if the nib dries, and difficult to reactivate. The water based version is the one below with a blue label around the bottom. The oil based version (to avoid) is below with a red label. 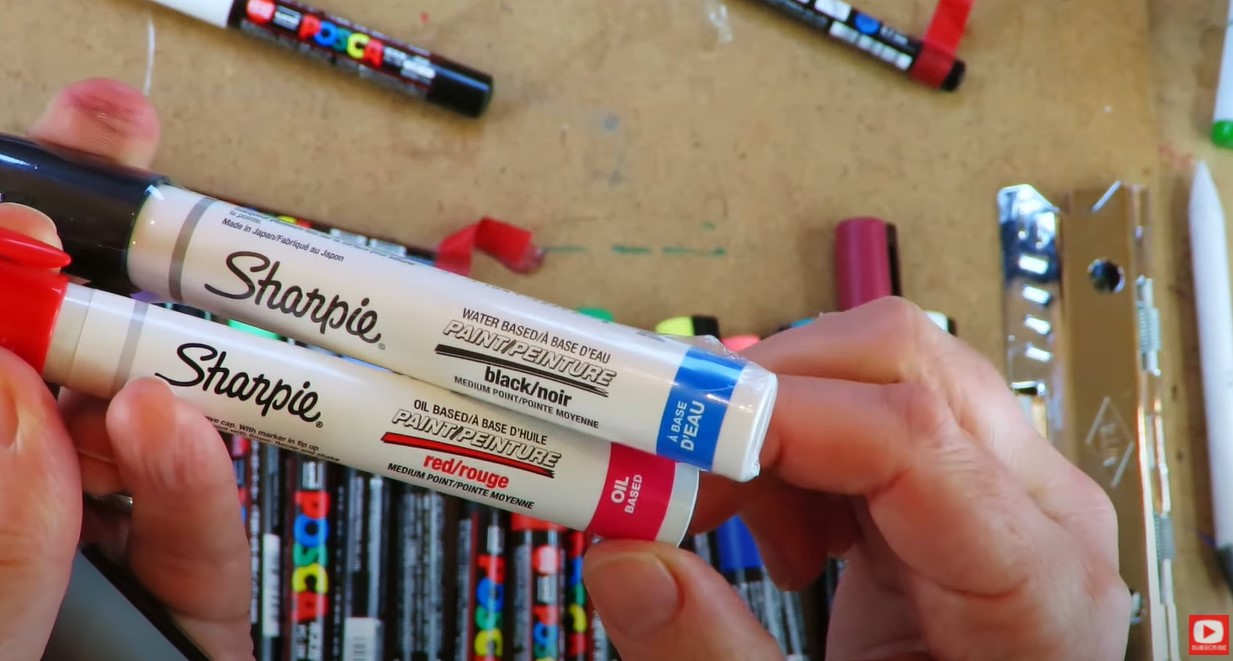
If you're thinking of posca pens vs sharpies - I would lean posca because they have SO many more colors and nib sizes to choose from.
What's amazing about posca vs other brands is that you don't have to do a lot of work to get these going or to keep them working. They're also totally opaque.
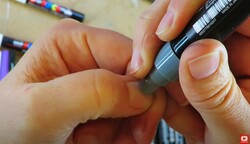
If you're not quite sure how to activate a new posca pen, you just need to give it a minute to get the acrylic paint flowing.
Make sure you shake it up really well and then push the "nib" of your paint pen to paper (or I actually use my fingernail- who knows why?!). Keep that nib depressed until the paint starts pooling out. 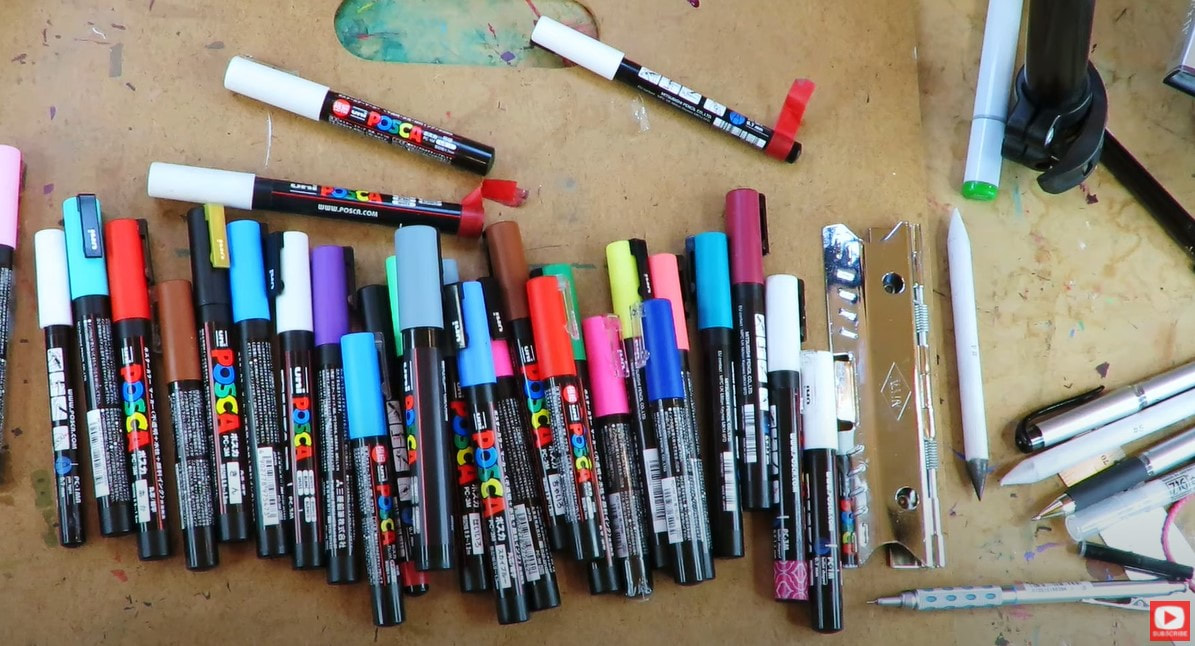
You'll be happily surprised to find out that poscas are SUPER affordable. You can get a great set for under $40 or so.
In today's video, I'm using my posca paint pens in a less "messy" application, over alcohol markers. 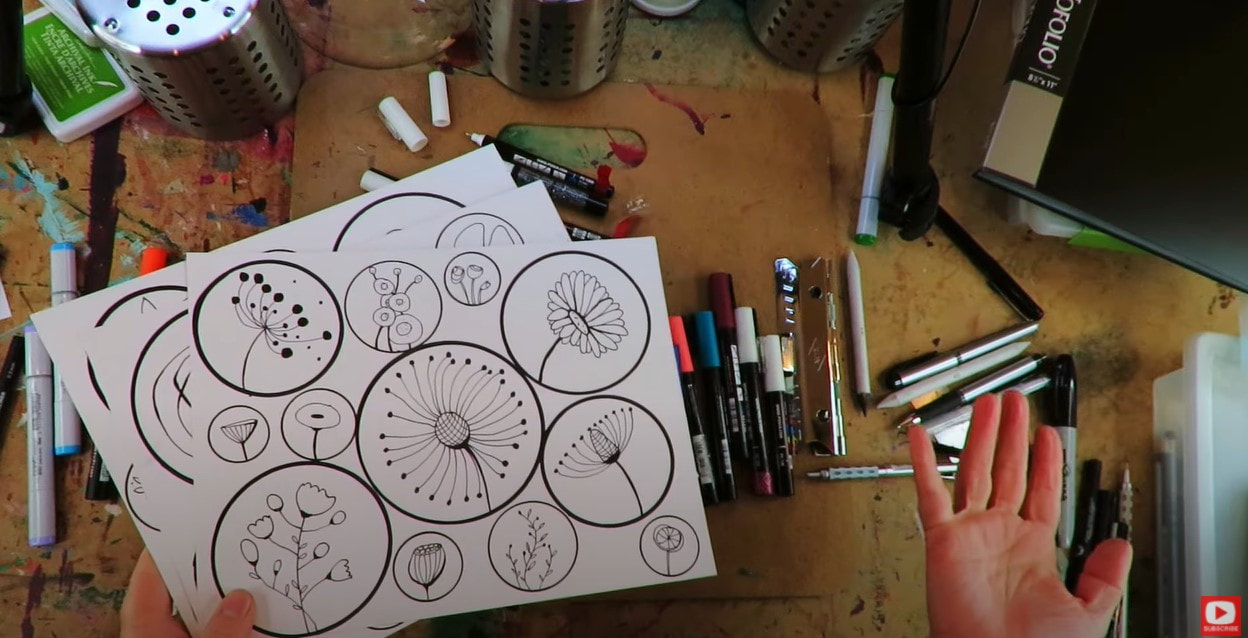
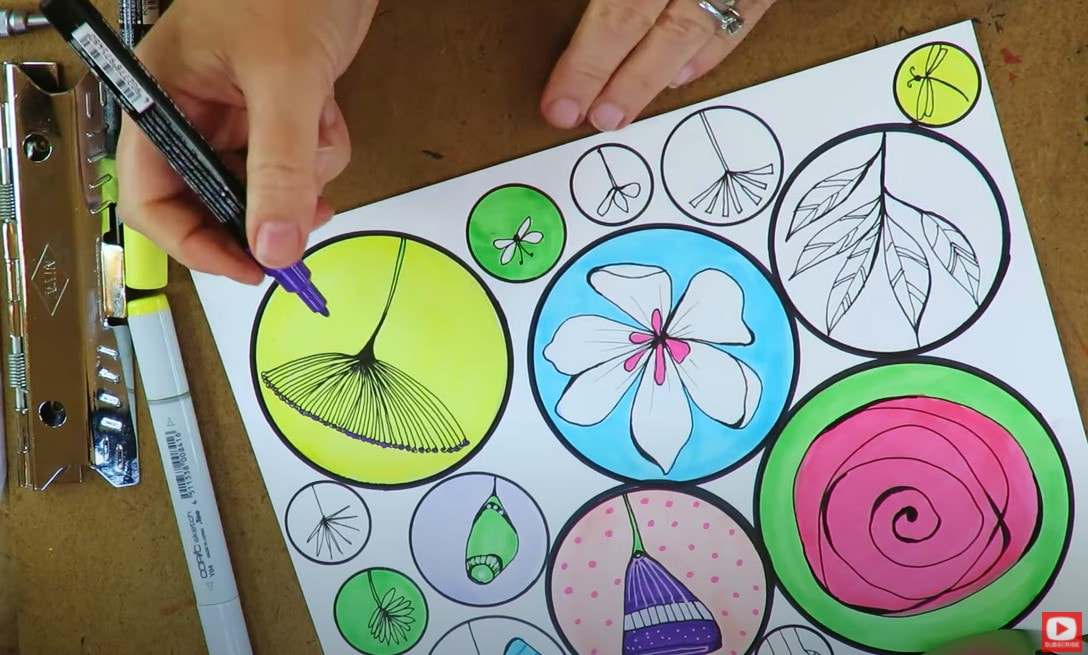
Be sure to click over to the video to see today's demo! I'm creating a floral library with my Fun Fab Drawing Club students over at Awesome Art School. The base layer is alcohol markers (copics are my favorite!), and I'm doodling with posca pens on top after my copic marker layer is dry.
HOT TIP: If you plan to use paint pens like poscas - make sure your previous layers are completely DRY, otherwise you can have a mess on your hands.
I hope you found this helpful!! Thanks for hanging out with me today!!
Wanna Create Even MORE Cool Drawing Projects
|
Karen CampbellFounder of Awesome Art School. Mixed Media Artist. Author of 19 Instructional Art Books! 
Whose work has appeared in...
   
 Archives
July 2024
Categories
All
|


 RSS Feed

"Karen is flipping hilarious and she's very real...I like the way she teaches in a way that really gives you confidence, whether you're a beginner or advanced there's always something new to learn!"
- Elizabeth W. |
What Fans Are SayingKaren, you are absolutely fabulous! You make me feel like I can draw anything. I have recently retired and finally have the time to do some of the art that I have loved since I was in school. I am really at the beginning of my art journey and I hope to learn as much as I can. Thank you for all you do. |
Contact ME |