
Pastel Ohuhu Markers? YES, PLEASE! |Product Review, Demo & Face Shading Tutorial by Karen Campbell1/11/2022
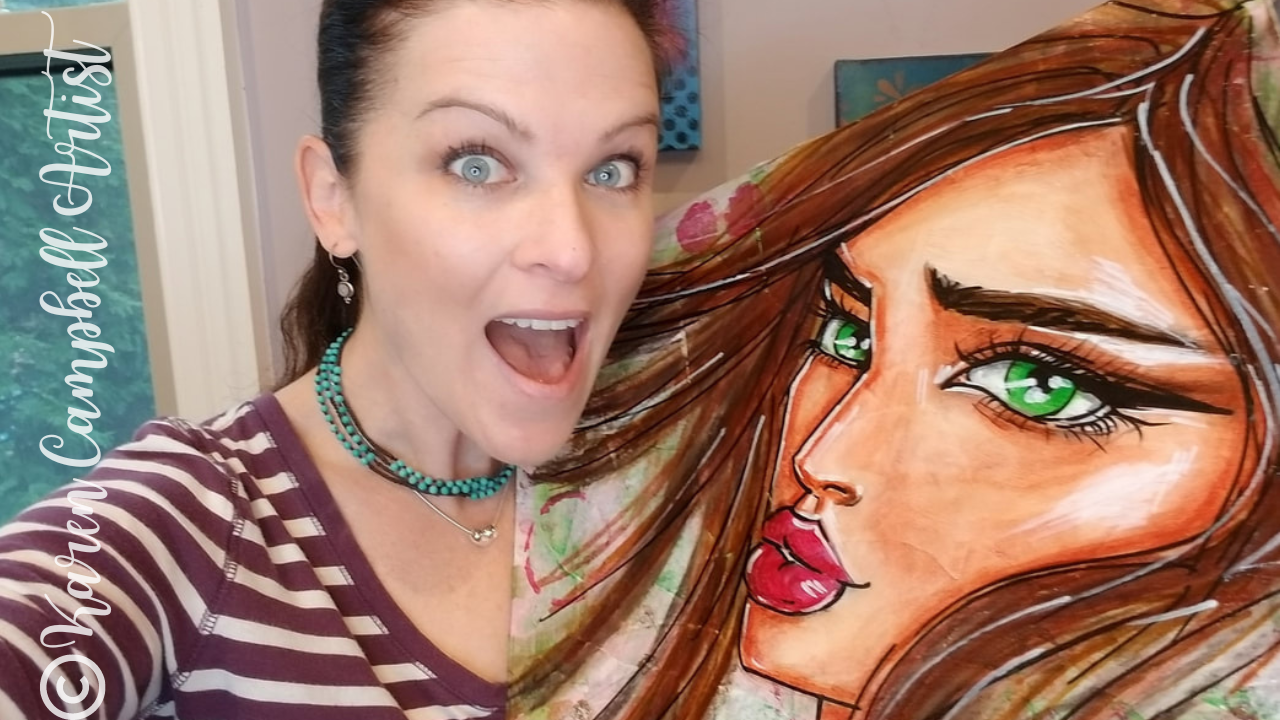
I've been recommending Ohuhu markers for YEARS, so when Ohuhu called and asked if they could send me a pastel set of dual-tip alcohol markers, I was thrilled! I can't wait to show you how gorgeous these are in today's face drawing & shading tutorial.

Before we continue, super quick announcement: All product links are Affiliate. I may earn a small commission if you choose to order through these links but by law there is never any additional cost to the consumer for doing so. I thank you for your support.
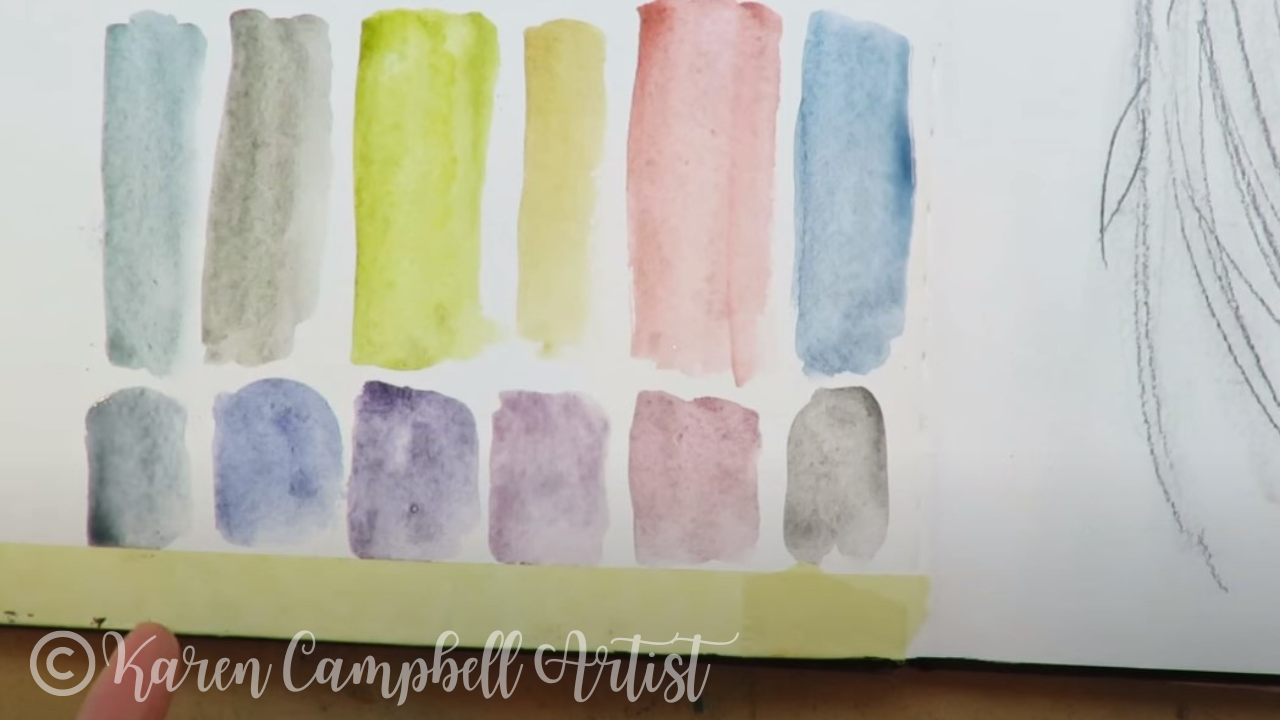
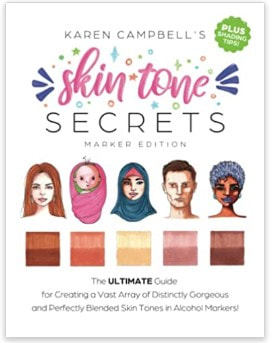
I swatched all of my Ohuhu pastel markers on the swatch sheets that can be found at the back of my Skin Tone Secrets book on Amazon.
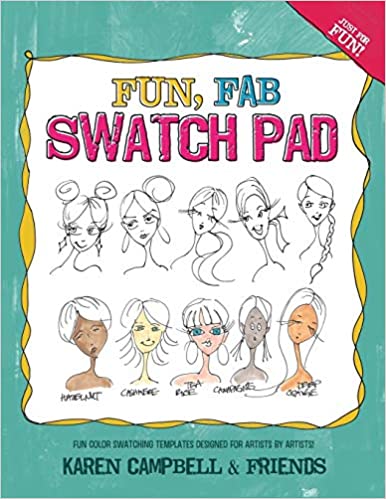
If you don't have a copy of the book yet, but have an art supply you'd like to swatch, you can also download my FREE Fun, Fab Swatch Sheet to get started. 
Simply click on the button above, and I'll email it right over! If you've never done color swatching before, here's a video on how to use this exact swatch sheet if you need a little extra help.
If you're new to my world, I absolutely LOVE alcohol markers for shading faces. I've been collecting them over the years in all different brands to find out which ones provide the highest quality and best value for my students.
Tons of my students are retired and just can't spend $10/marker for Copics, so I I've been on the hunt for a great Copic marker alternative for years. When I discovered Ohuhu's skin tone markers set, it was love at first sight. I couldn't believe how many colors I could get in ONE SET. Even better, when I tried them out for the first time- the quality was gorgeous. I've had ZERO guilt recommending them to my students and adding them to my alcohol marker collection ever since. 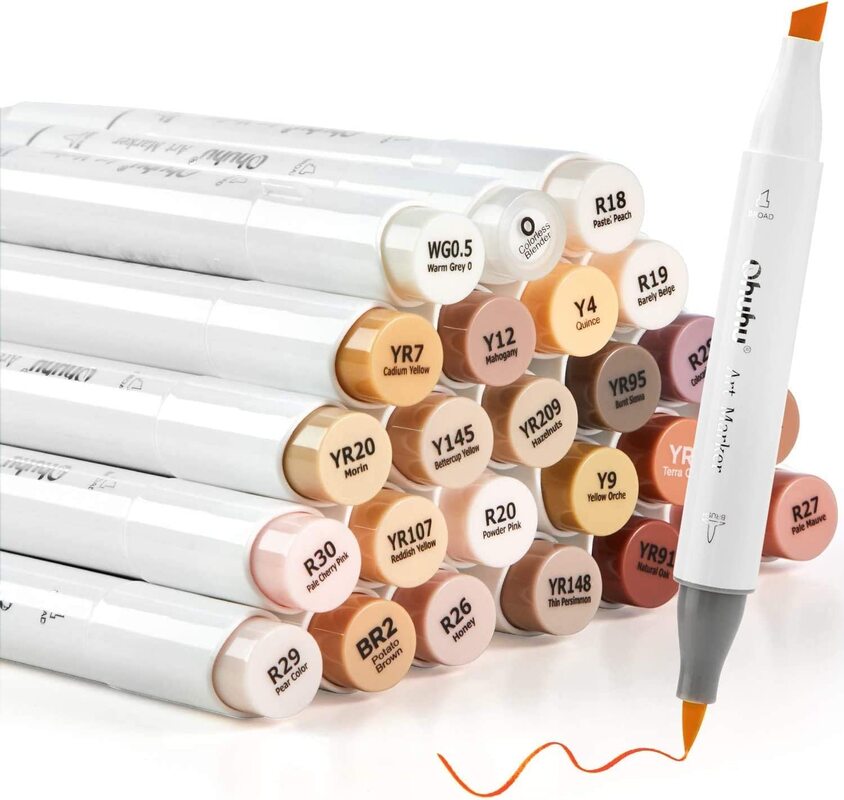
Since most of my alcohol marker art projects are faces, I've spent a LOT of time figuring out which alcohol marker shades blend well together to create gorgeous skin tones in all ethnicities.
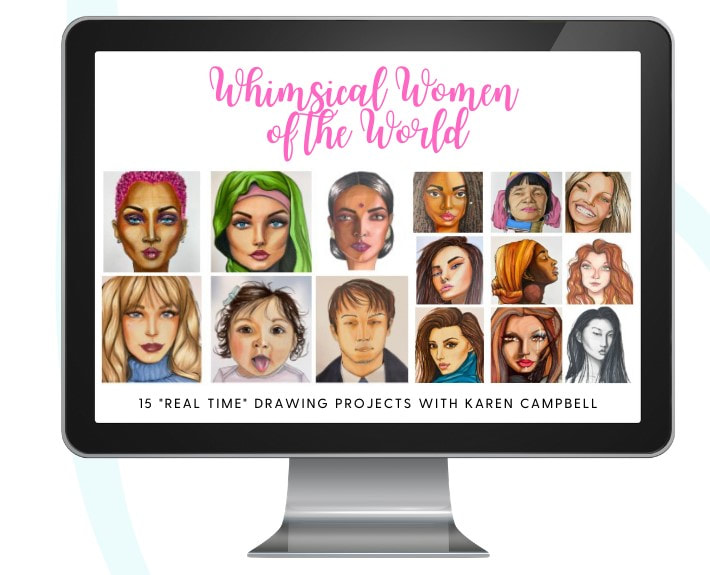
Check out my YouTube series of face drawing tutorials, Whimsical Women of the World, or my latest book, Skin Tone Secrets (watch the page-by-page flip through here) for alcohol marker face shading tips and fail-proof color combos I love for shading skin tones. This book actually revolves around my Ohhu 36 skin tone markers set. Each face I drew for my book was colored in a combo of three skin tone markers in a light, medium and dark shade. The color combos are noted throughout the book so you draw and shade simple faces right along with me as you read. Skin Tone Secrets is great for artists of all levels who love drawing and want to learn how to shade faces using alcohol markers. Sometimes it's tough for artists who love working with pencil to jump into another medium like markers, or even to jump into color vs. black and white drawing. The book is PERFECT to help graphite artists make the leap with confidence into the world of color. 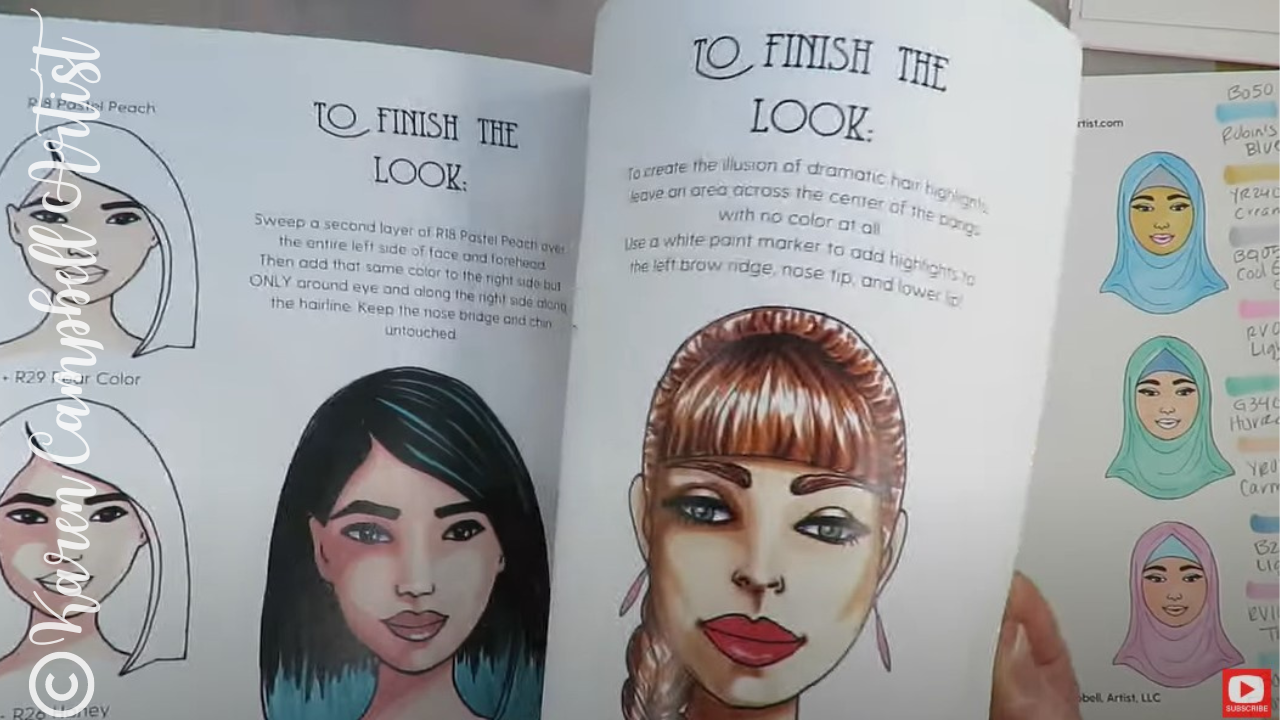
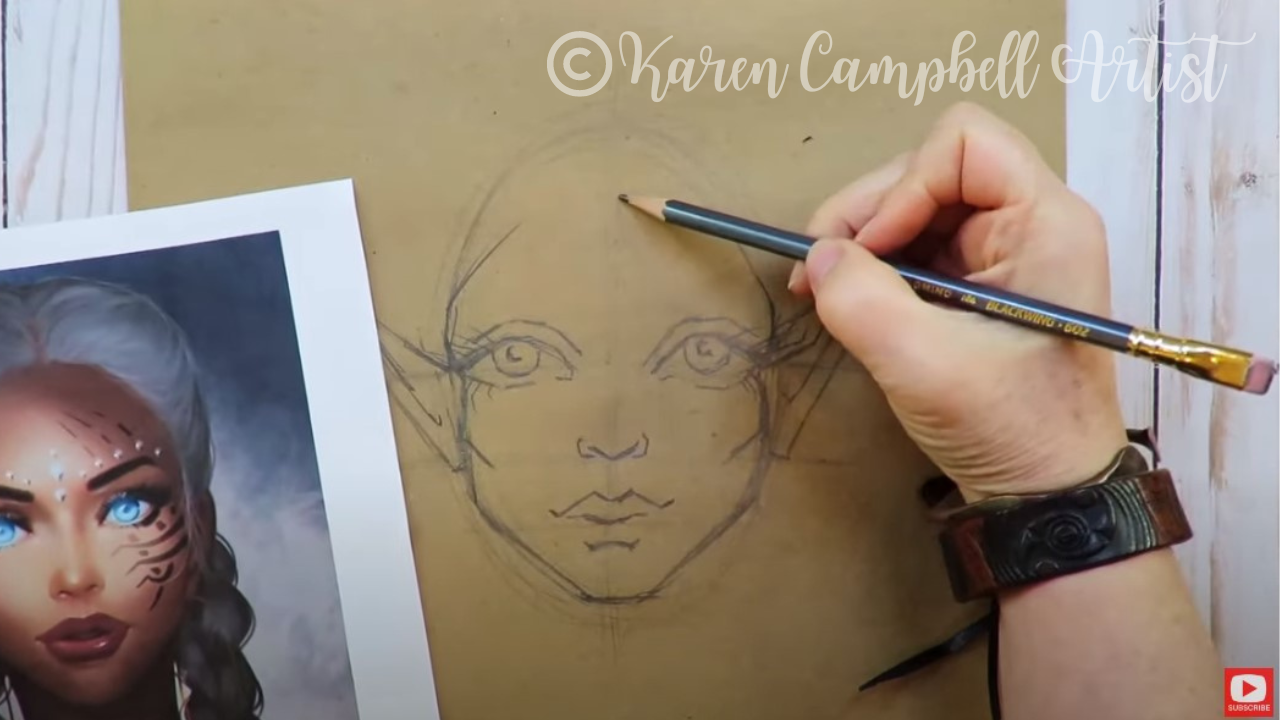
Last week I started a new YouTube series for my drawing channel of face drawing and shading tutorials using face charts as my face drawing references.
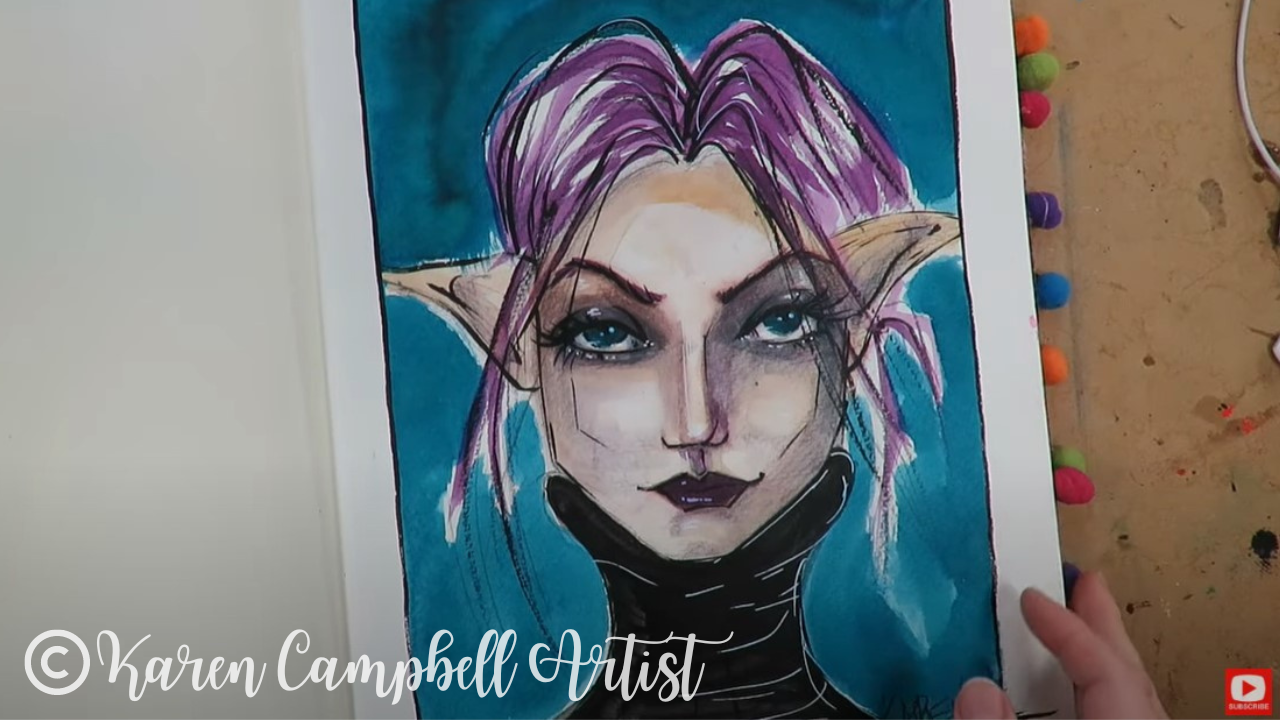
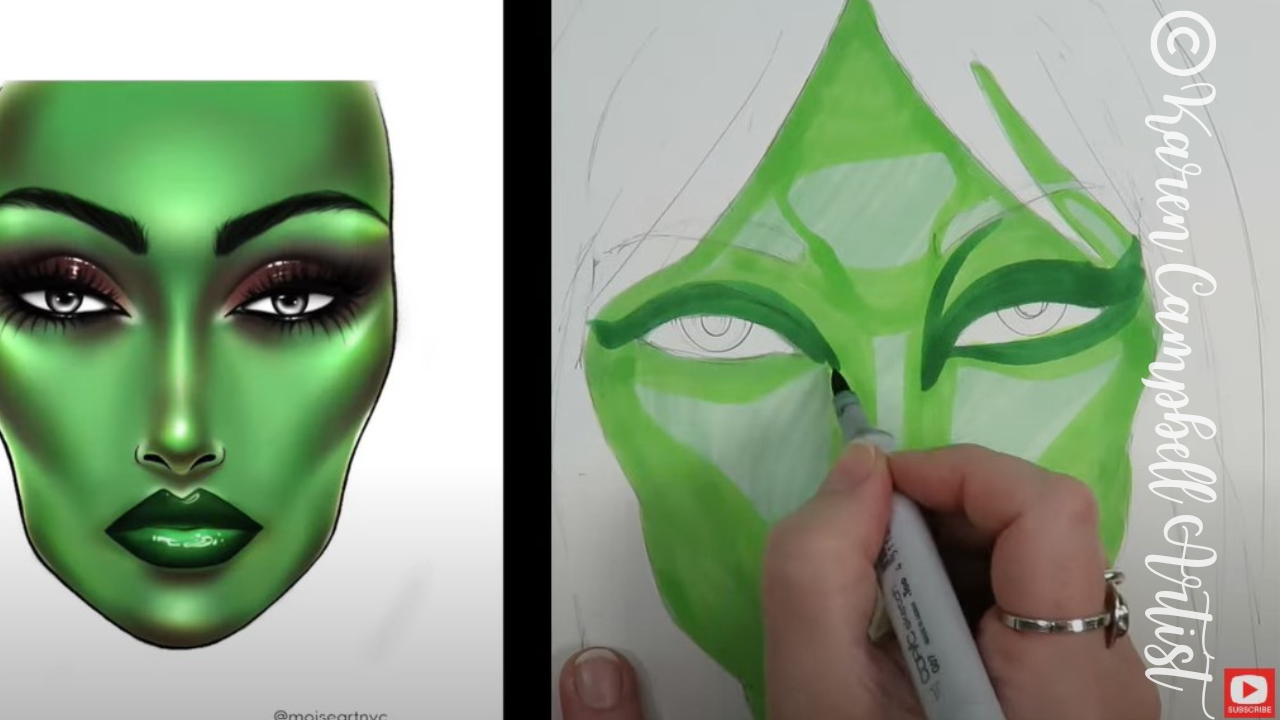
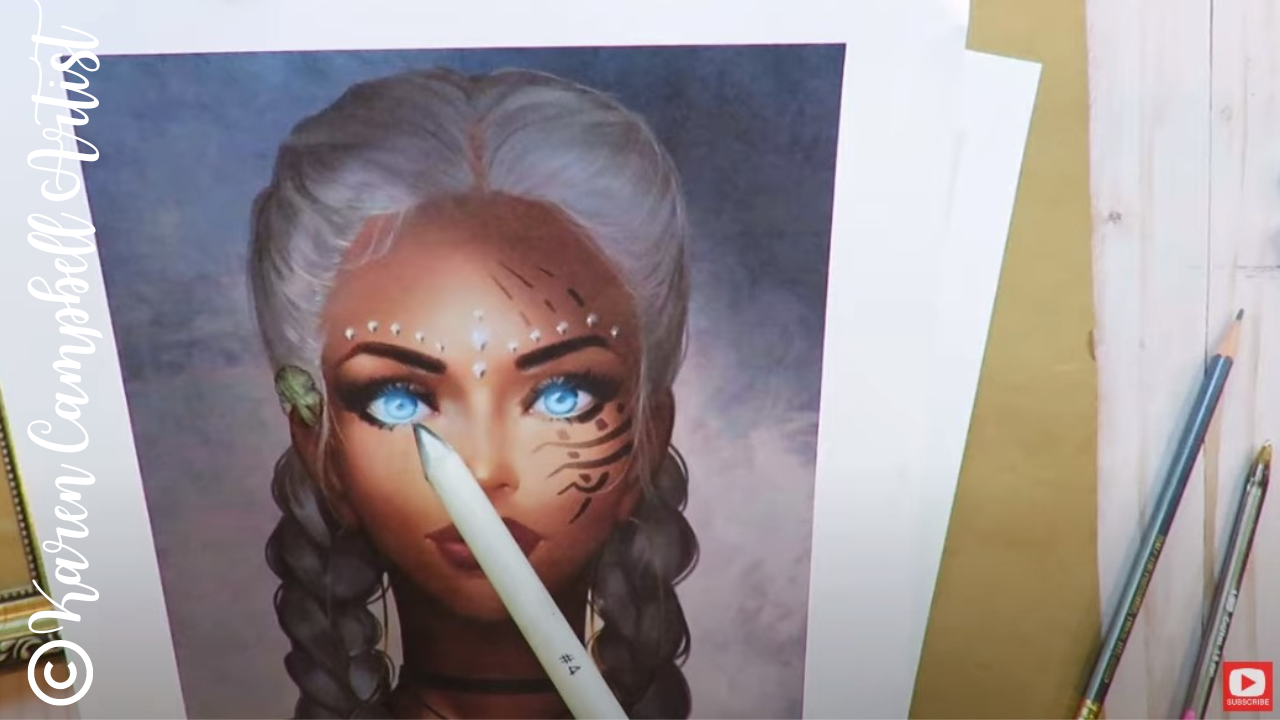
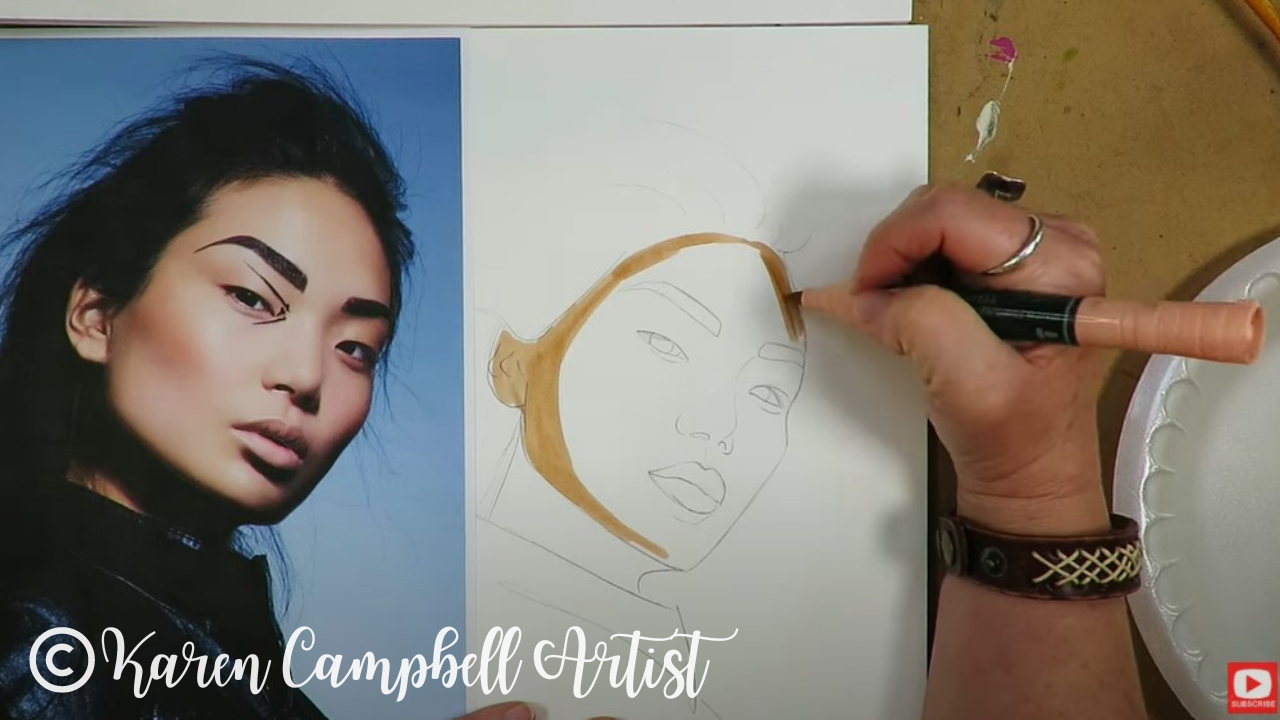
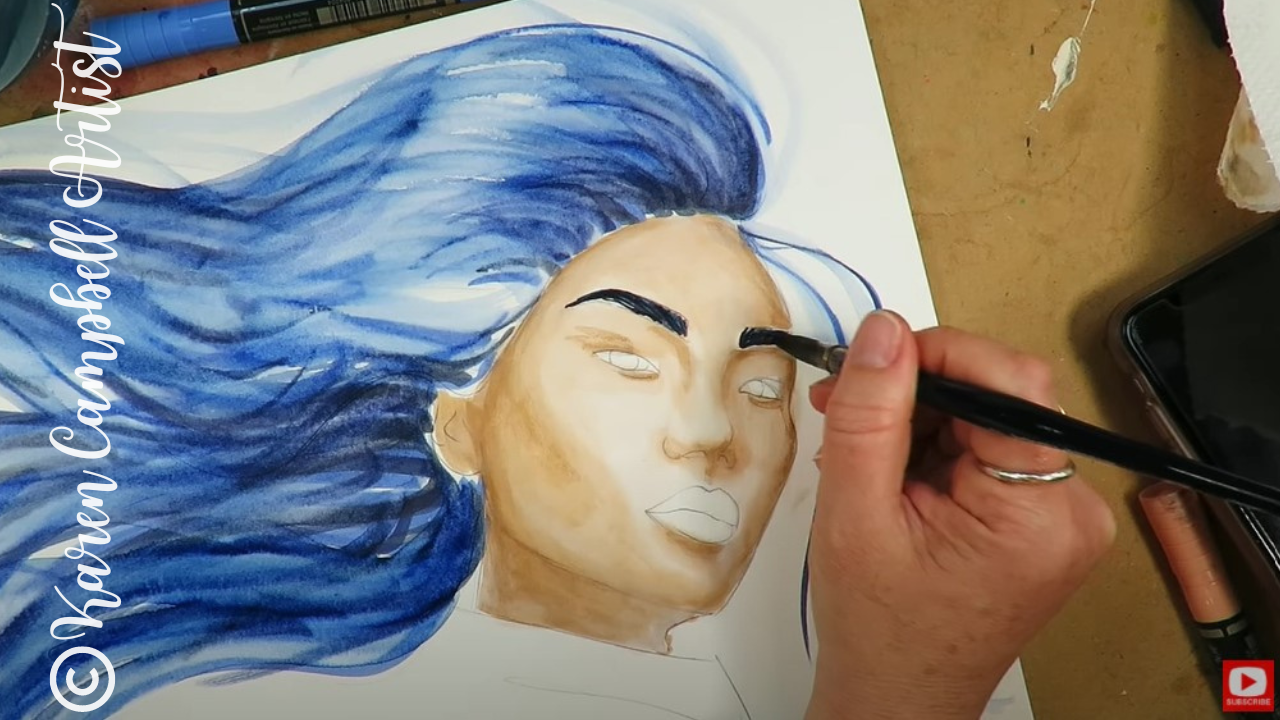
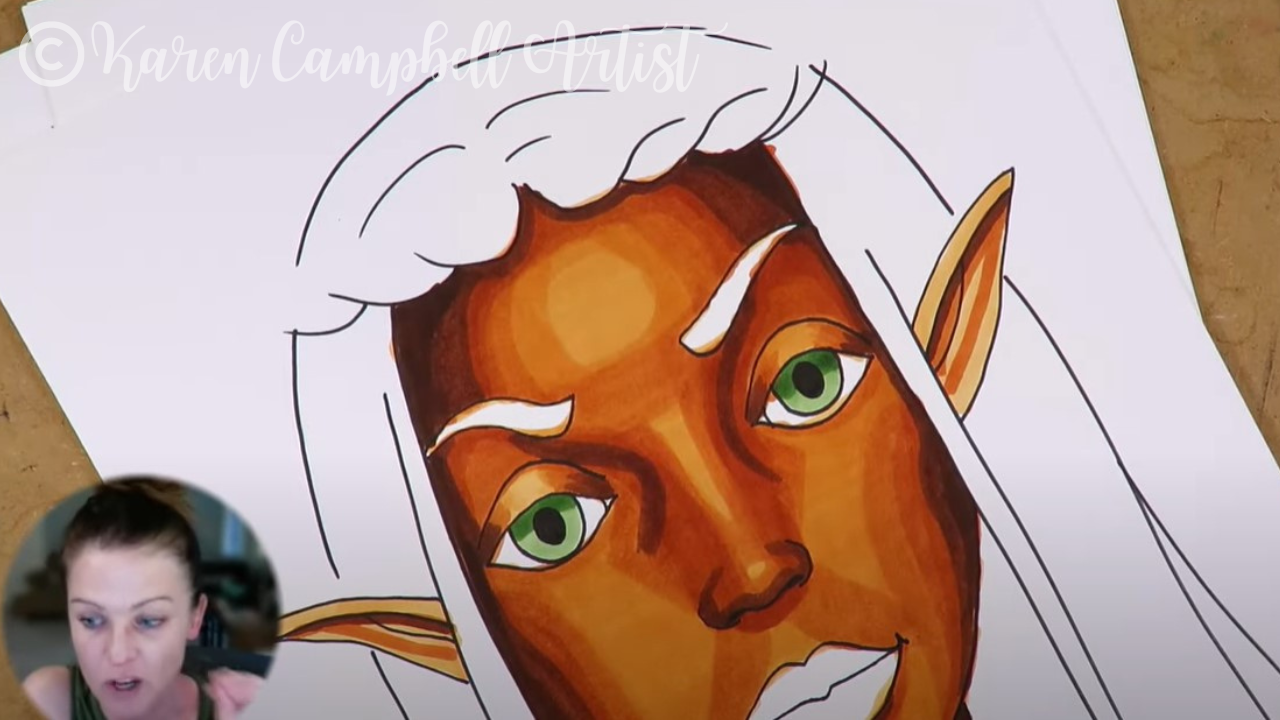
I found the face chart below on Pinterest and thought it was the perfect inspiration for today's drawing tutorial featuring my new pastel Ohuhu alcohol markers. 
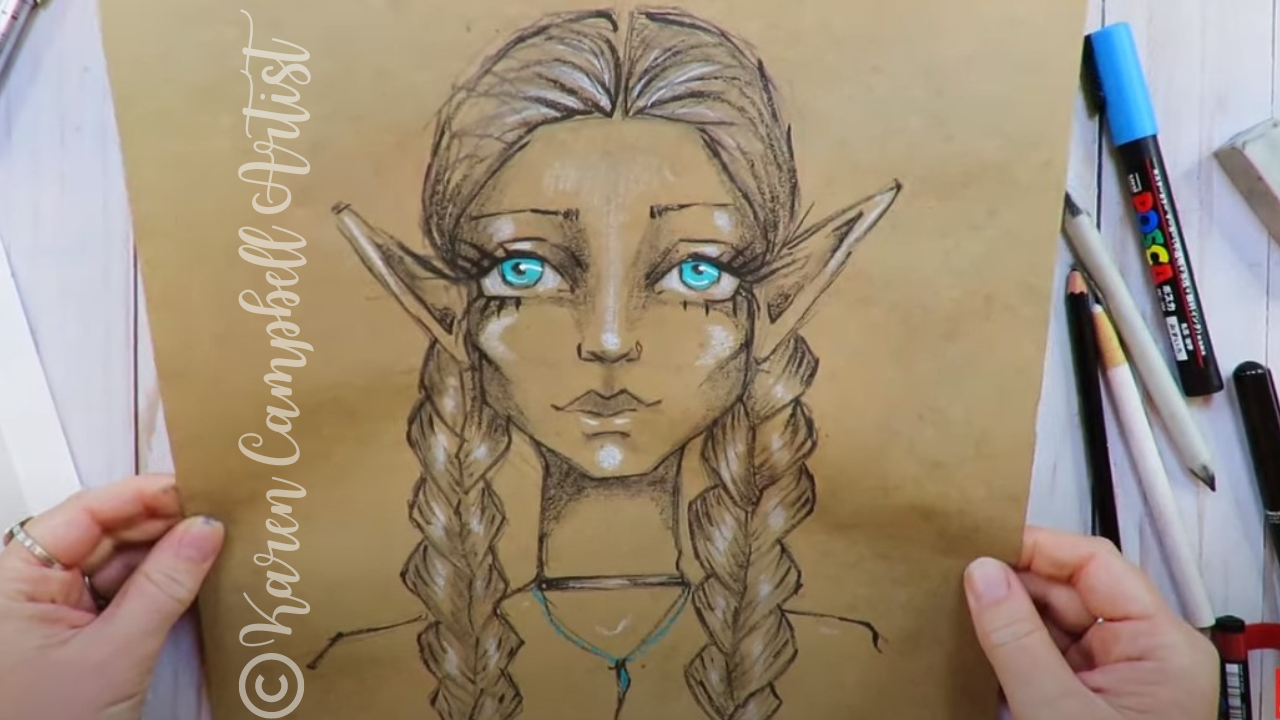
If you've been following me for a while, you already know I tend to reach for the boldest of colors, no matter the art supply. Doing an entire project in pastels definitely felt like a challenge for me, but I ended up loving it!
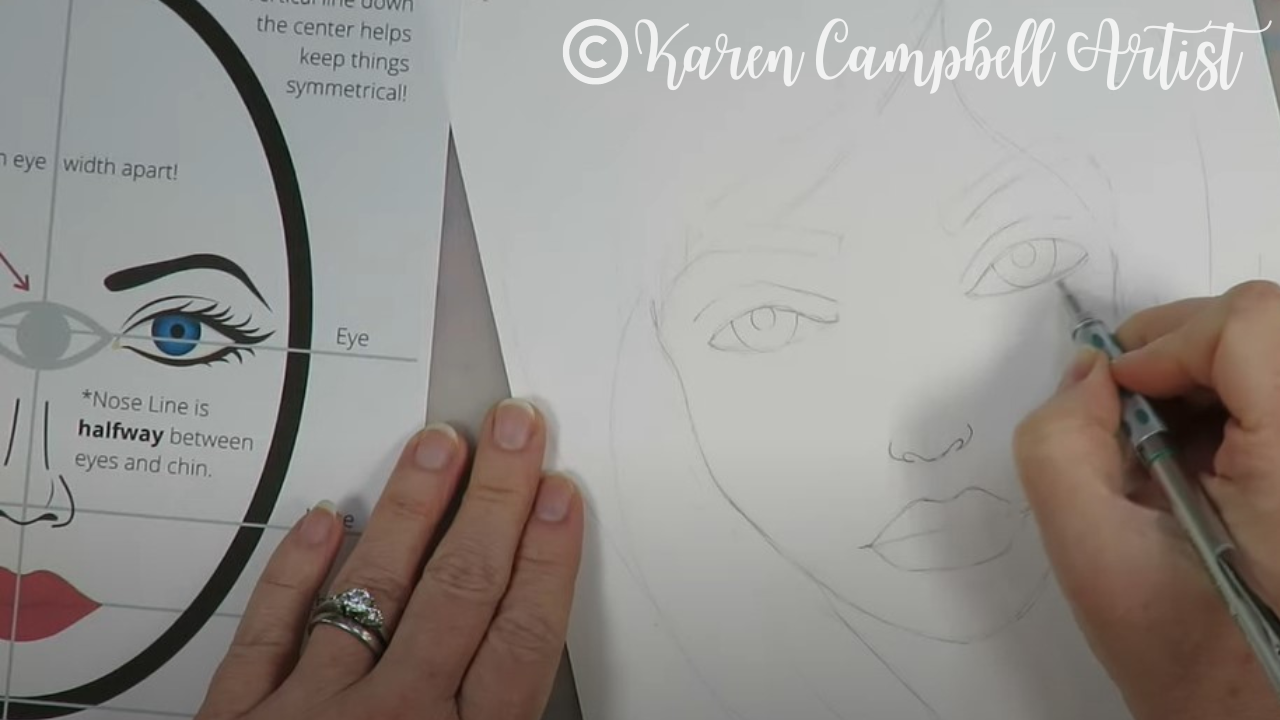
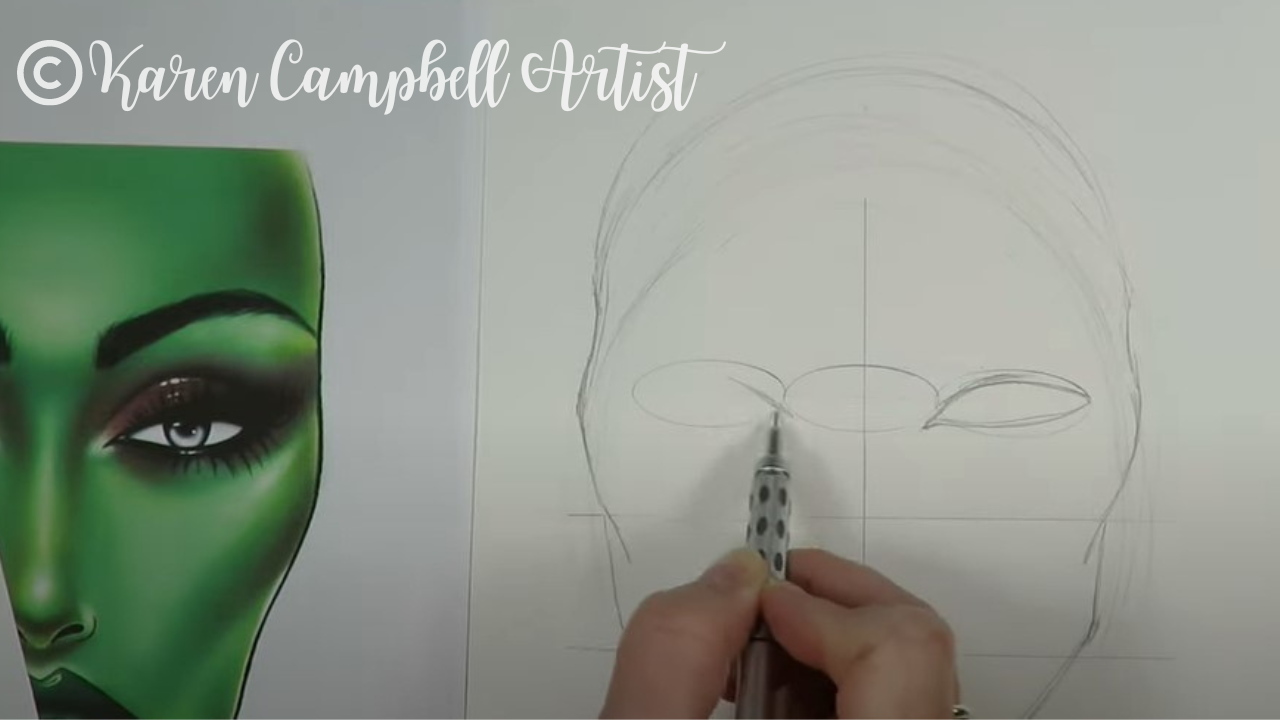
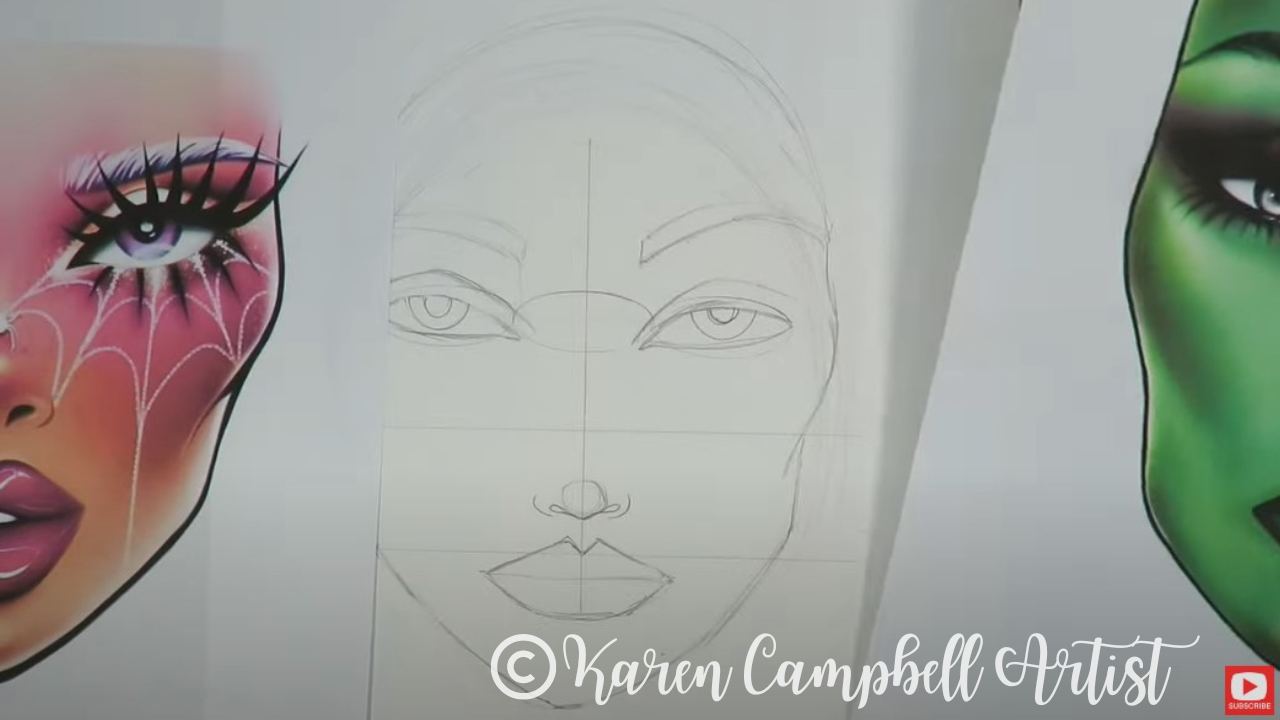
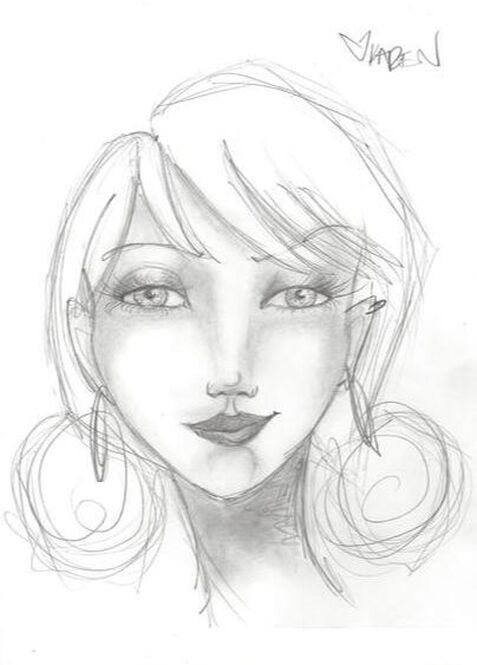
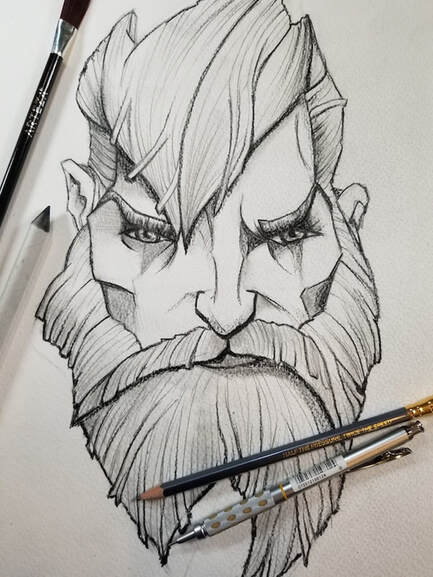
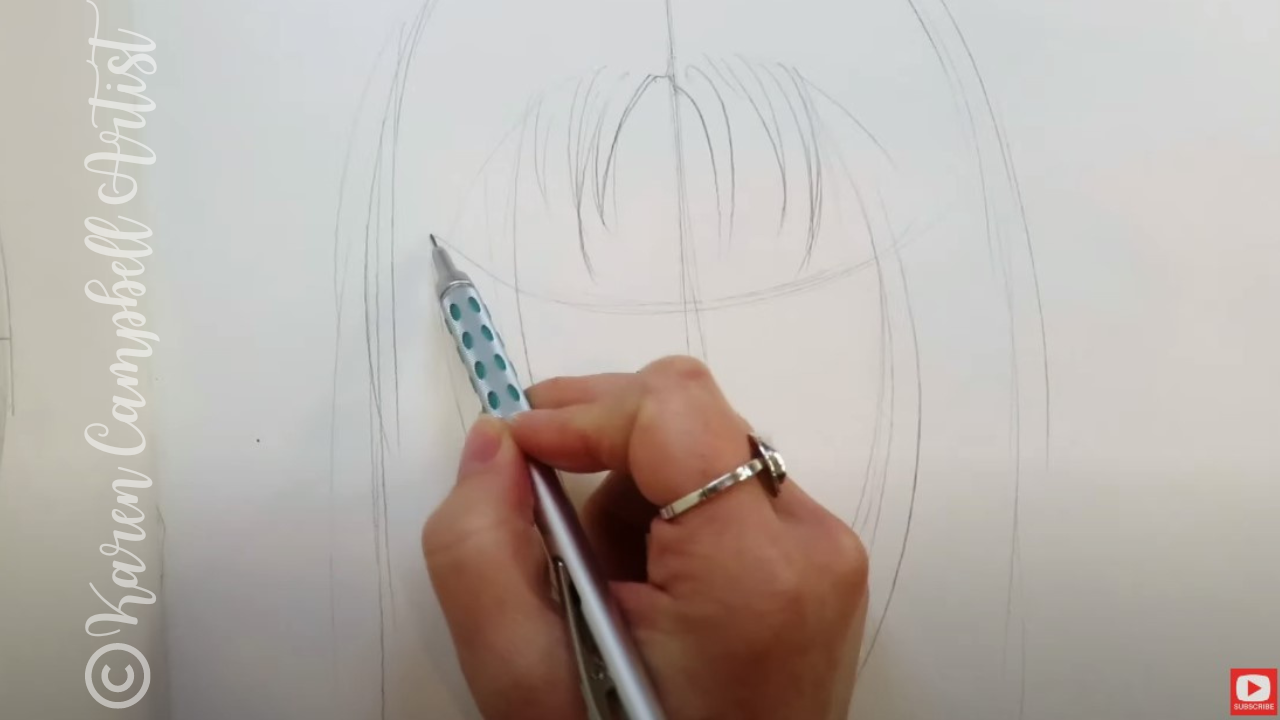
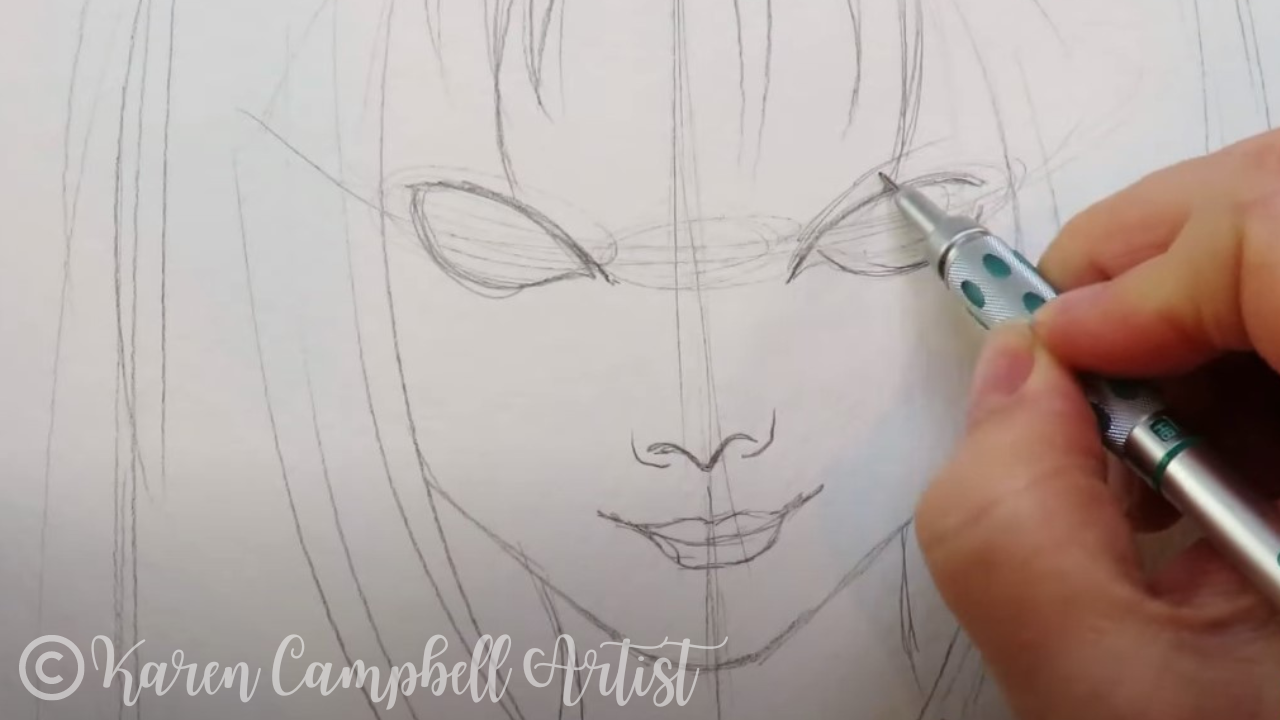
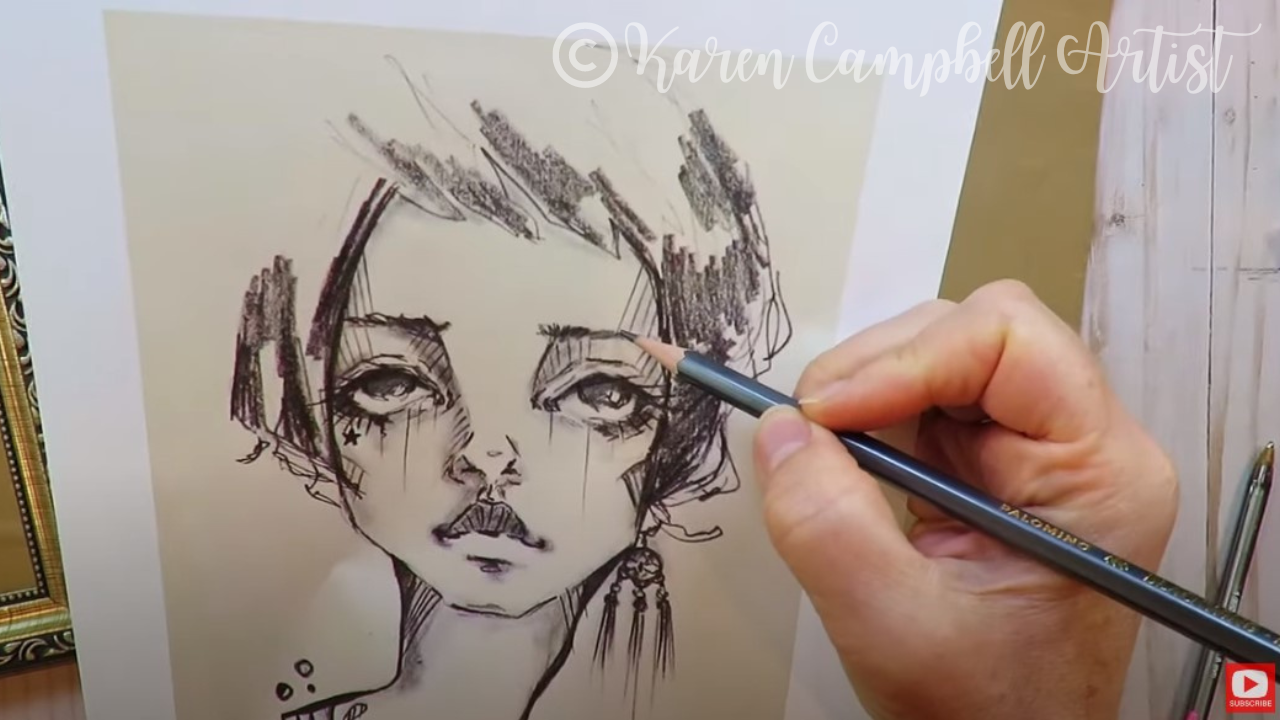
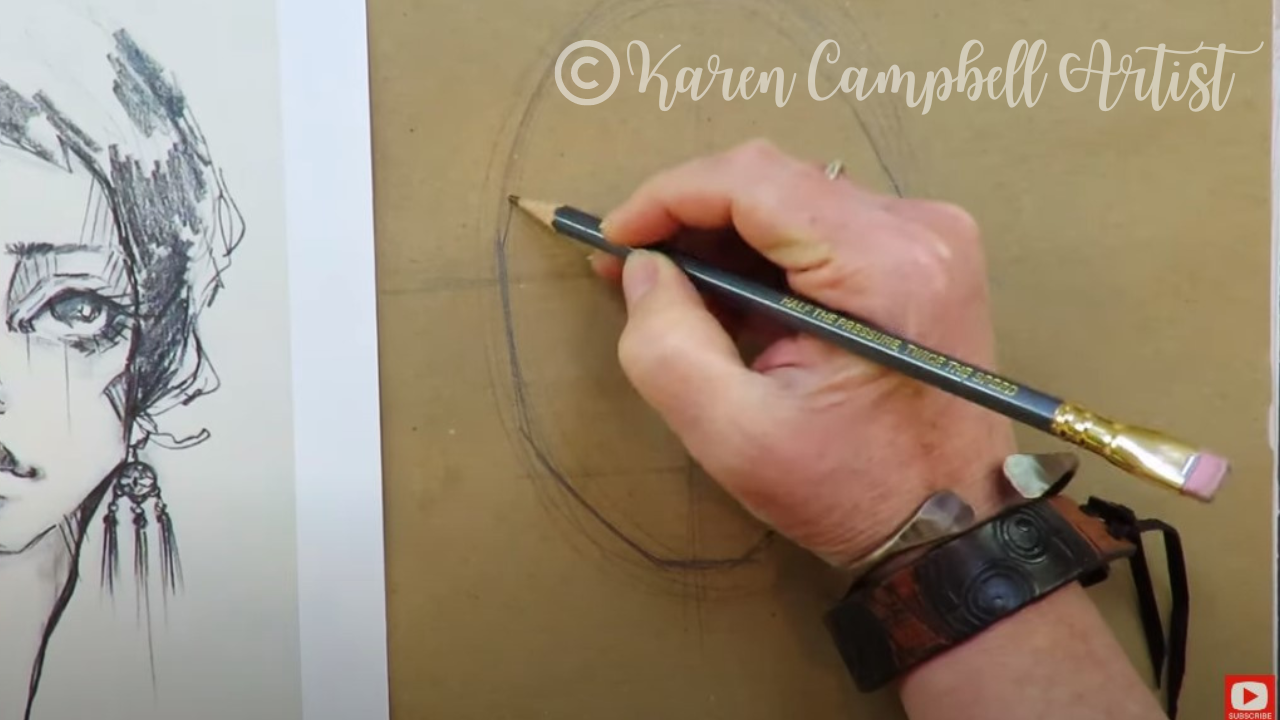
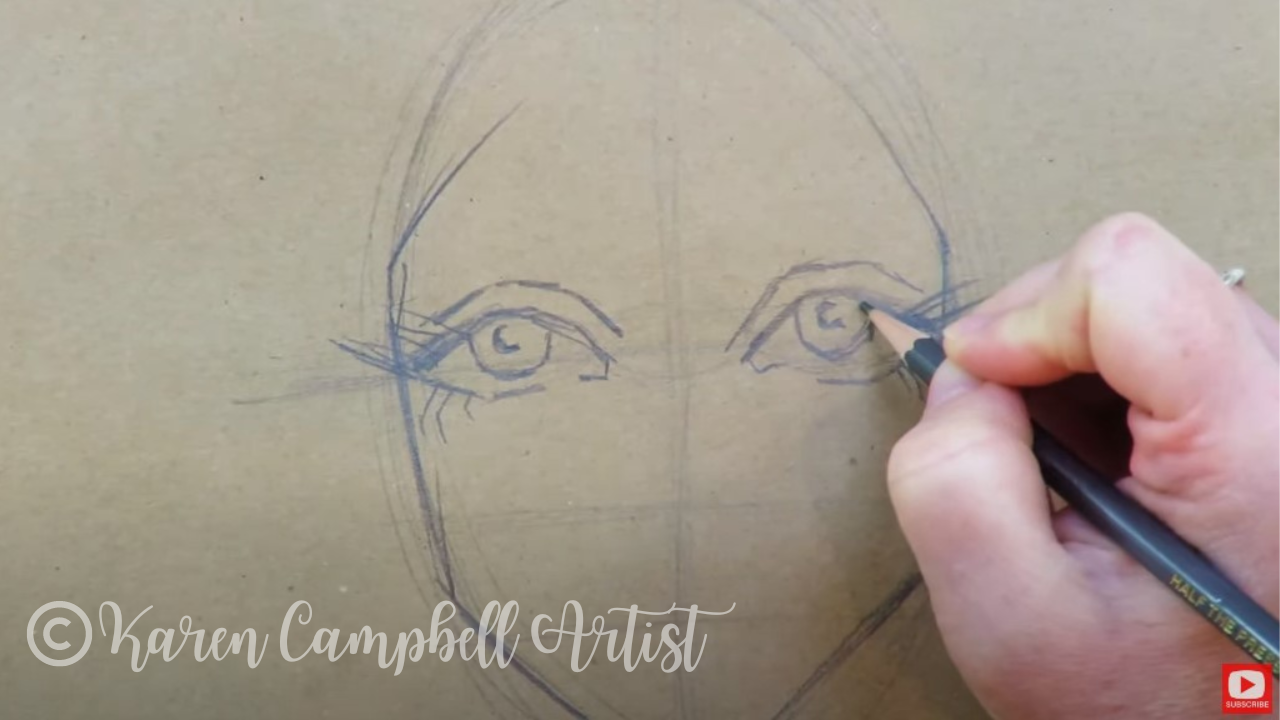
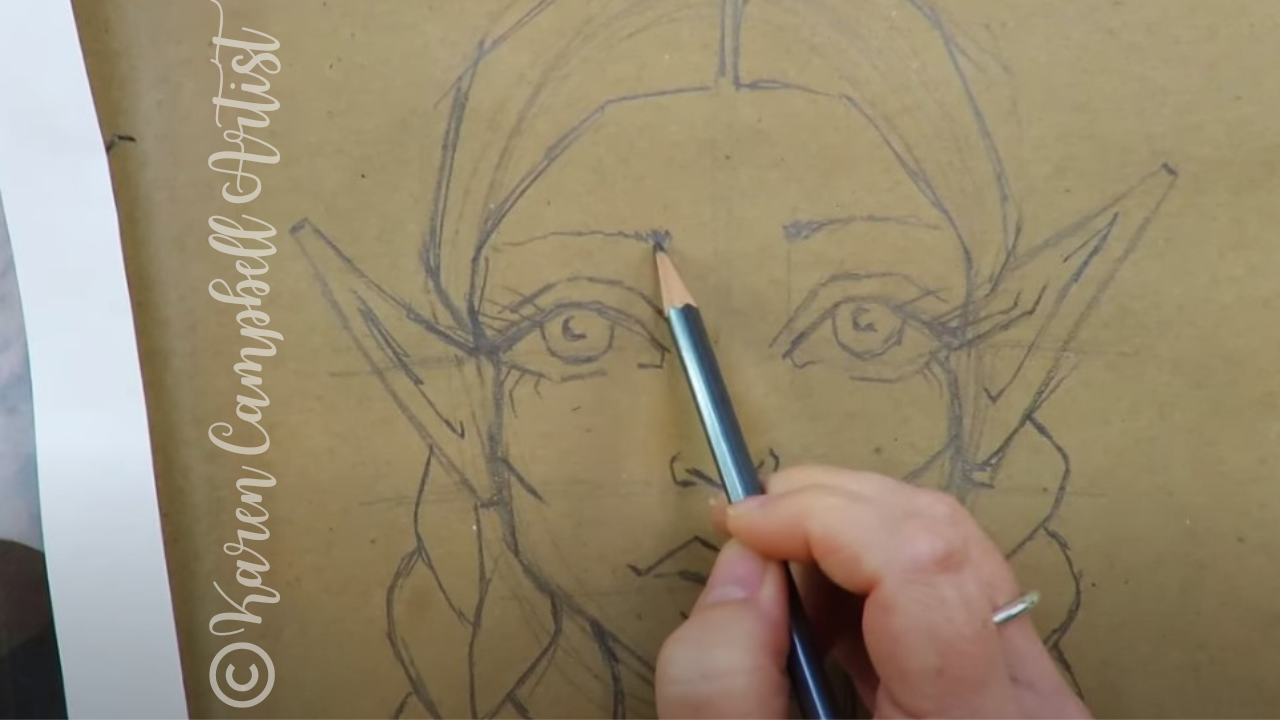
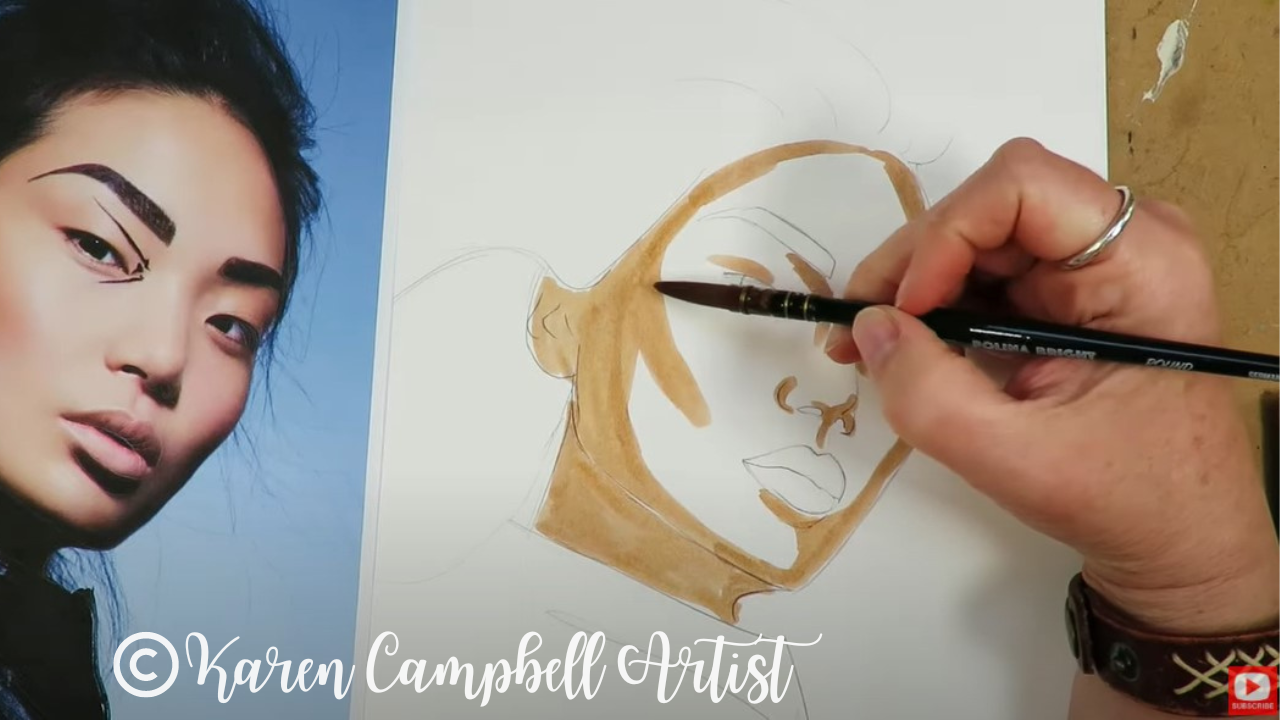
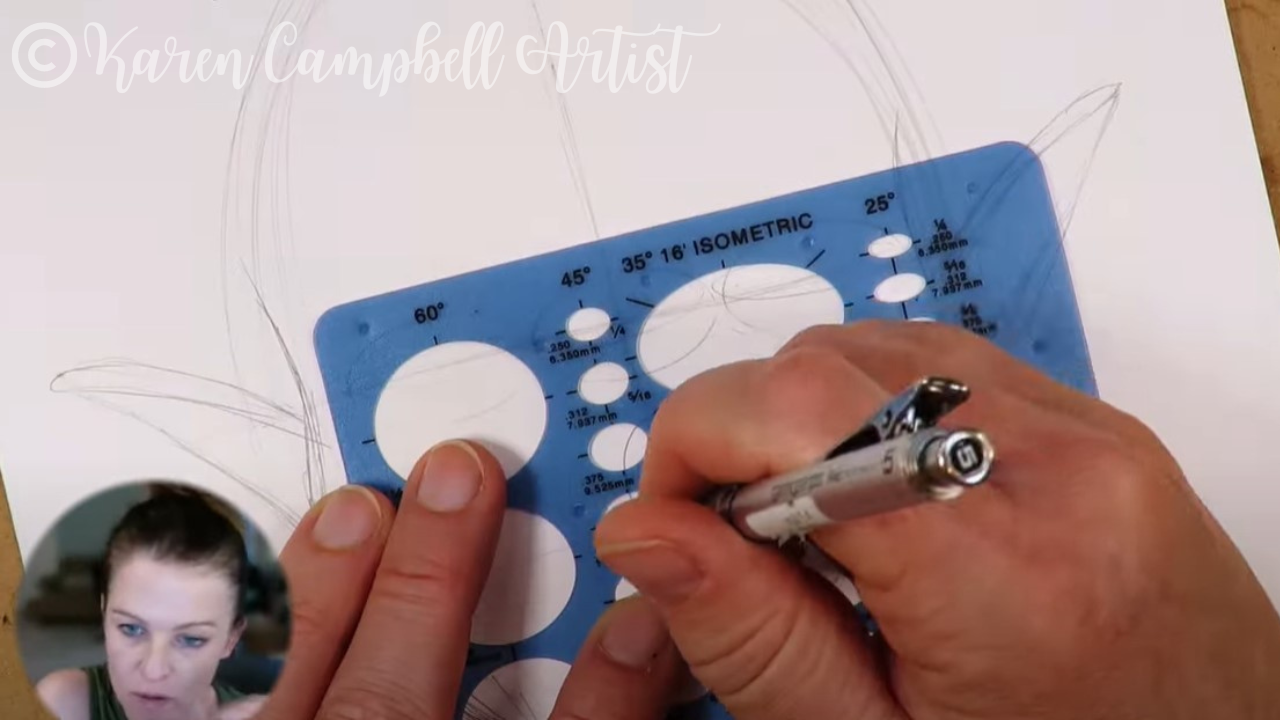
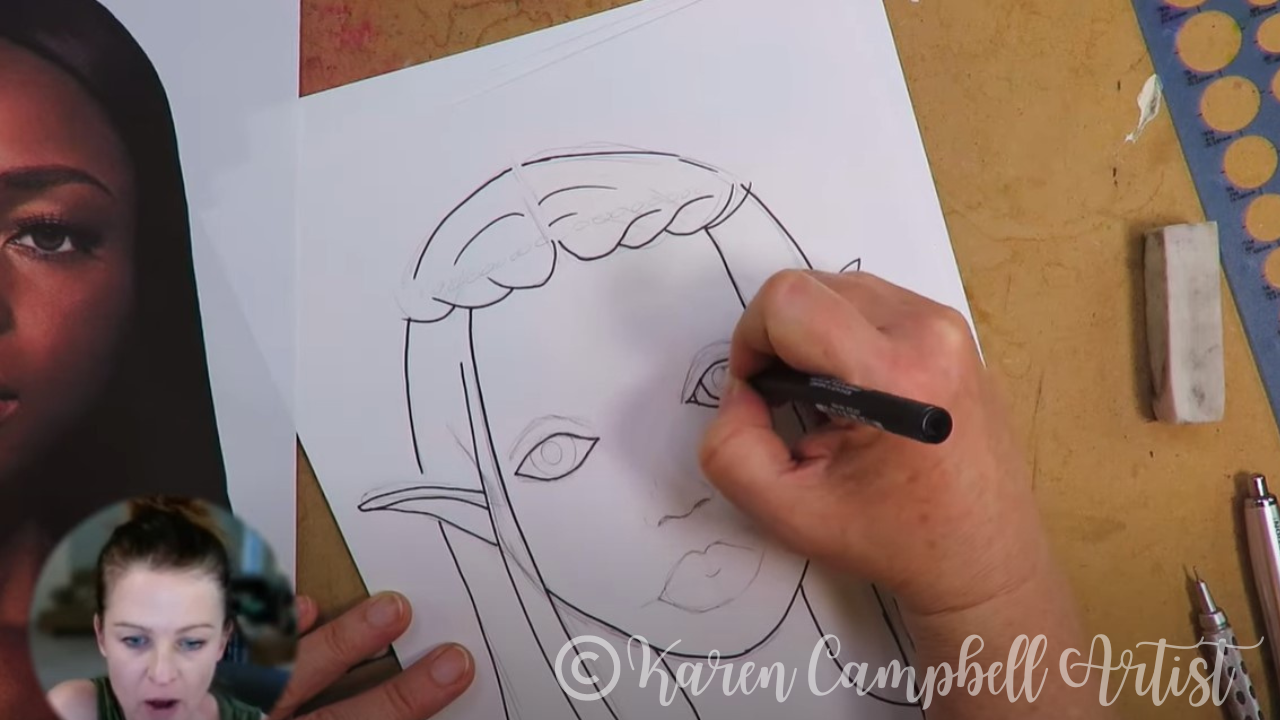
Like all my face drawings, I started this one off using my face drawing guidelines to keep the facial features proportionate. If you've never used guidelines for your face drawings before, download my free Semi-Realistic / Whimsical Face Drawing Guidelines (learn how to use them in this playlist of tutorials). They make SUCH a difference!
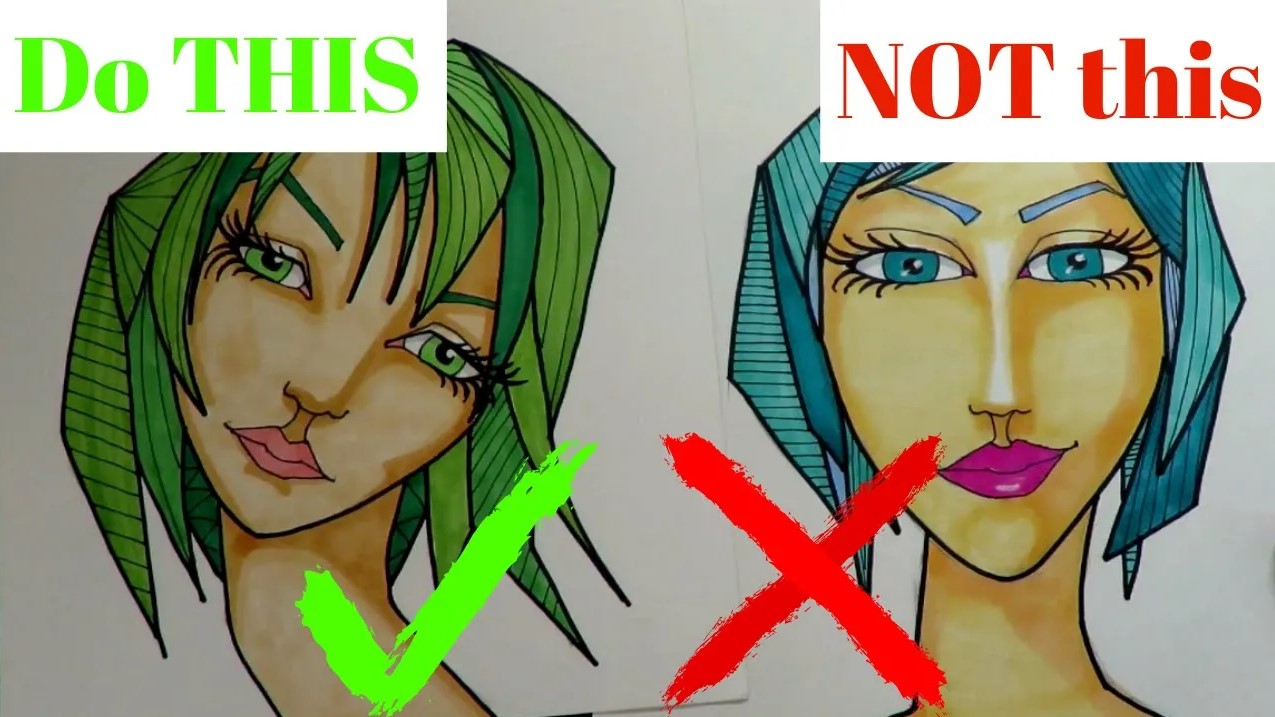
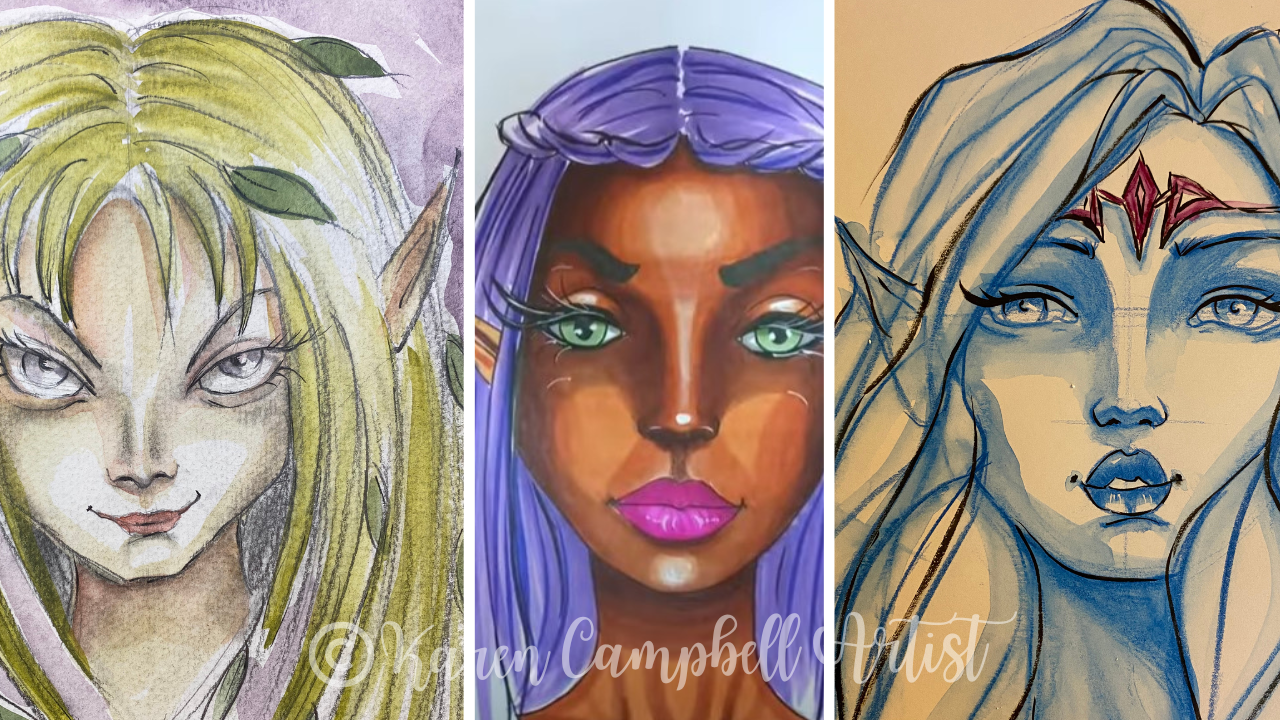
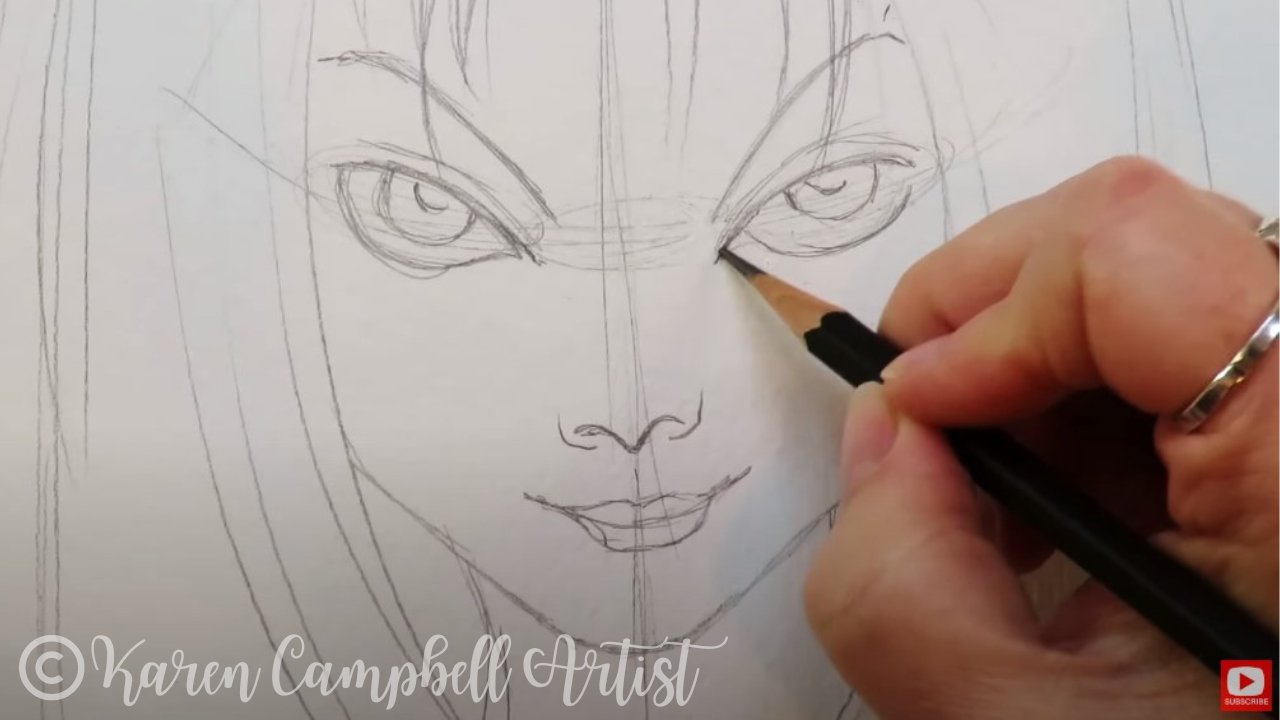
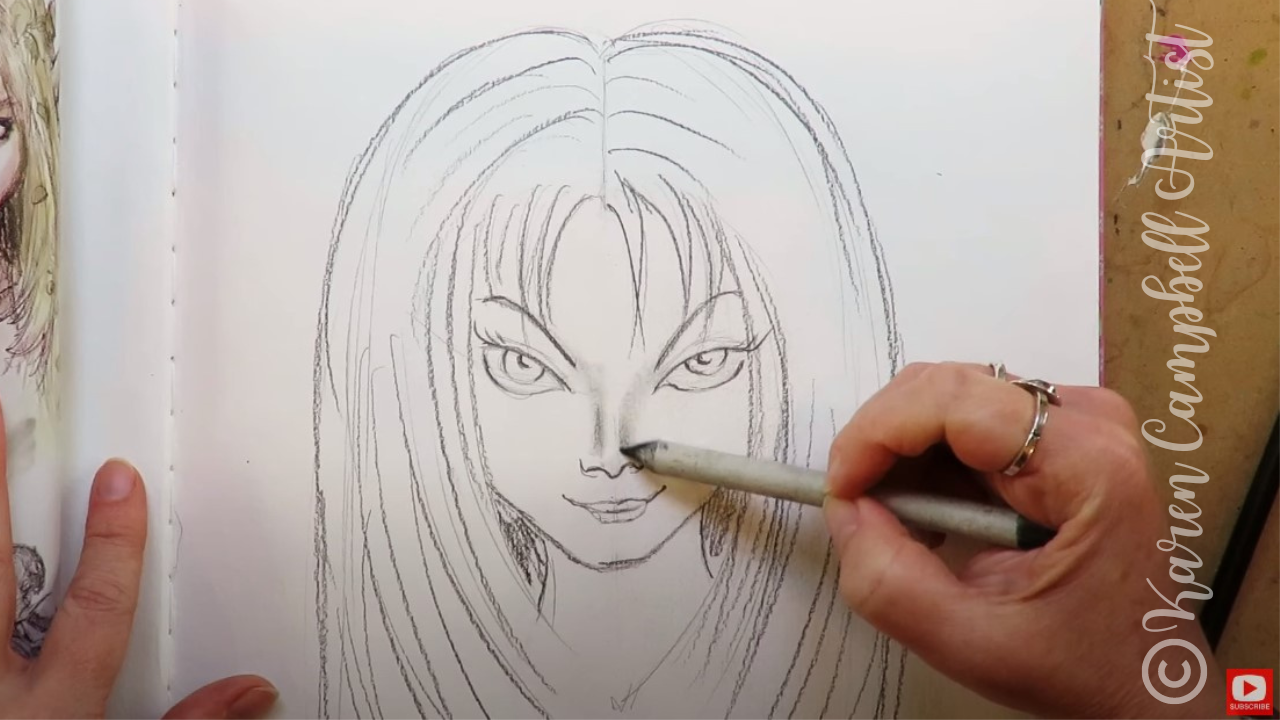
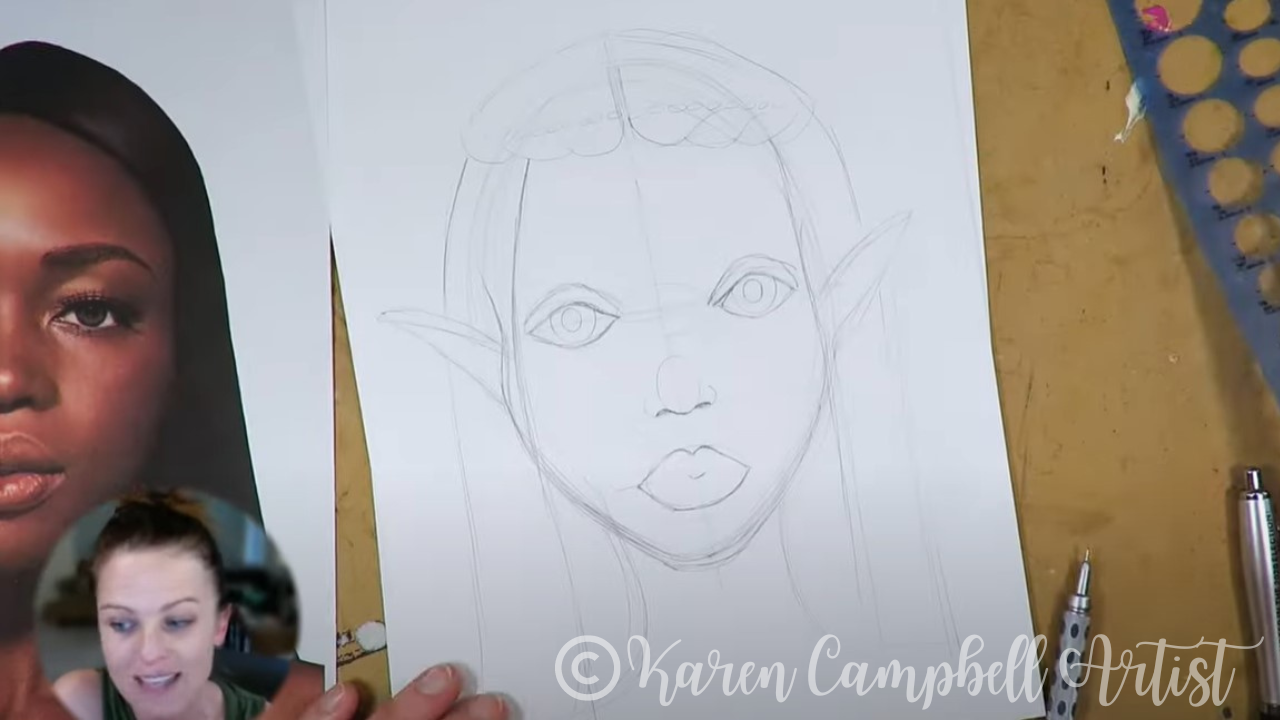
I drew both of the faces above, but if you compare them side by side, it's pretty obvious which one looks more amateur. I didn't use guidelines for the face on the right. Her eyes are too high, her nose is too low, and she barely has a forehead.
I used guidelines for the face on the left. Even though she was drawn in a semi-realistic, or whimsical style, she looks WAY more sophisticated than the drawing on the right. It's ALL because of the face drawing guidelines. 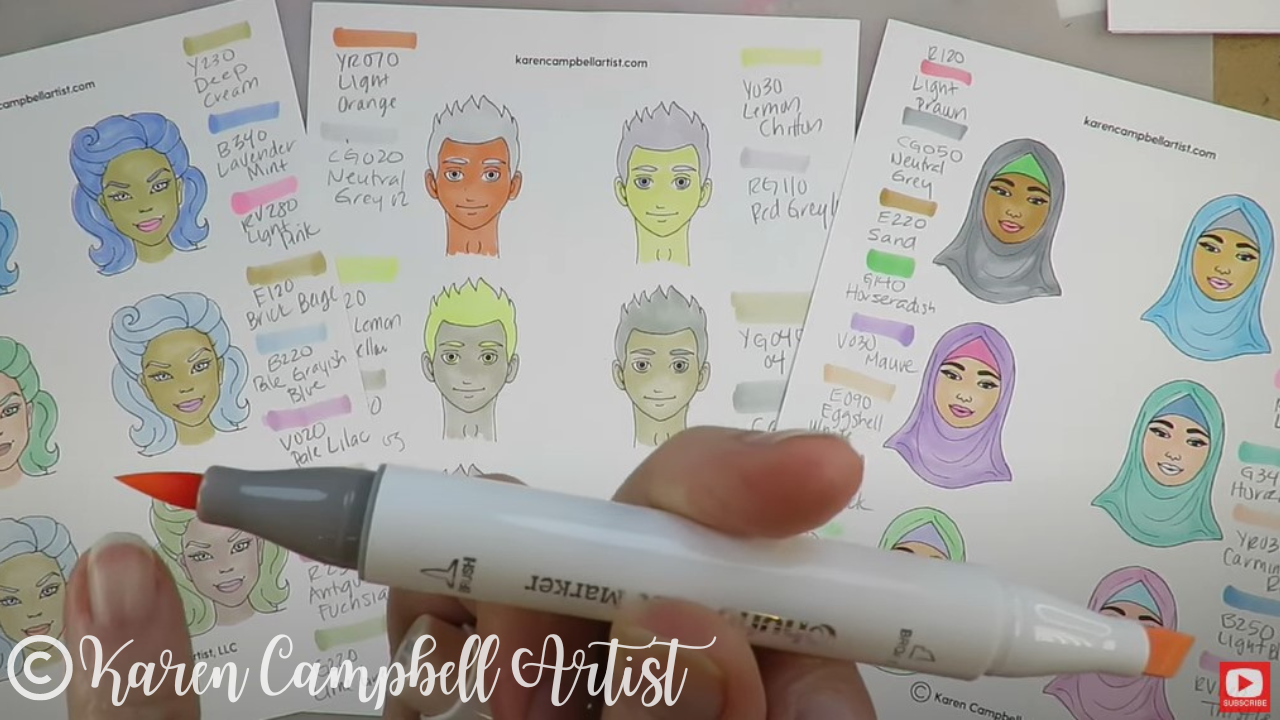
Back to today's video!
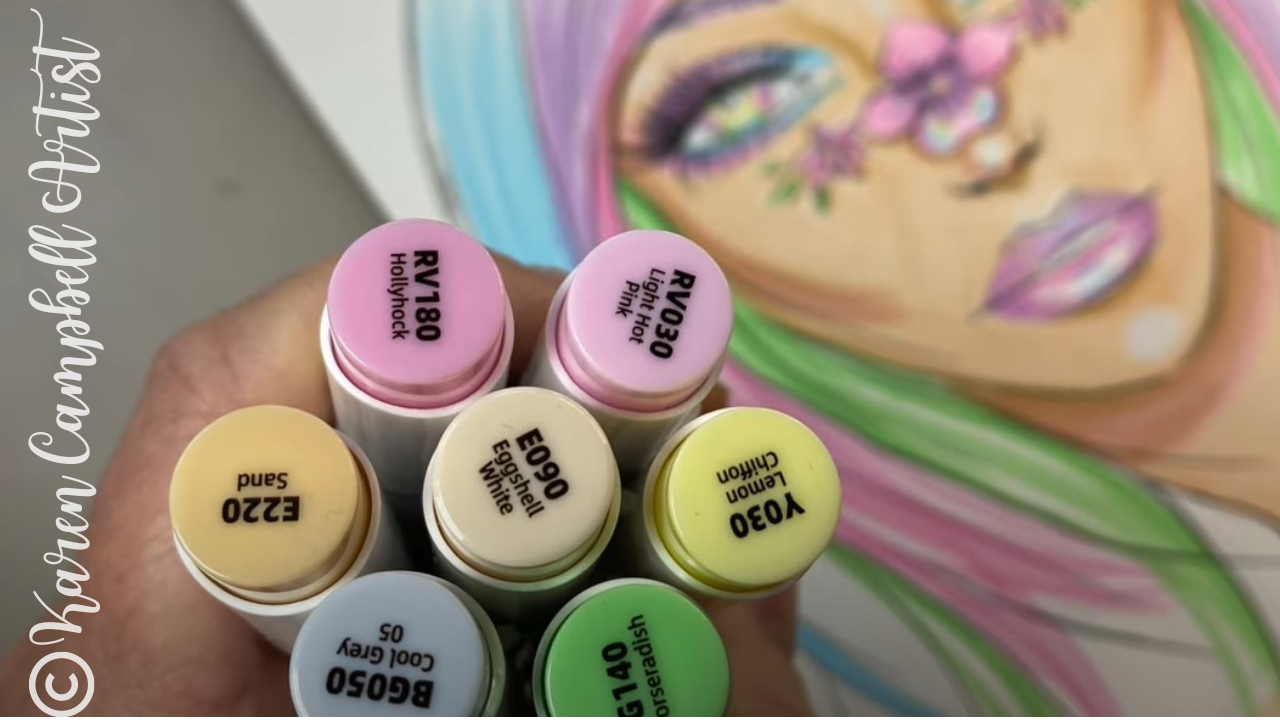
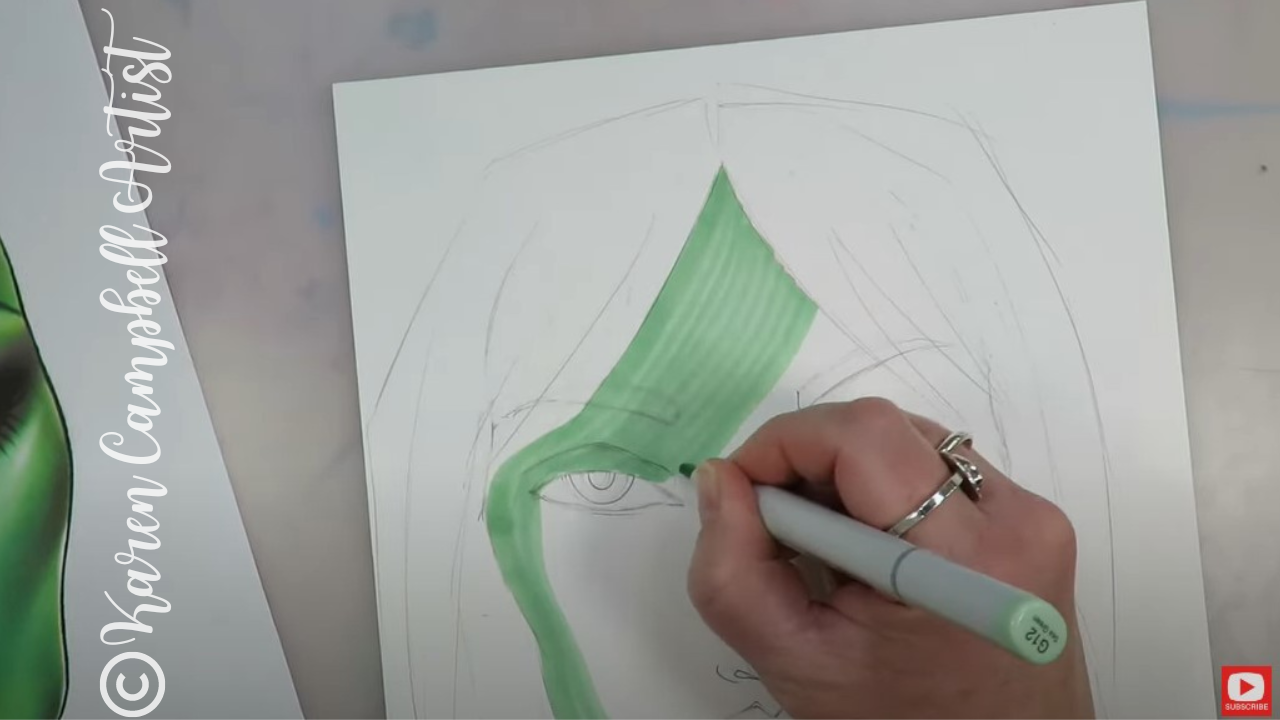
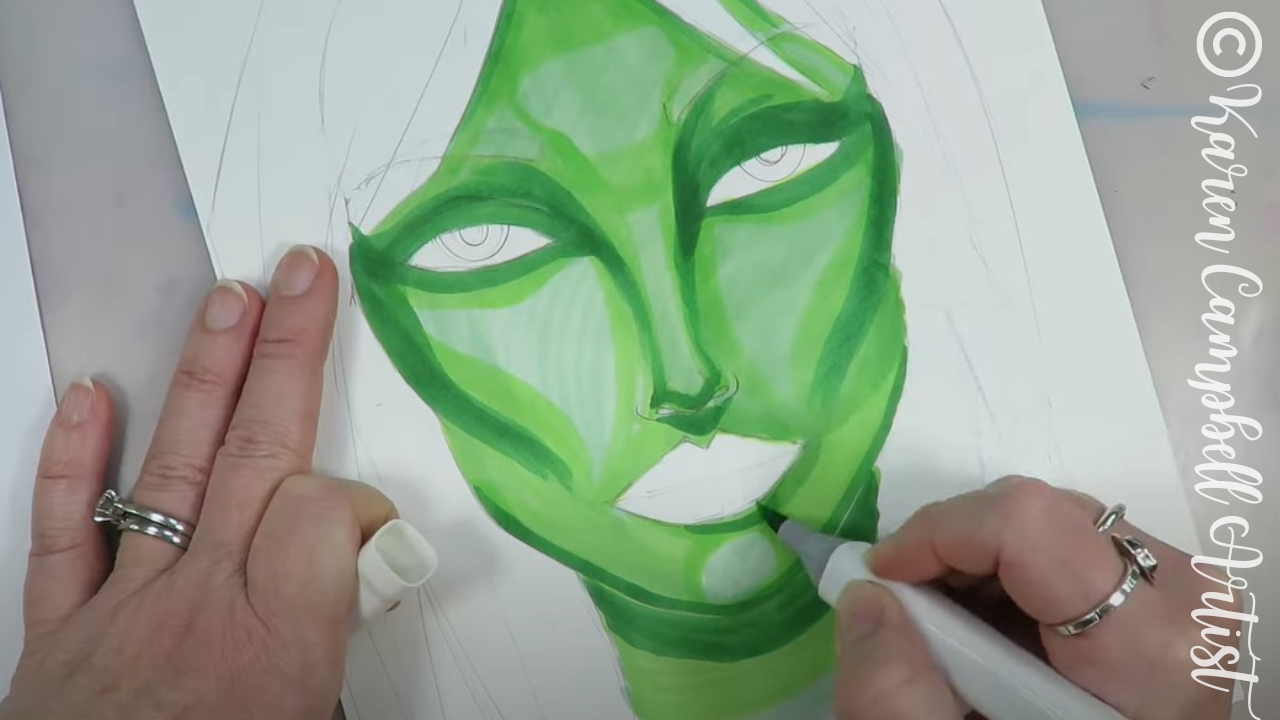
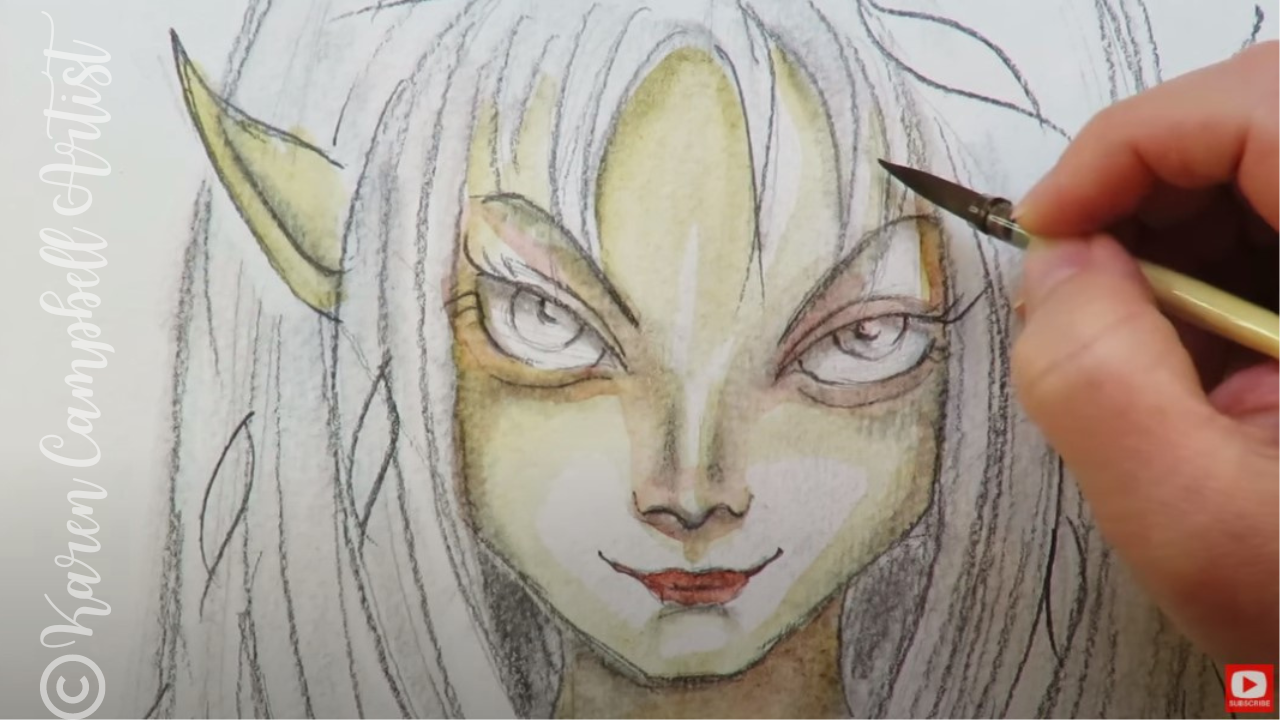
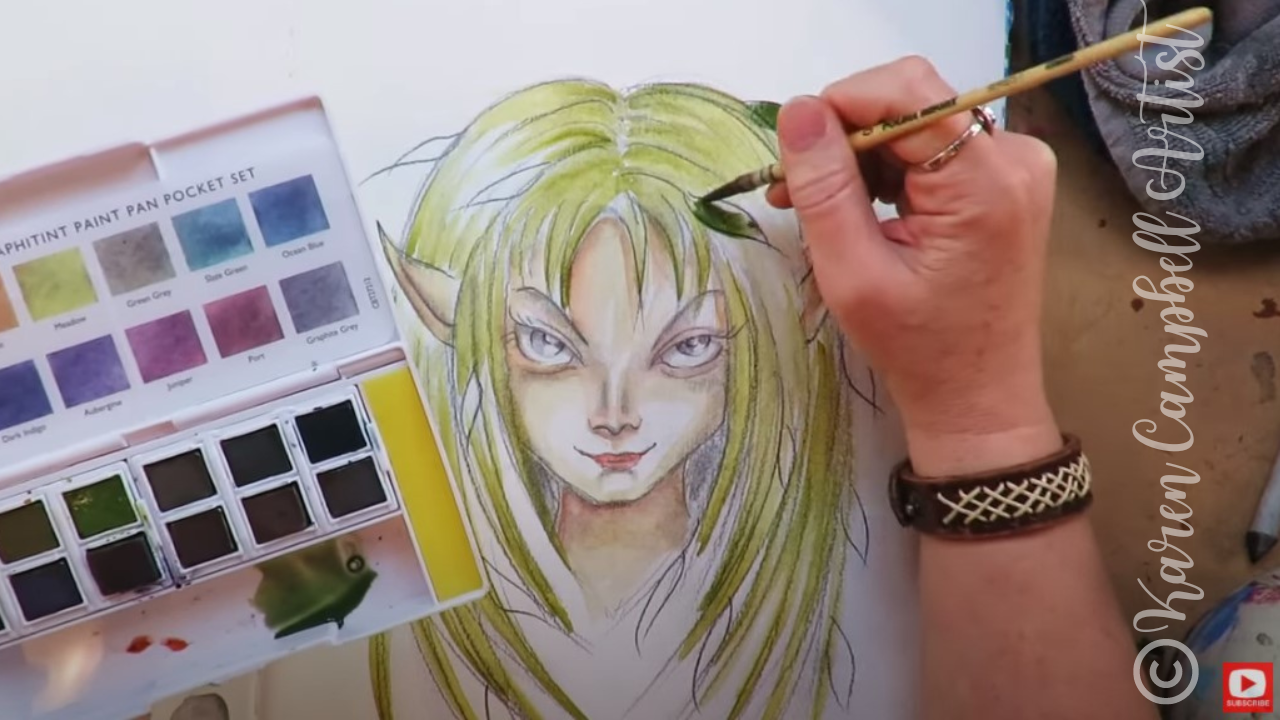
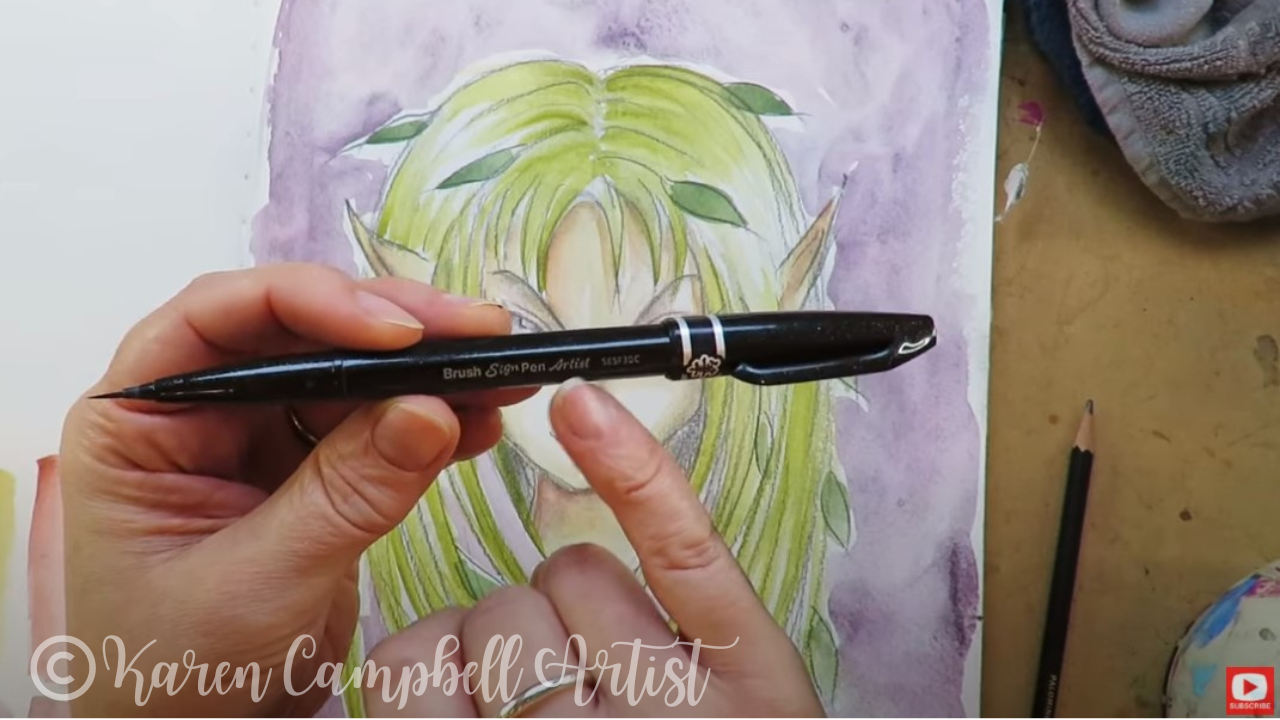
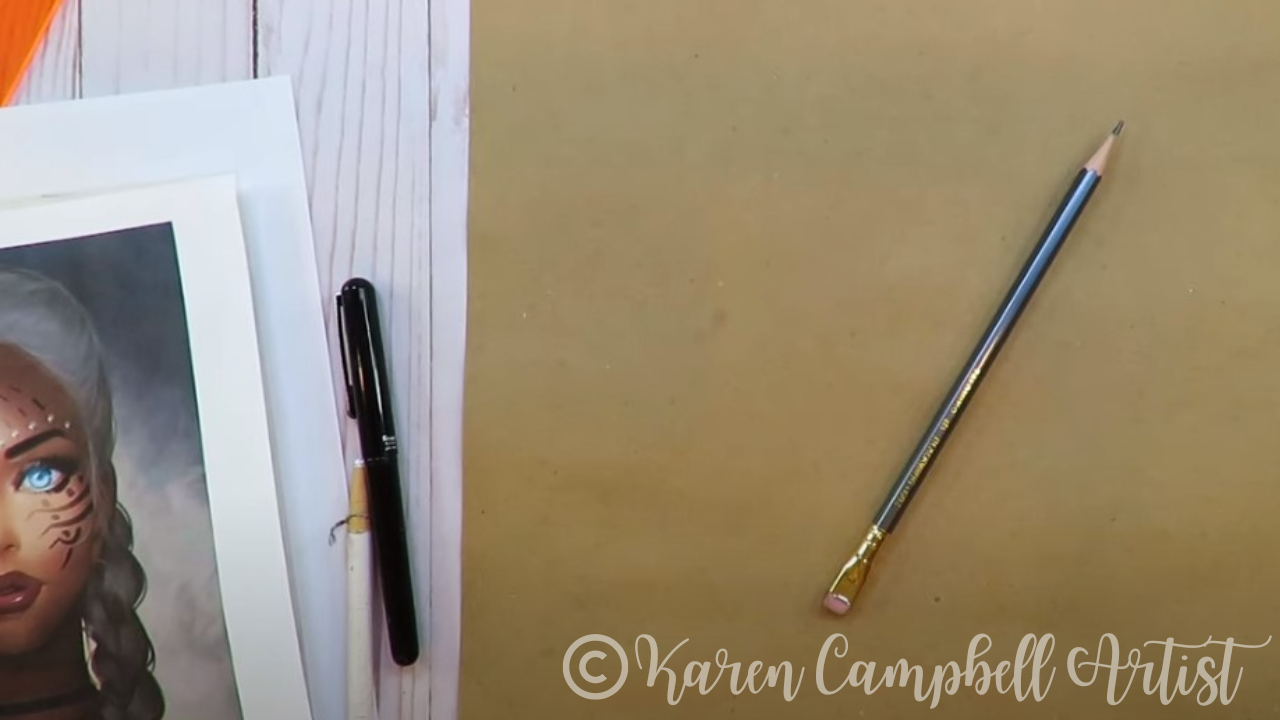
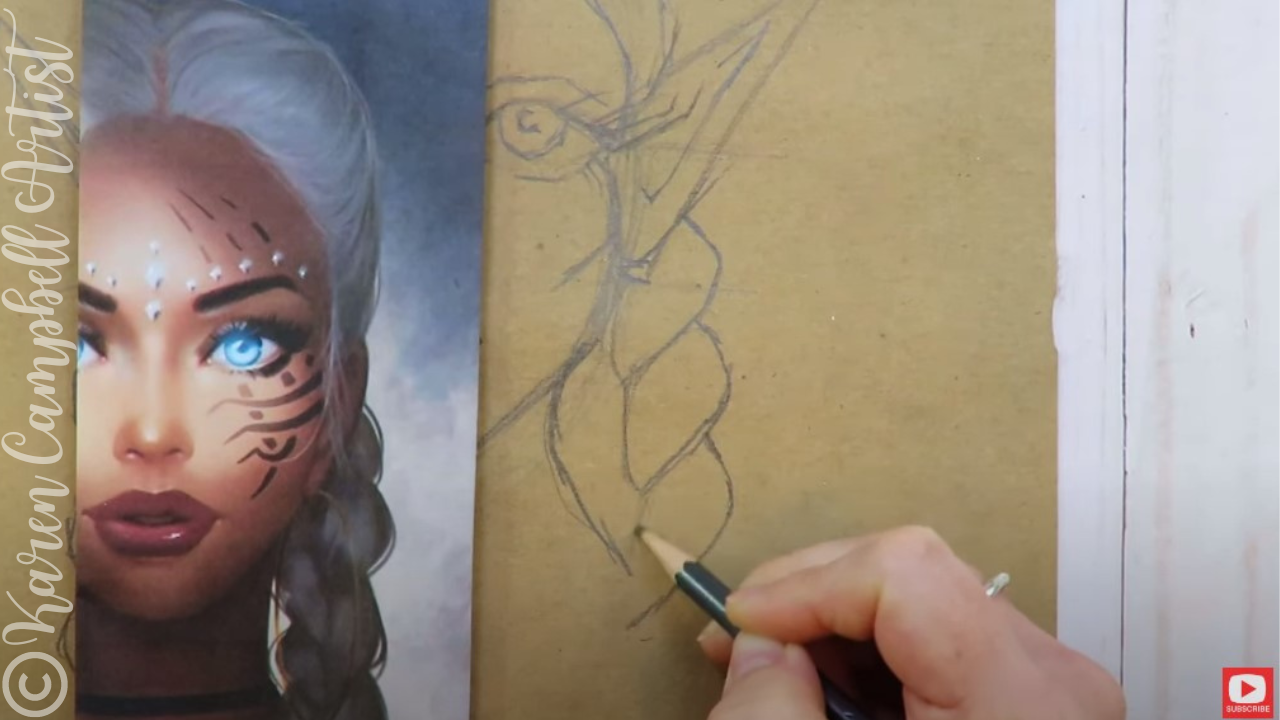
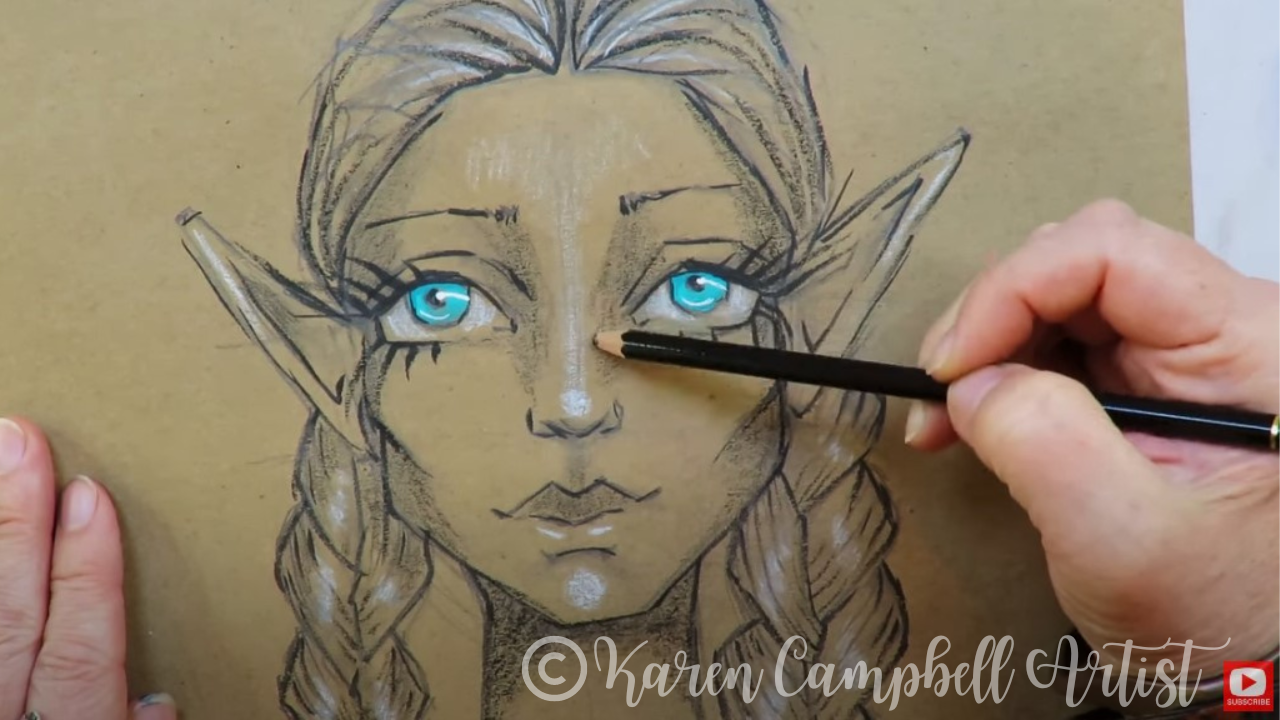
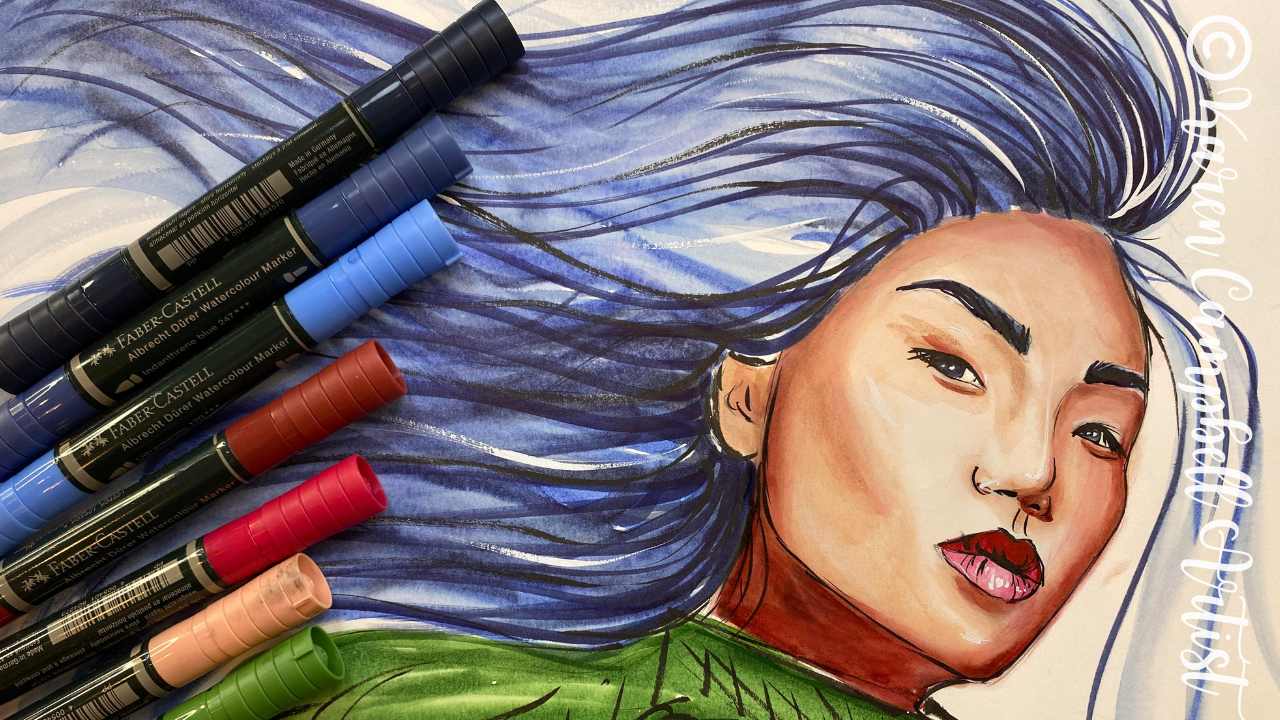
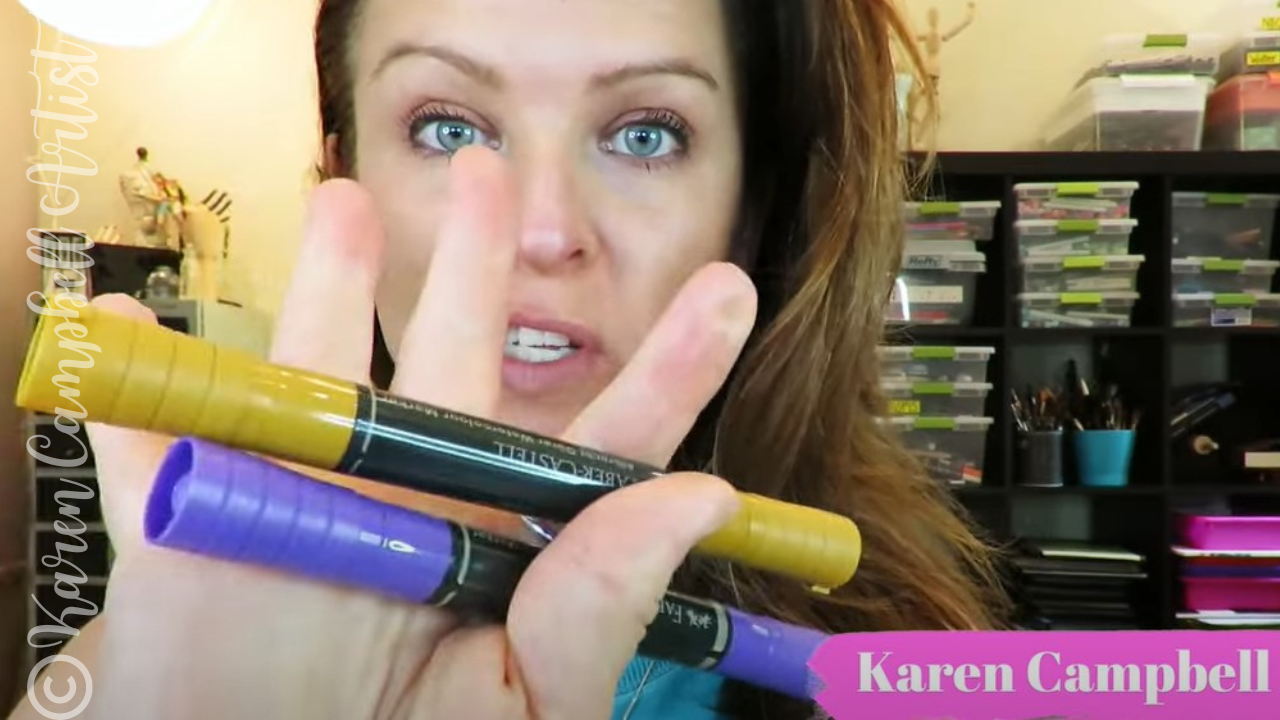
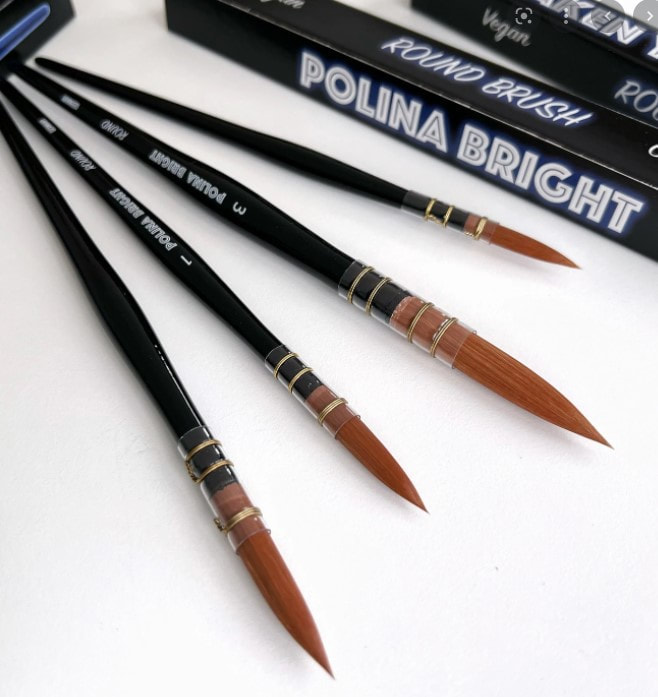
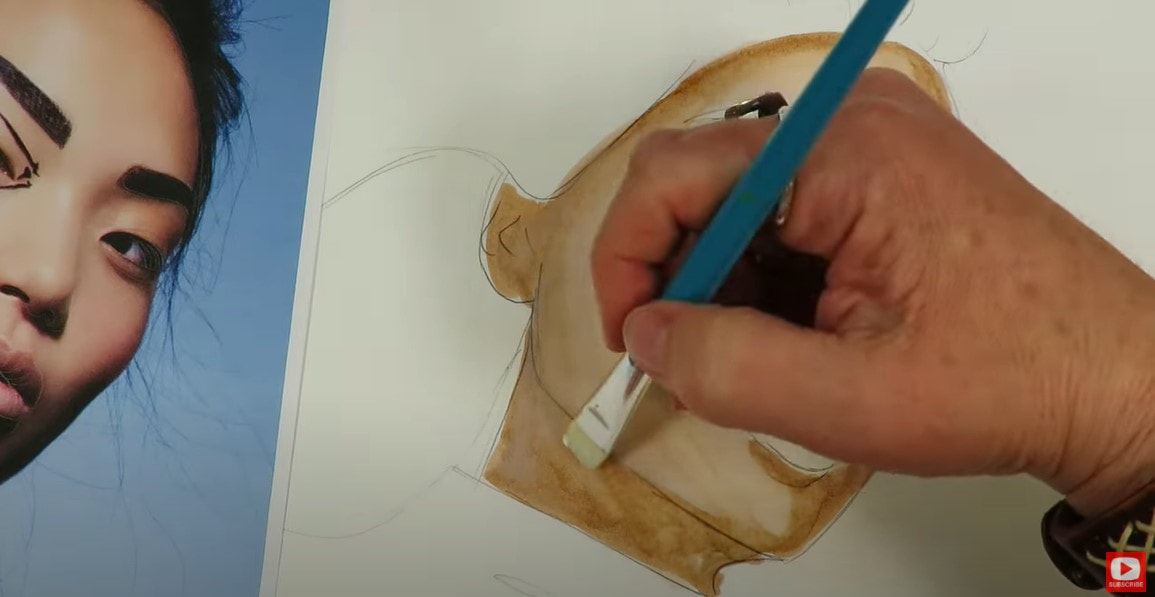
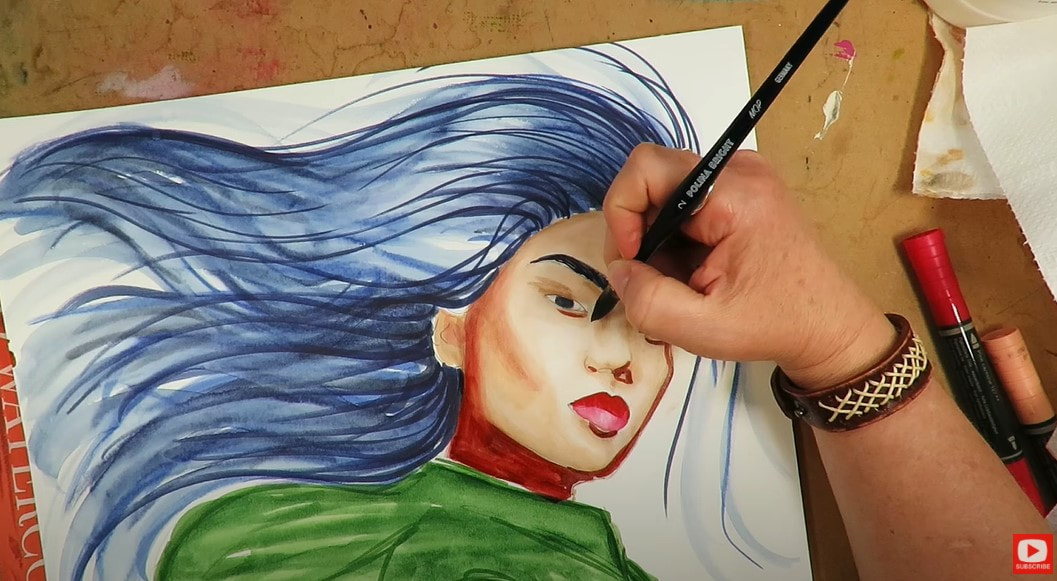
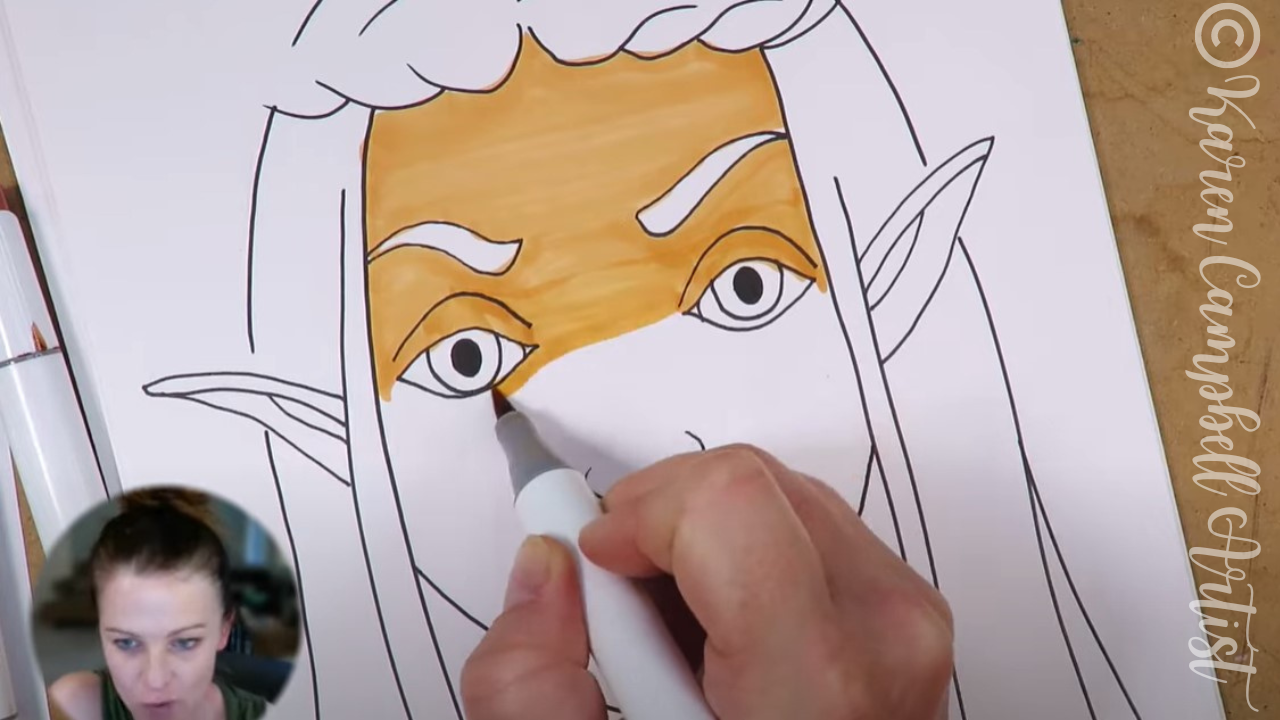
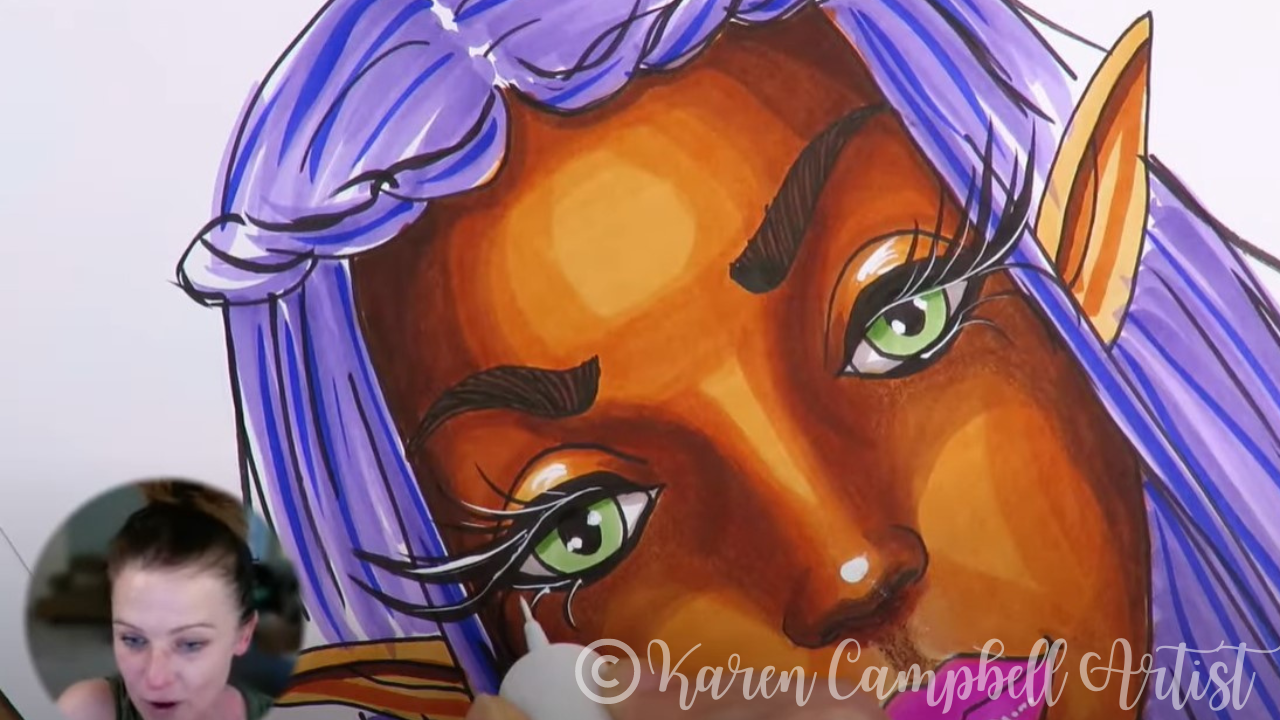
The alcohol markers in my new Ohuhu set of 48 pastel shades are all dual tips with both a brush nib and a chisel tip. I primarily use the brush nib because it feels very painterly to me (especially for drawing hair). But I also love flipping to the chisel tip if I've got a lot of ground to cover in one shade, and want to move through it quickly. 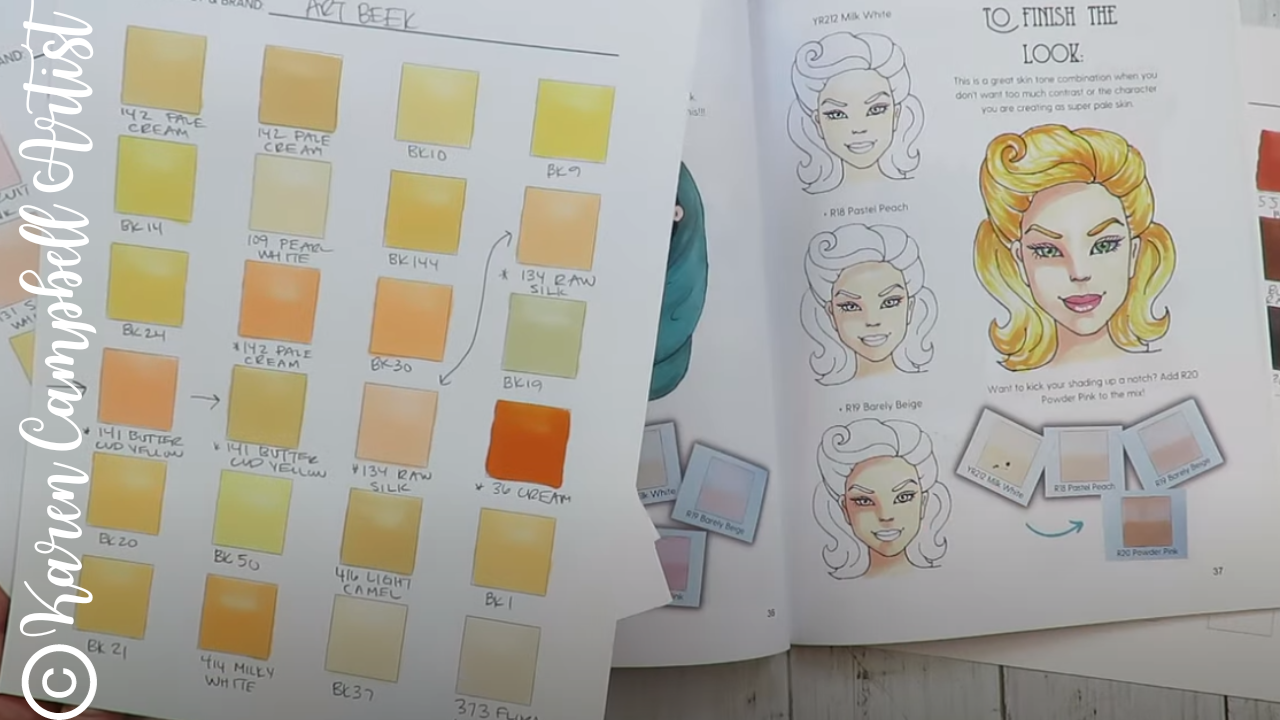
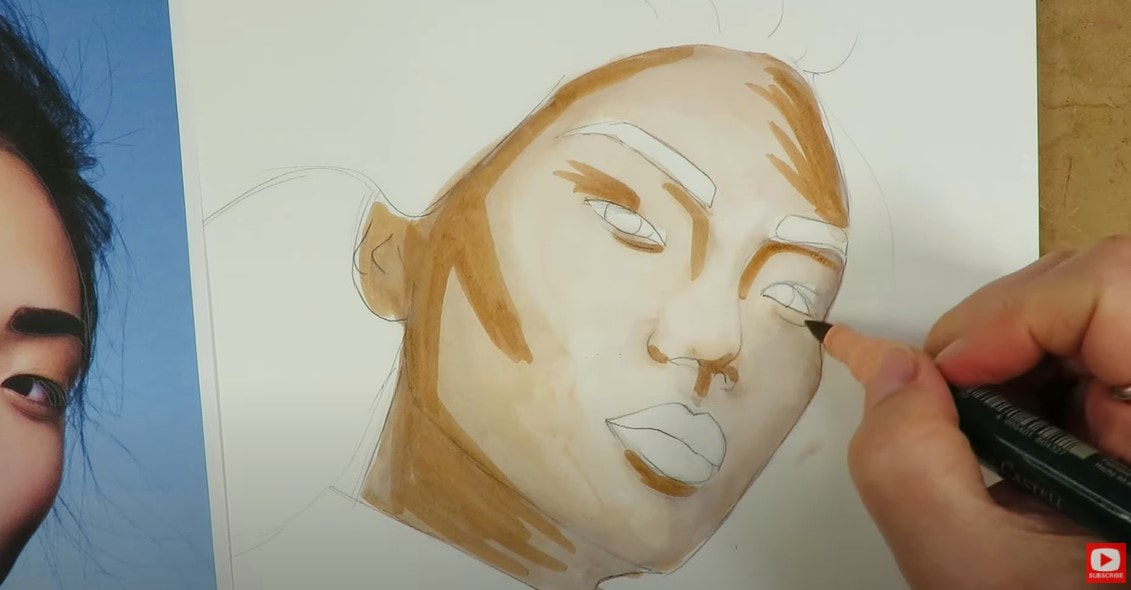
I found two shades in the pastel set of 48 that worked well together as skin tones for today's drawing. As I got further into the project, I discovered a pink that complemented these shades as a beautiful mid-tone. Make sure to click over to the video because I flash the name of each marker shade on the screen while I use it.
If you end up buying the pastel set of alcohol markers by Ohuhu, you'll find that it comes with a colorless blender. Personally, I feel the best way to blend alcohol markers without streaking comes from mixing your marker shades together and layering your brush strokes in a variety of directions, so I never use the colorless blender. However, if you've been hoping to try it - you'll be excited to know it's a part of this set. 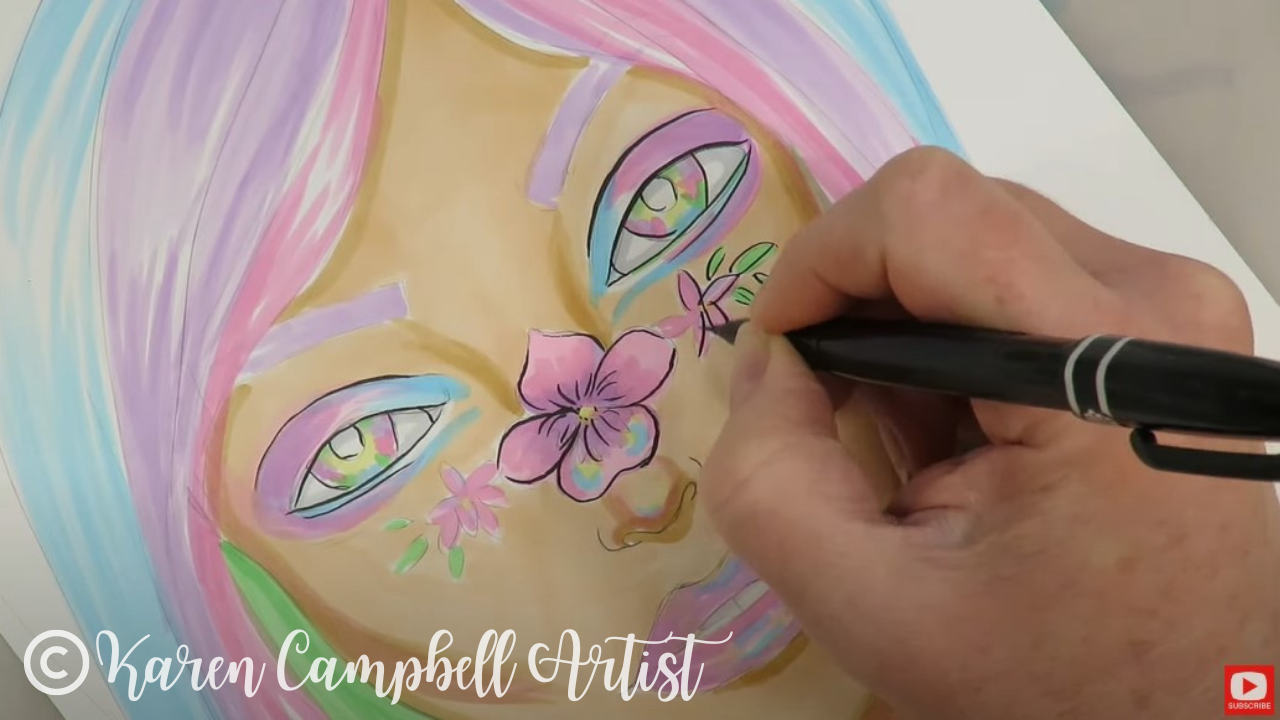
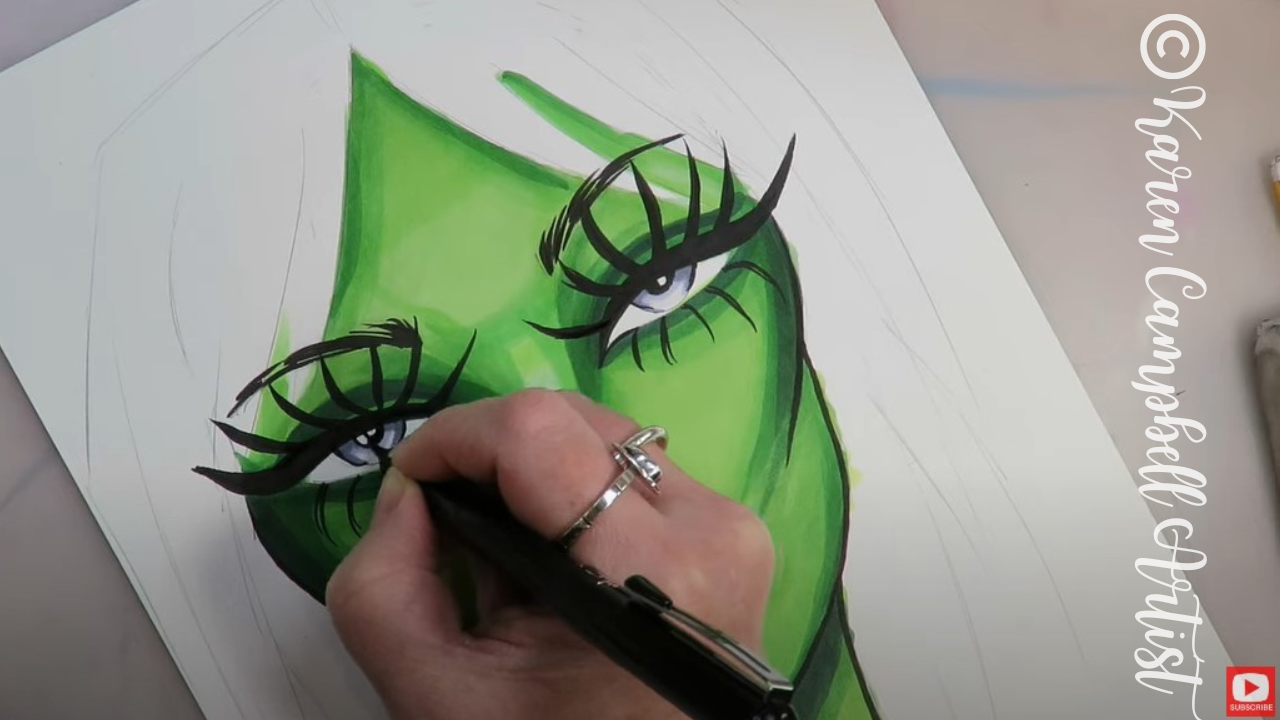
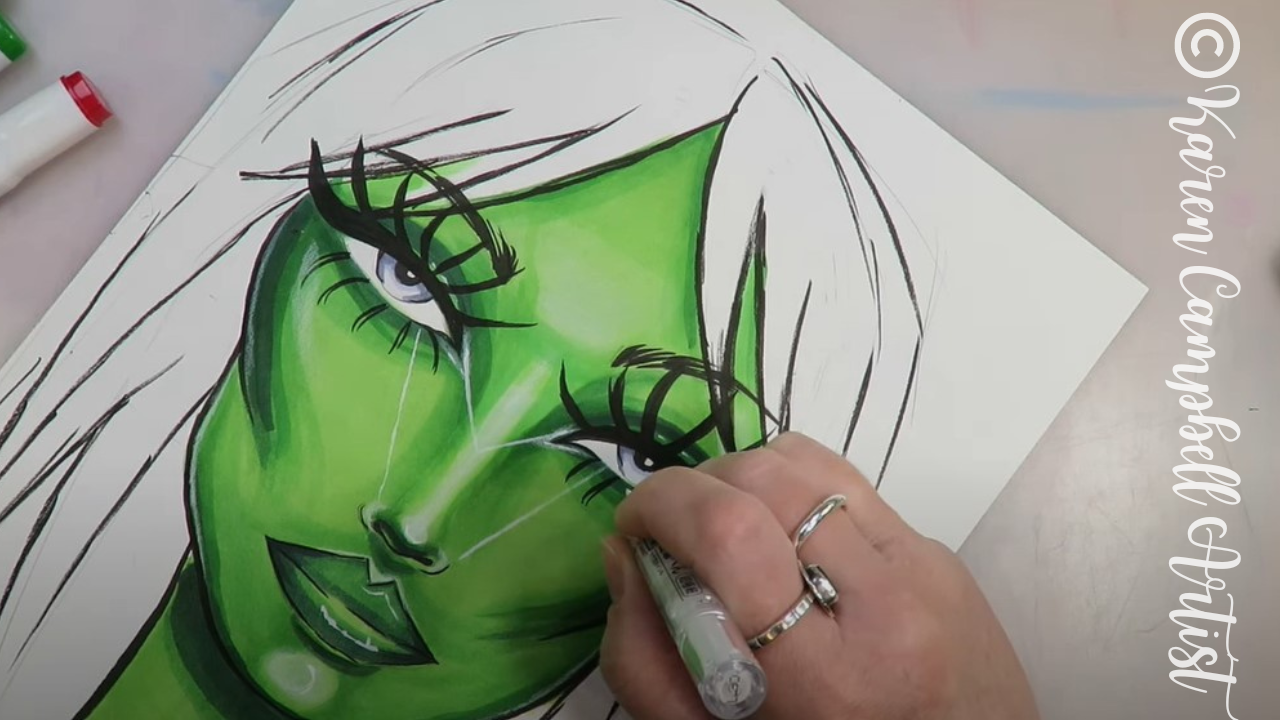
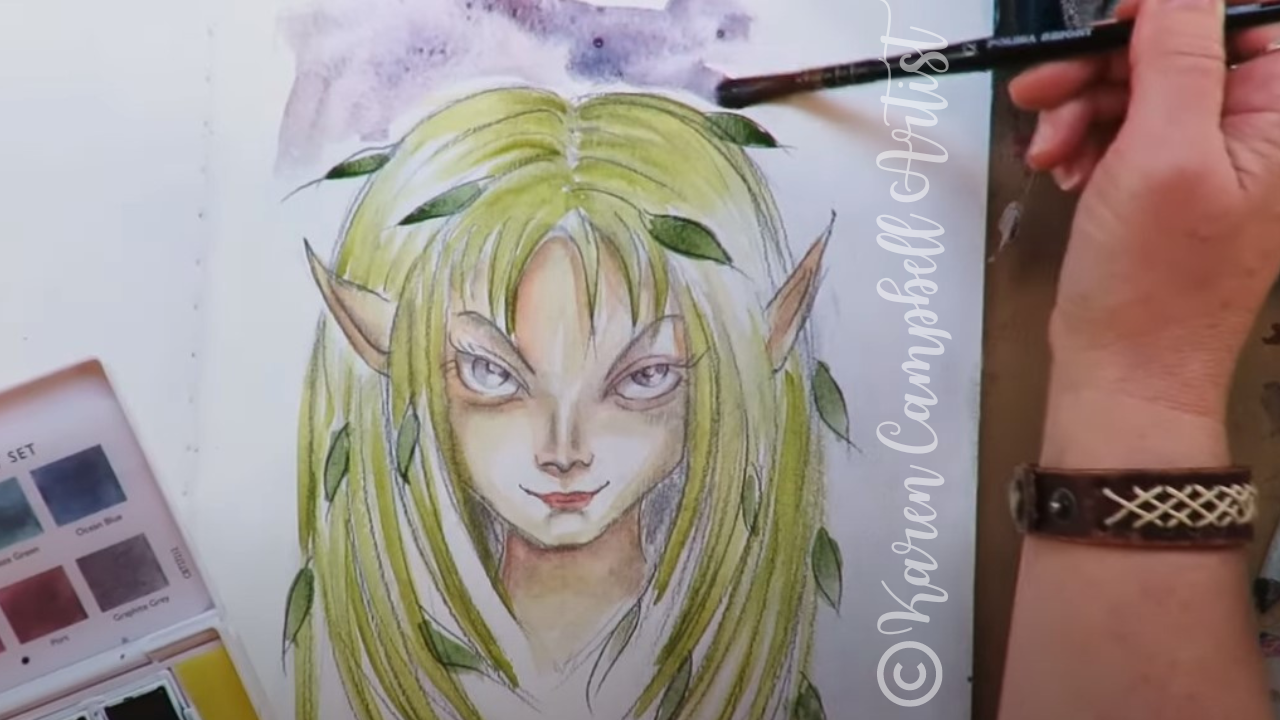
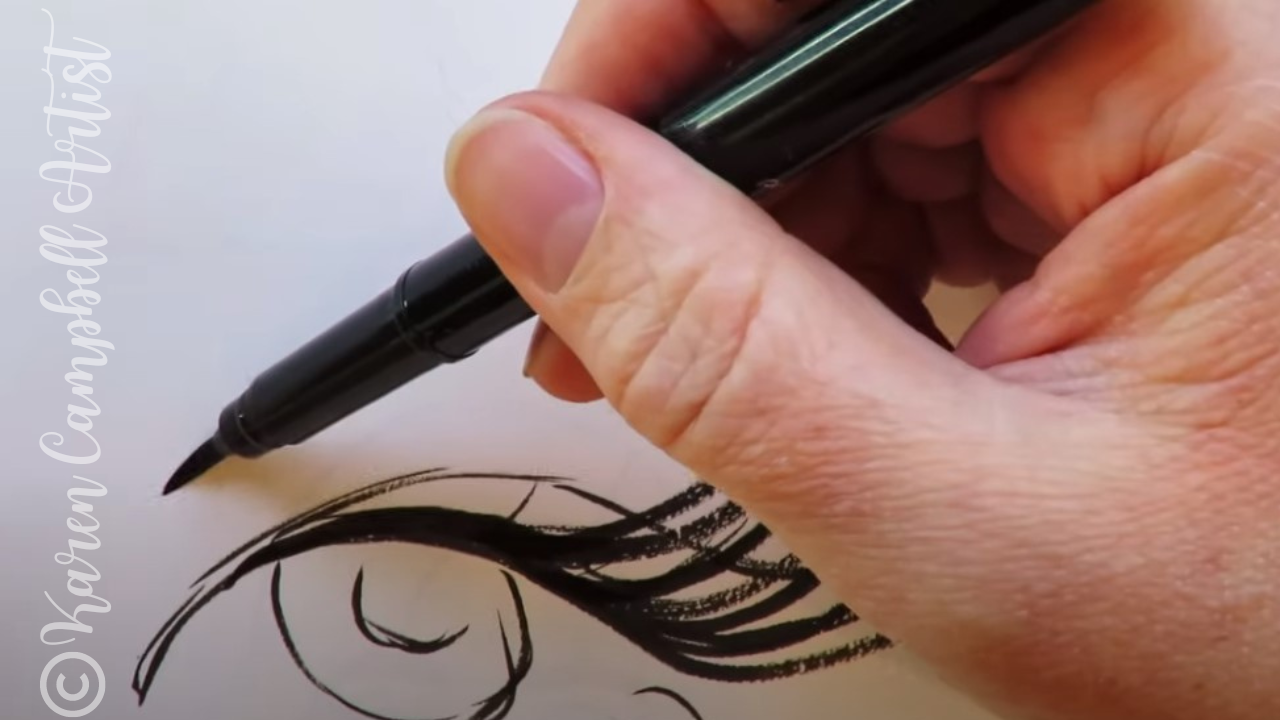
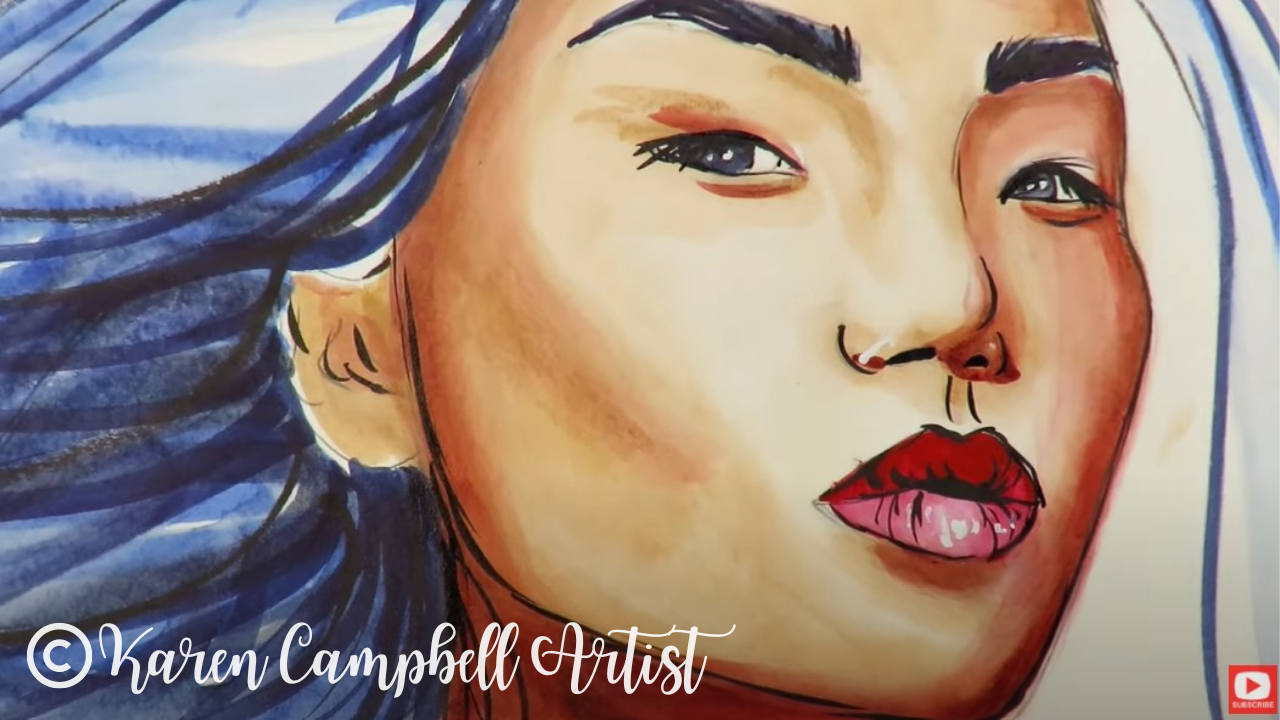
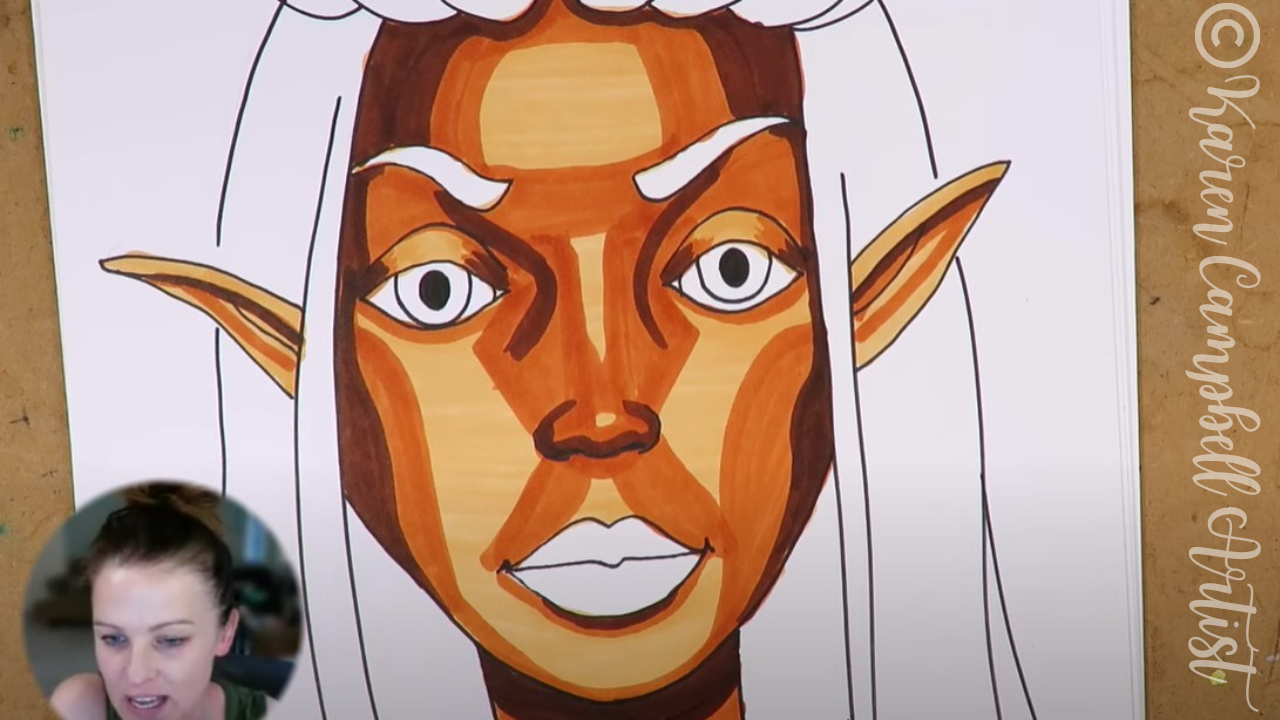
When I was finished laying down my color, I decided NOT to use my pentel pocket brush for outlining and doodling on top of my drawing because I was afraid the lines would be too bold for the pastel color palette.
Instead, I reached for my Pentel Arts Sign Pen with Micro Brush Tip because I can get much finer lines with it. I'm SO happy with how this piece turned out! And I LOVE, LOVE, LOVE my new pastel alcohol markers. THANKS Ohuhu!! If you're already starting to think about Christmas gifts, Ohuhu has got an amazing Black Friday sale going on already. Be sure to check that link often as new items drop here all the time. Thanks for hanging out with me today! Need more resources to get your creative juices flowing? ❤️ CHECK OUT ALL my art books on AMAZON ❤️ CHECK OUT ALL my online art classes @ Awesome Art School ❤️ MY FAVORITE ART SUPPLIES on AMAZON (affiliate links) ❤️ MY BELOVED FACEBOOK GROUP
0 Comments
Looking at mixed media art examples from other artists is a GREAT way to get inspired if you're ever feeling creatively stuck. As you'll see, my mixed media art journal is a place where I love to swatch, experiment, paint, collage, plan or teach online art lessons for Awesome Art School & SO much more!
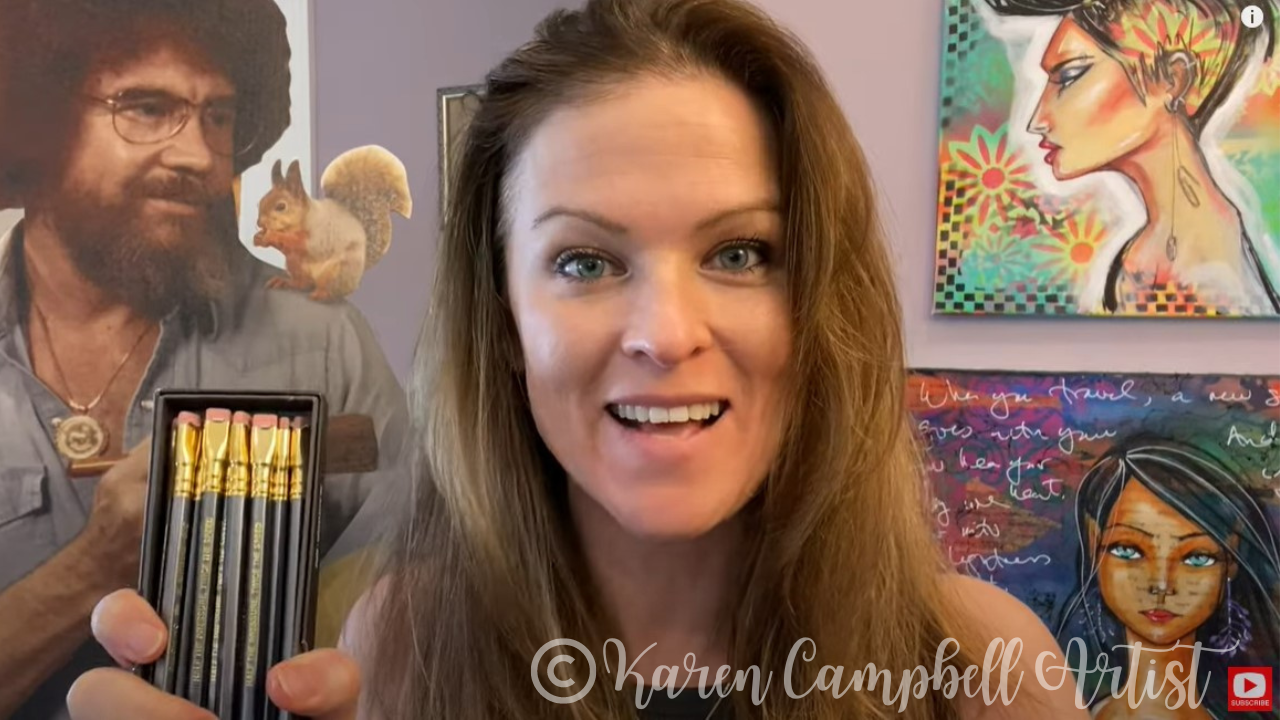
Do you have an art journal, or have you always wanted to try it but didn't know how? Download my Kick-in-the-Pants Guide to Starting an Art Journal with inspiring quotes from one of my favorite people, Bob Ross. Simply click the button below and I'll send it straight to your inbox!

Once you've printed out your guide, meet me here to watch the series that goes along with it, or check out today's art journal flip-through first.
Before we continue, super quick announcement: All product links are Affiliate. I may earn a small commission if you choose to order through these links but by law there is never any additional cost to the consumer for doing so. I thank you for your support.
For me, art journaling is a place where I can swatch new art supplies, experiment, play, plan or teach the lessons I create for Awesome Art School.
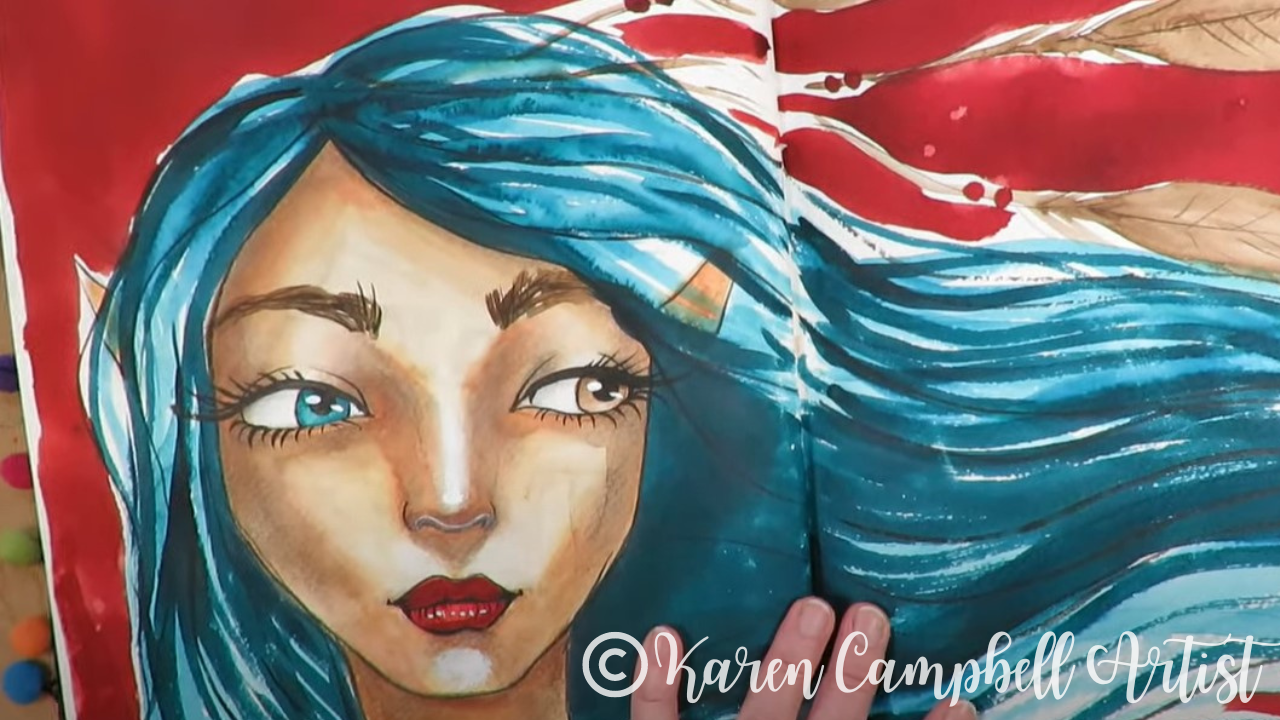
This particular art journal is filled with fountain pen ink paintings like the one above, because I started experimenting with fountain pen ink right around the same time as I bought this journal. 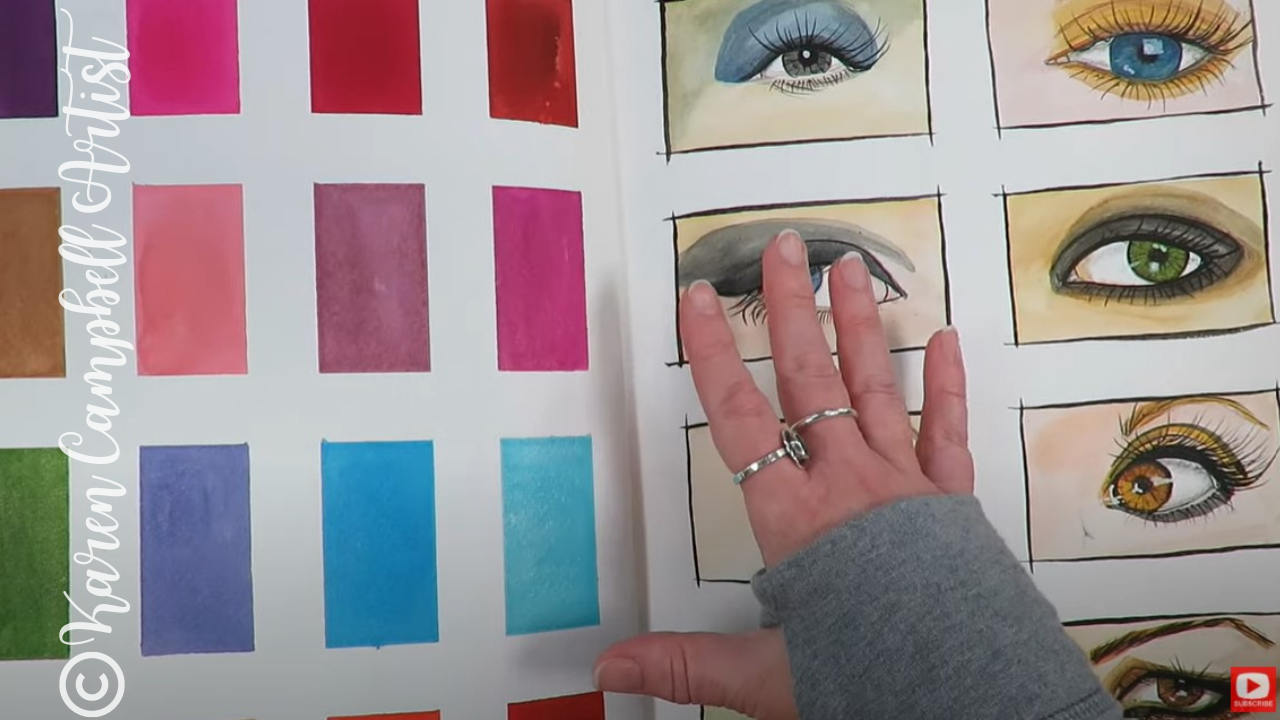
I love to work big, so I always buy the 11x14 size, but there are some smaller ones available too. This watercolor sketchbook is filled with 140 lb. cold press (textured) paper and can honestly take ANYTHING I throw at it from watercolor pencils to full-blown, multi-layer "Hamburger Style" projects with collage, acrylics and mod podge.
If you've never done a mixed media art journal before, or aren't sure what kind to buy, I'm in LOVE with this hardcover watercolor sketchbook by Strathmore. It's the journal featured in today's video and countless others.
If you're going to work with any type of wet medium, and want to work in an art journal, you always want to be working on watercolor paper because it's the sturdiest and will hold up to whatever you're using.
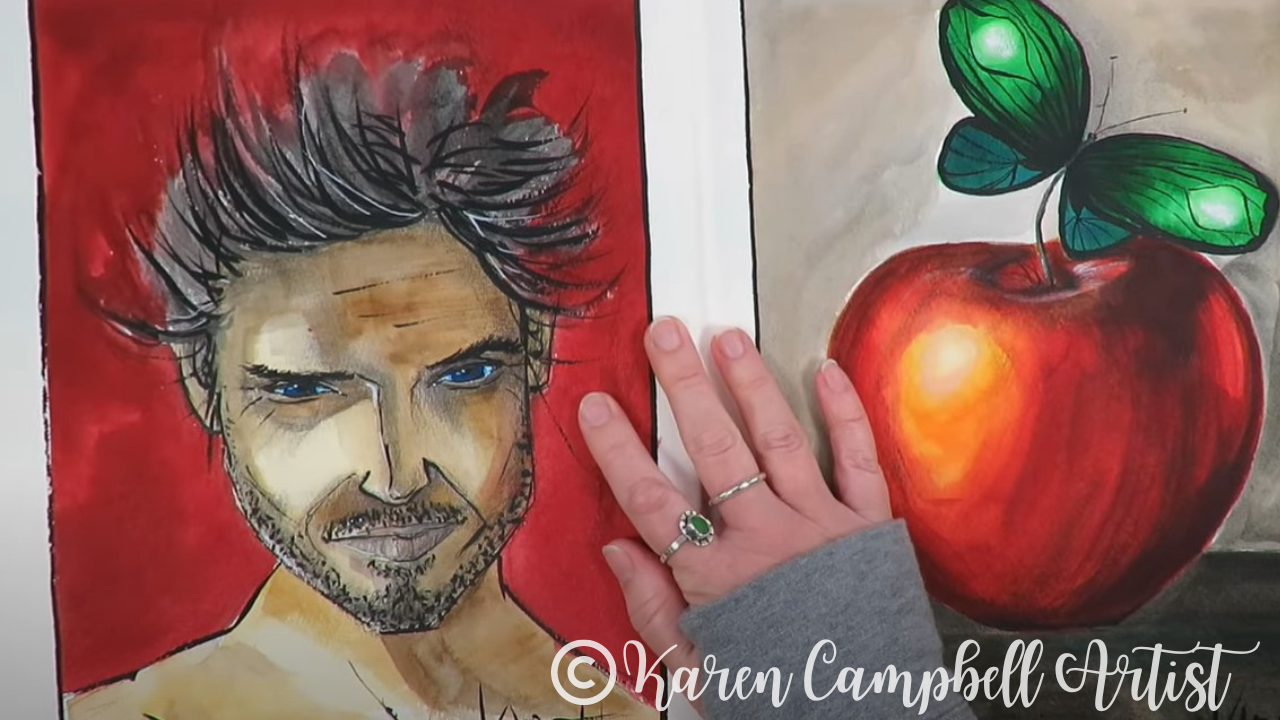
How gorgeous is that red fountain pen ink in these paintings? It's called Widow Maker by Noodlers. It is SO vibrant and fun to work with.
As I mentioned, an art journal can be a great place to experiment with art supplies and learn which ones work well together. Look closely at the painting below on the left.
Do you see a sheen to it? I tested adding pan pastels to my fountain pen ink painting and wanted to see if it would hold up to a sealer (in this case just mod podge). It TOTALLY did, and I think the mod podge layer made this piece even more vibrant than it already was. 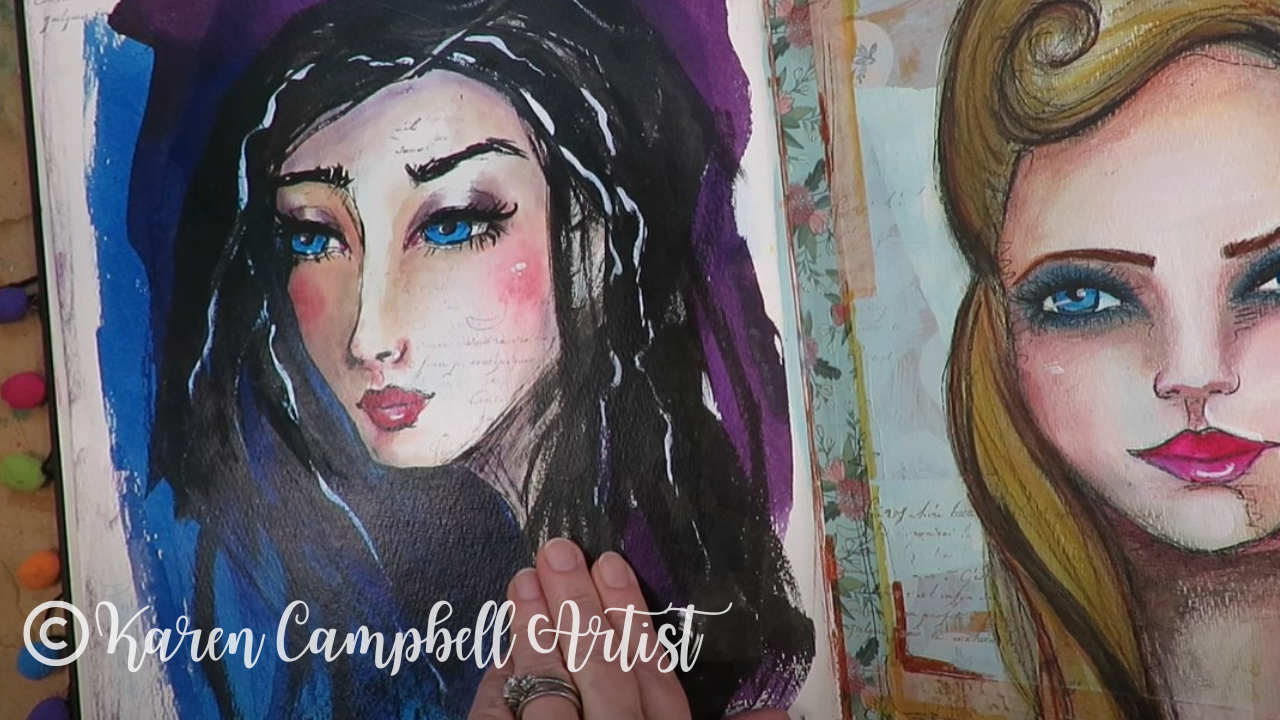
I mentioned how sometimes I will plan out a potential project in my art journals too. This one is of a cute interior from Wardhill Castle, the turret bathroom.
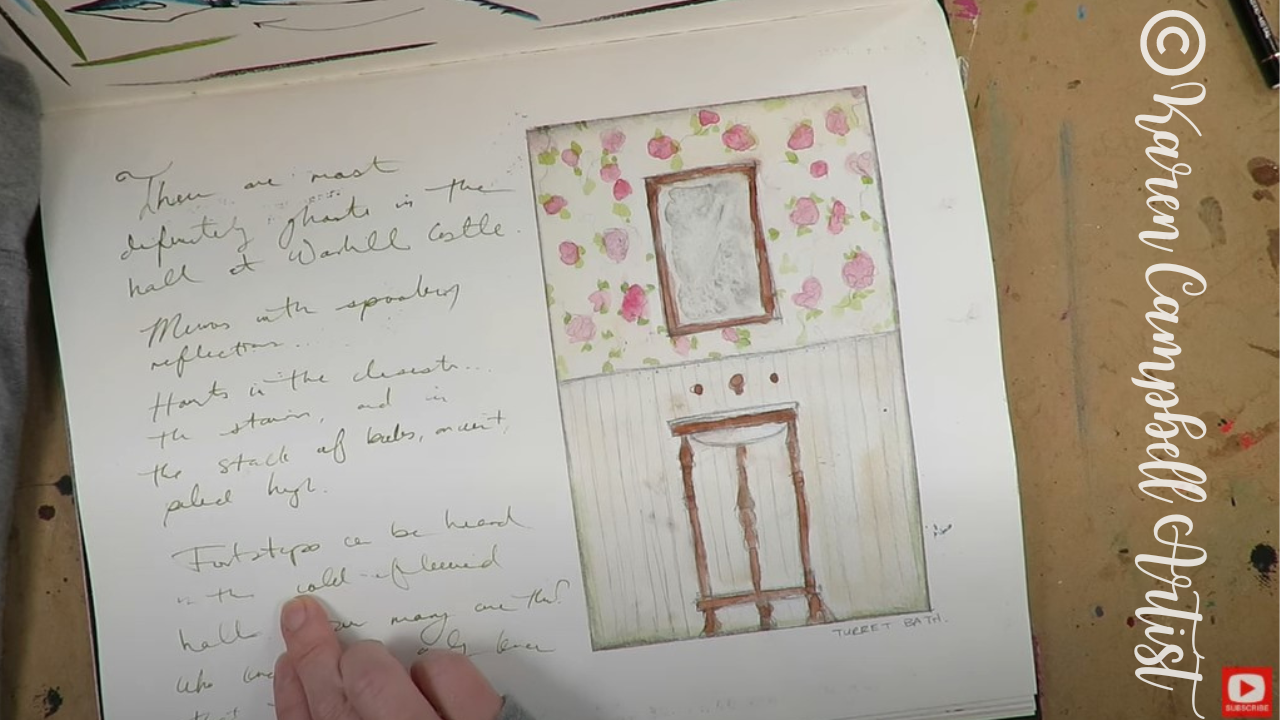
How cute is that?! I scribbled some musings about the castle and my curiosity as to whether or not it's legit haunted off to the side :)
Make sure you click over to watch the full video because there are lots of other pieces in this journal that I didn't feature on the blog today. I hope today's flip-through is giving you tons of mixed media ideas to try in your own art journal. And seriously, if you've always wondered about starting an art journal, but don't know how, or feel intimidated... you've gotta check out this series. It's a gentle "Kick-in-the-Pants" from me with quotes from Bob Ross to get you creating!
Need more resources to get your creative juices flowing?
❤️ CHECK OUT ALL my art books on AMAZON ❤️ CHECK OUT ALL my online art classes @ Awesome Art School ❤️ MY FAVORITE ART SUPPLIES on AMAZON (affiliate links) ❤️ MY BELOVED FACEBOOK GROUP
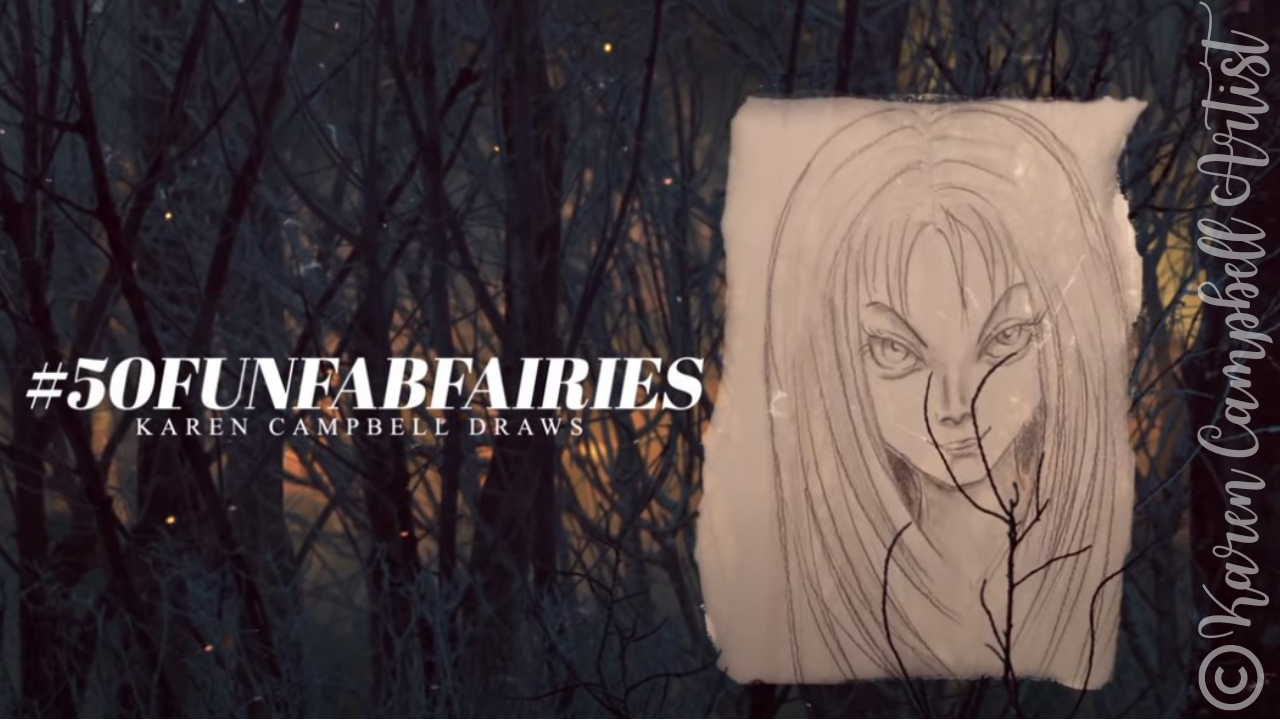
Halloween is right around the corner, so I thought it would be super FUN to create an original drawing with inspiration from TWO fashion face charts! Not sure what a face chart is? No problem. I can't wait to introduce you to them in today's Halloween Drawing project!
Go grab a sheet of bristol, a pencil, and let's draw! 
New to drawing faces? Or have trouble making them look proportional? It's WAY easier than you think.
Simply click the button below to download my FREE Whimsical Face Drawing Guidelines. I'll email them right over! 
Then check your email, print out the guidelines and meet me right back here for today's FUN Halloween fashion face drawing tutorial.
If you're TOTALLY brand new at drawing faces, you might wanna do this project first :) What's a Face Chart?
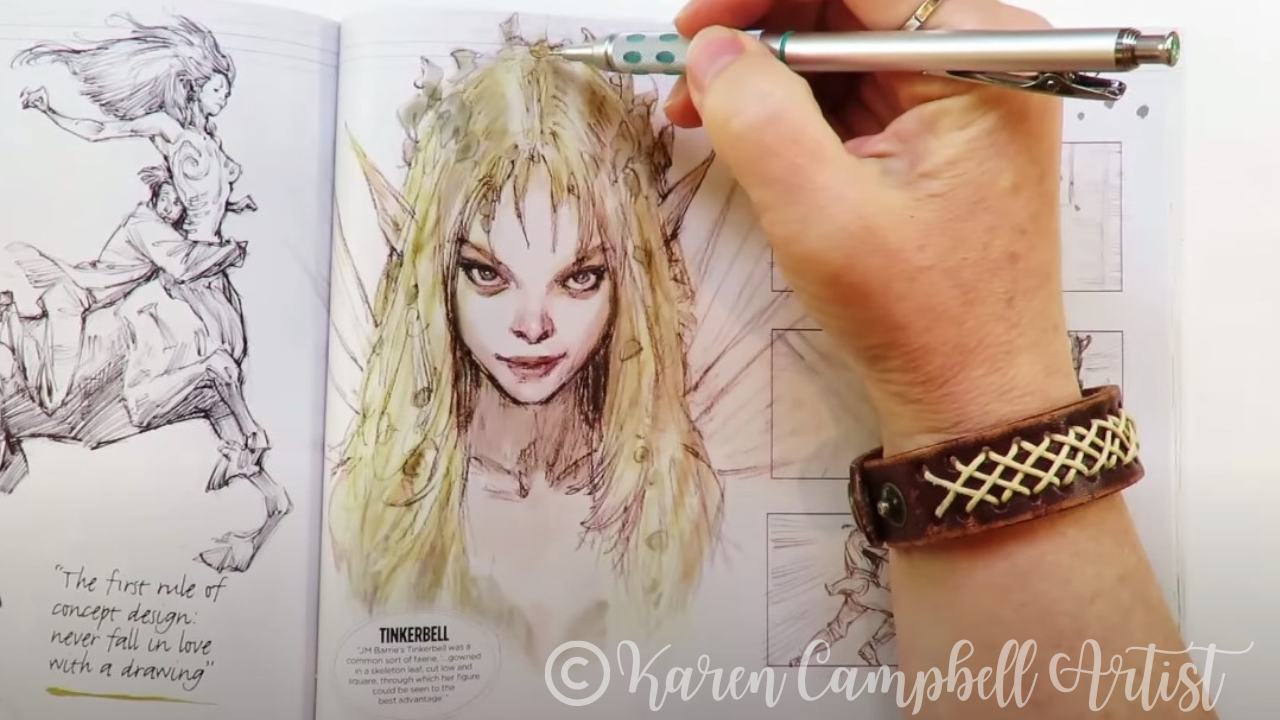
If you're not familiar with what a face chart is - I want to explain that right off the bat. Face charts are basically drawings of fashion faces that have been used since the 80s by makeup artists to plan out the makeup they'd like to do on their clients.
Tons of these are floating around online from individual makeup artists to big makeup companies like MAC. I think they're gorgeous and often print them out as drawing references to inspire me with new drawing ideas. Isn't this one stunning?! 
It one was done by someone I follow on Instagram, @sonya_miro. I used one of her Halloween makeup looks to inspire me for the spiderweb makeup in today's drawing.
If you'd like to get a copy of the face charts I'm using in this lesson, I've added them to my YouTube & Cheatsheet Library over at Awesome Art School. Use the coupon code YOUTUBESUB to save 25%.
|
Karen CampbellFounder of Awesome Art School. Mixed Media Artist. Author of 19 Instructional Art Books! 
Whose work has appeared in...
   
 Archives
May 2024
Categories
All
|


 RSS Feed

"Karen is flipping hilarious and she's very real...I like the way she teaches in a way that really gives you confidence, whether you're a beginner or advanced there's always something new to learn!"
- Elizabeth W. |
What Fans Are SayingKaren, you are absolutely fabulous! You make me feel like I can draw anything. I have recently retired and finally have the time to do some of the art that I have loved since I was in school. I am really at the beginning of my art journey and I hope to learn as much as I can. Thank you for all you do. |
Contact ME |