
|
Today on my mixed media YouTube channel, I'm testing out a new watercolor set by MeiLiang. If you're new to the brand, MeiLiang is a sister company of Paul Rubens, a very well-established and respected fine art brand.
I'm excited to try these out and show you what I think! Join me for the full MeiLiang watercolor review and demo on YouTube, or scroll on down to learn more. 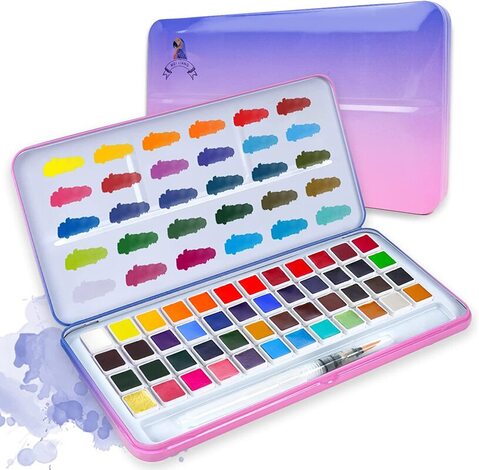
Super quick announcement: All product links are Affiliate. I may earn a small commission if you choose to order through these links but by law there is never any additional cost to the consumer for doing so. I thank you for your support.
MeiLiang Watercolor Set of 48 Cost
The MeilLiang watercolor paint set of 48 vivid colors will run you just under $30 on Amazon if you'd like to try it. To me, that's an AWESOME VALUE, because it costs me the exact same amount to get ONLY TWO shades of Daniel Smith watercolor tubes!!
What's Included by MeiLiang in the Set of 48?
Inside this set, you'll find a really cool acetate sampler of all the shades included (which is actually its own teensy travel palette in case you didn't know)!
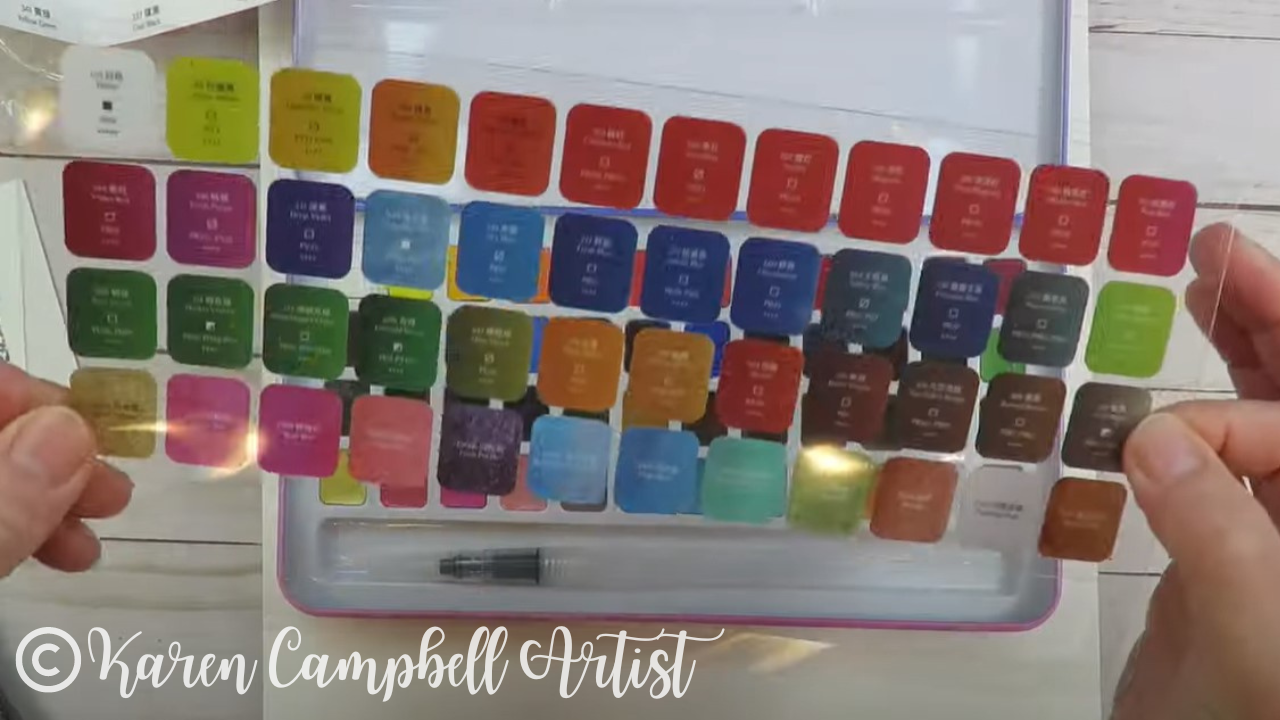
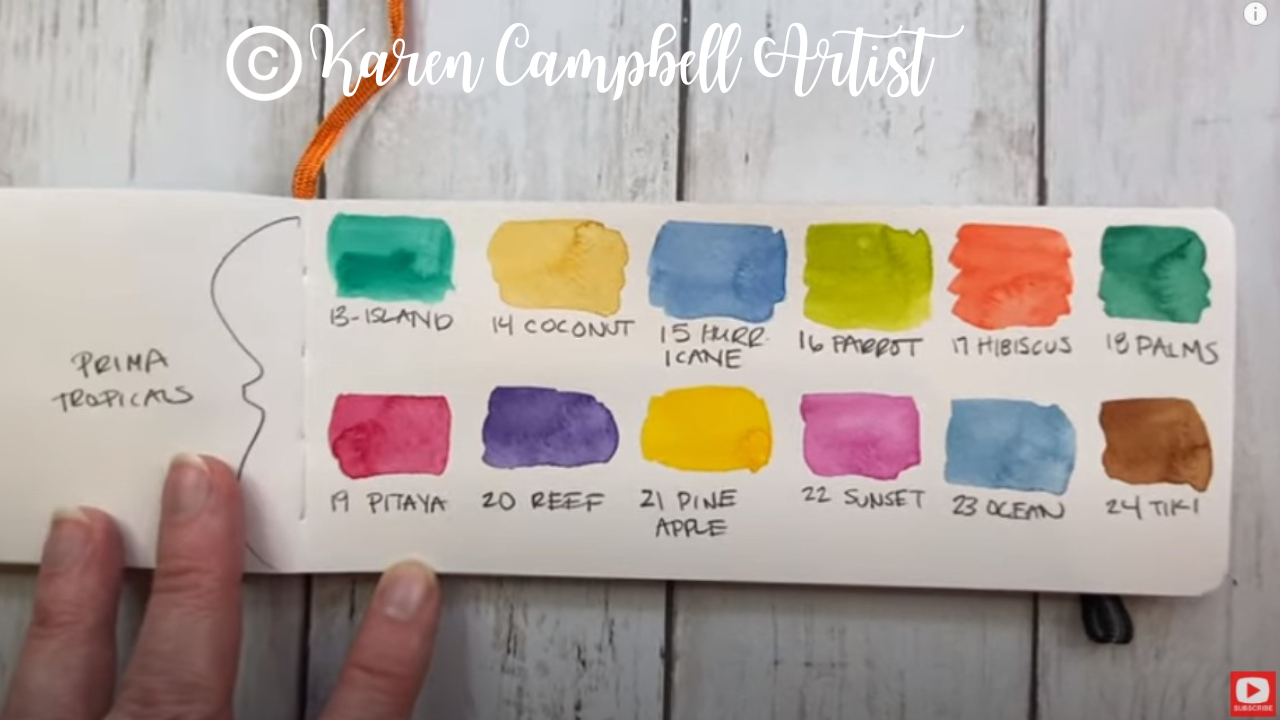
They've also included a really nice swatch card (below) for you to use with a label pre-printed for each shade so you can swatch the set on your own as well. Super helpful!!

MeiLiang also threw a water brush in with this set of 48 colors, which is super nice if you don't already have one.
Typically I only use Pentel water brushes because I'm super picky, but I did test the MeiLiang water brush pen out. Click over to watch the video so you can see what I think. 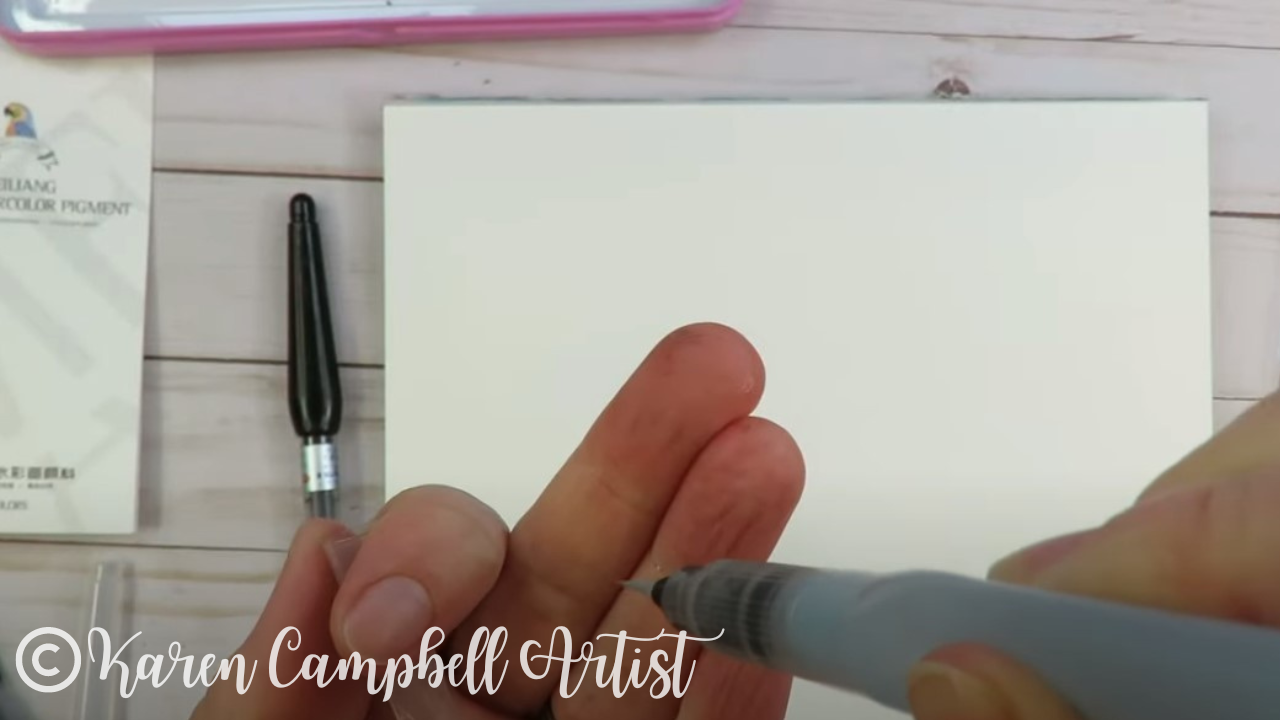
Never Used a Waterbrush Before?
No problem. There's a first time for everything. Click over to the video because I've got a little waterbrush demo for you in real time (no timelapse, starting at 2:04). I show you exactly how to fill a water brush with water, and how to use it. You'll also see a quick comparison of the MeiLiang waterbrush vs. my favorite Pentel water brush pen.
Why it's SO Important to Swatch Watercolors
If you've been following me for a while, you KNOW what a huge fan of swatching I am. It's super important to do whenever you get a new art supply with multiple colors - whether it's watercolors, markers, you name it.
I've been burned way too many times in the past and learned the hard way that color names, marker caps, or what a watercolor shade looks like in the pan are MORE OFTEN THAN NOT, nothing like what you will get on actual paper! Case in point... 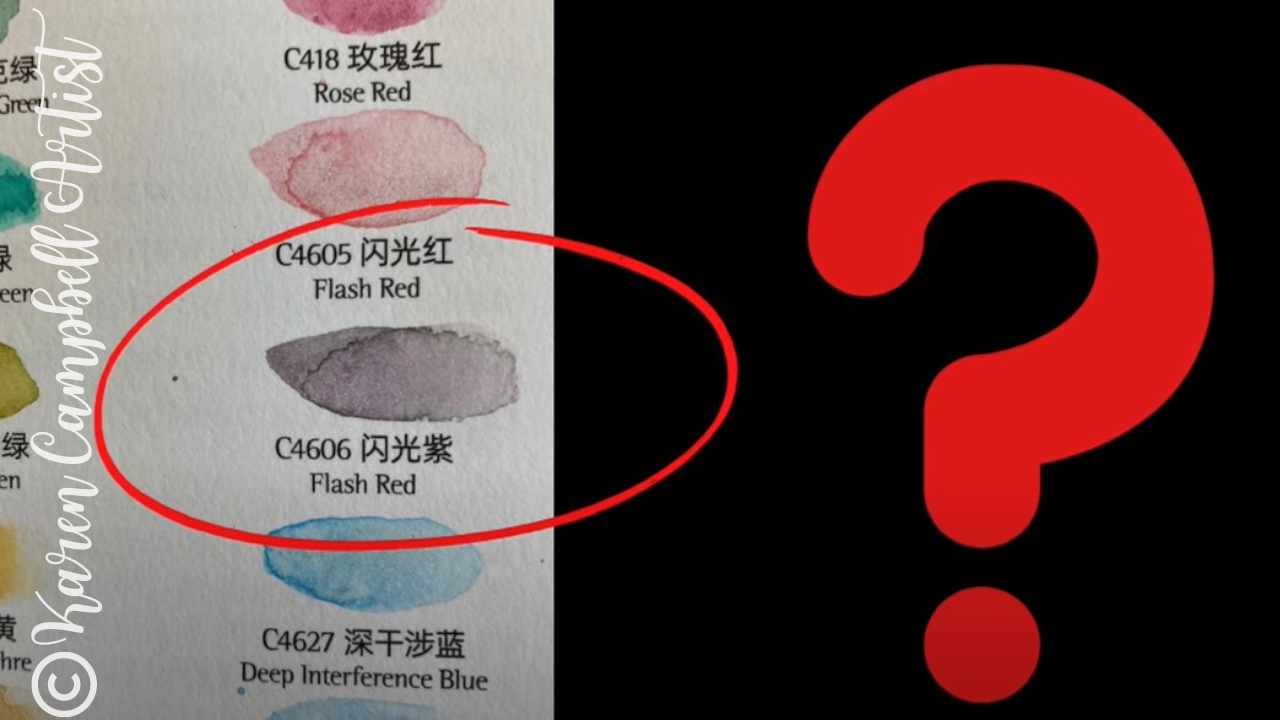
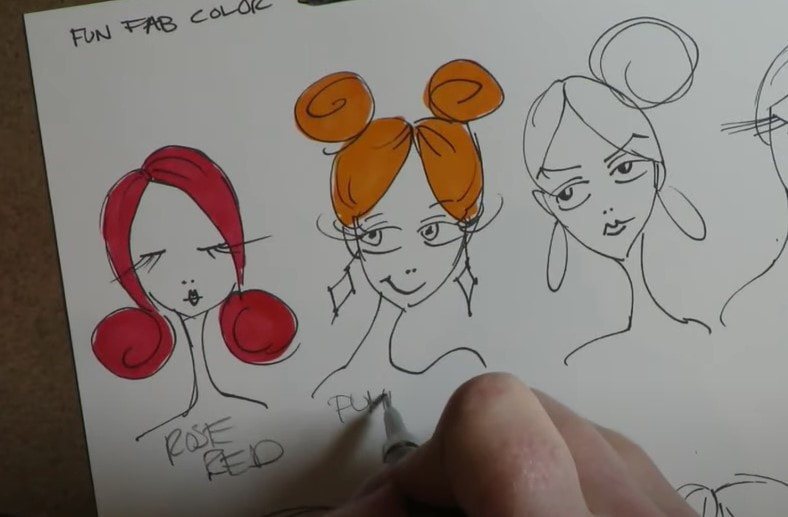
The color called "Flash Red" in this set doesn't look red at all to me! It's more of a gray-purple, kind of like lunar violet by Daniel Smith.
If I had been doing a painting and wanted to add red, dipped into Flash Red, and put it on my paper, I would've been really upset because this is totally purple. Swatching BEFORE you paint, will prevent this from happening to you. Trust me, your future self will thank you! 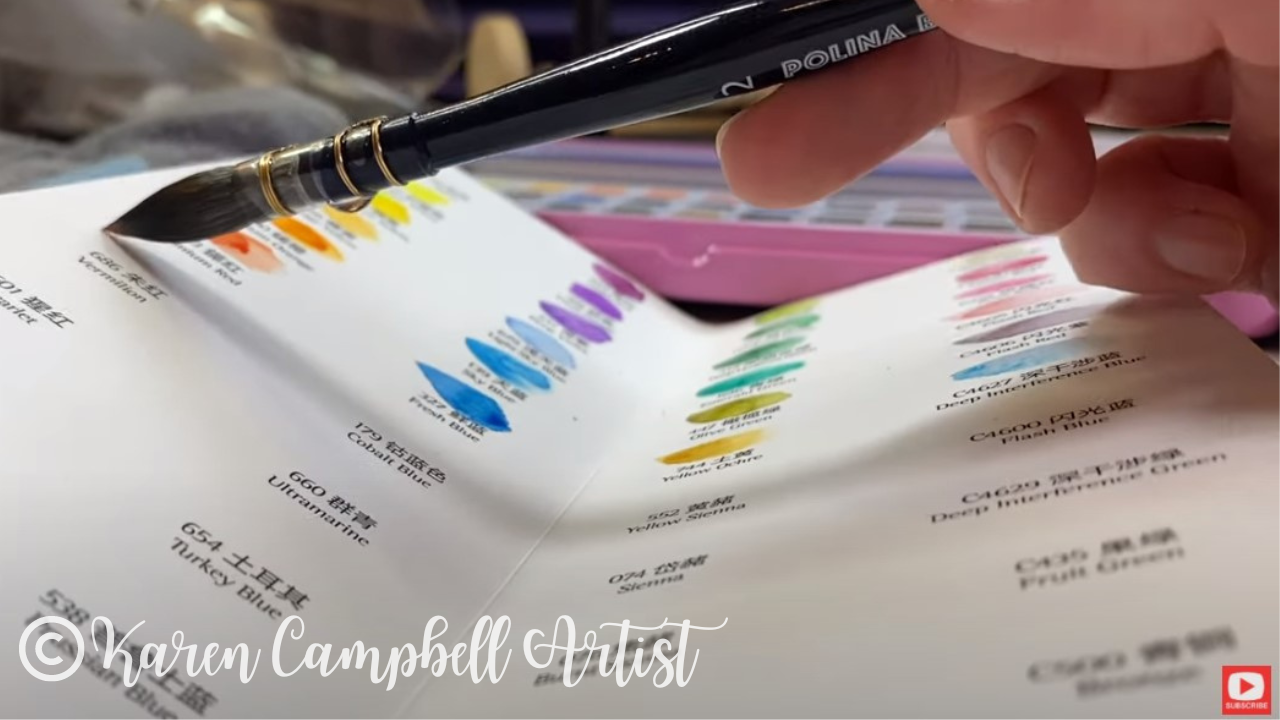
How gorgeous is that watercolor brush in the pic above? It's my absolute favorite watercolor brush by Polina Bright. Here's more about WHY I love Polina Bright watercolor brushes and work with them exclusively now. Wanna get one too? Use this link to take 10% off (thanks Polina!!).
Final Thoughts
The bang for your buck in this MeiLiang watercolor set is seriously undeniable. To get 48 gorgeous colors for less than $30 is totally worth it.
I feel like the colors in this palette are bright, cheery, and remind me of summertime! There's also a really nice sampling of shades from each color family, which I really like. MeiLiang wasn't stingy on the neutrals they included. I feel like the entire rainbow is well represented in this palette, AND you get a BONUS row of metallics on the bottom row! So fun!! 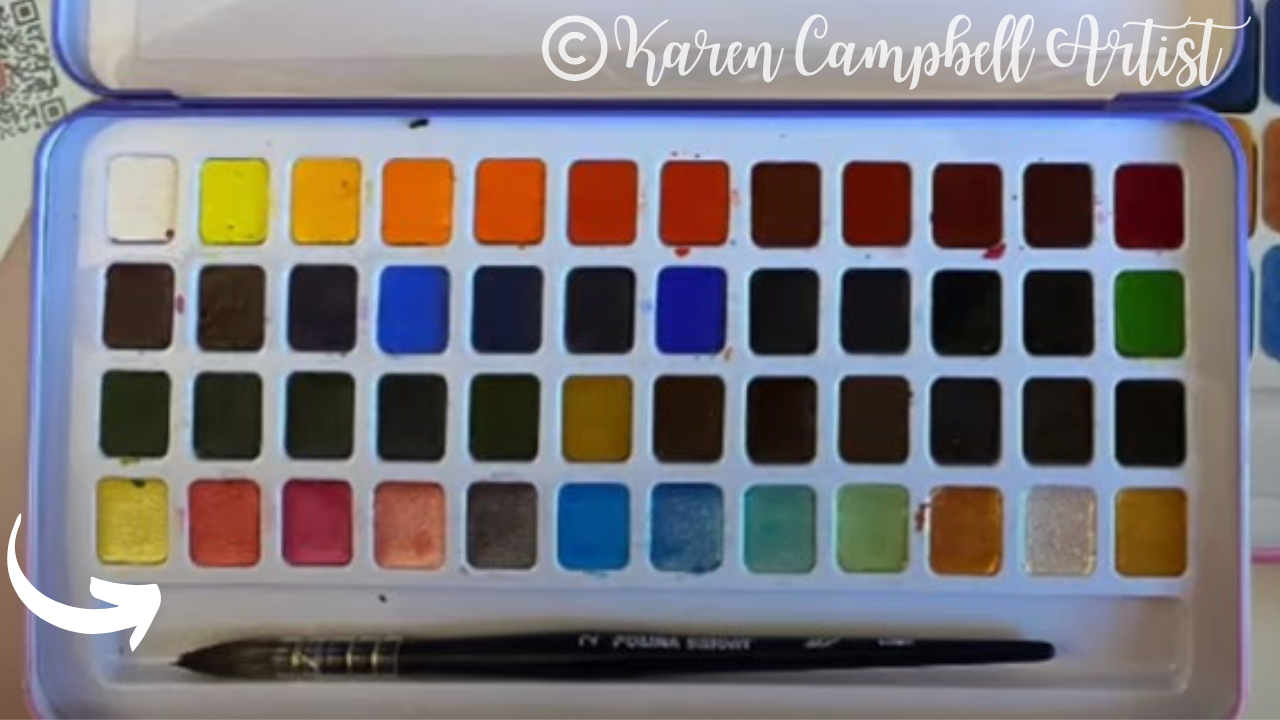
I highly recommend MeiLiang's set of 48 watercolors. It's the perfect palette - especially for beginners who want to play with a LOT of colors but not invest a million dollars into their first watercolor set!
Ready to REALLY Get Creative with Me?
Check out the Mixed Media Society with me over at Awesome Art School! You'll learn even more about the myriad of art supplies on the market and more importantly HOW TO USE THEM to create mixed media masterpieces you can be proud of! We're having a blast and would love you to join us!!
Need MORE Art Supply Reviews?
Binge this playlist! You'll find my opinions and demos of everything from gelatos to pencils, markers, paint brushes, art books by other people and SO MUCH MORE!!
Wanna Stay in the Loop?
And get notified EVERY TIME I publish a new video on YouTube? Join my Email Newsletter!
As my way of saying thanks - grab a copy of my FREE Fun Fab Swatch Sheet or my Whimsical Face Drawing Guidelines! Need More Resources?
❤️ CHECK OUT ALL my art books on AMAZON
❤️ CHECK OUT ALL my online art classes @ Awesome Art School ❤️ MY FAVORITE ART SUPPLIES on AMAZON (affiliate links) ❤️ MY BELOVED FACEBOOK GROUP
Thanks for hanging out with me today!!
3 Comments
I LOVE outlining my drawings in fineliners, but I HATE it when my outline starts to bleed into the shading I add with alcohol markers or watercolor.
Wanna learn WHY this happens and how YOU CAN PREVENT it from happening ever again? Join me in the studio for today's video! 
Got a new set of fineliners or markers you need to swatch? I used to think swatching was boring and a big waste of time, but TRUST ME, your future drawings will thank you because marker caps and color names can be deceiving!!
To make swatching MORE FUN I've created a FREE Fun Fab Swatch Sheet for you to print out at home! Simply click the button below and I'll send it straight to your inbox. 
Super quick announcement: All product links are Affiliate. I may earn a small commission if you choose to order through these links but by law there is never any additional cost to the consumer for doing so. I thank you for your support.
Back to today's demo...
I don't know about you, but I've got about a zillion different black fineliners, fineliner pens, fineliner markers and fineliner sets I could choose from when it comes to outlining the faces and figures I love drawing! How do you know which one to grab, when?! 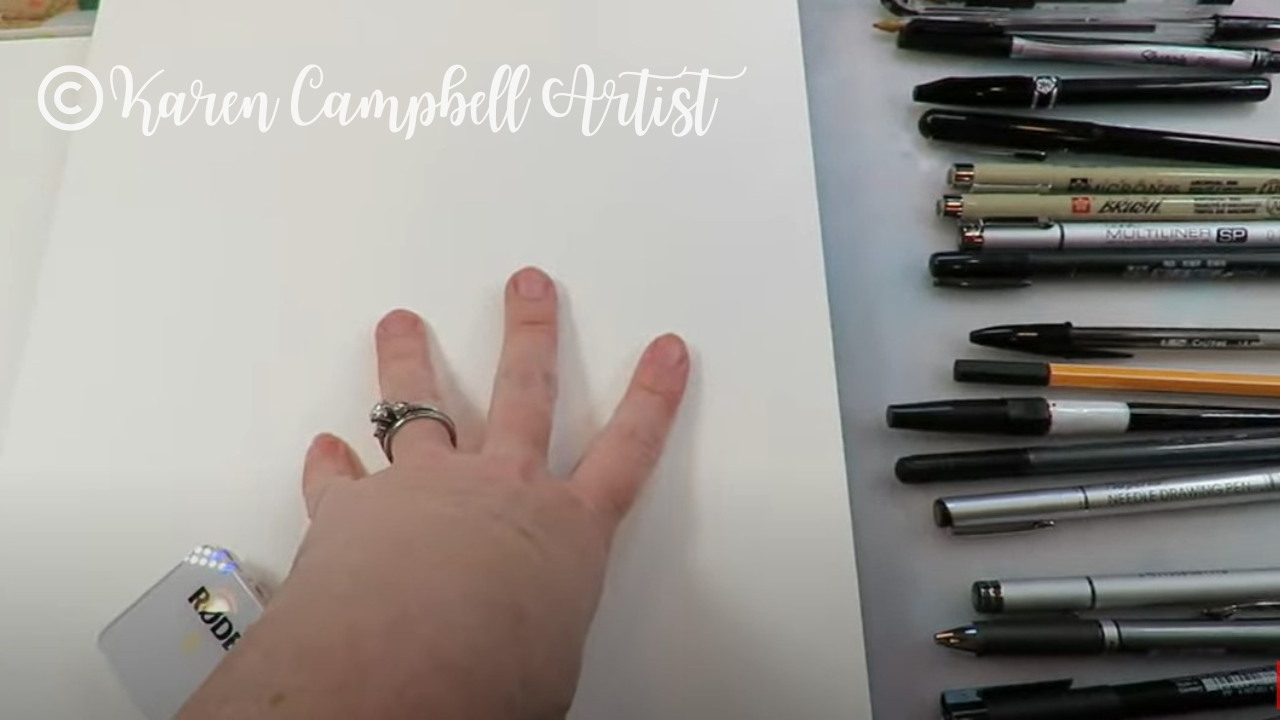
I decided to show you 25 of them on both watercolor and bristol paper. After I give the ink a second to dry on both papers, I'll add some watercolor marker to the watercolor paper, and alcohol marker to the bristol paper to see which fineliners smear.
The results are more than a little surprising!! 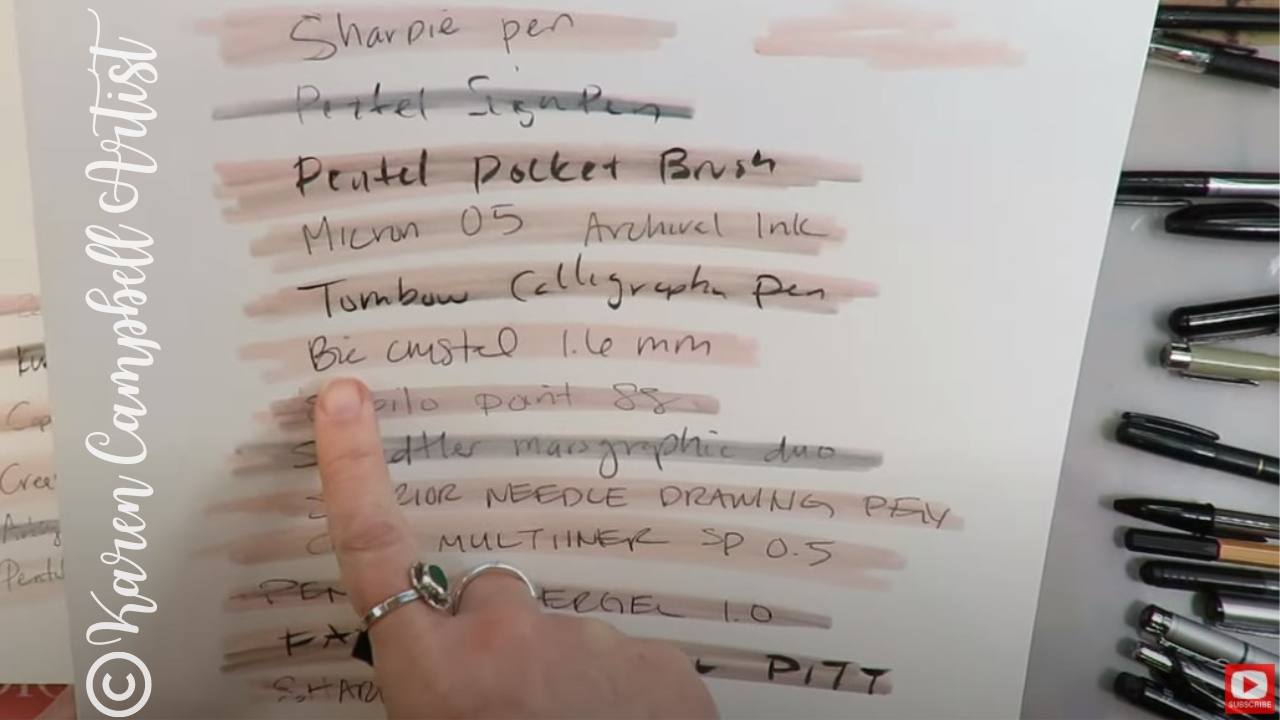
Click over to the video to see which black fineliners you might want to add to your collection and WHY so you can prevent smearing once and for all.
LOVE alcohol marker art or WANNA LEARN how to draw and shade gorgeous faces in all ethnicities using alcohol markers? Check out my recent book, Skin Tone Marker Secrets on Amazon.
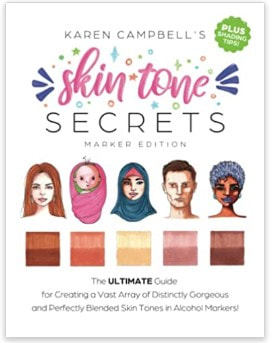
In this book I share ALL my best tips for shading faces in alcohol markers and tell you EXACTLY which skin tone marker combos go well together to create flawless skin tones EVERY TIME!
It's SO fun and easy - once someone shows ya how!!
My absolute FAVORITE black fineliner set to use while working with alcohol markers is by Molotow: 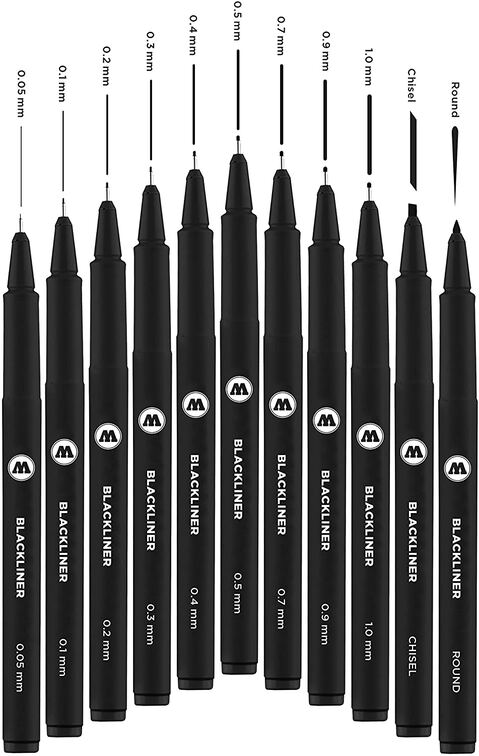
NEED MORE alcohol marker drawing videos to get your creative juices flowing? Check out this playlist and draw along with me!
Thanks for hanging out with me today!!
I get asked ALL the time about how I deal with art supply storage in my home studio. Typically, my studio and I are a hot mess! Lately though, I've been working hard on a huge reorganization of my space, so felt like it was the perfect time to show you my latest setup.
I love hoarding art supplies as much as the next girl, BUT what I care about MOST is making sure we all know how to USE the art supplies we already have!
If you're new to mixed media art, or struggling with how to layer your art supplies so you create a MASTERPIECE instead of a mess - download my FREE Cheatsheet outlining my signature mixed media layering process, called the Hamburger System. 
It's simple, step-by-step, tells ya exactly WHICH supplies you need, and did I mention it's SO MUCH FUN?!
Wanna see the Hamburger System step-by-step, in action for FREE on YouTube? Check out my Hamburger System series on this playlist. 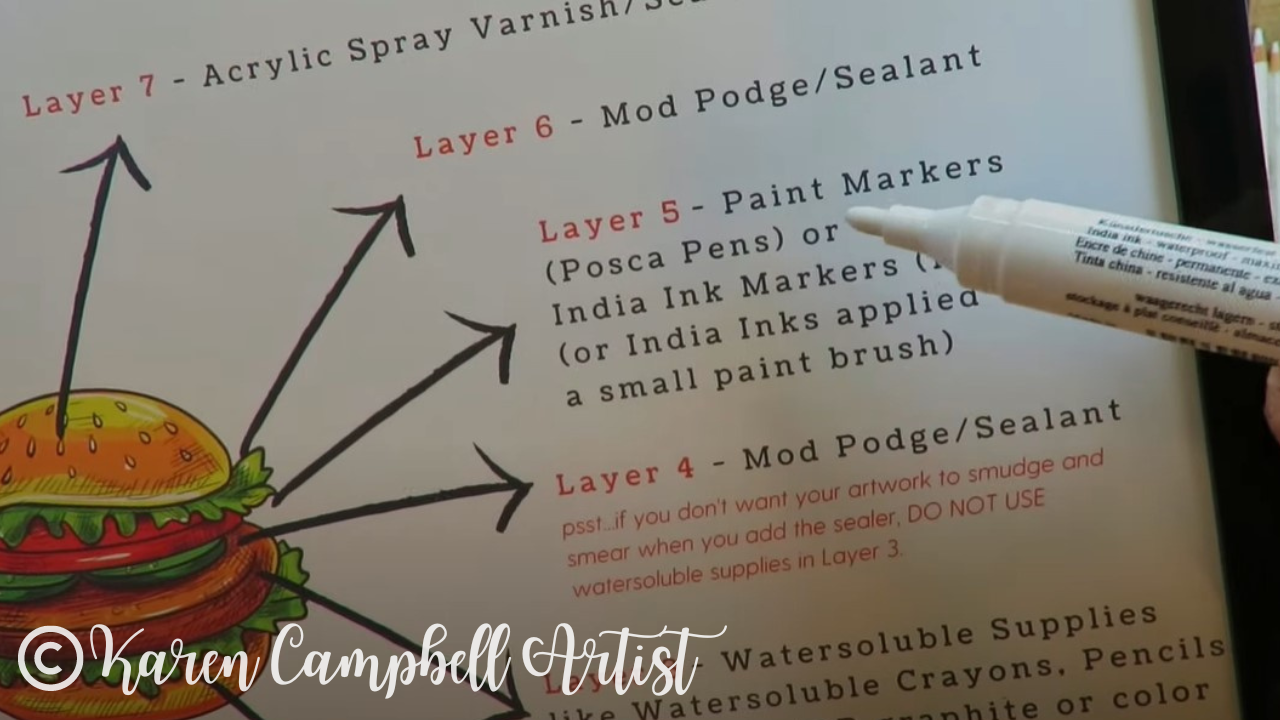
Before we continue, super quick announcement: All product links are Affiliate. I may earn a small commission if you choose to order through these links but by law there is never any additional cost to the consumer for doing so. I thank you for your support.
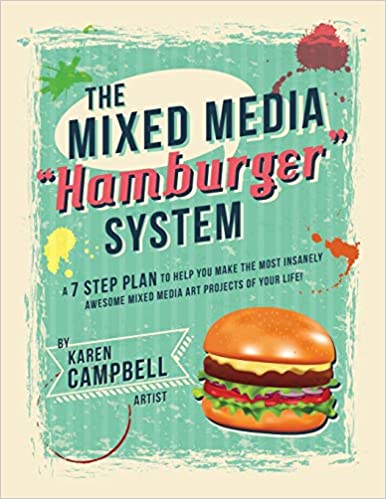
I loved creating my Hamburger System series on YouTube so much, I turned it into a book, and it became a huge part of my art club called The Mixed Media Society over at Awesome Art School.
Ok! Back to today's home art studio re-org!! Here's my studio...
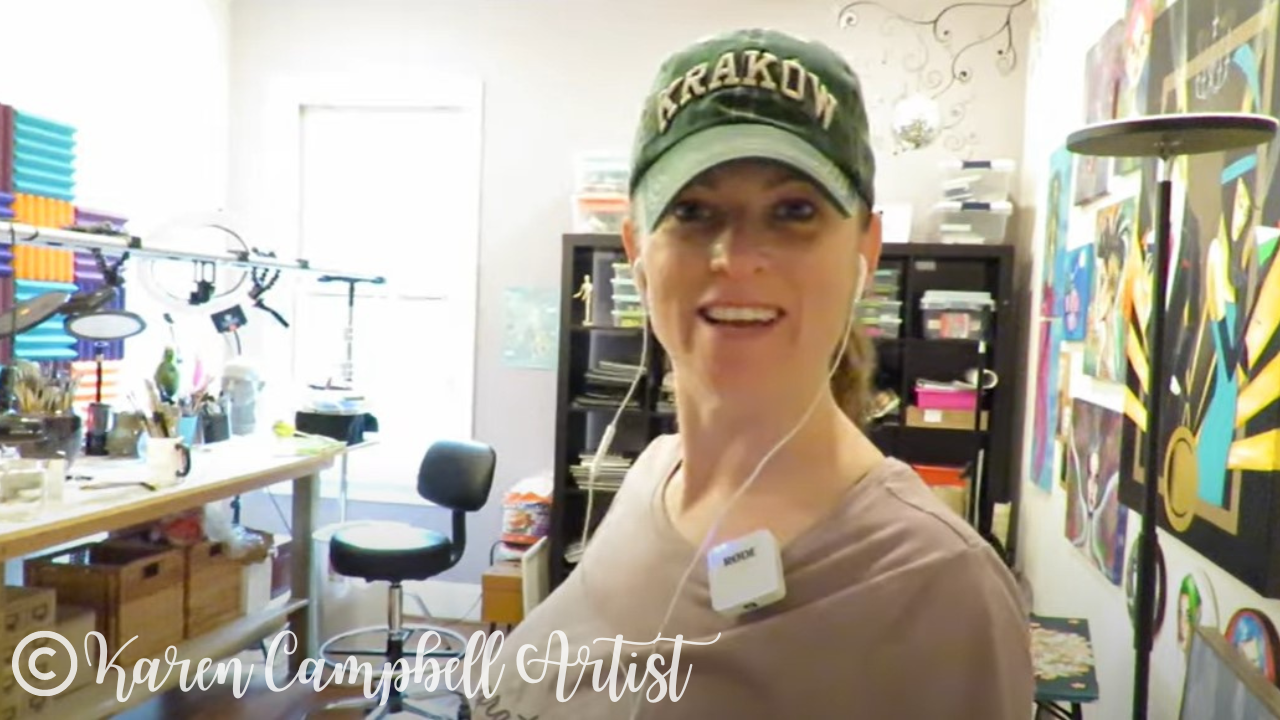
When we moved into this house in 2013, my husband Sean told me to just go ahead and take the guest room as my studio space because in our previous house, I had completely taken over our dining room and living room with ALL my art stuff! LOL. He gently suggested I needed a door I could close because I'm basically a hot mess express?
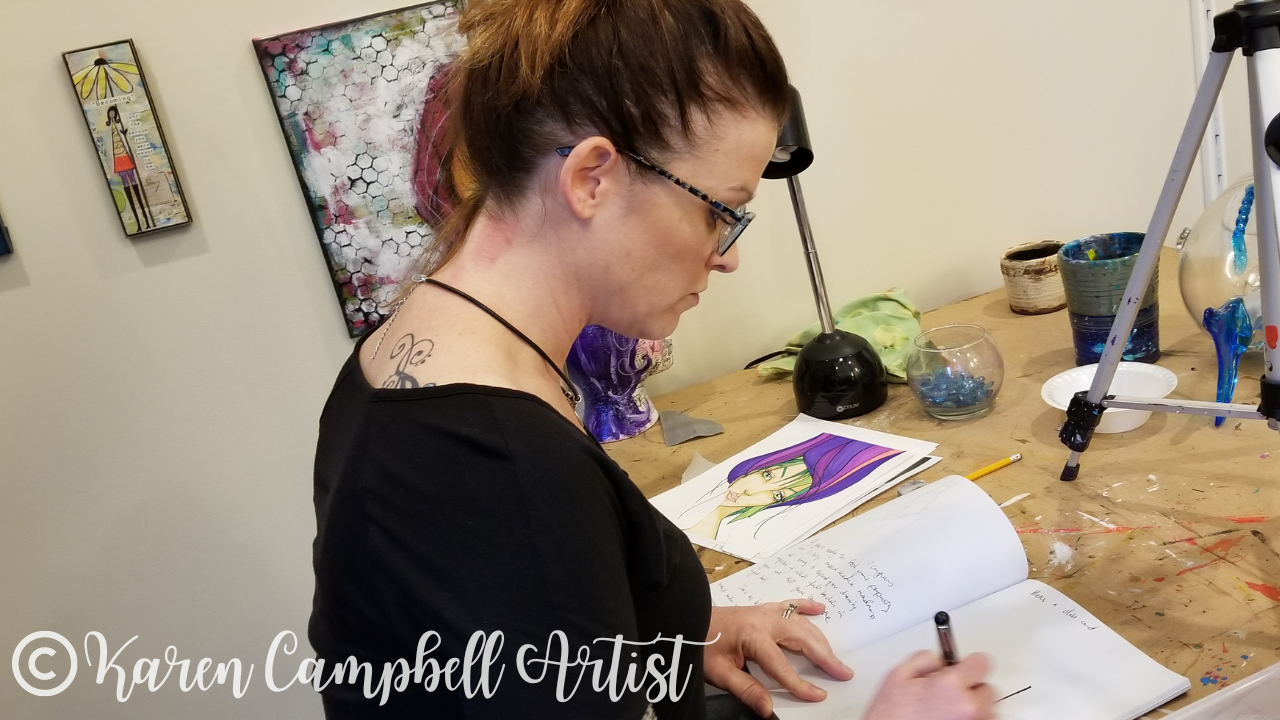
I LOVE my giant art table. My in-laws actually made this for me years ago when I used to teach in-person classes to kids and adults. It's about 7 feet long. Since moving Awesome Art School online, the entire space on this table is all for me! It holds my camera setup for recording lessons and YouTube videos, while still giving me tons of room to work.
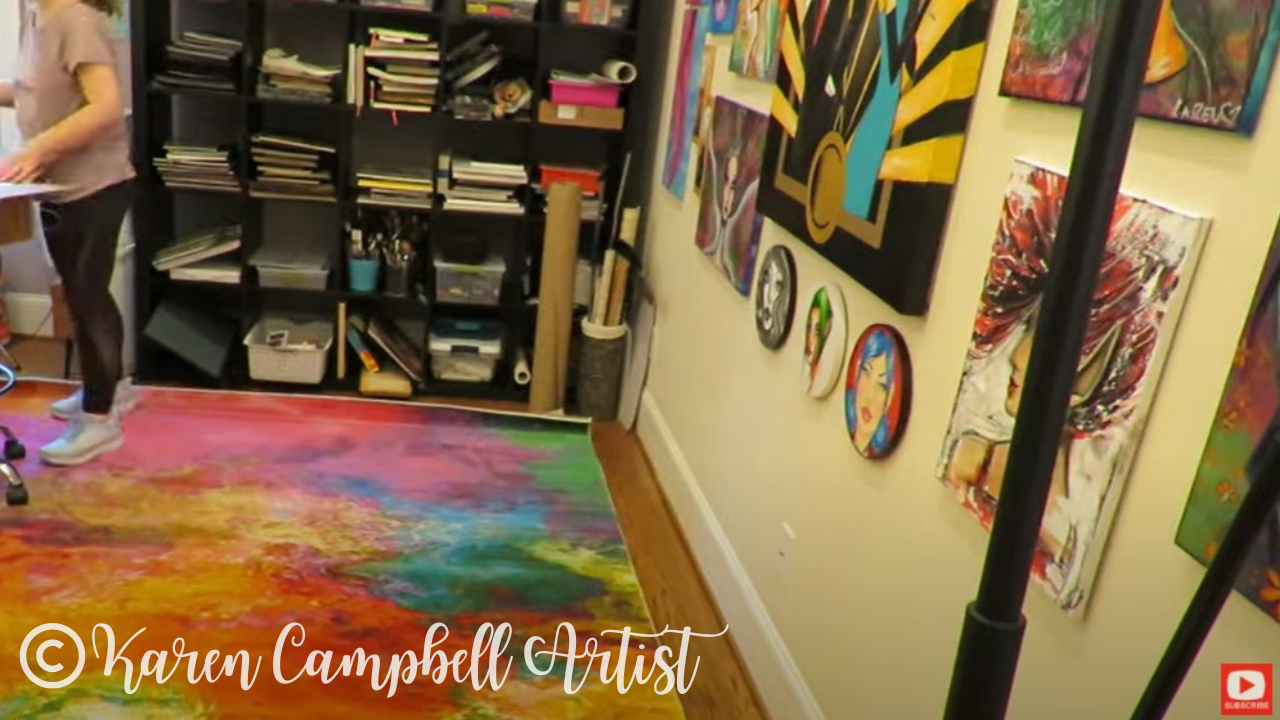
Today I'm laying down a new rug in the studio (above), which I shopped for, for all of ONE minute! LOL!! It was called "Watercolor" (which made me love it even more), and the colors were a perfect match with my new acoustic panels on the wall behind my desk.
Isn't it gorgeous?! 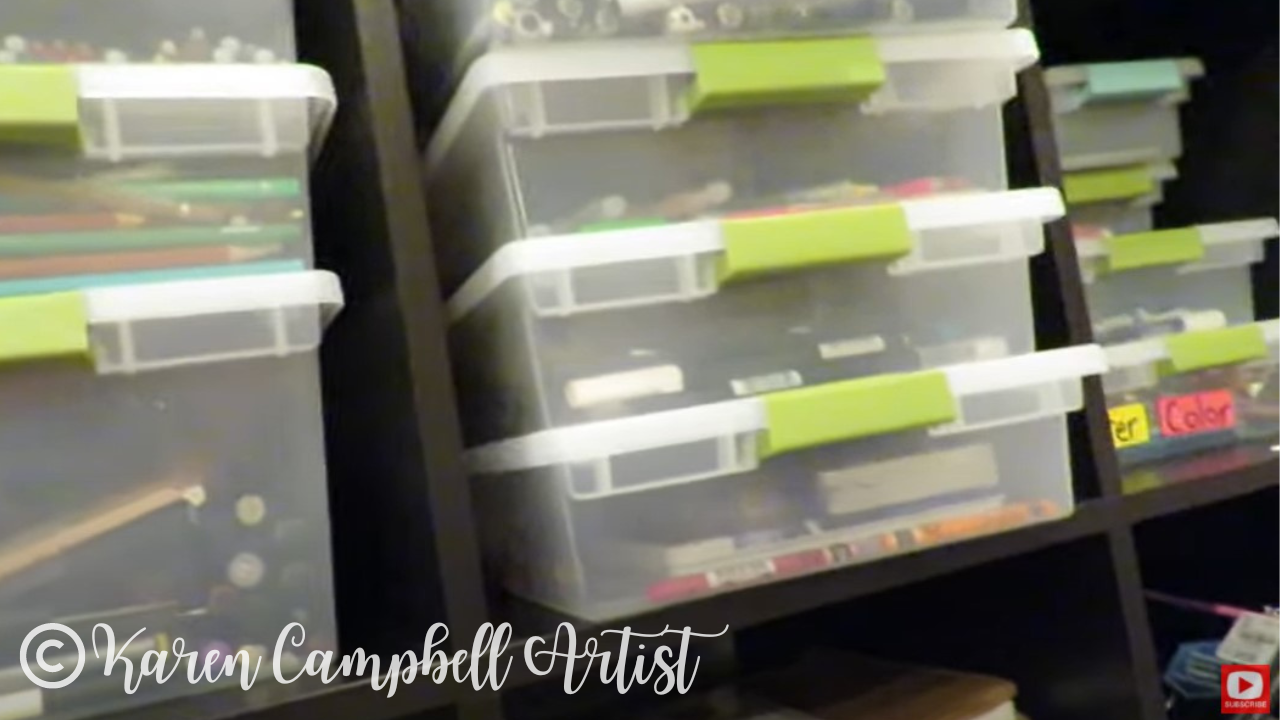
As you can see, my go-to art supply storage is simply clear, plastic bins! How easy is that?! It's also super affordable. I totally prefer bins over the original packaging for my supplies because I like to combine similar supplies into one bin, and they're easy to stack.
This system feels both flexible and accessible to me. I store my finished drawings in little black portfolio books on this shelf so they're easy to pull out while I'm teaching. Art books, altered books, finished art journals, art journals in progress, and my favorite alcohol marker paper also "live" on this bookshelf. Check out this antique sewing box I found thrifting one day! I use it to store all my Daniel Smith watercolors. 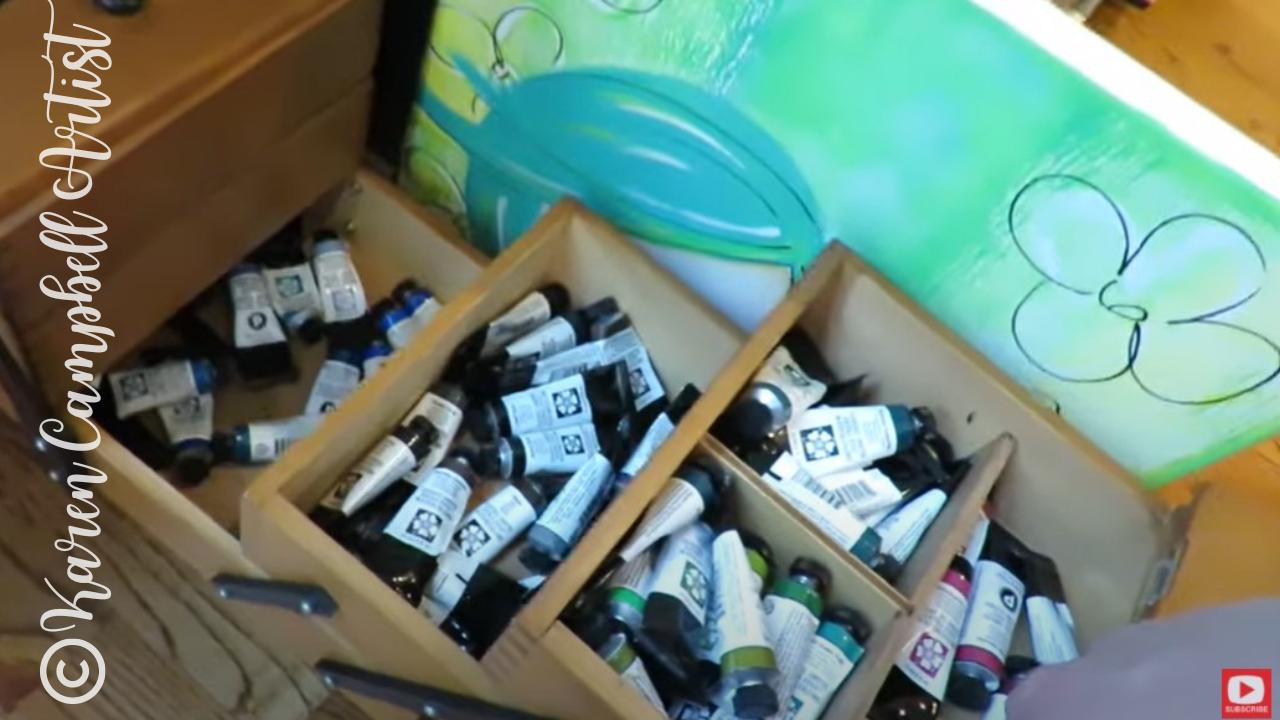
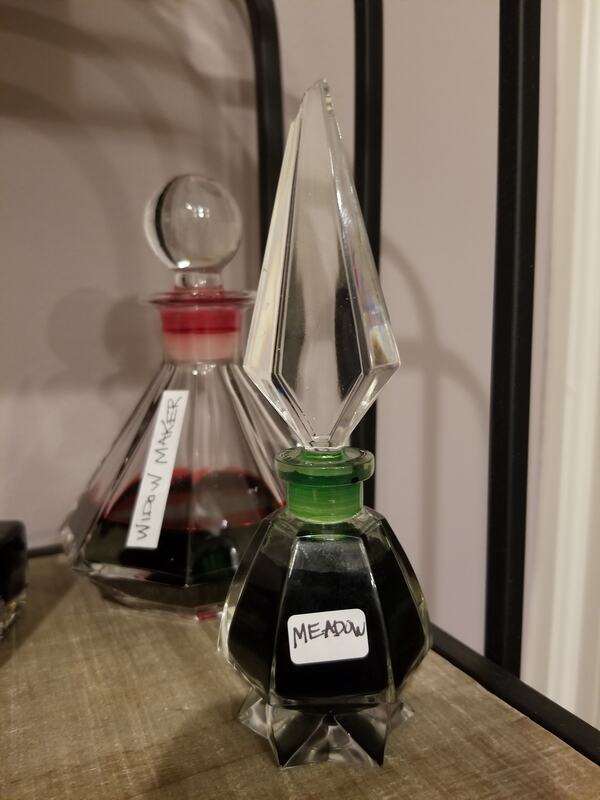
I store all my fountain pen inks in vintage perfume bottles on a beautiful shelf in my studio too. Check out this video if you wanna learn more about fountain pen ink painting and my storage system. Aren't these bottles exquisite?!
Another thing I'm finishing up today in my studio is alcohol marker organization! I've got a zillion of these flying around my studio in all brands, and finally decided to give a wooden marker shelf I found on Amazon a whirl.
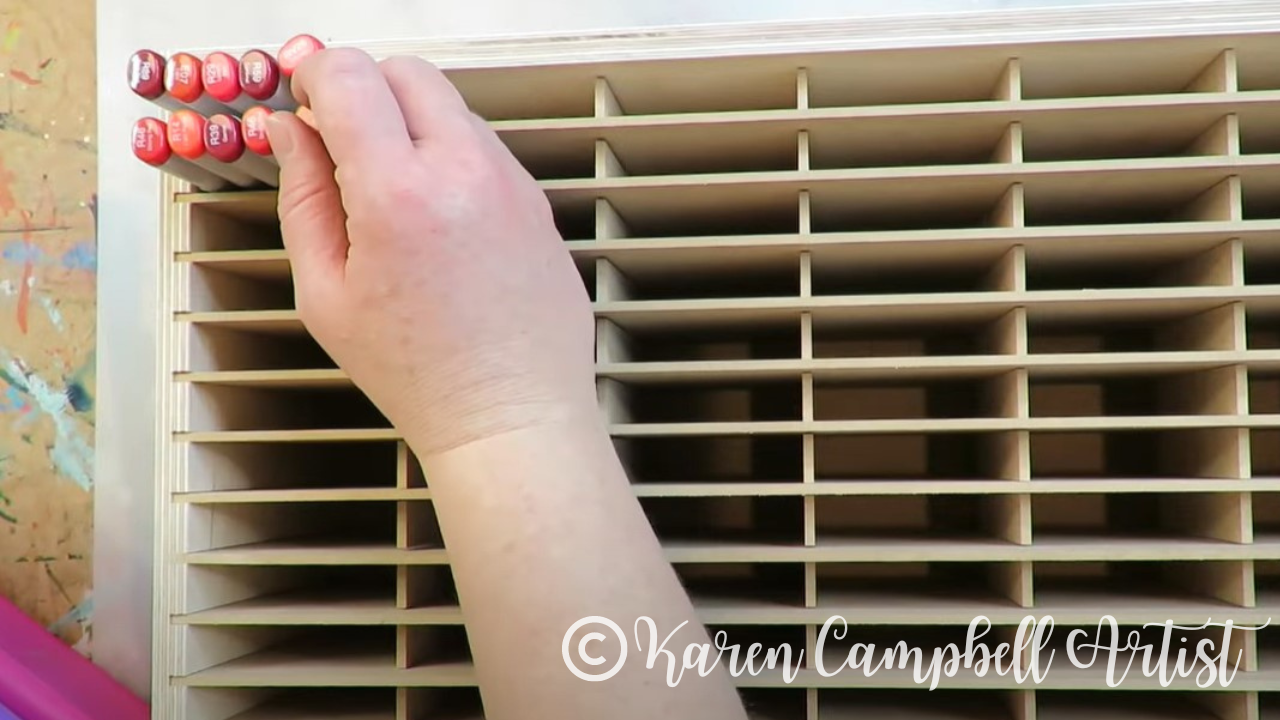
Make sure you watch the video to see what I think, and how it all looks when I'm done!! Thanks for hanging out with me today :)
NEED MORE resources to get your creative juices flowing?
❤️ CHECK OUT MORE of my art books on AMAZON ❤️ CHECK OUT ALL my online art classes @ Awesome Art School ❤️ MY FAVORITE ART SUPPLIES on AMAZON (affiliate links) ❤️ MY BELOVED FACEBOOK GROUP
I'm OBSESSED with using brush-tip alcohol markers to shade the faces and figures I draw! If you've never tried shading your drawings with alcohol markers, or if you've been holding out on trying them because you're worried about the cost of copics - I can't wait to introduce you to Alcohol Markers by ArtBeek in today's video!

Whenever you get a new art supply with multiple colors, PLEASE make sure you take the time to swatch your colors. It might feel like a tedious job, but it's honestly super relaxing and your future self will thank you because marker caps and color names can be deceiving!!
I've created a FREE Fun Fab Swatch Sheet for you to print out at home to make this process a bit more fun. 
Simply click the button above and I'll send your FREE Swatch Sheet straight to your inbox.
Before we continue, super quick announcement: All product links are Affiliate. I may earn a small commission if you choose to order through these links but by law there is never any additional cost to the consumer for doing so. I thank you for your support.
If you've been thinking about starting an alcohol marker collection, but have been intimidated by the price of Copic markers, I HEAR YOU!
I've made it my mission over the last few years to test as many alcohol brands as I can, so I can recommend the BEST VALUE brands (including Copic marker alternatives) to my students over at Awesome Art School. It's ridiculous to expect everyone can afford to spend around $10/marker to have a little fun at their art table (even if I STILL LOVE my Copics!!). 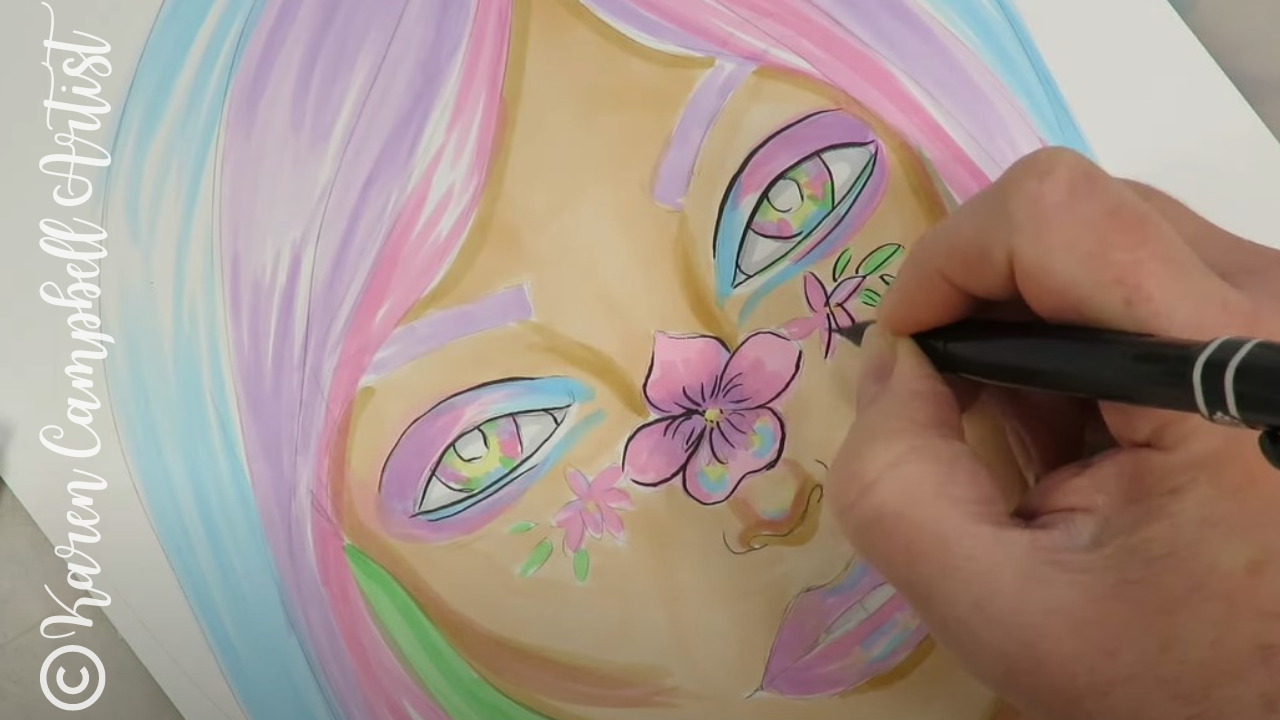
If you've been hanging out with me for a while, you know I love the Ohuhu skin tone marker set (and really anything by Ohuhu!). But I also discovered an even CHEAPER brand of alcohol markers on Amazon that I also recommend you check out by ArtBeek - especially if you're looking to save a buck.
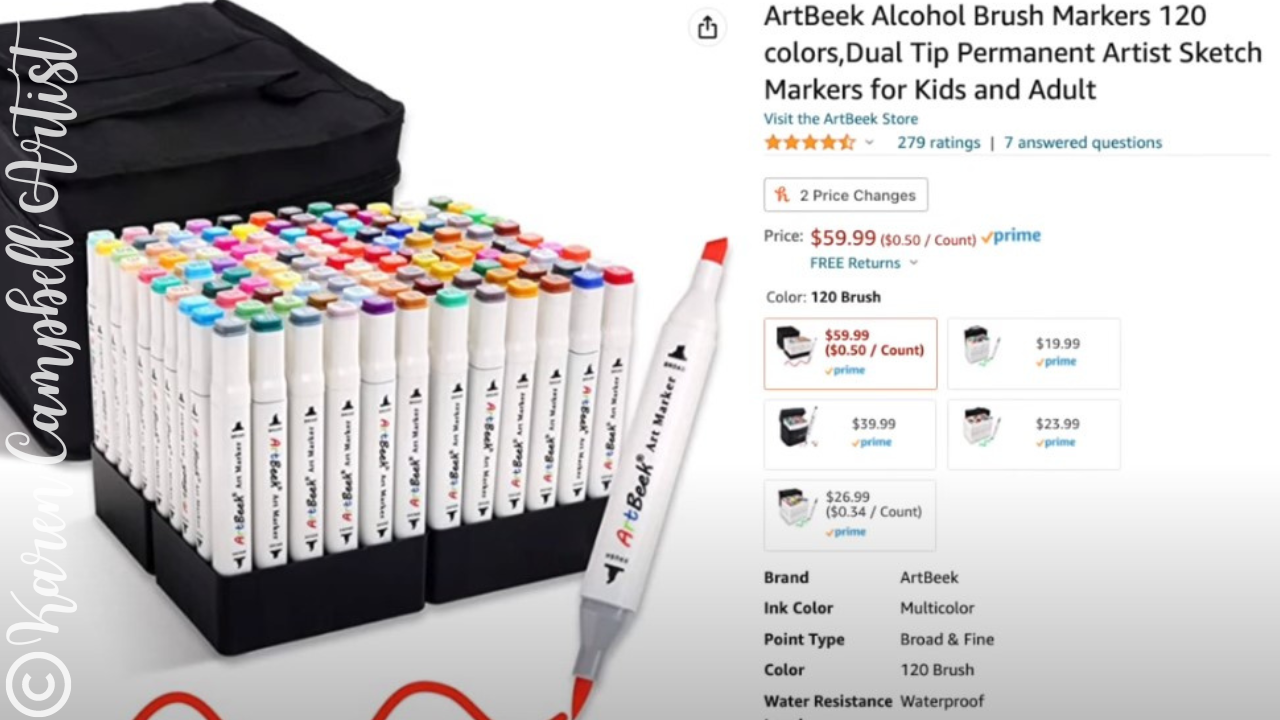
This is a screenshot of the ArtBeek Alcohol brush markers set of 120 colors for just $60!! I know!!! Who doesn't want 120 colors?! AND, at only 50 cents/per marker ?? - you can't go wrong!!
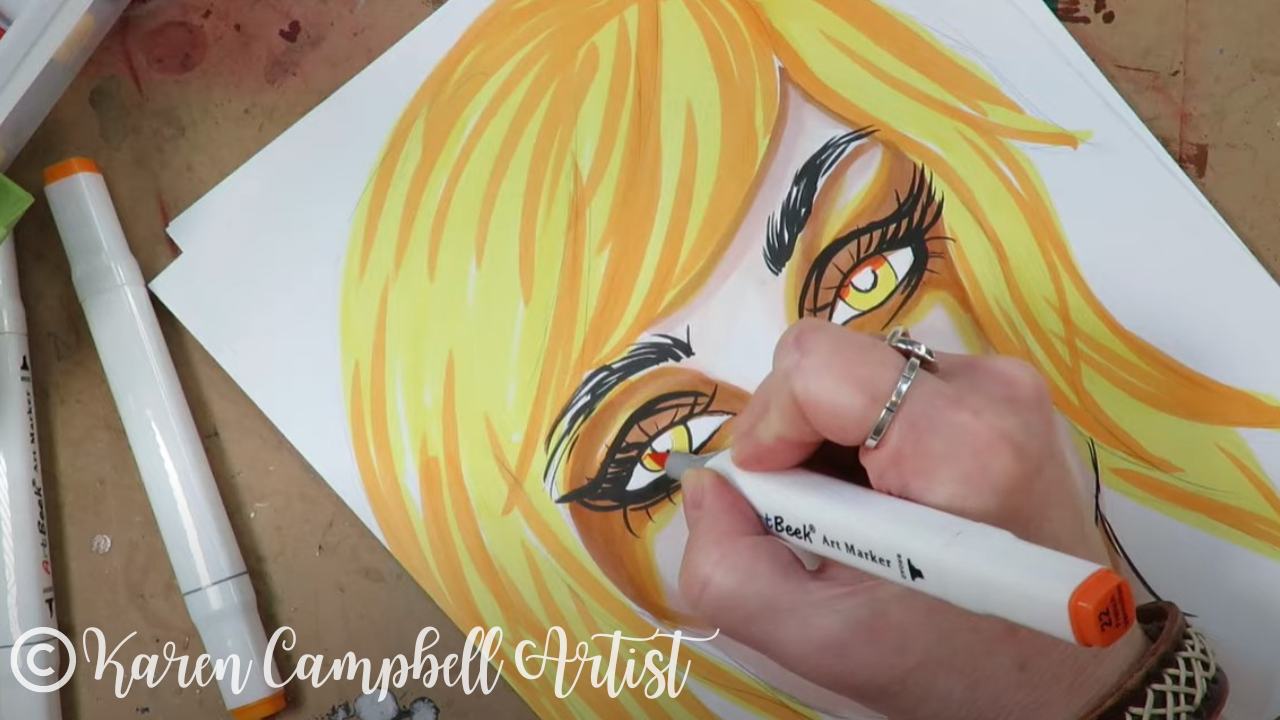
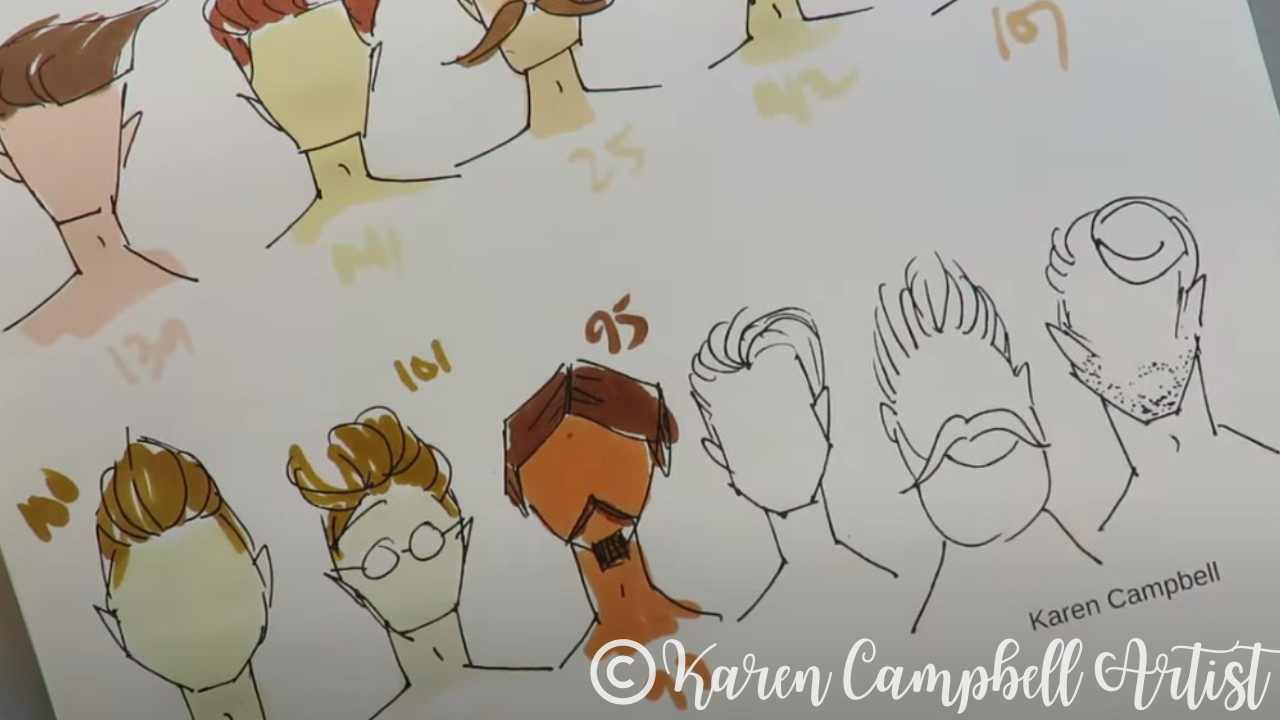
A couple of weeks ago I did the above face chart inspired drawing tutorial and used a ton of my ArtBeeks alongside a variety of more expensive alcohol marker brands from Copic to Winsor Newton, and felt the ArtBeeks performed beautifully.
The brush nibs on the ArtBeeks are just right- not too firm or too soft. The ink is perfectly juicy!! I've used mine for everything from shading faces to creating Christmas cards (full-length lesson for the card below & MORE in The Fun Fab Drawing Club over at Awesome Art School). 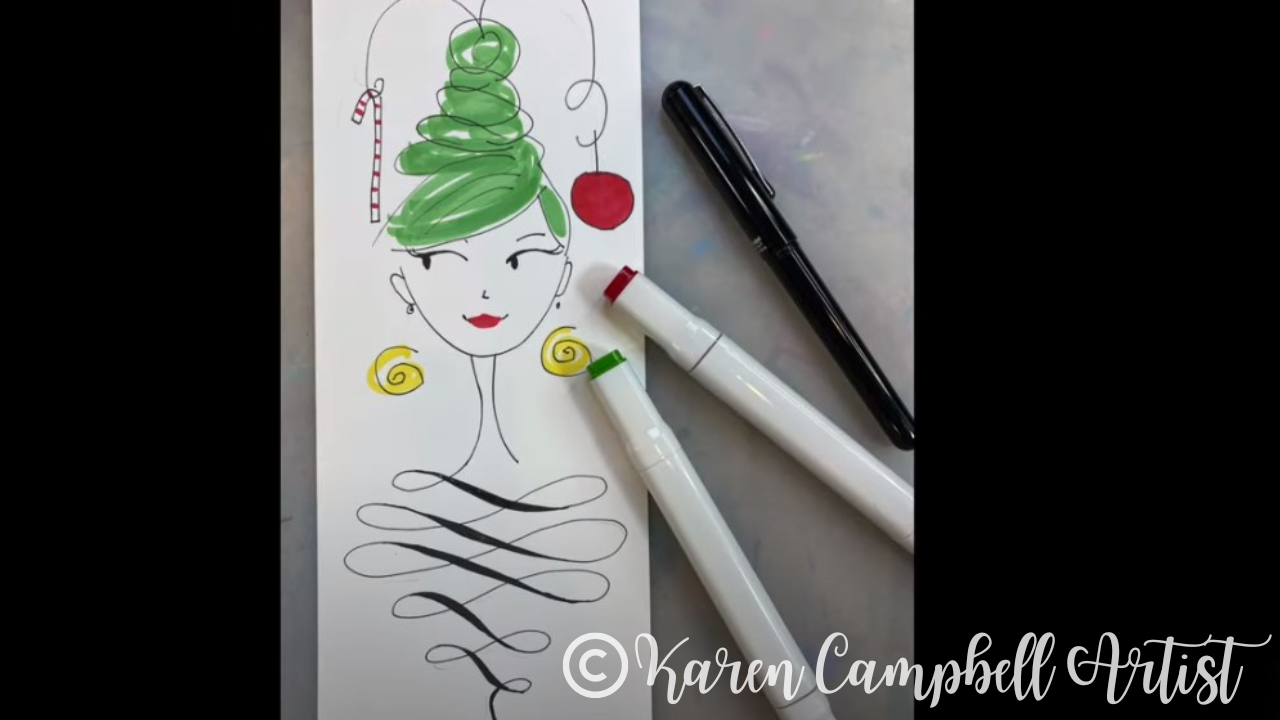
My only little complaint about this ArtBeek set is that they really should've included more PURPLES in this set (you only get 3). But, they do redeem themselves a bit with the giant collection of skin tone markers included (I think there are 24) - making the set of 120 perfect for anyone just starting an alcohol marker collection to shade faces.
I highly recommend dropping them in your cart for yourself or as a gift for an artsy friend for the holidays. Check out today's video to see them in action!
And remember, if you've got a TON of new colors to swatch, use my FREE Fun Fab Swatch Sheet, or pick up a copy of my Fun Fab Swatch Pad over on Amazon.
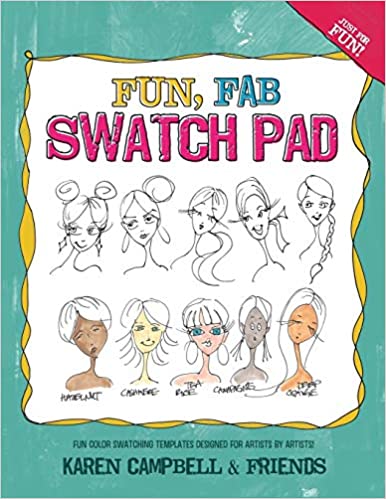
I created this book with my beloved Facebook Group a couple of years ago and still use it ALL THE TIME (as you can see in today's video!).
Thanks for hanging out with me today!!
After today's video, make sure you watch this one because it gives you MY BEST skin tone marker secrets for shading faces with alcohol markers! ENJOY!!
NEED MORE resources to get your creative juices flowing? ❤️ CHECK OUT ALL my art books on AMAZON ❤️ CHECK OUT ALL my online art classes @ Awesome Art School ❤️ MY FAVORITE ART SUPPLIES on AMAZON (affiliate links) ❤️ MY BELOVED FACEBOOK GROUP SNEAK PEEK Inside Our *NEW* Fantasy Art Book: How to Draw and Paint Magical Mythical Creatures!9/12/2022
My latest art book, Magical Mythical Creatures, is finally available, and I couldn't be more thrilled! This is book number 35 for me, and is the first book I've CO-AUTHORED with a friend - my Scottish bestie, who is an absolutely gorgeous watercolor and gouache artist, Lucy Brydon.
Lucy and I met online in 2015 and our friendship just exploded over the next few years. We've art-ed together as students and teachers, co-hosted art retreats, started a podcast, and created a fantasy art club with online art lessons together called The Celtic Collective.
This year we had a blast trying something new and co-authoring a fantasy art book together!
Before we continue, super quick announcement: All product links are Affiliate. I may earn a small commission if you choose to order through these links but by law there is never any additional cost to the consumer for doing so. I thank you for your support.
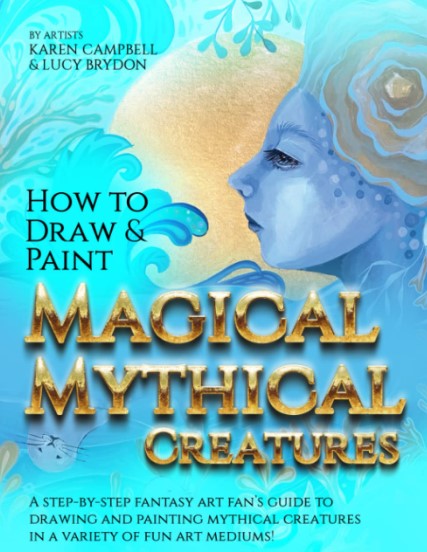

Click the button above to buy your own copy on Amazon, or scroll down to watch a flip-through video and see every single page of Magical Mythical Creatures!
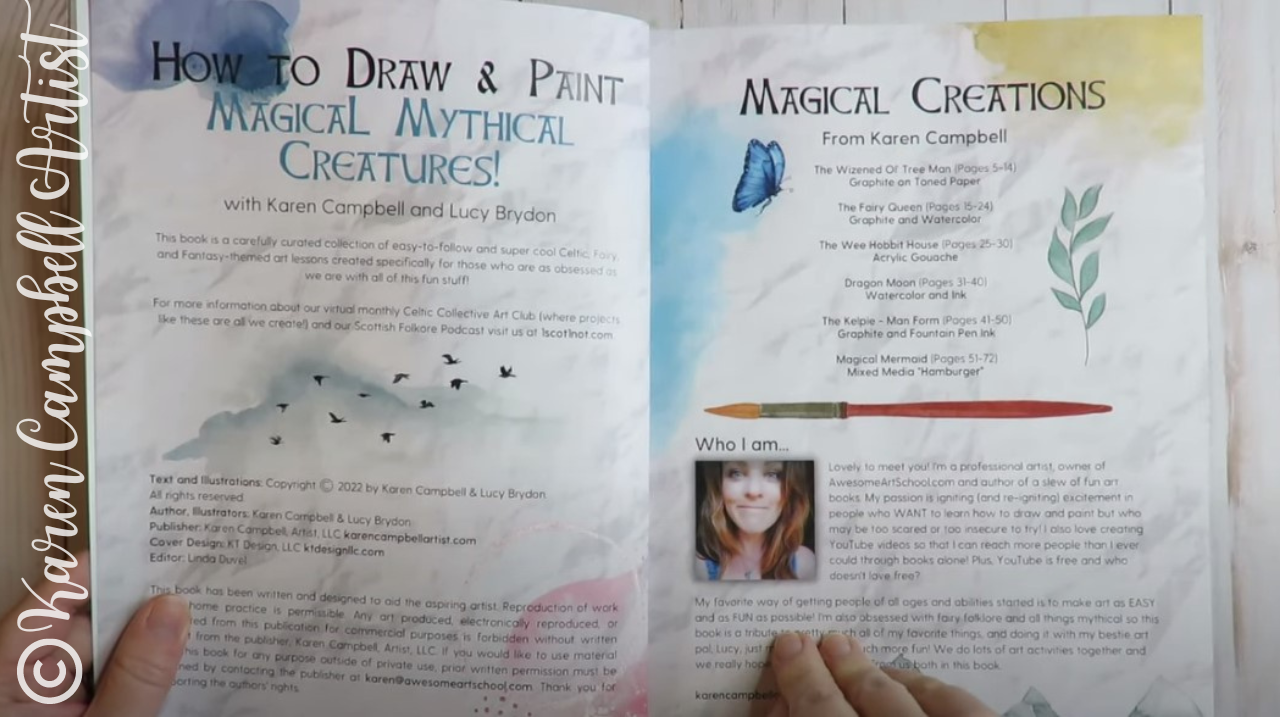
Each project in the book provides a simple art supply list, followed by easy-to-follow art instruction to help you have FUN and create something you can be proud of.
If you've been following me for a while or have purchased one of my art books in the past, you know I'm a stickler for taking my time to explain each step. As an art book hoarder myself, I feel like there's nothing worse than grabbing an art book by an author who skips multiple steps and just expects you to fill in the blanks on your own! 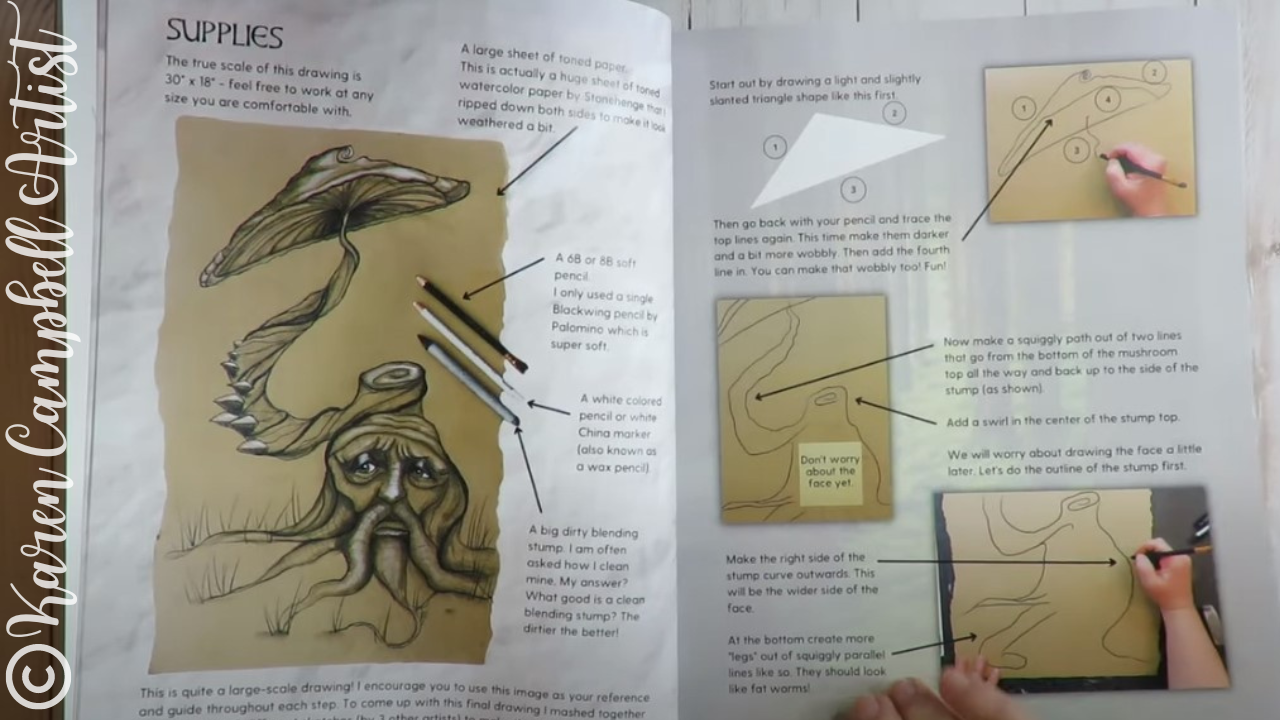
InHow to Draw & Paint Magical Mythical Creatures, you'll find a wide variety of fantasy art projects from fairies and dragons, to kelpies, unicorns, and selkies. Each project gives you the opportunity to try playing with a number of different mediums from toned paper to watercolor, acrylics, gouache and more.
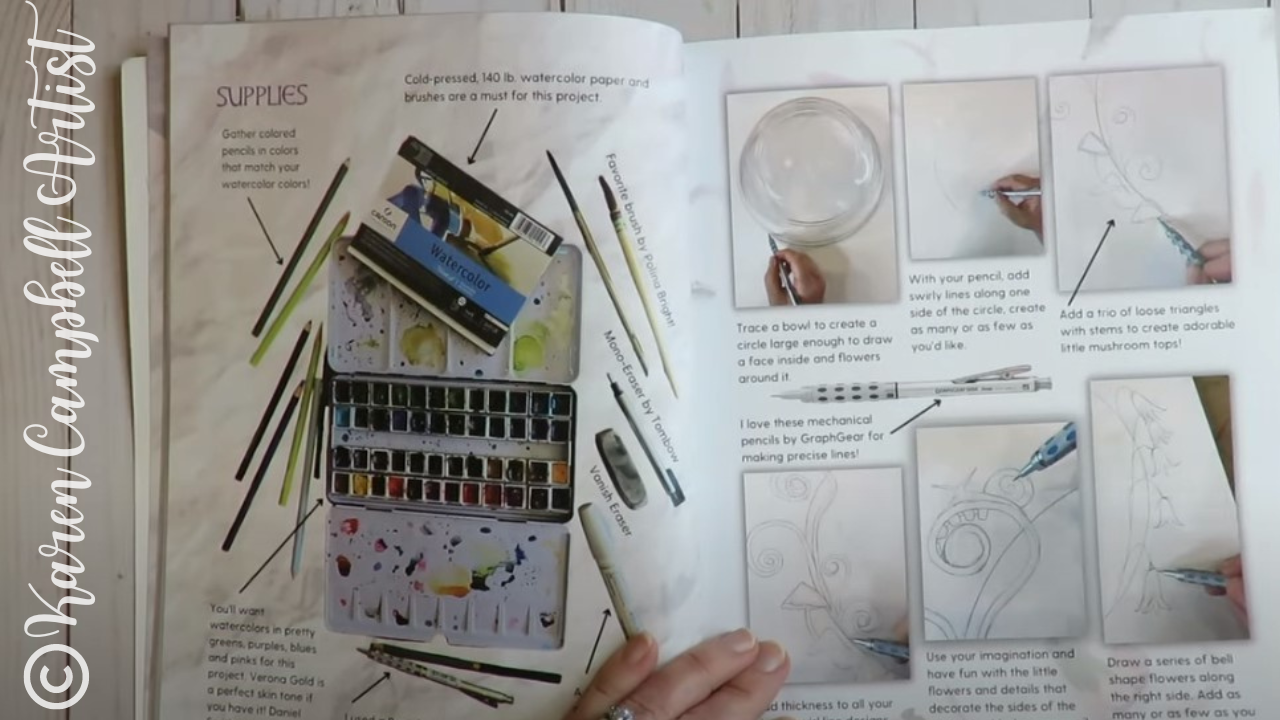
Even if one or some of the art supplies used in this book are new to you as an artist, or if you've never tried mixed media art before (GASP!) - we hope you'll give it a try because it's SO MUCH FUN once someone shows you how to do it!!
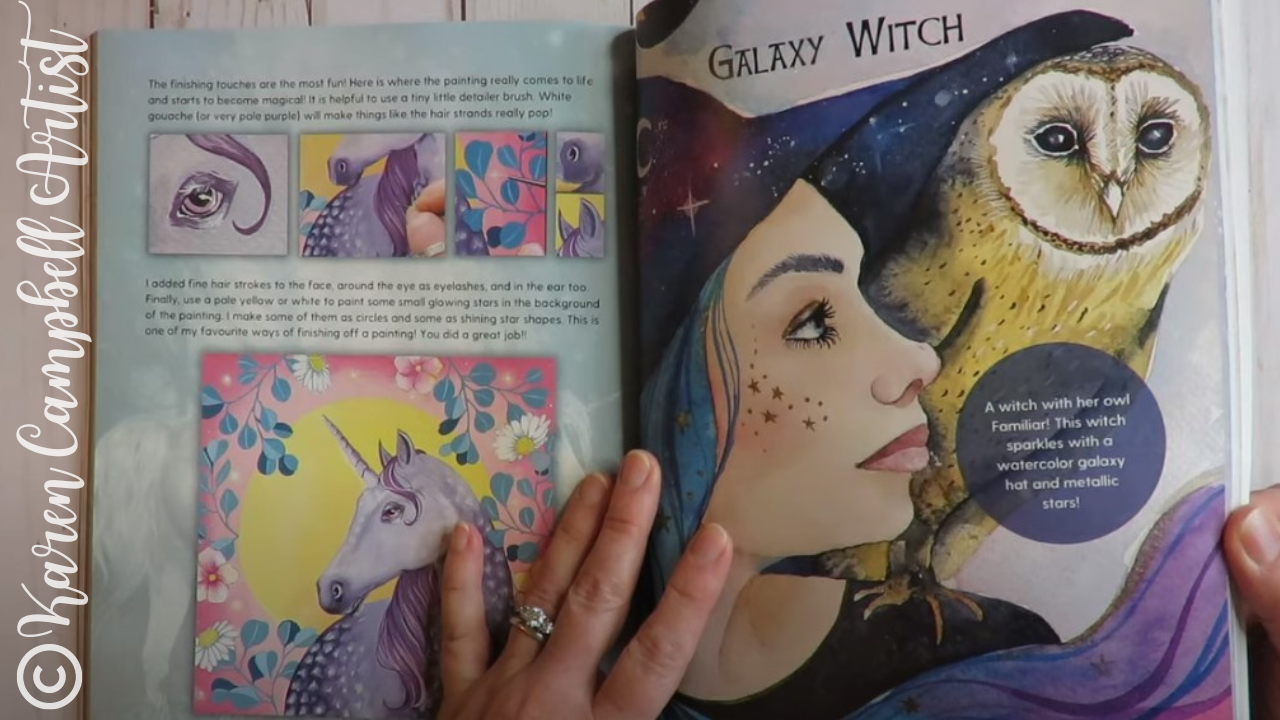
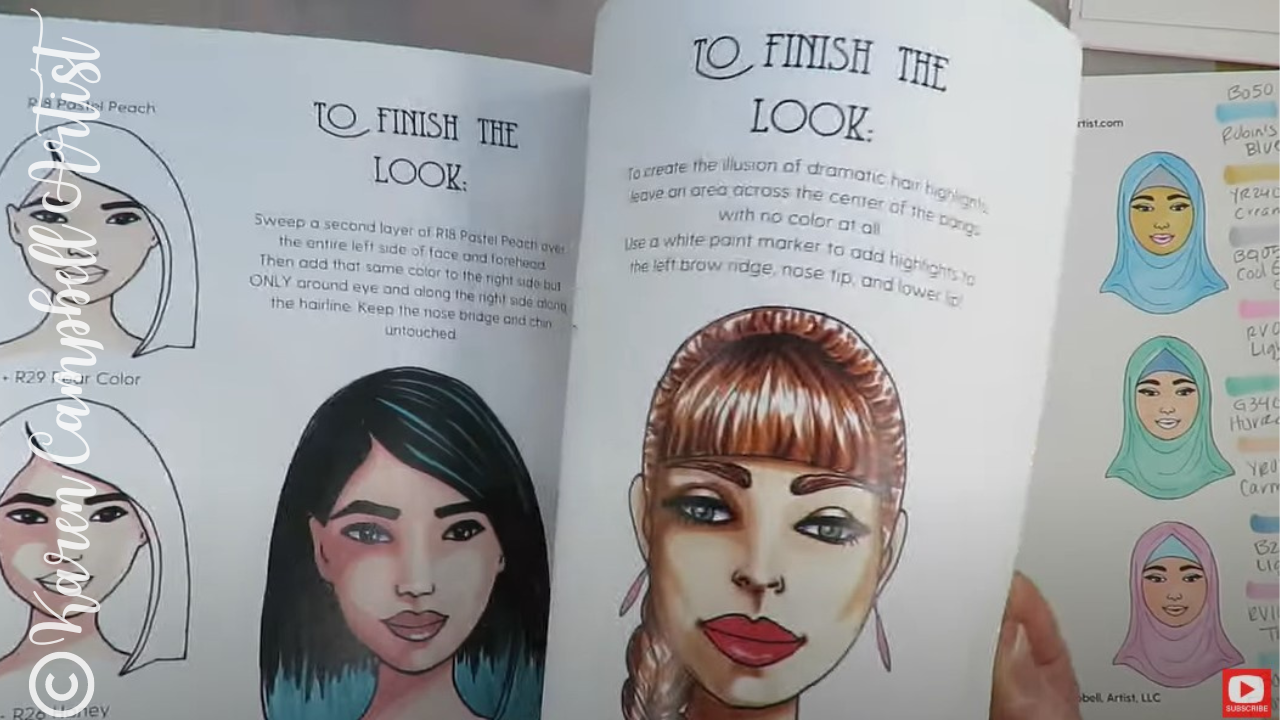
Many of the projects in this book also feature faces, so you'll find the appropriate face drawing guidelines within those lessons to help you make the facial features in your own drawings more proportional.
Thanks SO much for hanging out with me today!
Make sure you watch today's video so you can see each and every page of Magical Mythical Creatures!
NEED MORE resources to get your creative juices flowing? ❤️ CHECK OUT MORE of my art books on AMAZON ❤️ CHECK OUT ALL my online art classes @ Awesome Art School ❤️ MY FAVORITE ART SUPPLIES on AMAZON (affiliate links) ❤️ MY BELOVED FACEBOOK GROUP Why Cheap Alcohol Markers are AWESOME **PLUS** 11 HOT Marker TIPS! (FaceChart Inspired Art No. 4)30/11/2022
When it comes to alcohol markers, I keep noticing there is such a HUGE range in price points. WHY is THAT?! For example, I bought a 5-pack Copic Sketch Marker set in grayscale that comes with a fine liner, for $38 (~$6.33/marker) on Amazon. Recently I also grabbed a 6-pack grayscale set of alcohol markers FOR $5 at my local Five & Below shop. You can't really beat the price at less than $1/marker.
But...will they perform? Let's find out!! 
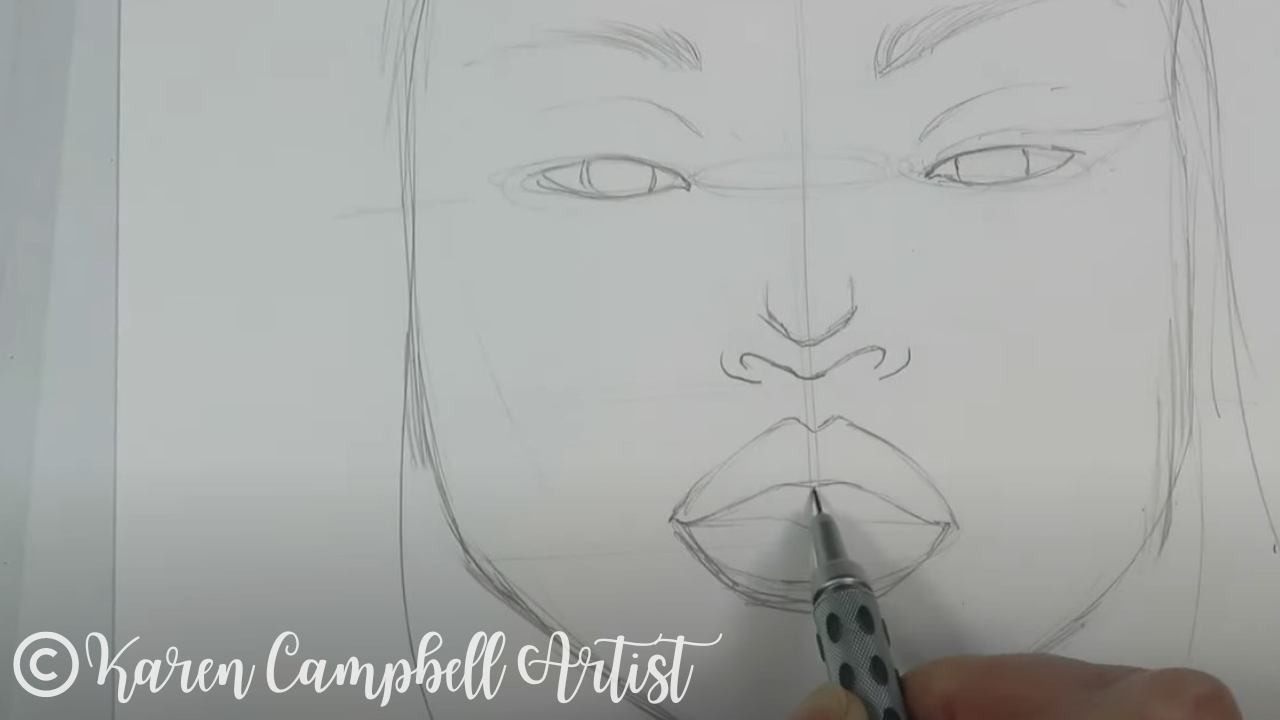
I seriously HOPE you are drawing along with me today! Face charts make amazing face drawing references!!
But before you even attempt drawing the fun makeup in today's reference, you NEED to make sure your facial features are proportional! How do you do that?! With my FREE whimsical face drawing guidelines! Click the button below and I'll send them straight to your inbox! 
Before we continue, super quick announcement: All product links are Affiliate. I may earn a small commission if you choose to order through these links but by law there is never any additional cost to the consumer for doing so. I thank you for your support.
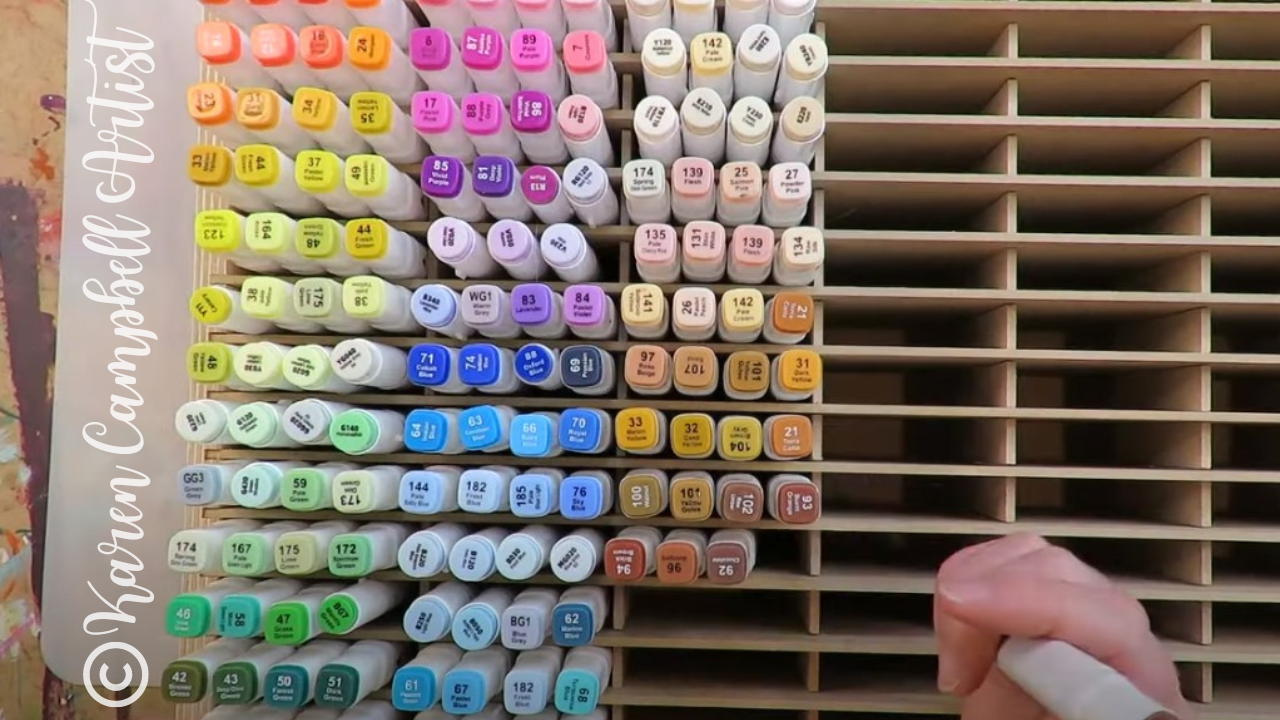
Whenever I get new markers, I've gotta swatch 'em to see what I've got! I compared the Five & Below cheapies with my neutral grayscale set of copic sketch markers (see how they compare below). The top line is the cheapies (that set came with one additional marker, so score!), and the bottom line is my copics.
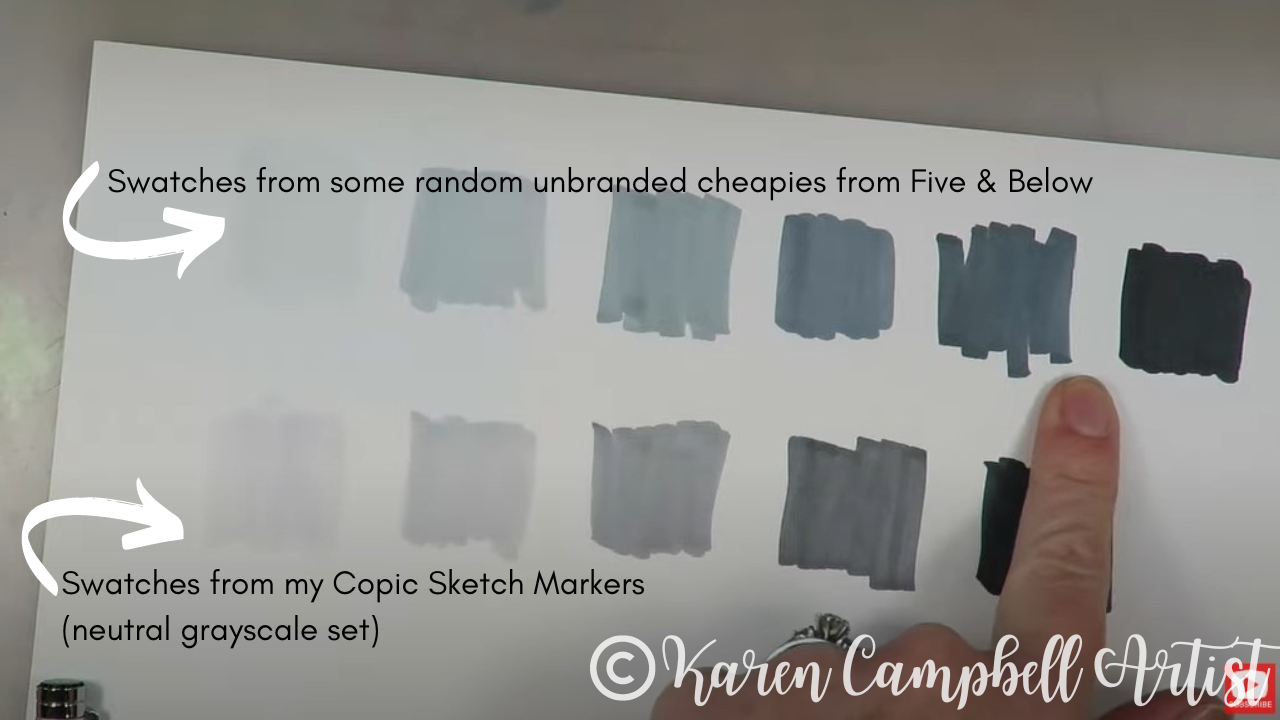
I love the gradation and the value scale range included in both sets, but I gotta say - whenever you can get MORE colors - I tend to gravitate toward that option, so way to go Five & Below!
However, I also REALLY love how Copic included one of their black fineliners in this set. The fineliner they included retails for about $12 on its own - so adding this to their grayscale pack is really pretty generous. 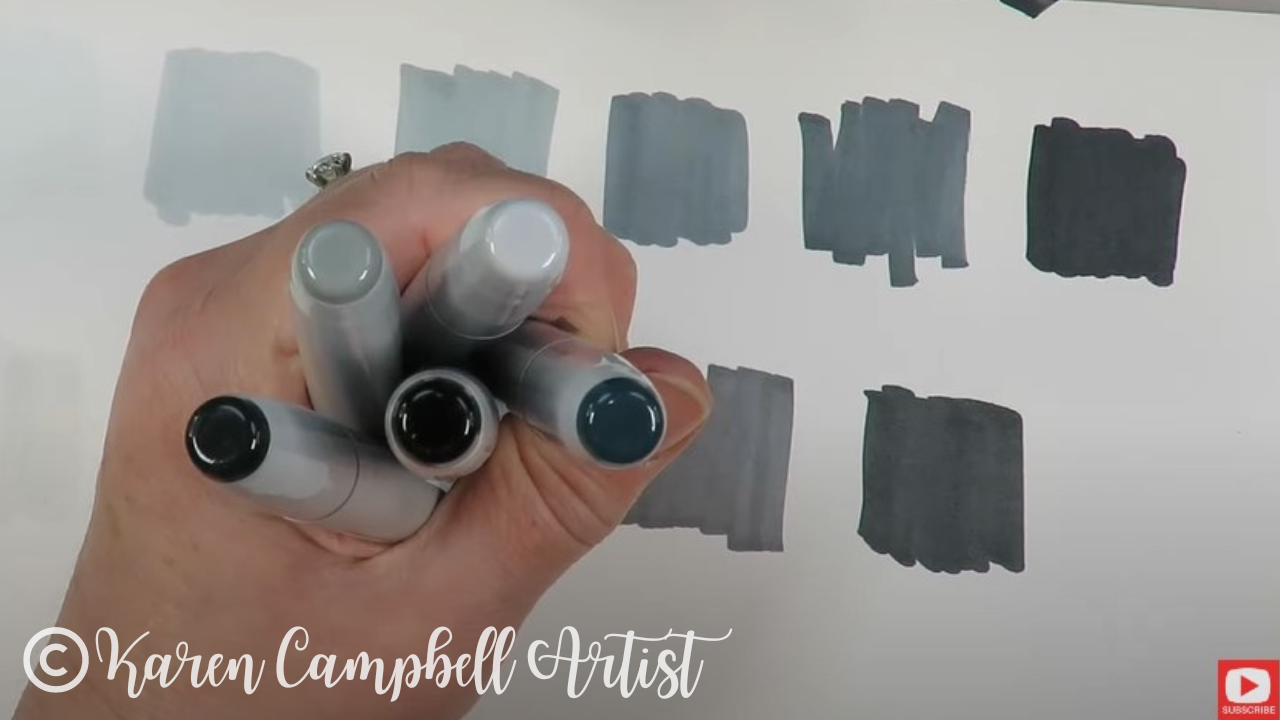
Whoever manufactured the cheapies from Five & Below DID cut some corners by producing their alcohol markers without labels. Kinda hilarious. At least the opposite sides of these caps have labels so I don't have to swatch again every time I grab a marker!!
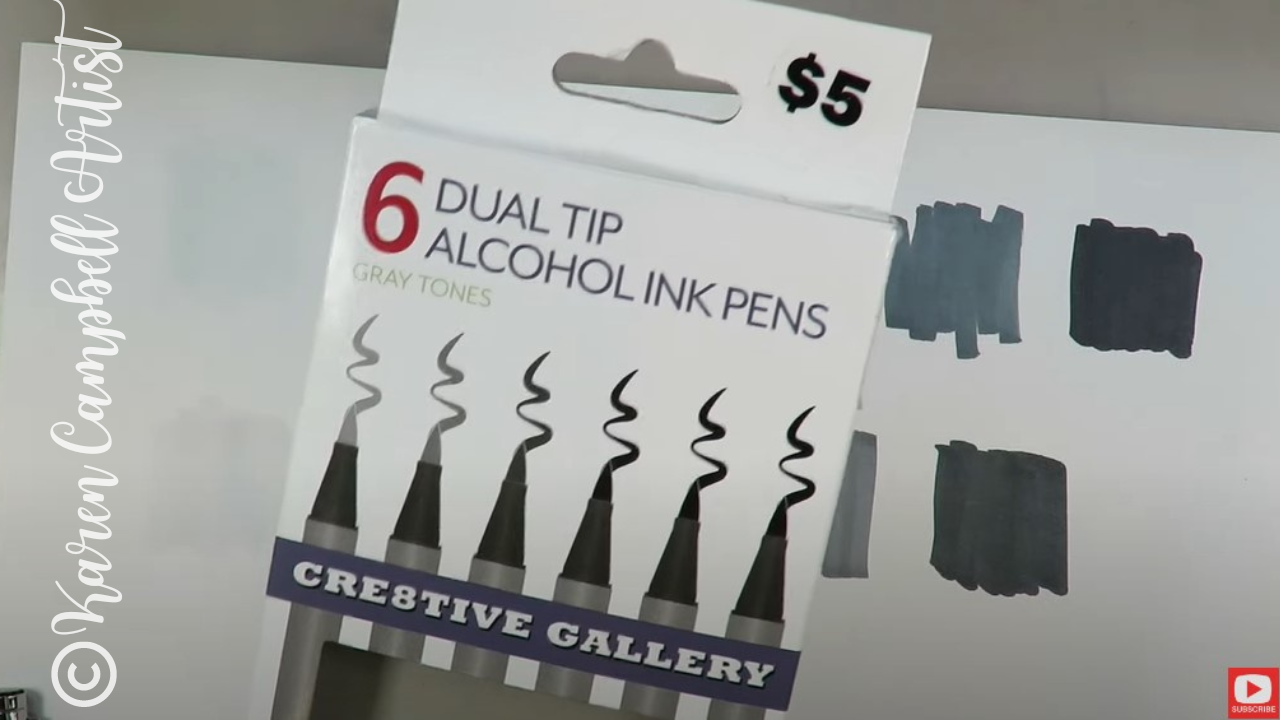
In terms of quality- the nibs in this set are great, and the ink is nice and juicy, so these were definitely worth picking up. I have no idea how readily available this specific pack of alcohol markers are, but I guess my general advice is not to shy away from grabbing a set of cheapie alcohol markers when you find them at your local dollar or craft store.
Pretty much every set I've picked up, I've been happily surprised by in terms of quality. Now let's see how they PERFORM in an actual project! 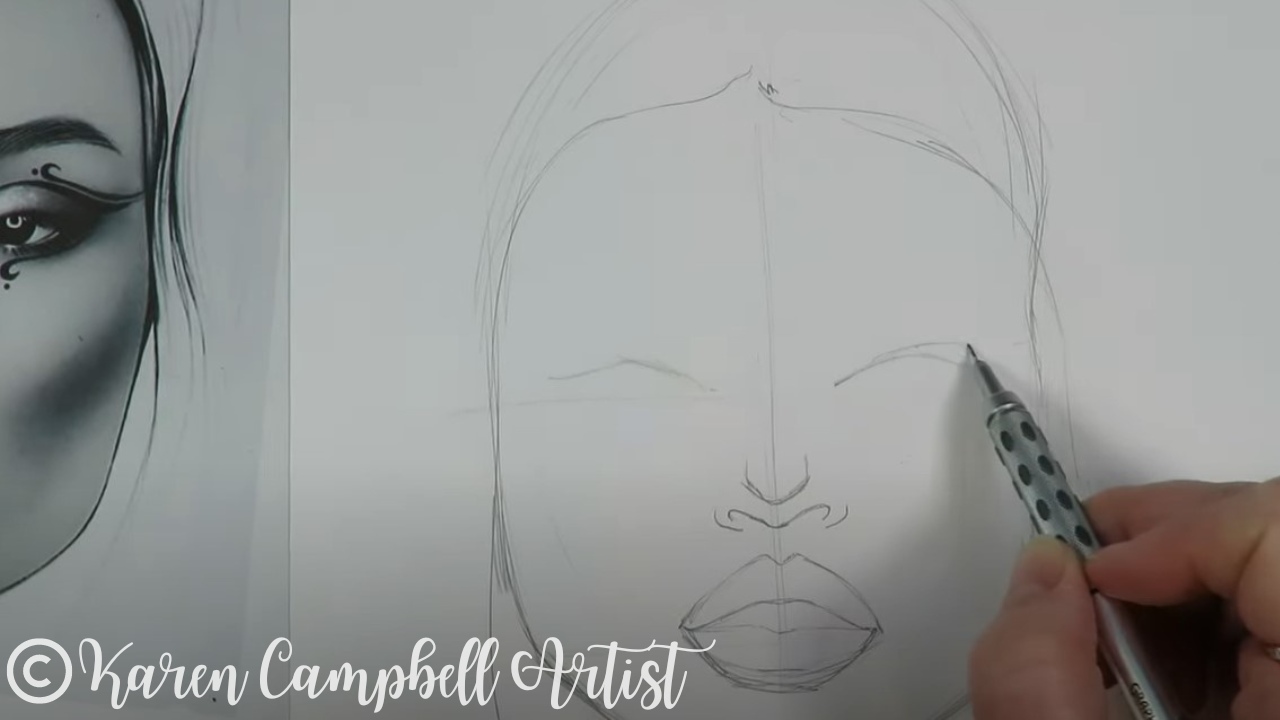
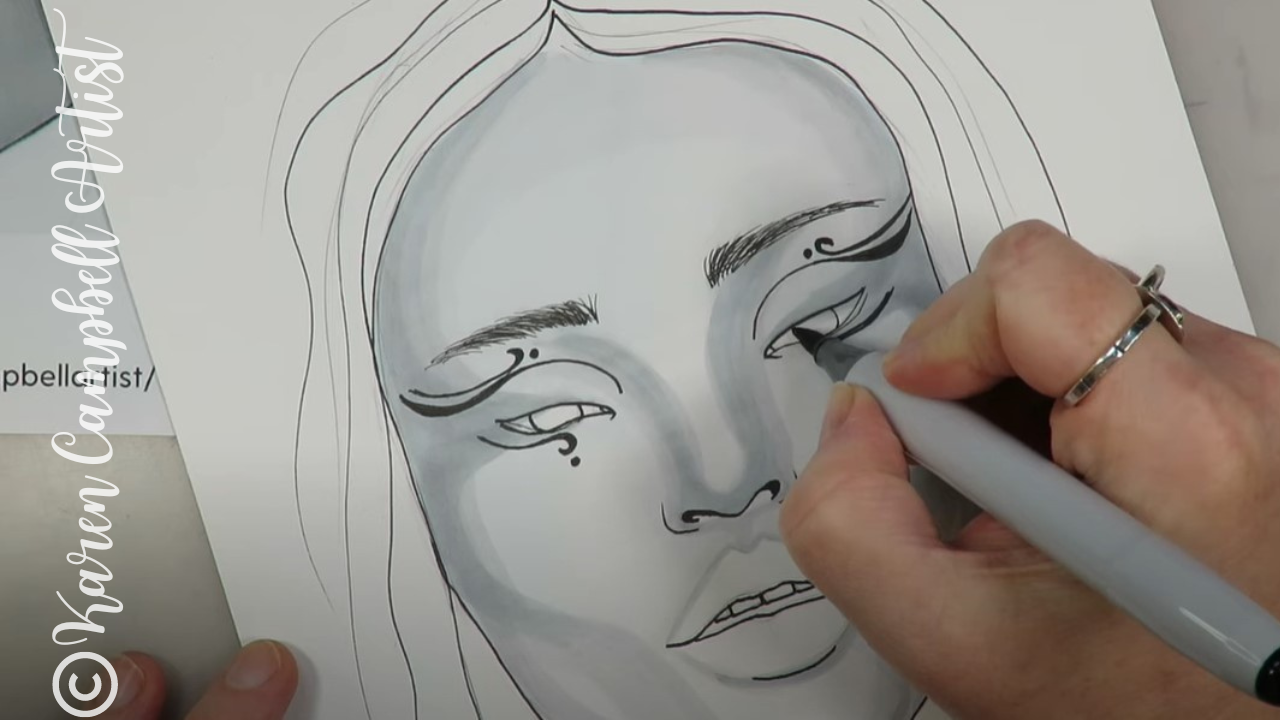
Make sure you click over to see today's face chart inspired drawing tutorial so you can DRAW ALONG with me!! Don't just sit back and watch - go grab your markers and come draw with me!
Need today's face drawing reference? Grab today's along with the last 3 in this series right here in my YouTube & Cheatsheet Library.
Definitely check out today's YouTube drawing tutorial because I give you TONS of hot tips for shading faces with alcohol markers that will help you tremendously - whether you're new to alcohol markers as a medium or not!
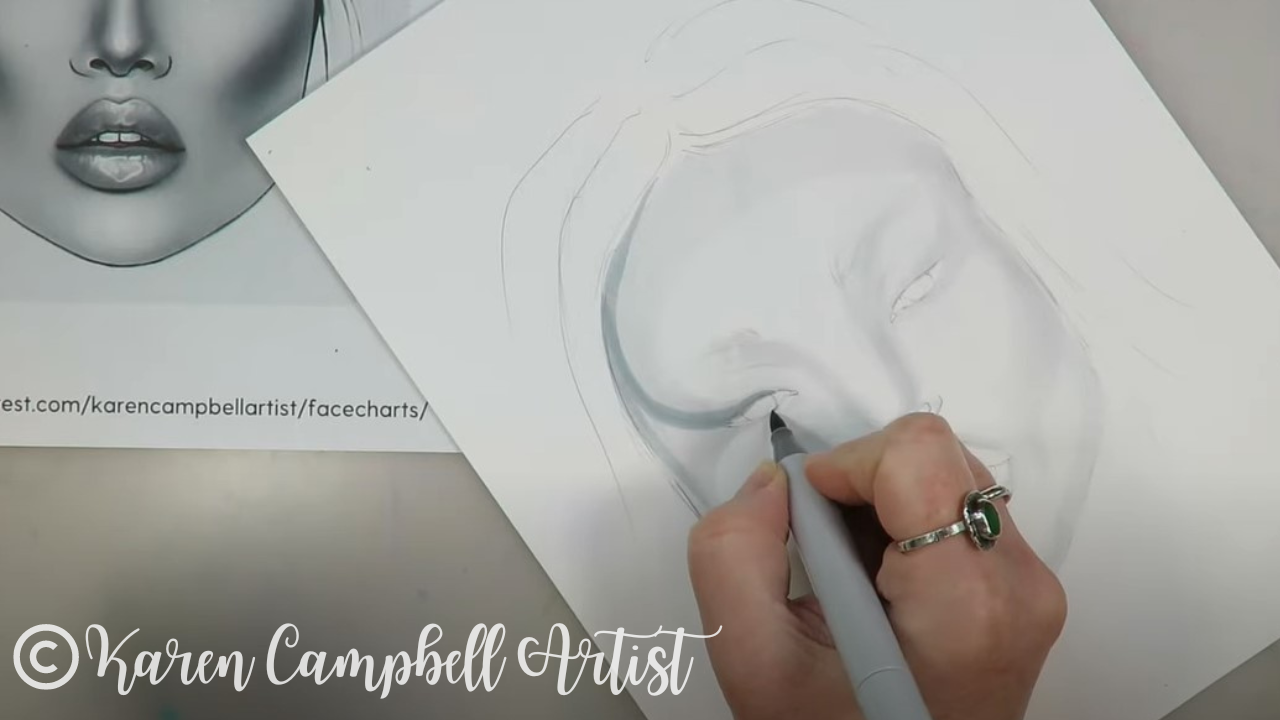
Shockingly, as soon as I started today's face shading with my cheapie alcohol markers, I was surprised to discover they felt identical to my copics. I KNOW!! This is a big deal, because if you've been following me for a while you KNOW how much I love my copics and ohuhus!!
Today's project has once again solidified my opinion that copic marker alternatives are WORTH trying! And really, price point doesn't seem to matter as much as you might think as far as this medium is concerned.
I've shared TONS of copic marker alternative product reviews for you here on YouTube, but hope YOU have confidence to try out whatever you find, especially if you're on a budget. You DON'T have to stop drawing, even when money is tight. 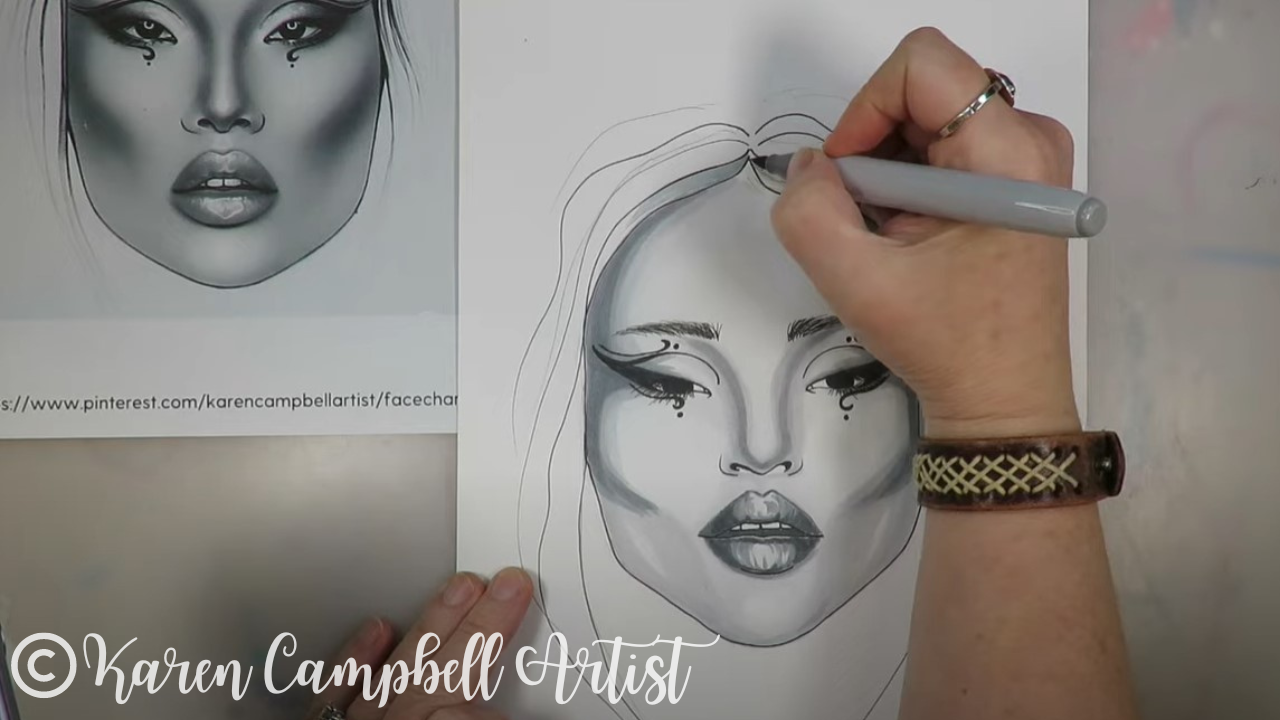
If you've never tried shading a face in alcohol markers, maybe you're addicted to shading faces in pencil - TRY today's free face drawing lesson. It's filled with tips to help you along.
If you're nervous to try shading faces with alcohol markers, especially when it comes to layering in darker shades, you REALLY CAN go at it slowly by adding multiple layers of the SAME shade over and over again. Your piece WILL get darker wherever you've added additional layers, and there's very little risk if you're afraid of screwing up :) Plus- if you're hanging out with me on YouTube (or in one of my online art classes or clubs at Awesome Art School) you're NEVER alone, I'm right there by your side doing the project with you from start to finish!
Thanks for hanging out with me today! If you drew along with me, make sure to share your work so we can give you some love over in my Facebook Group!!
LOVING the whole face chart inspired drawing tutorial thing? Here's a playlist with MORE of them for ya!! NEED MORE resources to get your creative juices flowing? ❤️ CHECK OUT ALL my art books on AMAZON ❤️ CHECK OUT ALL my online art classes @ Awesome Art School ❤️ MY FAVORITE ART SUPPLIES on AMAZON (affiliate links) ❤️ MY BELOVED FACEBOOK GROUP
Recently, one of my super-talented students suggested a mixed media art idea I can't wait to try!!
I LOVE creating alcohol marker drawings of faces. Over the years I've discovered quick layers in alternating directions will help me avoid streaks, and colored pencil over alcohol markers can soften transitions between marker shades. My ROCKSTAR student shared an alternative alcohol marker blending technique: pan pastels over alcohol markers. I'm SO intrigued!! Join me in the studio as teacher becomes student, and I discover if THIS is the job my pan pastel set has been waiting for! 
New to mixed media art, feeling intimidated to try it, or overwhelmed by the supplies? I've got 30 FUN Mixed Media Art Ideas with SIMPLE, tried, and true art supply combos like Pan Pastels over Alcohol Markers! Click the button below to download my FREE "Hot Dog Packet! "

Each mixed media example in The Hot Dog Packet reads like a recipe with ONLY 4 art supplies, so it's perfect for mixed media beginners and anyone on the lookout for NEW mixed media art ideas that won't make a hot mess!!

Before we continue, super quick announcement: All product links are Affiliate. I may earn a small commission if you choose to order through these links but by law there is never any additional cost to the consumer for doing so. I thank you for your support.
Today's AWESOME mixed media art technique comes straight from one of my AMAZING students over at Awesome Art School, Darlene Hanna.
Darlene has been a part of my world FOREVER, and I'm SO grateful for her ever-supportive presence in my Facebook Group. I LOVE it when she posts what she's working on because everything she does is sheer magic. Just take a look... 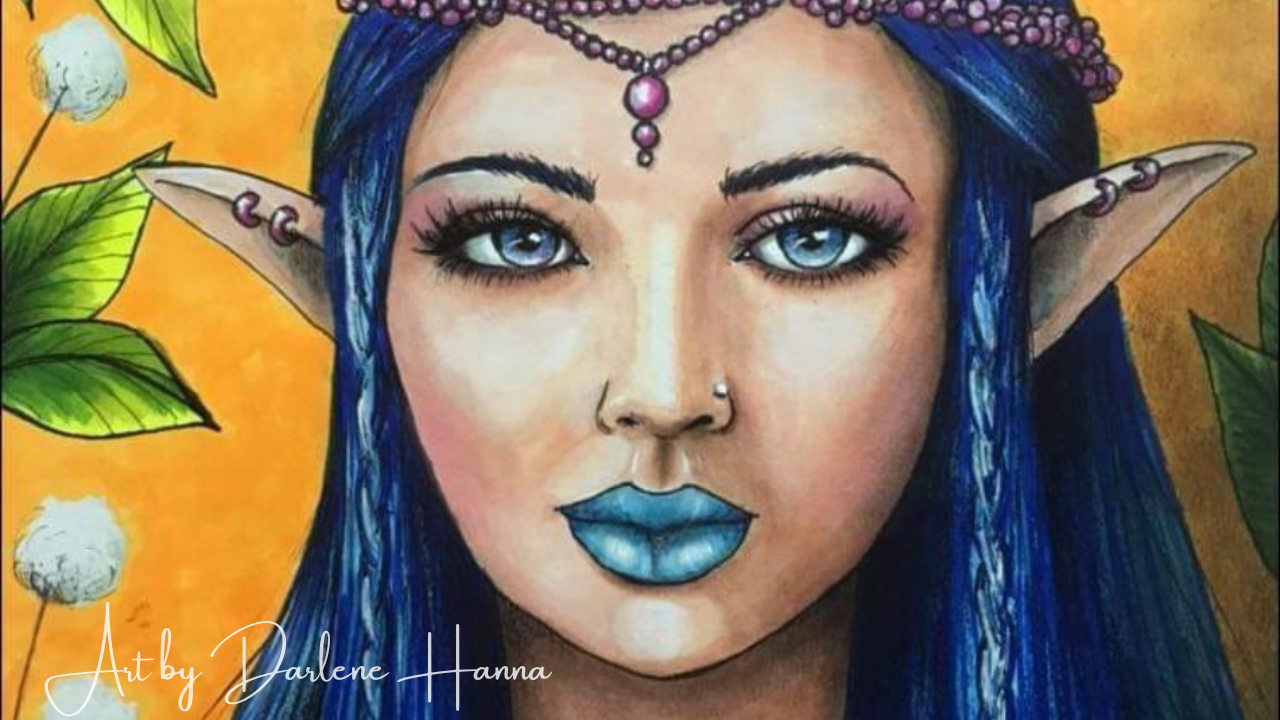
Out of this world, right?! There's nothing she can't do!!
Darlene recently shared an alcohol marker blending technique with me that I've never tried before using pan pastels. I really don't know much about pan pastels and have only used them a couple of times. I never dreamed of trying them on top of my alcohol marker drawings. 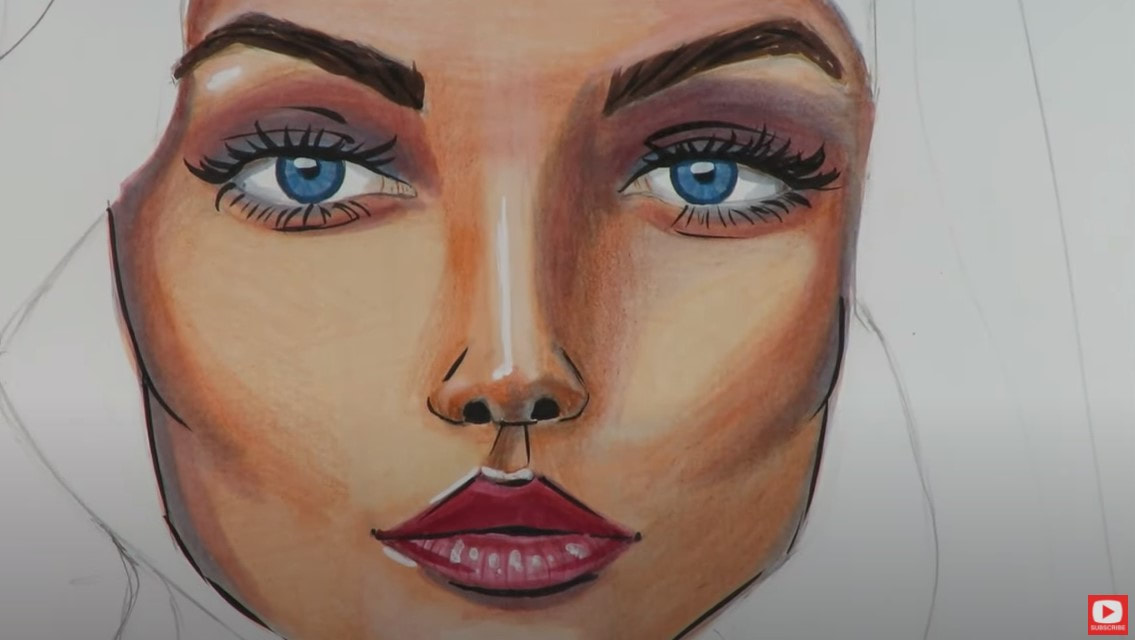
Typically I only use colored pencils over alcohol markers, as you can see above (along with my white poscas and pentel pocket brush pen). I'm excited to try Darlene's technique AND to finally have a purpose for my ginormous pan pastels set!!

Last week's face chart-inspired alcohol marker drawing is perfect for today's experiment. My only concern is the paper used for this drawing - it's a super smooth Bristol. I *think* panpastels need a little texture in the paper in order to stick? Fingers crossed this paper isn't too slick!!
If you look closely at my drawing above, you'll see there are definitely some transition areas that could benefit from a little more blending.
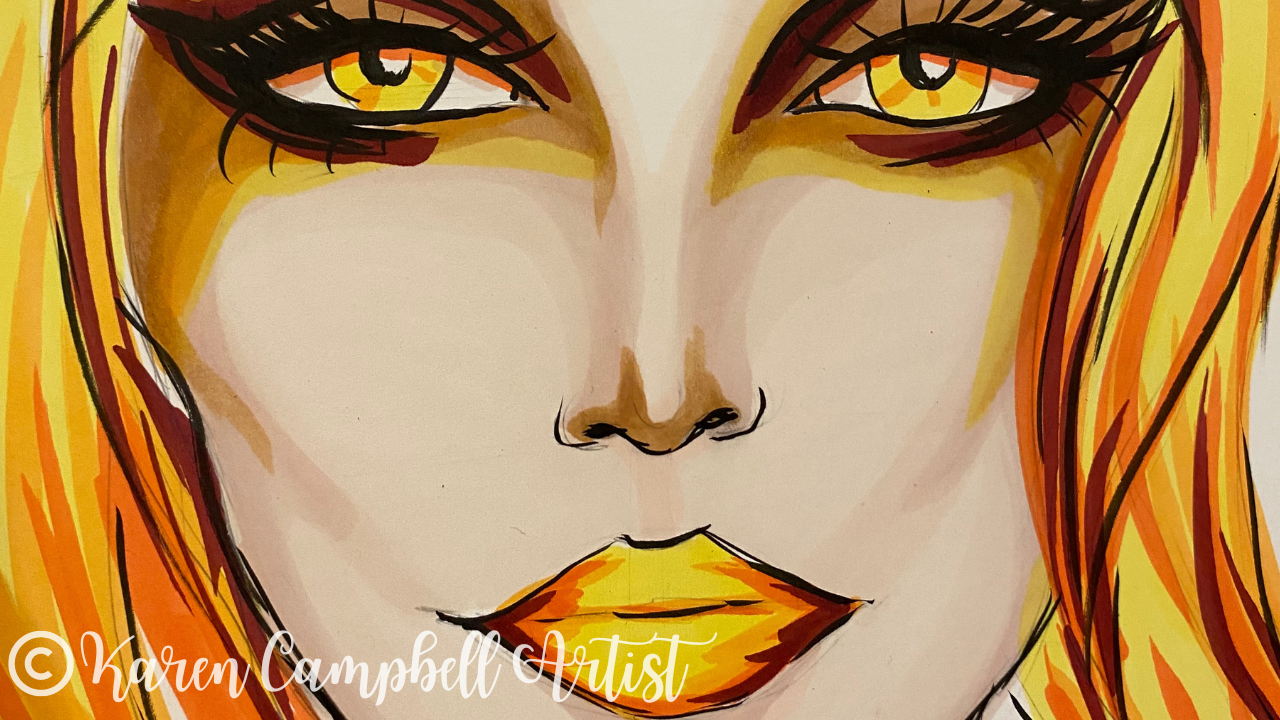
I looked back at my face chart reference photo from last week also to see what else I might want to adjust. I love super dramatic shading and makeup in the faces I draw, so I started out by dabbing a little orange pan pastel around the corners of each eye to kick the makeup in my drawing up a notch. 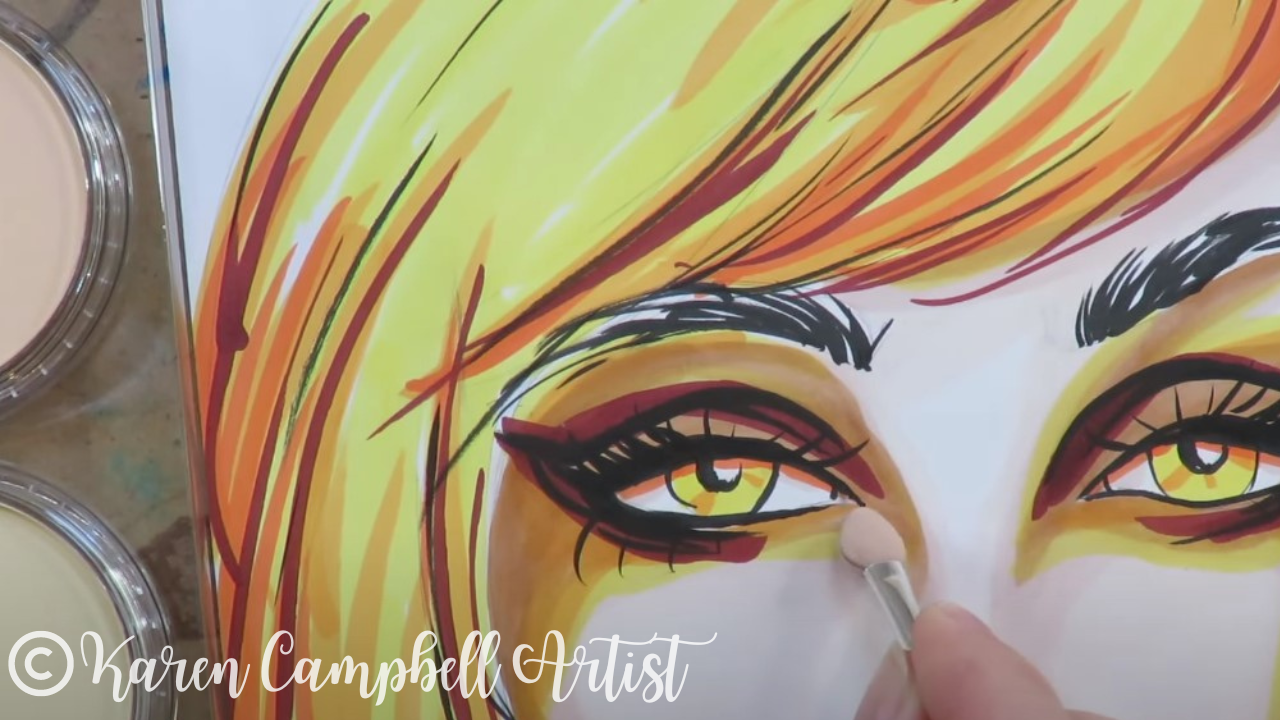
My first thought as my pan pastel applicator hits the paper is, "WHY HAVE I NOT BEEN DOING THIS MY WHOLE LIFE?!"
I'm thrilled with the results!! The orange panpastel deepens my shading AND softens the transitions around each eye as soon as I start to apply it. Excited by how this is going, I reach for another shade and move on to the lips! Just look at these results... 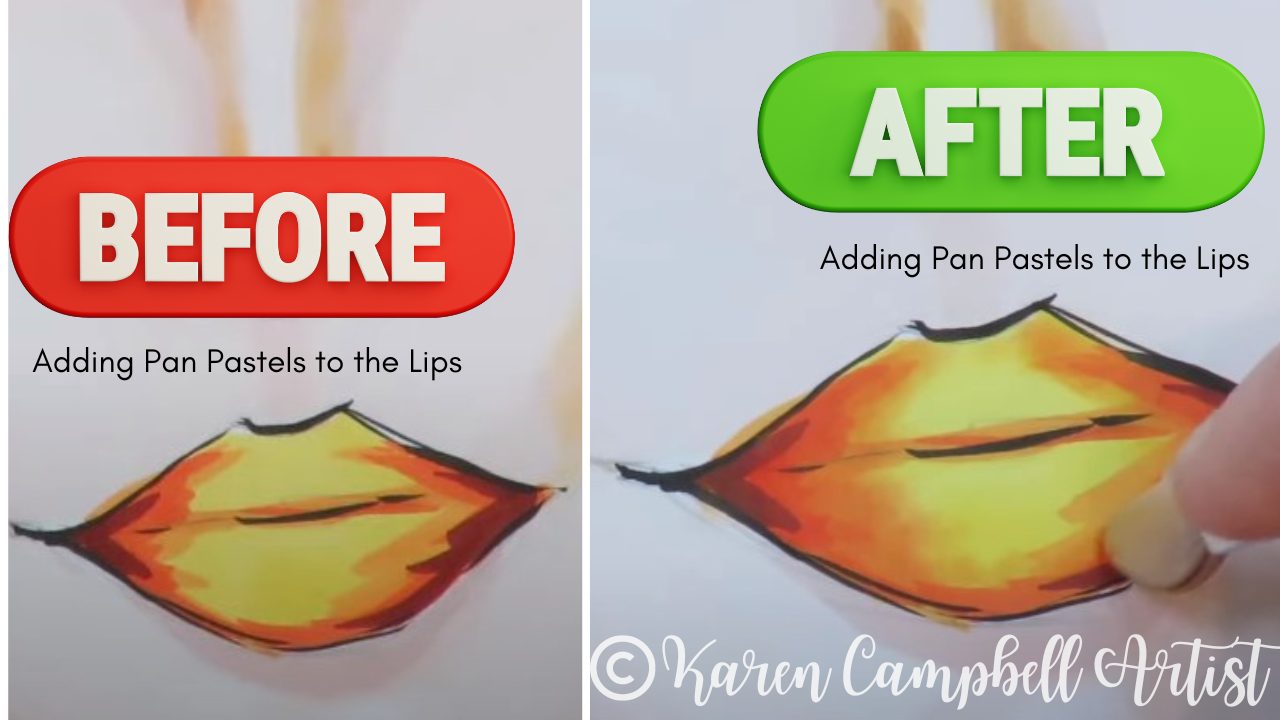
The pan pastels are totally like a "corrector method" for alcohol markers!! The next question is if I can use my white posca pens for highlights and my secret weapon for creating gorgeous eyelashes OVER the pan pastel layering?
Watch the video to meet me in the studio and find out!!
Make sure you grab my FREE Hot Dog Packet for more FUN & EASY mixed media project ideas like the one we tried today. If YOU discover another art supply combo YOU love, there are even blank sheets in the packet where you can jot them down!

Thanks for hanging out with me today! And another HUGE shout out to my ROCKSTAR student, Darlene Hanna, for sharing her life-changing alcohol marker blending technique ??
WANNA DRAW the face-chart inspired alcohol marker drawing featured in today's video? Here's the FREE drawing tutorial:
NEED the FACE DRAWING REFERENCE from last week's drawing tutorial? Grab it here! NEED MORE resources to get your creative juices flowing? ❤️ CHECK OUT ALL my art books on AMAZON ❤️ CHECK OUT ALL my online art classes @ Awesome Art School ❤️ MY FAVORITE ART SUPPLIES on AMAZON (affiliate links) ❤️ MY BELOVED FACEBOOK GROUP
In today's drawing tutorial, I'm trying an expensive new set of skin tone markers by Winsor Newton called ProMarkers. I have high expectations for these alcohol markers because Winsor Newton is a top-of-the-line, fine art brand for artists.
I'm curious to see how ProMarkers compare to the go-to alcohol marker brands I reach for every day. My biggest question today is ARE PROMARKERS WORTH IT?! 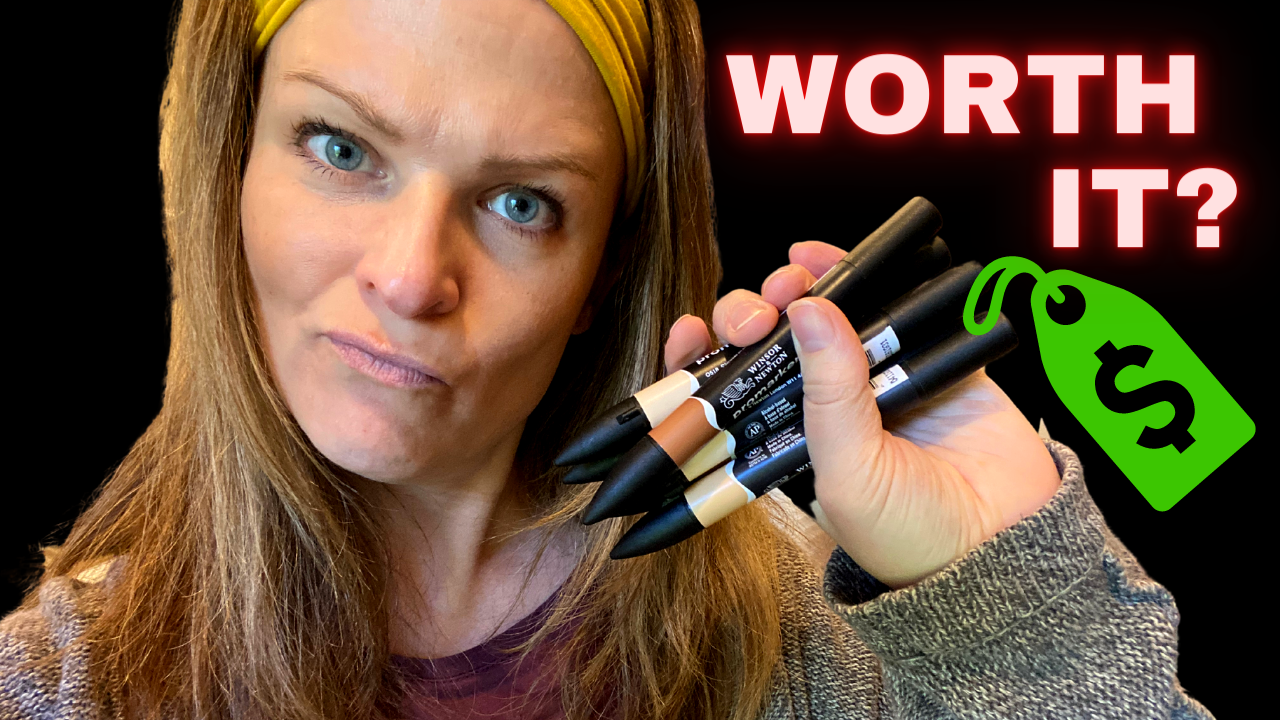
Wanna draw along today, but not quite sure how to draw a face, or how to make the facial features look proportional? It's WAY easier than you think!
Simply click the button below to download my FREE whimsical face drawing guidelines. I never start a face drawing without them! 
Before we continue, super quick announcement: All product links are Affiliate. I may earn a small commission if you choose to order through these links but by law there is never any additional cost to the consumer for doing so. I thank you for your support.
I've been shading the faces I draw with alcohol markers for years, and
am constantly testing new brands to ensure I'm recommending art supplies with the BEST VALUE for my students over at Awesome Art School. After testing a million brands of alcohol markers, I've discovered expensive isn't always better, and multiple brands of alcohol markers can be used successfully on the same project - regardless of price point. 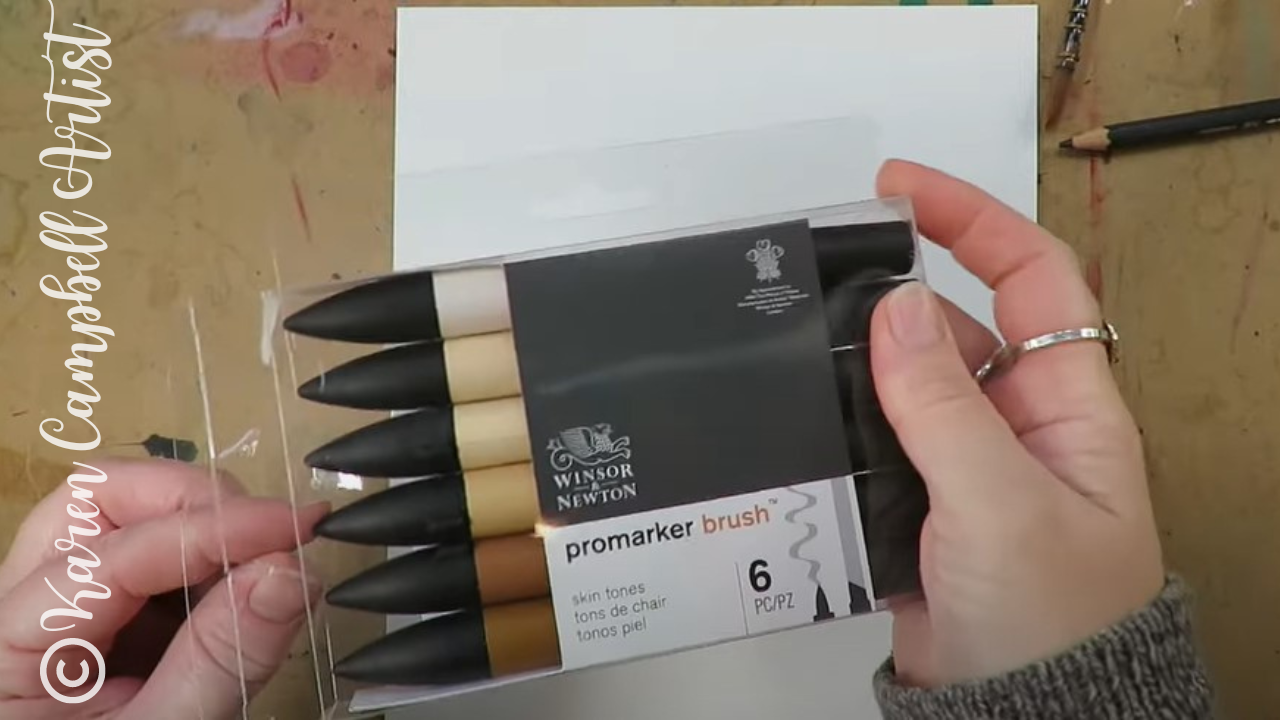
The ProMarker set I'm demo-ing today runs around $30 on Amazon and contains six skin tone alcohol markers. Depending on your budget, this might not sound too bad, until you start comparing ProMarkers to less expensive brands like Ohuhu, which will give you a full 30 more markers for just $9 more!
I don't know about you, but I want MORE COLORS to play with, so will choose that every time! 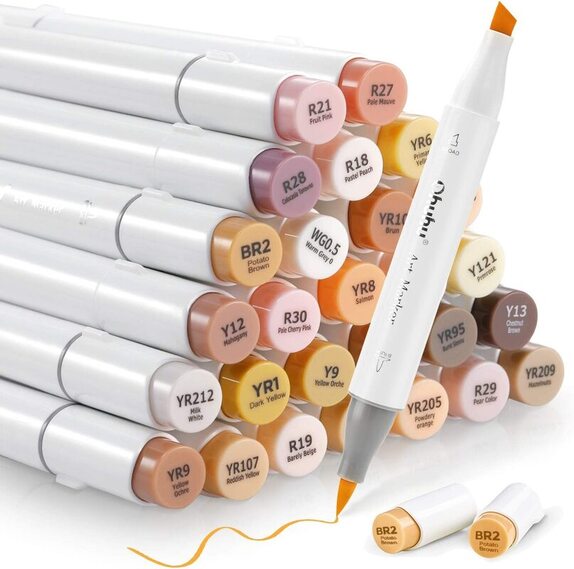
If you're sensitive to smells, you may want to steer clear of ProMarkers. They definitely have more of an odor to them than I notice from my Ohuhus or Copics.
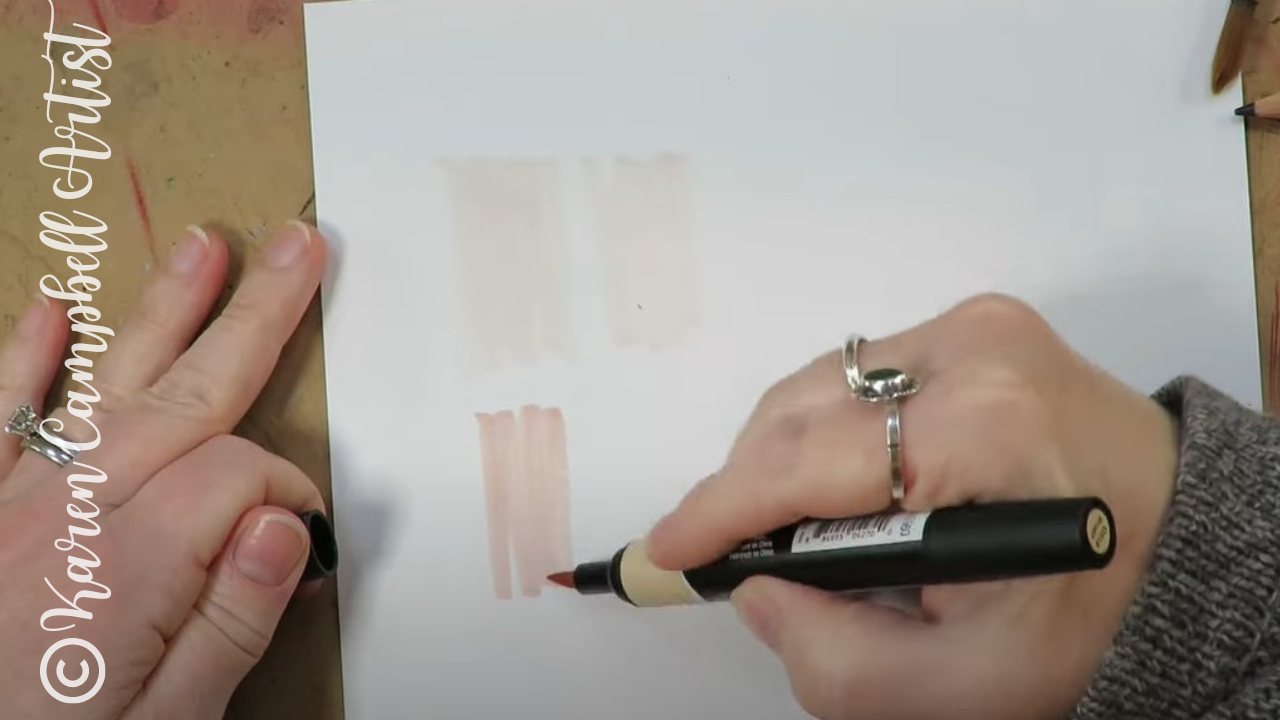
This Promarker set has dual nibs like most alcohol markers. There's a brush tip on one side and a chisel tip on the opposite. Right away I noticed how flexible the brush nib felt. Not sure if I'm gonna love this or get annoyed with it while shading larger areas!
While swatching, I was seriously surprised by the shades Winsor Newton selected for this palette. If you've been following me for a while, or have a copy of my book, Skin Tone Secrets, you know I always recommend selecting three shades of the same color in light, medium and dark to shade ANYTHING.
These subtle variations in color will help give your drawings dimension and make them look more sophisticated. As far as skin tone colors in the Promarkers set of 6 are concerned, I'm not impressed because I can only find two shades in this palette that will truly go together as my light and medium skin tones. The darker markers included are too big of a jump from the medium shades for most artists to use successfully - as you can see below. 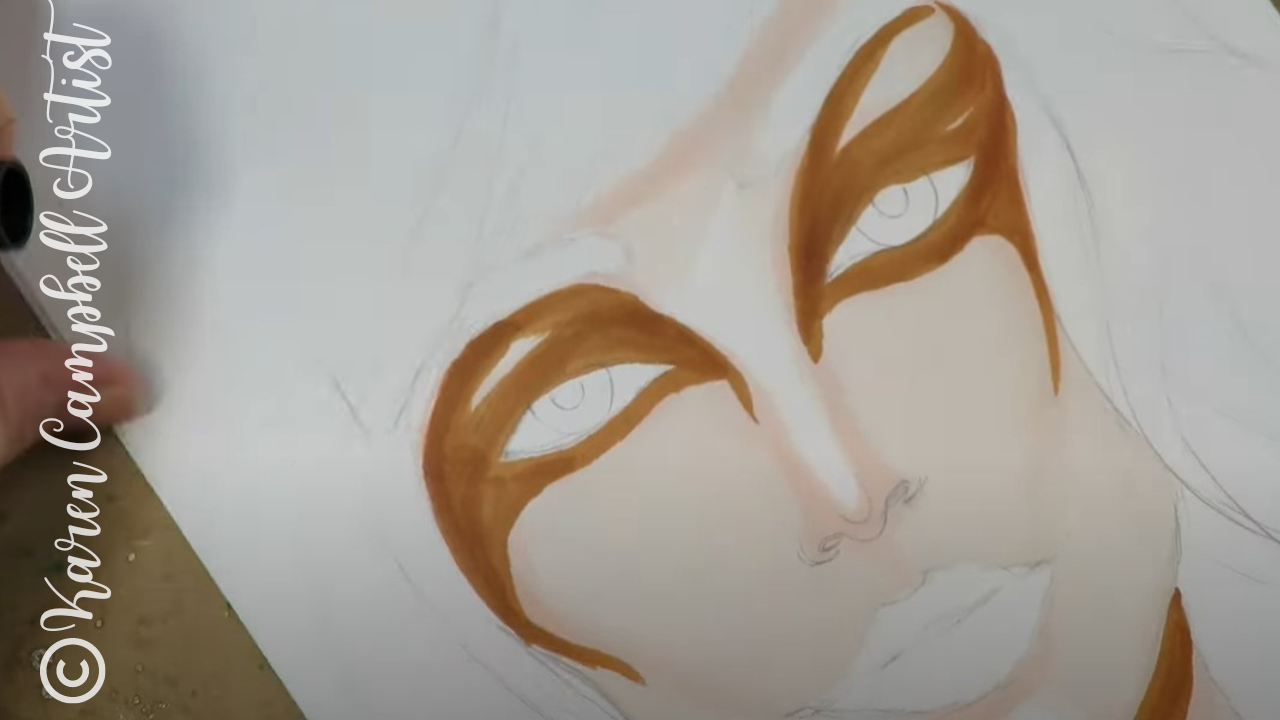
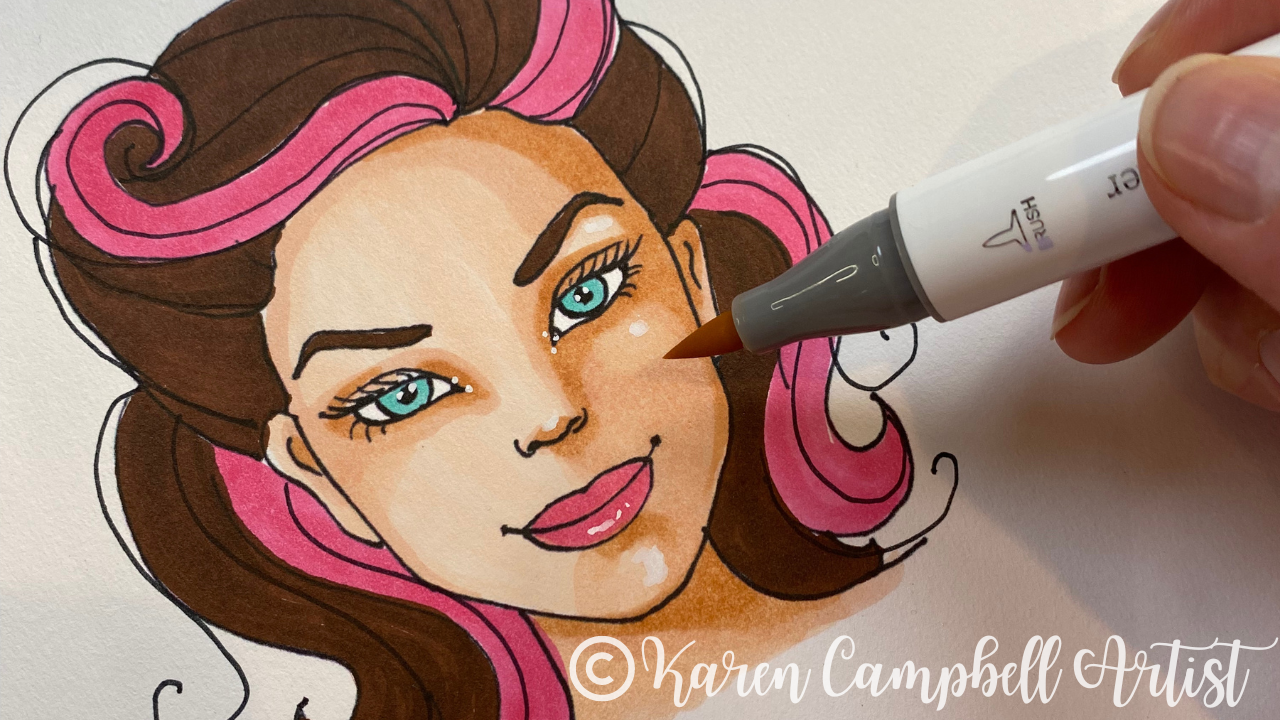
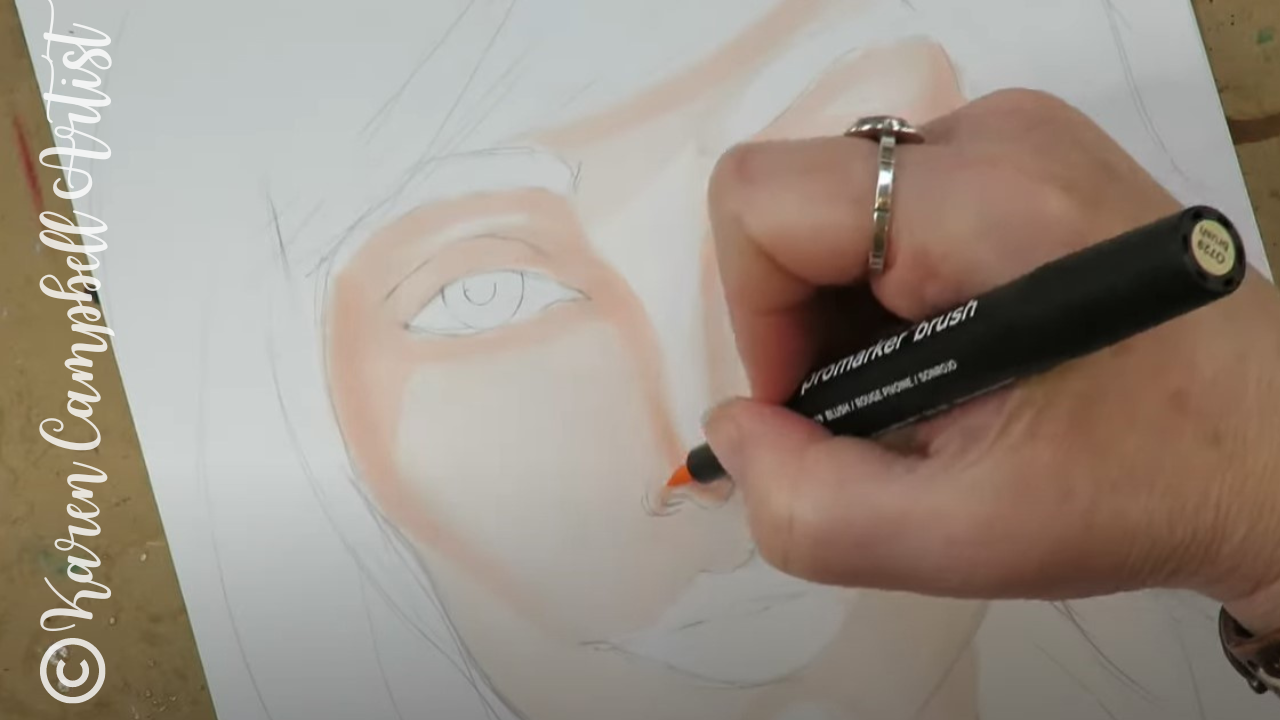
If you watch the video, I'll show you the face chart I selected as today's drawing reference. It has super dramatic makeup in rich fall colors, but my first layer of brown makeup and shadows looks intimidating, even to me!
I keep going though, because I know the only way out of this is more layers of shading, blending, and doodling. If you'd like a copy of today's drawing reference, you can grab that as a PDF in my YouTube & Cheatsheet Library over at Awesome Art School. 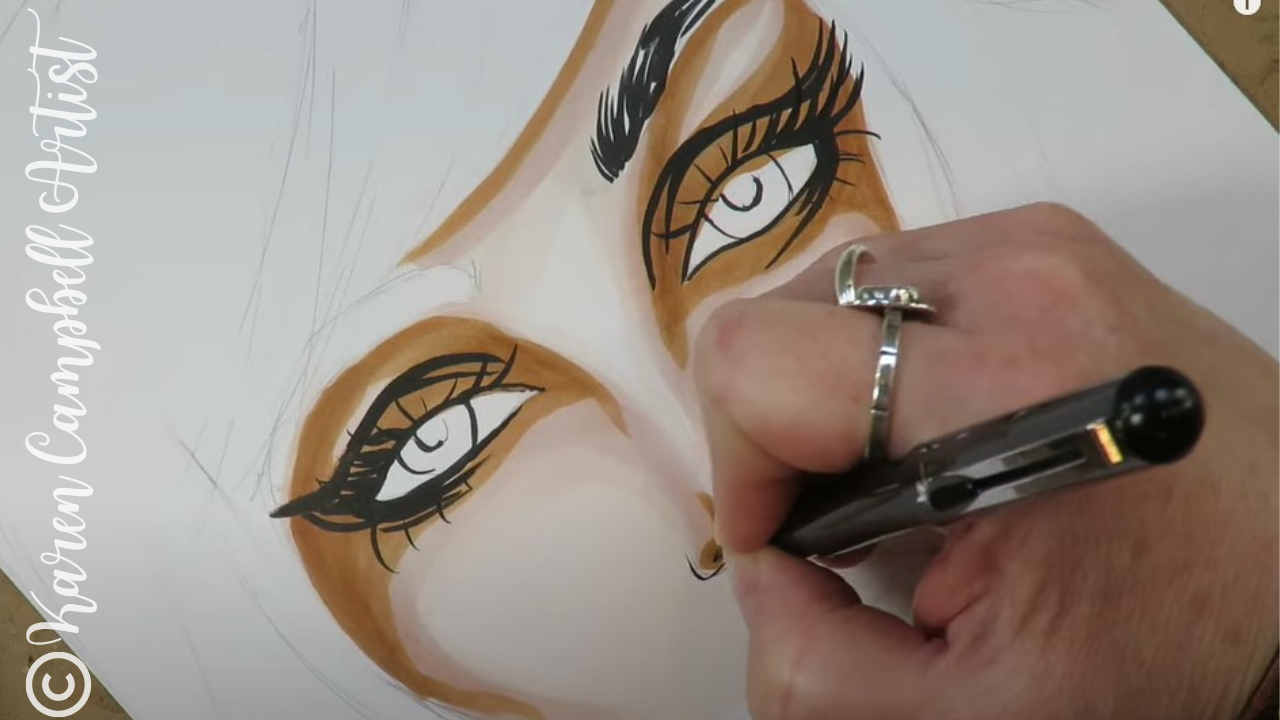
Once I've added detail to the eyes and eyelashes with my Pentel Pocket Brush, the darkest skin tone shading begins to push into the background and becomes less intimidating.
I use my Pentel pocket brush pen for drawing eyelashes on all the faces I draw and paint. It's amazing but has a bit of a learning curve to it. If you need help with it or want to learn how to draw gorgeous eyelashes, check out this video. 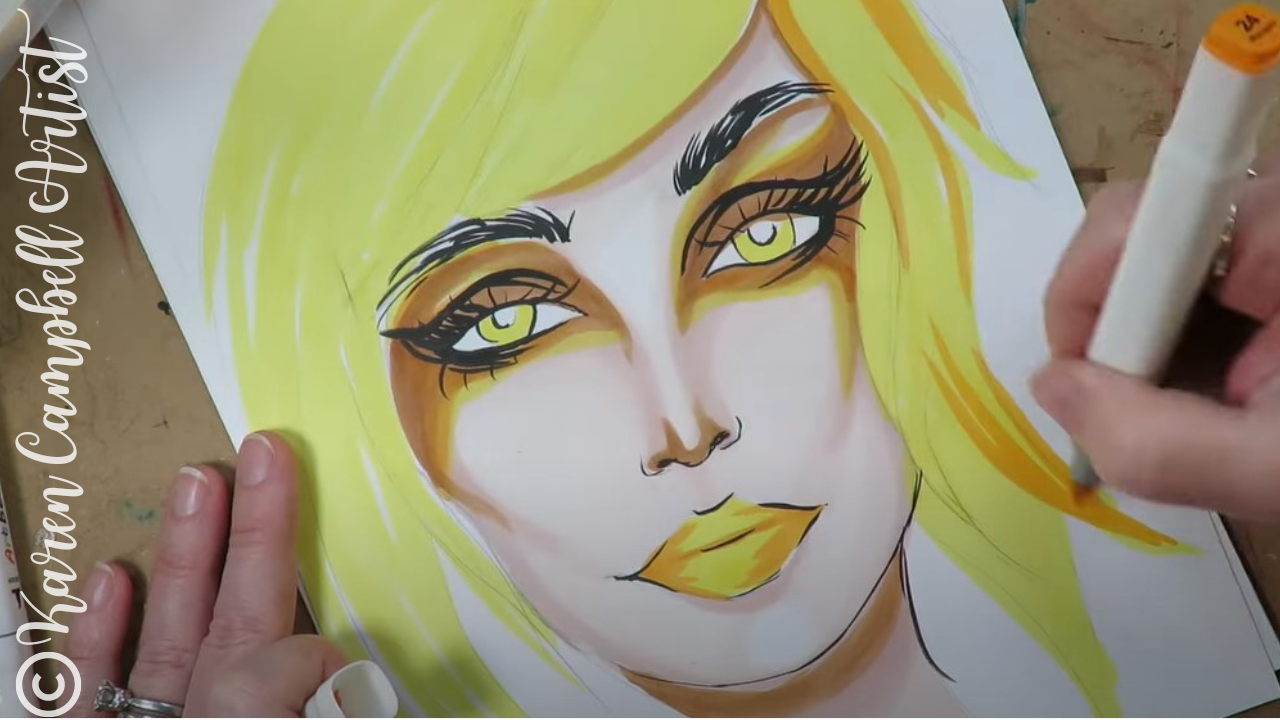
Make sure you click over to the video to get my final thoughts on this skin tone ProMarkers set by Winsor Newton.
As you'll see, I did end up getting annoyed with the brush nib on these markers. They just felt too flimsy and flexible to me so I switched sides and continued the project with the chisel tip for greater control. 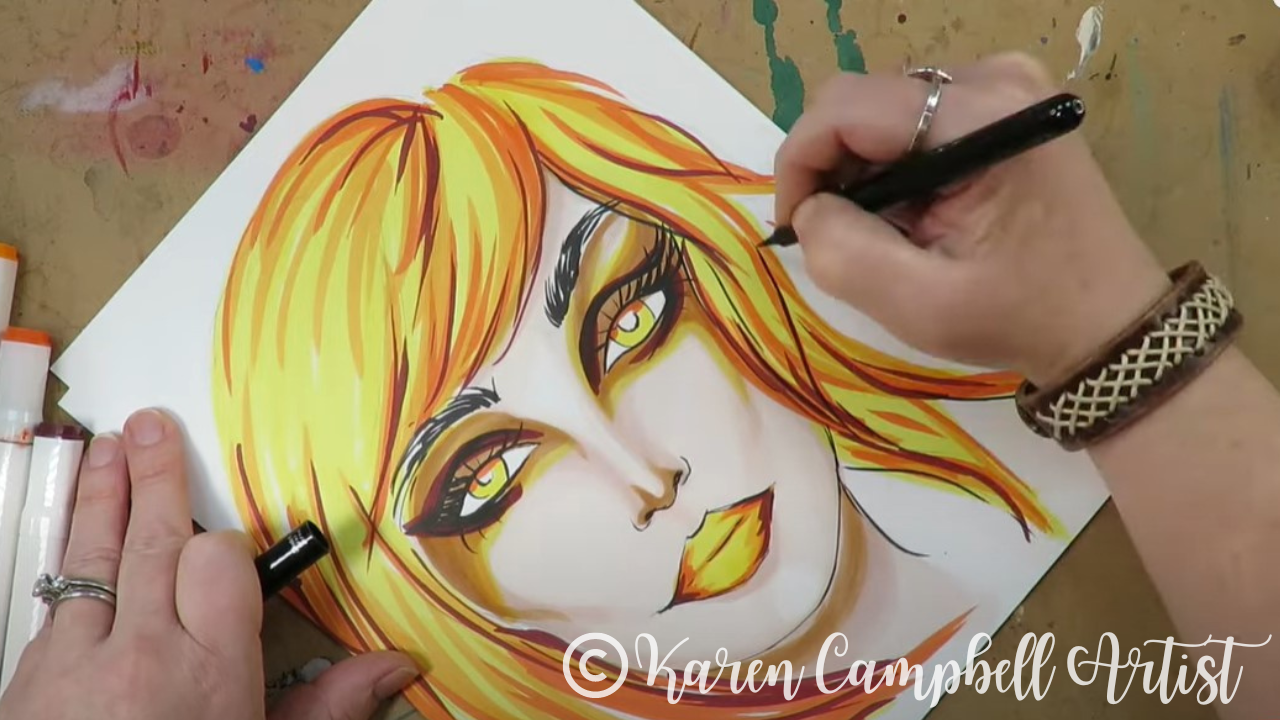
I hope you found today's product review and demo helpful, and I sincerely hope you take a minute to stop and draw along with me in today's video!
See ya next week!!
Need more resources to get your creative juices flowing?
❤️ CHECK OUT ALL my art books on AMAZON ❤️ CHECK OUT ALL my online art classes @ Awesome Art School ❤️ MY FAVORITE ART SUPPLIES on AMAZON (affiliate links) ❤️ MY BELOVED FACEBOOK GROUP
Creating a mixed media collage background is SO MUCH FUN and happens to be the first layer of my signature mixed media process called the Hamburger System.
Recently I received an email from a viewer asking me WHAT materials work best for collage backgrounds. I have hundreds of ideas, but here are my TOP 20 FAVORITES to use on canvas OR in my mixed media art journals! 
Do you love collage or have always wanted to try it in your art, but aren't quite sure how to do it without making a HOT MESS? You need my FREE Hamburger System cheatsheet.

If you're new to mixed media, collage, art journaling, mixed media on canvas - any or ALL of it, my Hamburger System is gonna rock your art world! You'll learn my tried and true process of how to create a mixed media MASTERPIECE every time. It's simple, step-by-step, tells ya exactly WHICH supplies you need, and did I mention it's SO MUCH FUN?!
Click that button above or click here and I'll email my Hamburger System cheatsheet straight to your inbox!
Before we continue, super quick announcement: All product links are Affiliate. I may earn a small commission if you choose to order through these links but by law there is never any additional cost to the consumer for doing so. I thank you for your support.

My Hamburger System series on YouTube has been watched by over 140,000 people and even became a book, available on Amazon.
I LOVE starting my mixed media canvases and mixed media art journal pages with a layer of collage! There's something so simple and relaxing about this process that connects me with my inner child. It's honestly pretty brainless and kinda serves as an art warmup to get my head into a creative space. 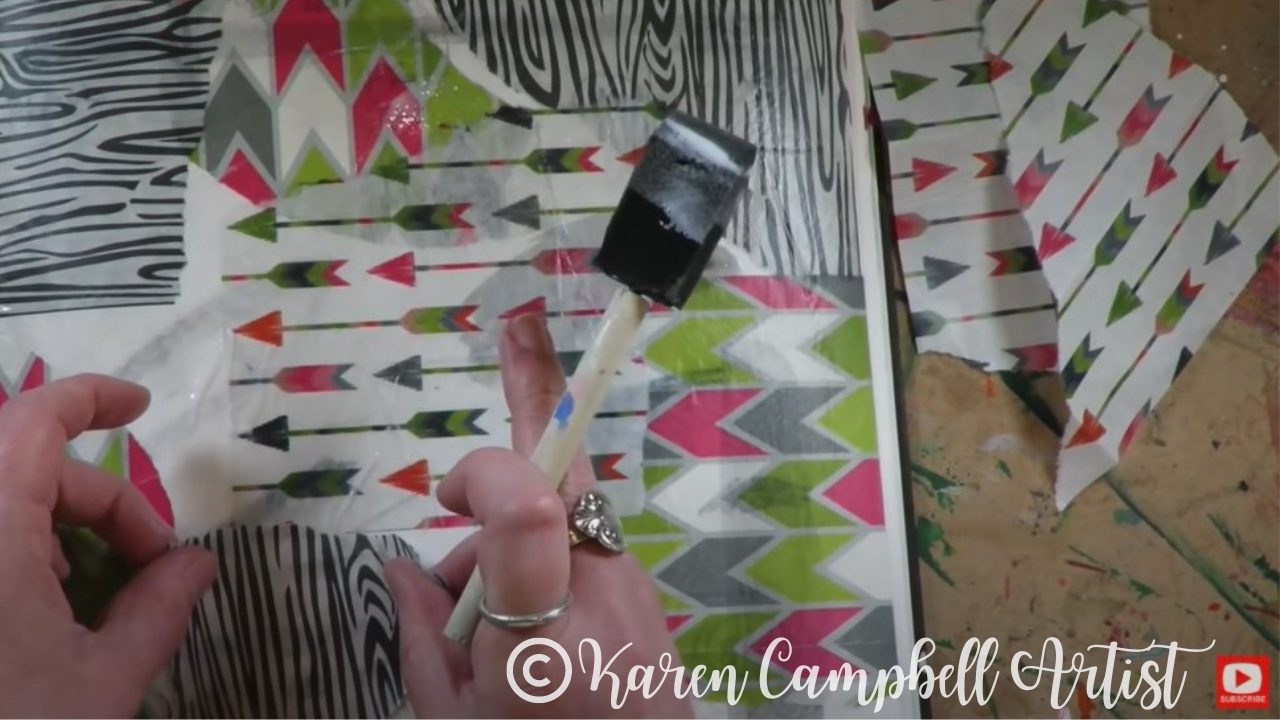
Collage is also one of the BEST things to do to bust through creative block whenever it strikes (and trust me- it hits ALL of us).
Here are my TOP TEN favorite mixed media collage materials. Make sure you scroll down and watch the video to see TEN MORE ideas and watch a super fast mixed media collage tutorial I think you're gonna love!! 
Scrapbook Paper
I LOVE a good scrapbook paper pad. This is the perfect collage material for people who have a hard time picking papers that go together and those who might be in a hurry or feeling lazy who just wanna grab and go!
With scrapbook paper, the work has already been done for you because EVERYTHING in the scrapbook paper pad only features colors and patterns that go together. All YOU have to do is pull out your favorites and start ripping. 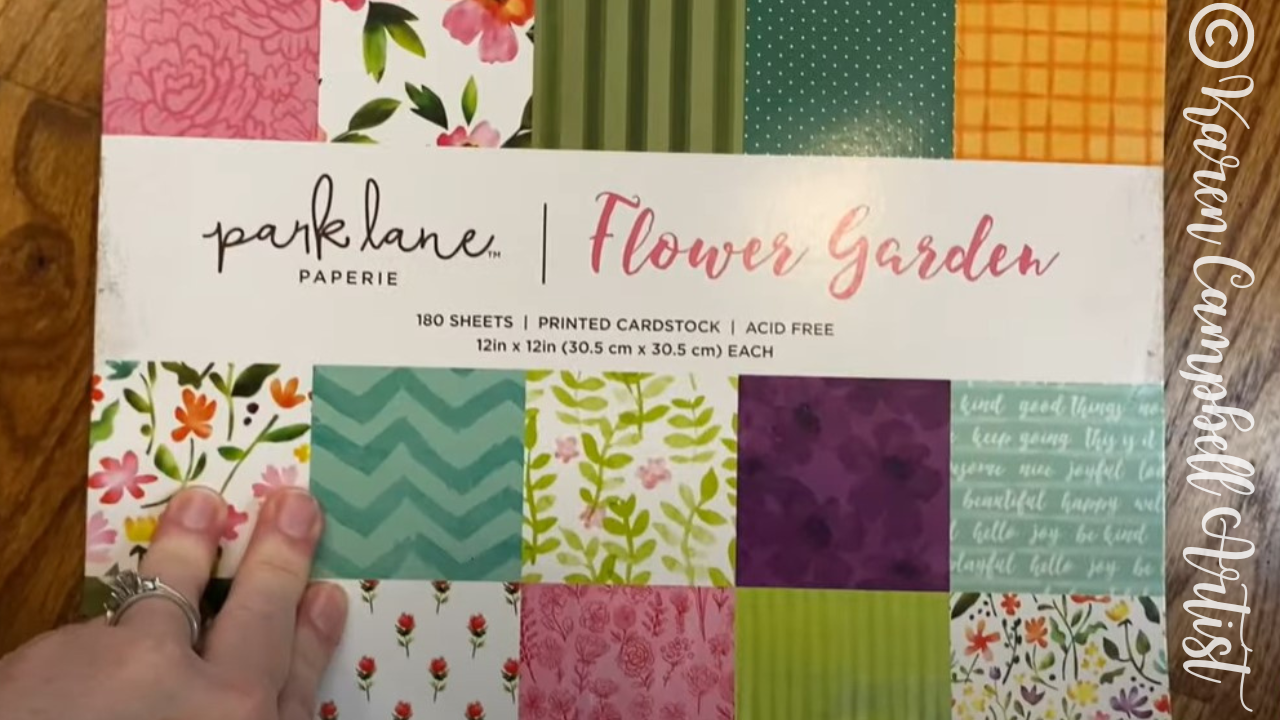
Scapbook paper even tells you exactly what color paints to use for your acrylic layer! It's awesome :)
Make sure you click over to the video to see the mixed media collage examples I show you of how I incorporated scrapbook paper into BOTH the background and foreground of a mixed media portrait on canvas. 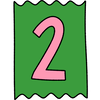
Phone Book Pages
This adorable mixed media fox painting was originally done on an upcycled record jacket I found in a thrift shop. I used the record jacket as my canvas. If you look closely at the pillow I had made of this canvas, you'll see some type in the background. Those are just phone book pages! So simple, right?!

Sheet Music
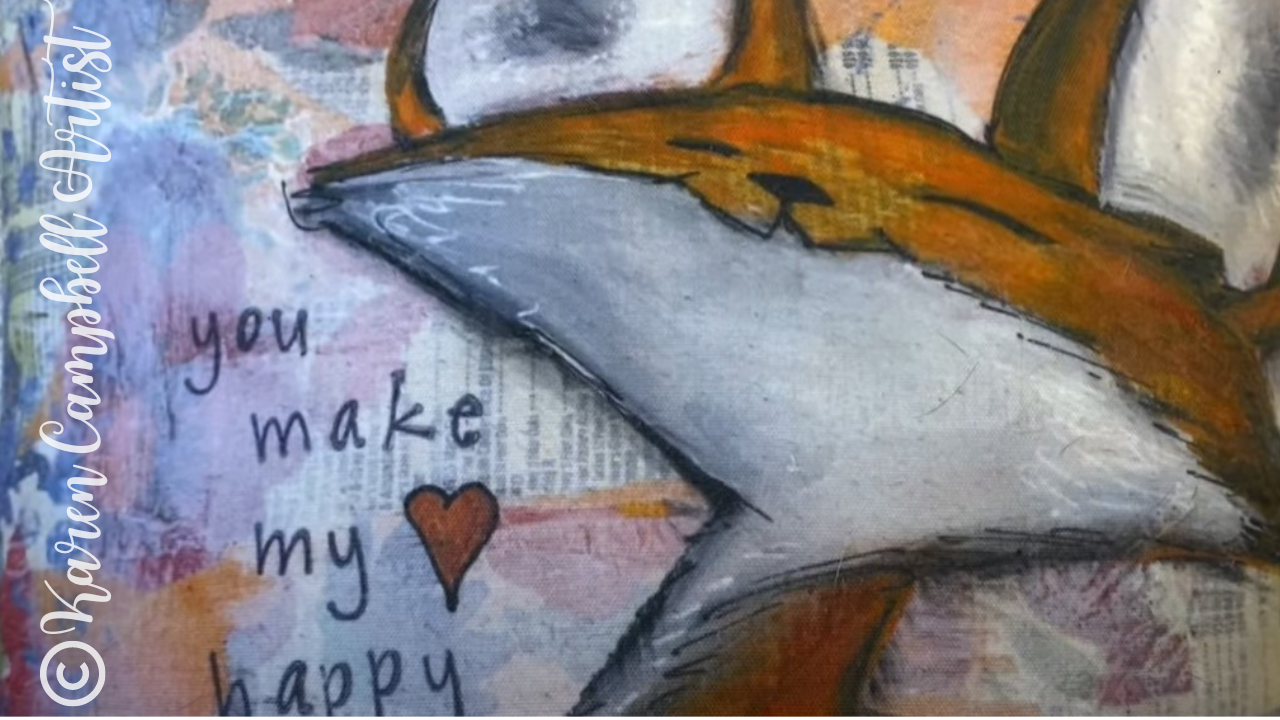
Sheet music collage is a favorite of mine, super cheap, and beautiful to use in both the background and foreground of your mixed media art.
You can either turn an old book of sheet music from a thrift shop into an altered book art journal or rip old sheet music into collage pieces like I did below. Isn't it beautiful how the music notes peak through the skin tones in the painting? 
If you wanna create the piece above with me, it's one of the projects in my Mixed Media Magic book over on Amazon. Check it out!!

Dictionary Paper
I LOVE a vintage dictionary! The really old ones have a yellow tone to them and rip SO easily for collage. They also have a distressed look to them already because they're old. I think these are fun to have peaking through the background in a mixed media face, or to use strictly in the background. Your options and endless (and SO CHEAP) here!
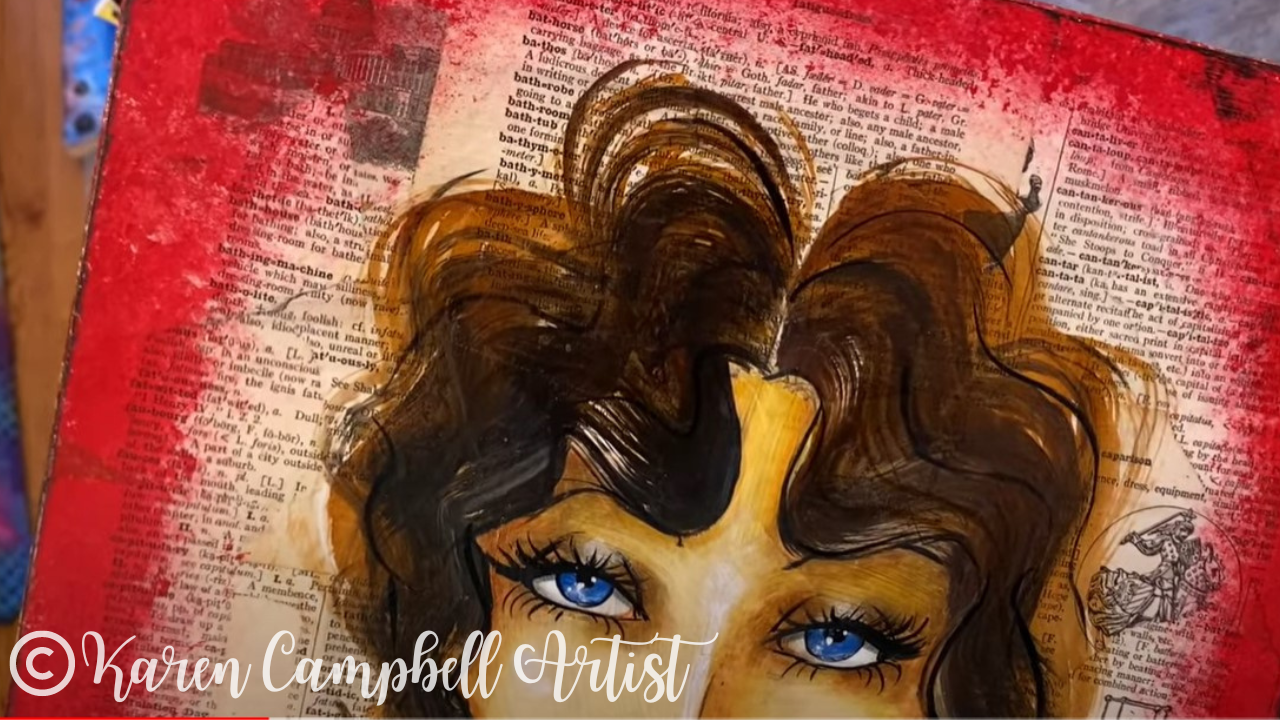
This art deco mixed media portrait project is available at Awesome Art School as a stand-alone project if you'd like to create along with me!

Masking Tape
Lots of people don't even think of masking tape as a collage element, but it's weirdly a perfect surface to art upon and creates a lovely texture to your art. It also accepts gesso, acrylic paint, and all the mediums you would typically reach for to create mixed-media art.
Look closely at the piece below and you'll see some subtle, horizontal lines from my masking tape collage layer. 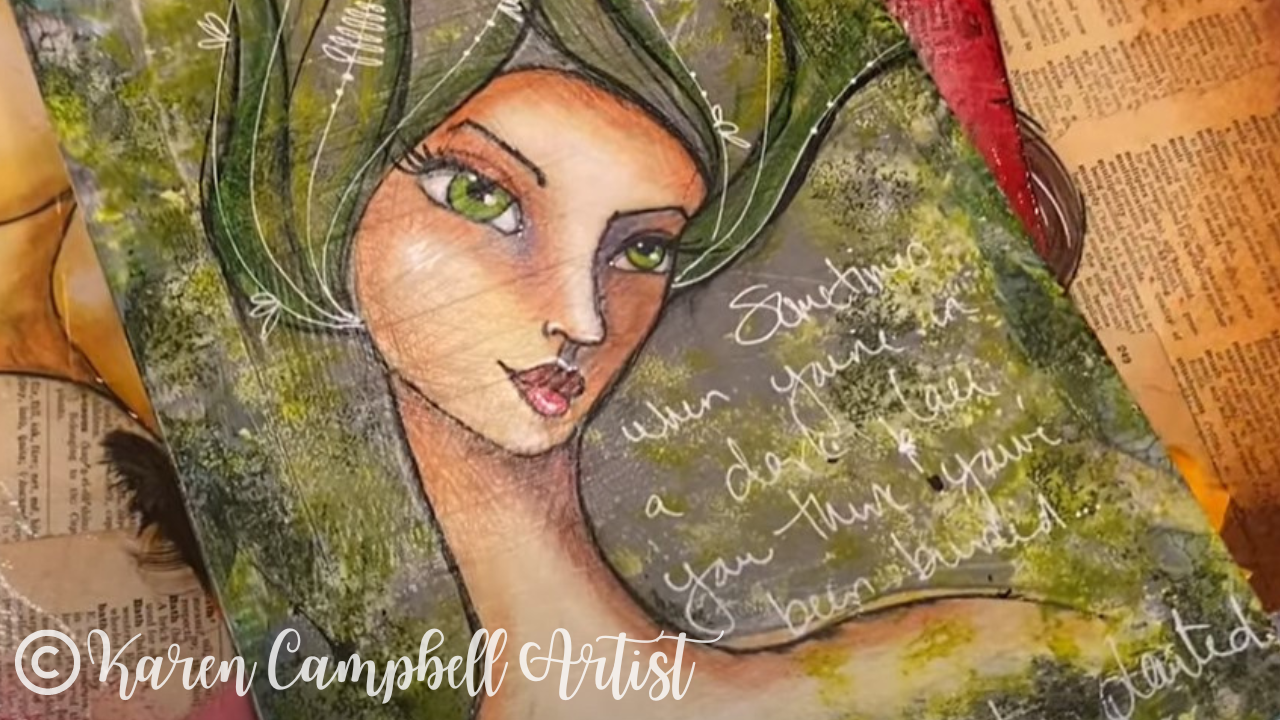

Trash!
You can totally use TRASH as a mixed media collage element. Hilarious, right?! I've enjoyed using beer bottle labels (I love to collect these when I travel), foil candy wrappers (shown below), discarded tissue paper from a gift, you name it!
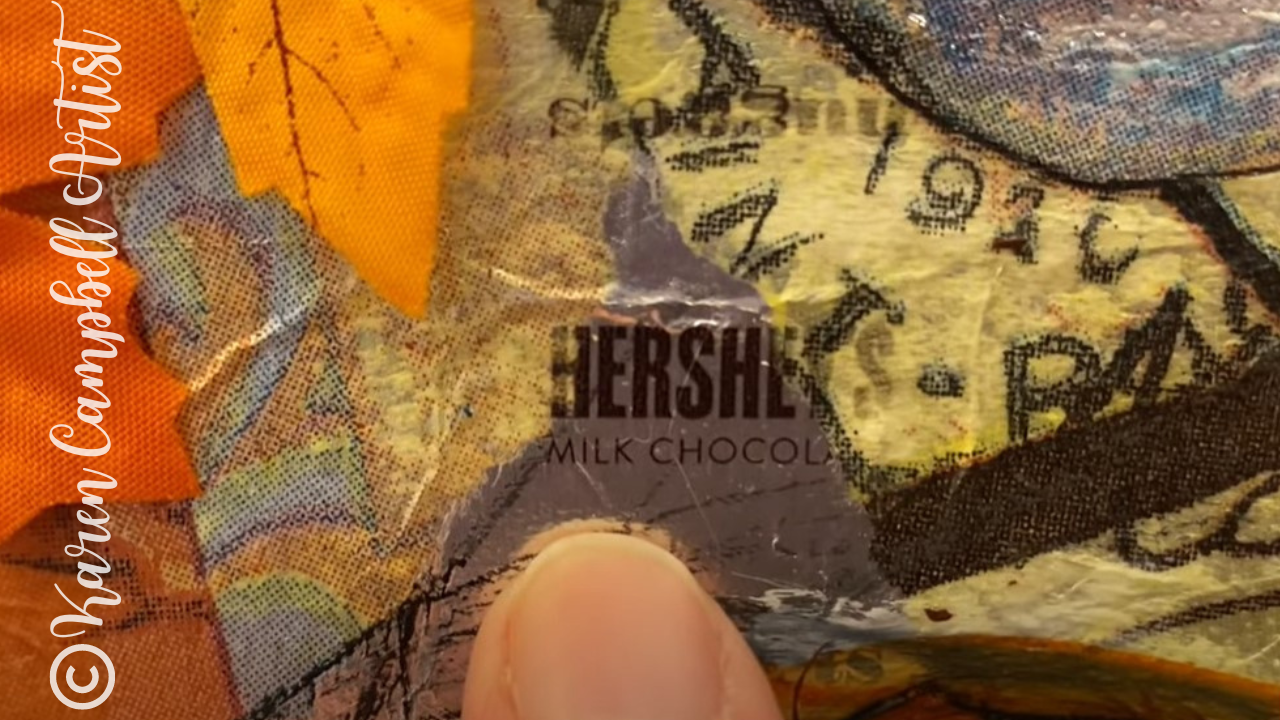
See this project being made in my cereal box art journal or create along with me.
Fabric
I once found this pretty fabric with an adhesive backing to it that peeled off like a giant sticker. I used that to create the background of this fun Bathtub Babe in my cereal box journal. Don't be afraid to think outside the box with the collage elements you choose!

Washi Tape
Washi tape is SO fun to use in mixed media collage. I love how there are SO many fun colors, patterns and thicknesses of washi tape. I use it a lot like how I use scrapbook paper. Sometimes it's strictly in the background. Other times I've used washi tape in the foreground as hair or clothing (like the tutu below) and it looks SO awesome!
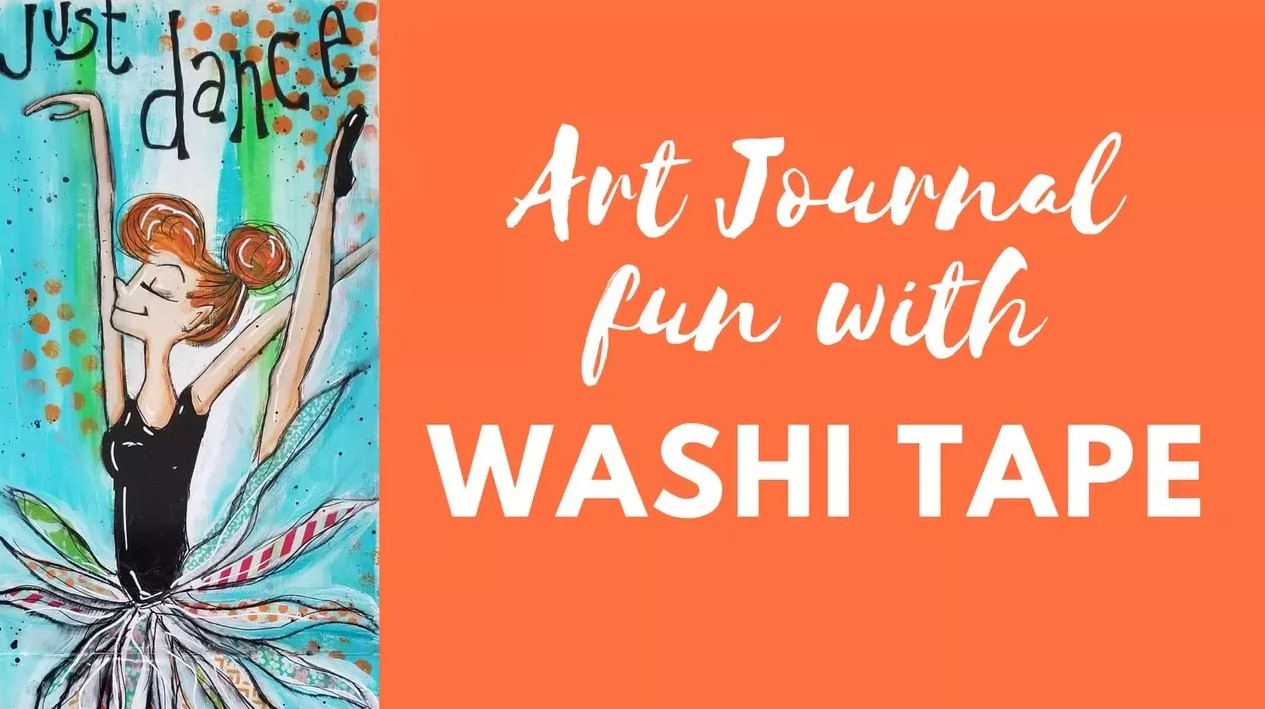
Washi tape doesn't always adhere the best, so you'll want to go over it with a sealant to keep it in place.

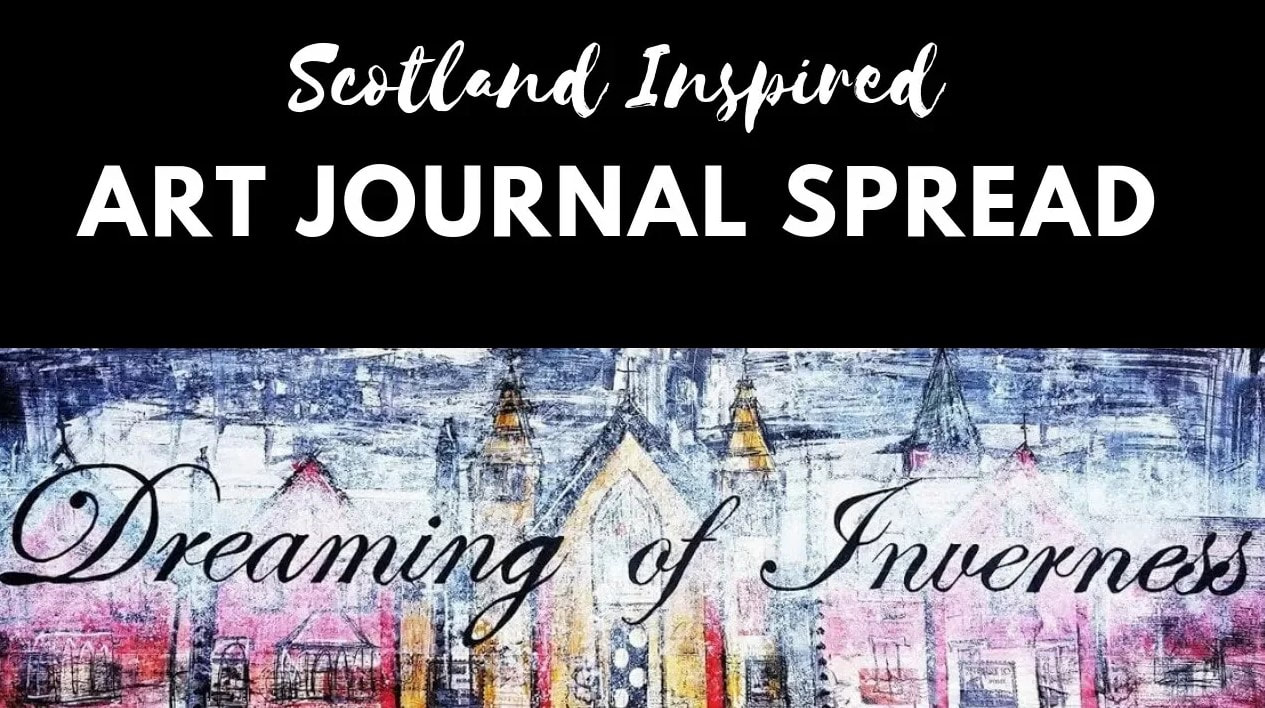
Maps
Maps are becoming SO old school now, but they can be such a fun way to create an art piece based on a place you visited or want to visit. In this one, I have elements from a map of Inverness, covered them in gesso, and went to town.
Duct Tape
You may not even know this, but duct tape comes in SO many fun patterns now!! I've used this kinda like I use washi tape- in the background or foreground.
In this Mixed Media Retro Girl project, I carved out my entire girl so I could use this fun camper duct tape for her clothes, shoes and hair. So cute, right?! 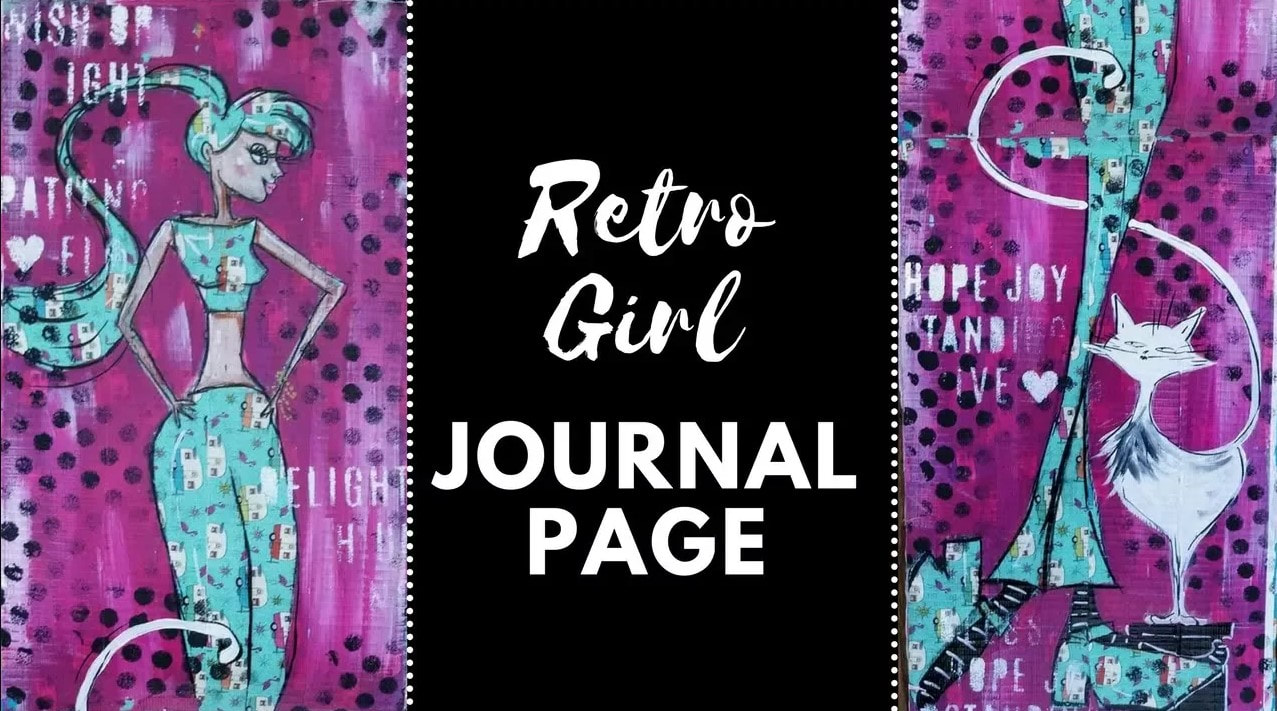
Just a quick warning on using duct tape as a mixed media collage element - it's super glossy, so can be tricky to paint on top of. Just make sure you seal it so the paint doesn't peal off when you're done.
This is only HALF my list!!
Make sure you click over to watch today's video to find out what my other TEN mixed media collage elements are. I KNOW there are some you haven't considered yet and just might love!!
Need more resources to get your creative juices flowing?
❤️ CHECK OUT ALL my art books on AMAZON ❤️ CHECK OUT ALL my online art classes @ Awesome Art School ❤️ MY FAVORITE ART SUPPLIES on AMAZON (affiliate links) ❤️ MY BELOVED FACEBOOK GROUP Pastel Ohuhu Markers? YES, PLEASE! |Product Review, Demo & Face Shading Tutorial by Karen Campbell1/11/2022
I've been recommending Ohuhu markers for YEARS, so when Ohuhu called and asked if they could send me a pastel set of dual-tip alcohol markers, I was thrilled! I can't wait to show you how gorgeous these are in today's face drawing & shading tutorial.

Before we continue, super quick announcement: All product links are Affiliate. I may earn a small commission if you choose to order through these links but by law there is never any additional cost to the consumer for doing so. I thank you for your support.
I swatched all of my Ohuhu pastel markers on the swatch sheets that can be found at the back of my Skin Tone Secrets book on Amazon.
If you don't have a copy of the book yet, but have an art supply you'd like to swatch, you can also download my FREE Fun, Fab Swatch Sheet to get started.
Simply click on the button above, and I'll email it right over! If you've never done color swatching before, here's a video on how to use this exact swatch sheet if you need a little extra help.
If you're new to my world, I absolutely LOVE alcohol markers for shading faces. I've been collecting them over the years in all different brands to find out which ones provide the highest quality and best value for my students.
Tons of my students are retired and just can't spend $10/marker for Copics, so I I've been on the hunt for a great Copic marker alternative for years. When I discovered Ohuhu's skin tone markers set, it was love at first sight. I couldn't believe how many colors I could get in ONE SET. Even better, when I tried them out for the first time- the quality was gorgeous. I've had ZERO guilt recommending them to my students and adding them to my alcohol marker collection ever since. 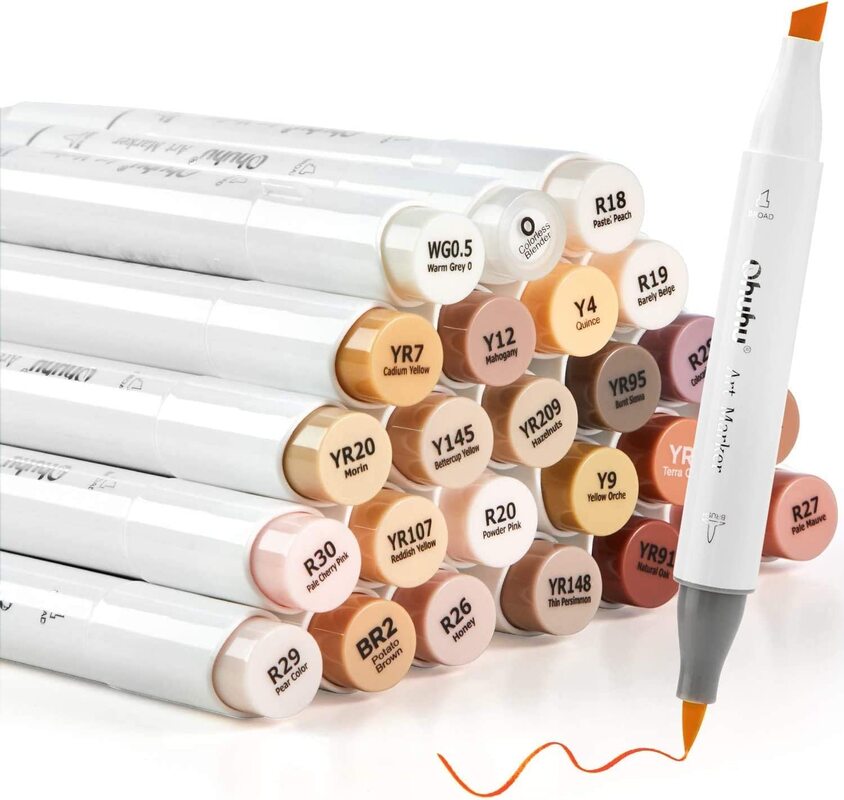
Since most of my alcohol marker art projects are faces, I've spent a LOT of time figuring out which alcohol marker shades blend well together to create gorgeous skin tones in all ethnicities.
Check out my YouTube series of face drawing tutorials, Whimsical Women of the World, or my latest book, Skin Tone Secrets (watch the page-by-page flip through here) for alcohol marker face shading tips and fail-proof color combos I love for shading skin tones. This book actually revolves around my Ohhu 36 skin tone markers set. Each face I drew for my book was colored in a combo of three skin tone markers in a light, medium and dark shade. The color combos are noted throughout the book so you draw and shade simple faces right along with me as you read. Skin Tone Secrets is great for artists of all levels who love drawing and want to learn how to shade faces using alcohol markers. Sometimes it's tough for artists who love working with pencil to jump into another medium like markers, or even to jump into color vs. black and white drawing. The book is PERFECT to help graphite artists make the leap with confidence into the world of color.
Last week I started a new YouTube series for my drawing channel of face drawing and shading tutorials using face charts as my face drawing references.
I found the face chart below on Pinterest and thought it was the perfect inspiration for today's drawing tutorial featuring my new pastel Ohuhu alcohol markers. 
If you've been following me for a while, you already know I tend to reach for the boldest of colors, no matter the art supply. Doing an entire project in pastels definitely felt like a challenge for me, but I ended up loving it!
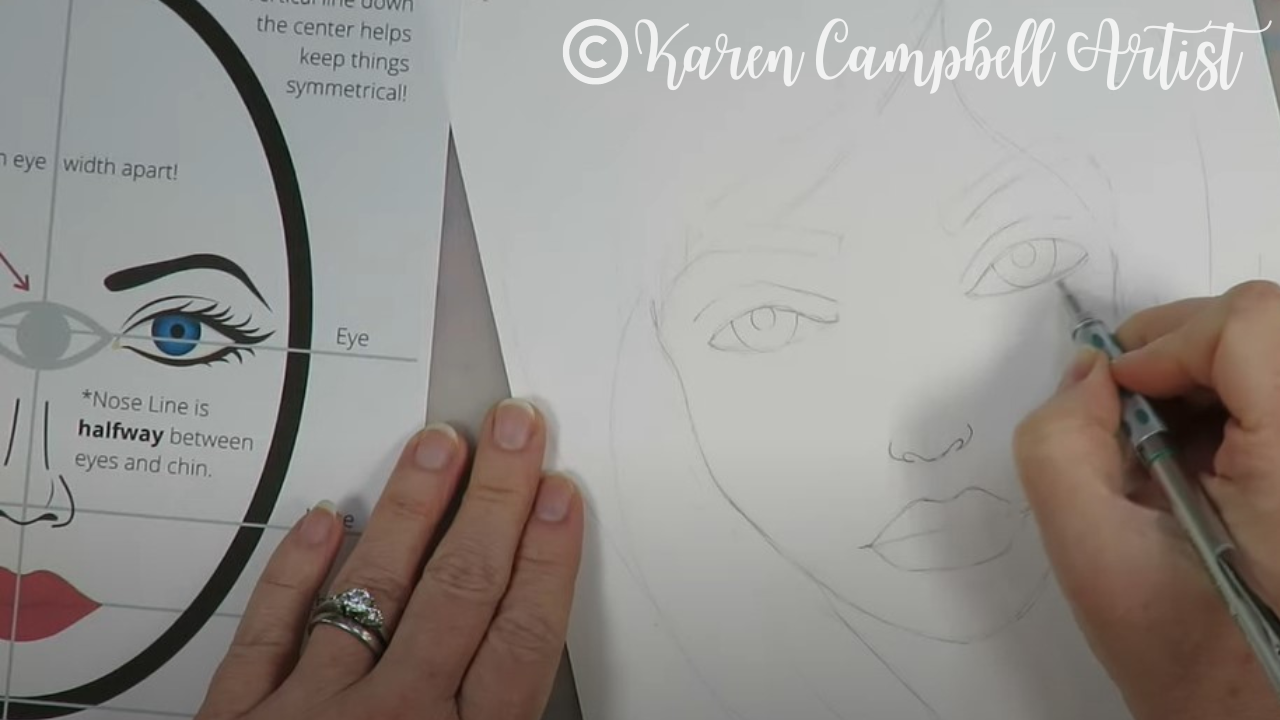
Like all my face drawings, I started this one off using my face drawing guidelines to keep the facial features proportionate. If you've never used guidelines for your face drawings before, download my free Semi-Realistic / Whimsical Face Drawing Guidelines (learn how to use them in this playlist of tutorials). They make SUCH a difference!
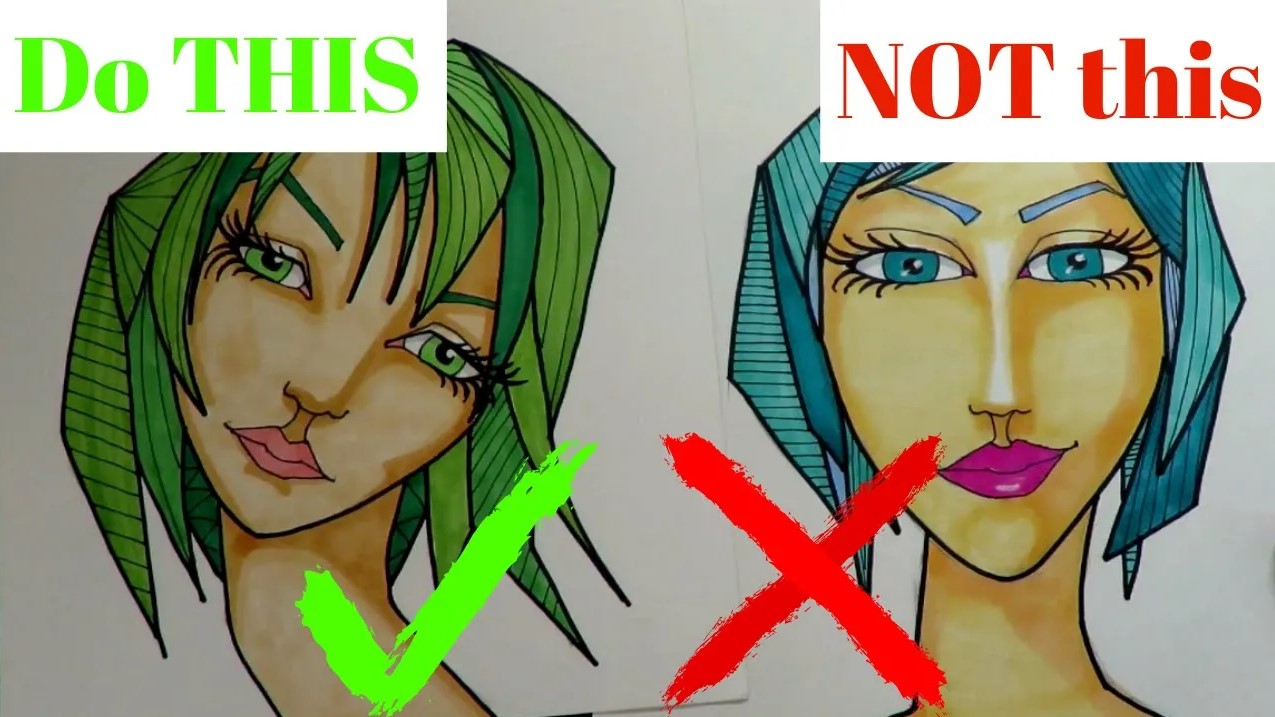
I drew both of the faces above, but if you compare them side by side, it's pretty obvious which one looks more amateur. I didn't use guidelines for the face on the right. Her eyes are too high, her nose is too low, and she barely has a forehead.
I used guidelines for the face on the left. Even though she was drawn in a semi-realistic, or whimsical style, she looks WAY more sophisticated than the drawing on the right. It's ALL because of the face drawing guidelines. 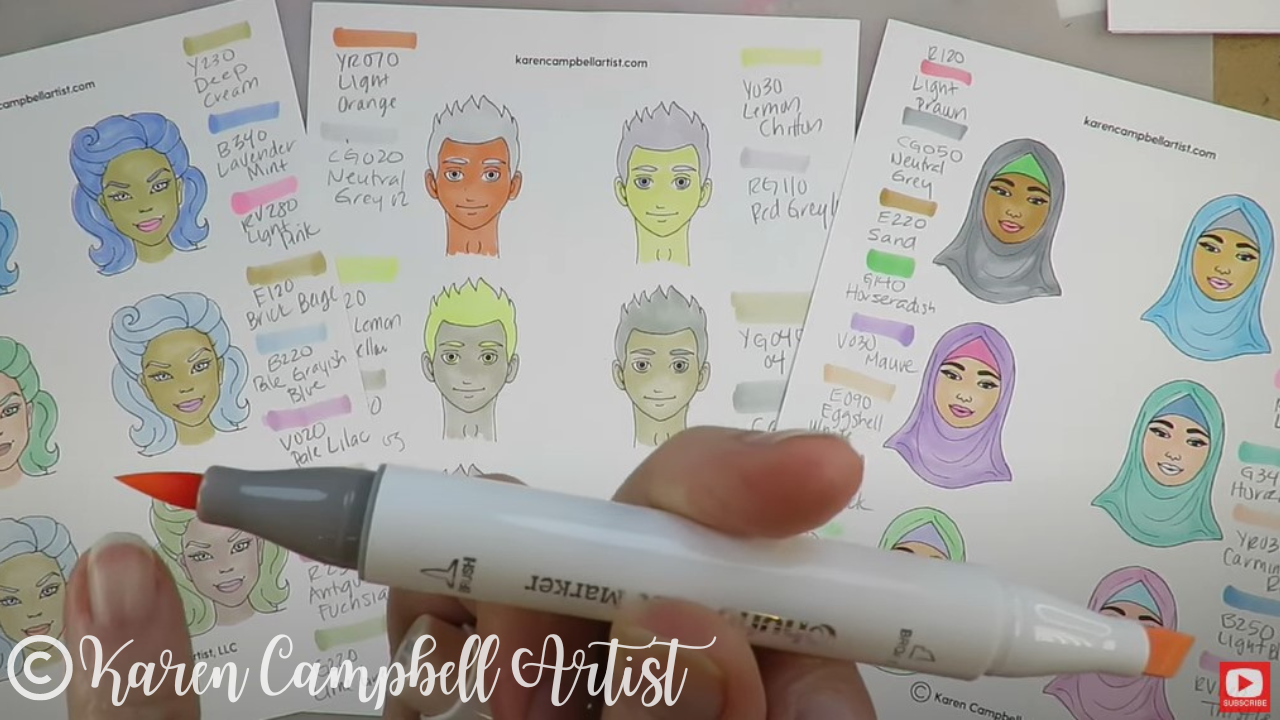
Back to today's video!
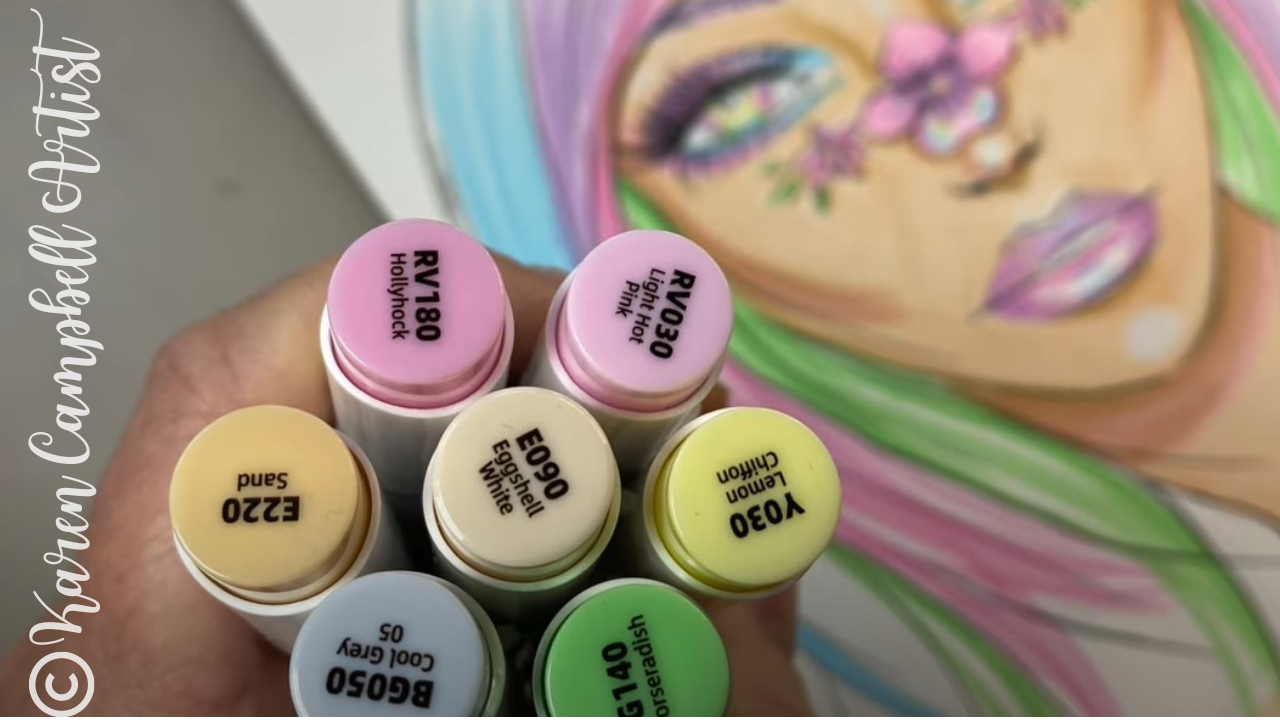
The alcohol markers in my new Ohuhu set of 48 pastel shades are all dual tips with both a brush nib and a chisel tip. I primarily use the brush nib because it feels very painterly to me (especially for drawing hair). But I also love flipping to the chisel tip if I've got a lot of ground to cover in one shade, and want to move through it quickly. 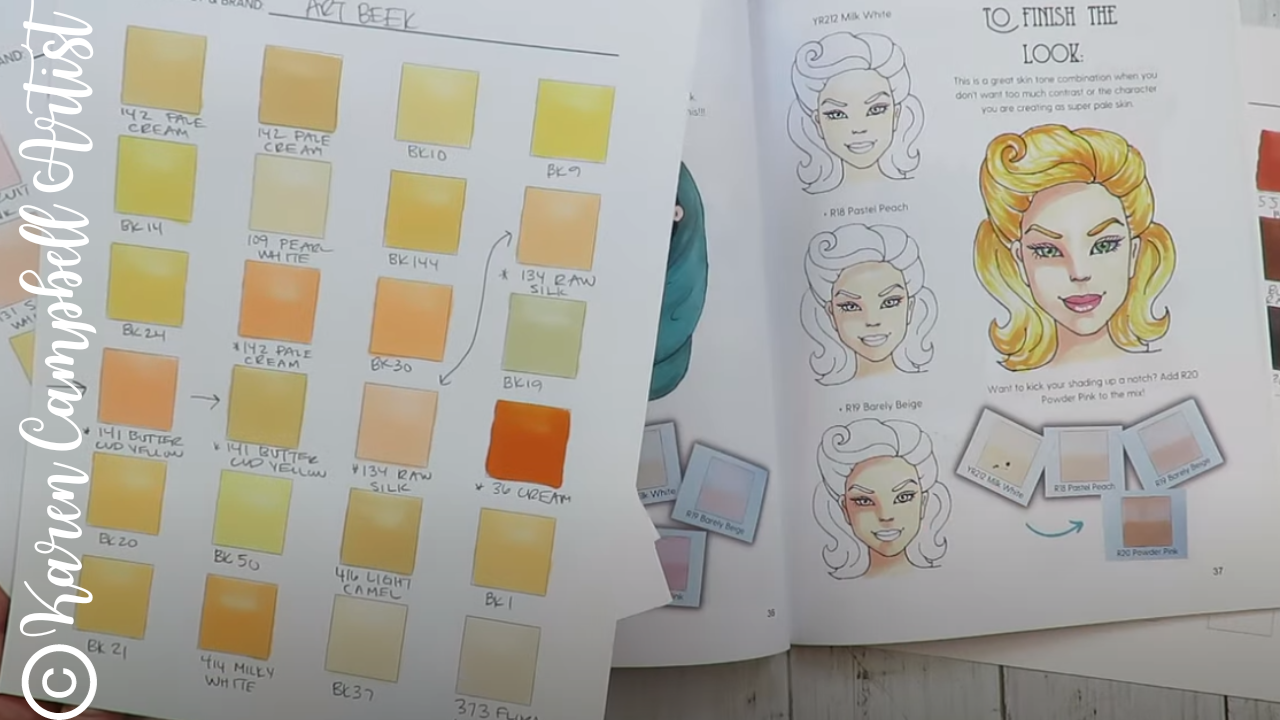
I found two shades in the pastel set of 48 that worked well together as skin tones for today's drawing. As I got further into the project, I discovered a pink that complemented these shades as a beautiful mid-tone. Make sure to click over to the video because I flash the name of each marker shade on the screen while I use it.
If you end up buying the pastel set of alcohol markers by Ohuhu, you'll find that it comes with a colorless blender. Personally, I feel the best way to blend alcohol markers without streaking comes from mixing your marker shades together and layering your brush strokes in a variety of directions, so I never use the colorless blender. However, if you've been hoping to try it - you'll be excited to know it's a part of this set. 
When I was finished laying down my color, I decided NOT to use my pentel pocket brush for outlining and doodling on top of my drawing because I was afraid the lines would be too bold for the pastel color palette.
Instead, I reached for my Pentel Arts Sign Pen with Micro Brush Tip because I can get much finer lines with it. I'm SO happy with how this piece turned out! And I LOVE, LOVE, LOVE my new pastel alcohol markers. THANKS Ohuhu!! If you're already starting to think about Christmas gifts, Ohuhu has got an amazing Black Friday sale going on already. Be sure to check that link often as new items drop here all the time. Thanks for hanging out with me today! Need more resources to get your creative juices flowing? ❤️ CHECK OUT ALL my art books on AMAZON ❤️ CHECK OUT ALL my online art classes @ Awesome Art School ❤️ MY FAVORITE ART SUPPLIES on AMAZON (affiliate links) ❤️ MY BELOVED FACEBOOK GROUP |
Karen CampbellFounder of Awesome Art School. Mixed Media Artist. Author of 19 Instructional Art Books! 
Whose work has appeared in...
   
 Archives
May 2024
Categories
All
|
 RSS Feed

"Karen is flipping hilarious and she's very real...I like the way she teaches in a way that really gives you confidence, whether you're a beginner or advanced there's always something new to learn!"
- Elizabeth W. |
What Fans Are SayingKaren, you are absolutely fabulous! You make me feel like I can draw anything. I have recently retired and finally have the time to do some of the art that I have loved since I was in school. I am really at the beginning of my art journey and I hope to learn as much as I can. Thank you for all you do. |
Contact ME |