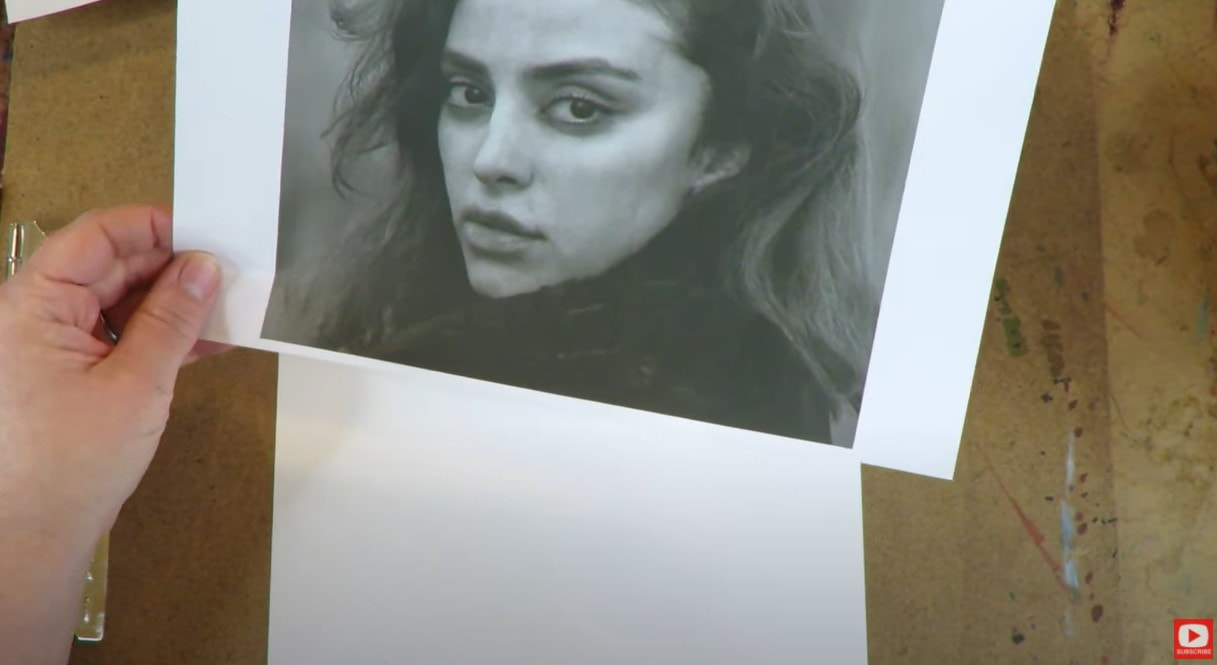
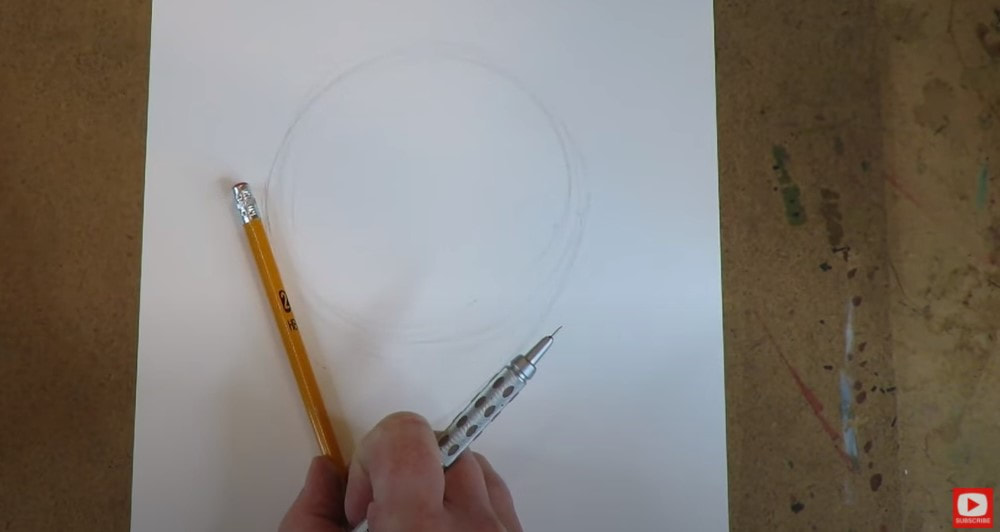
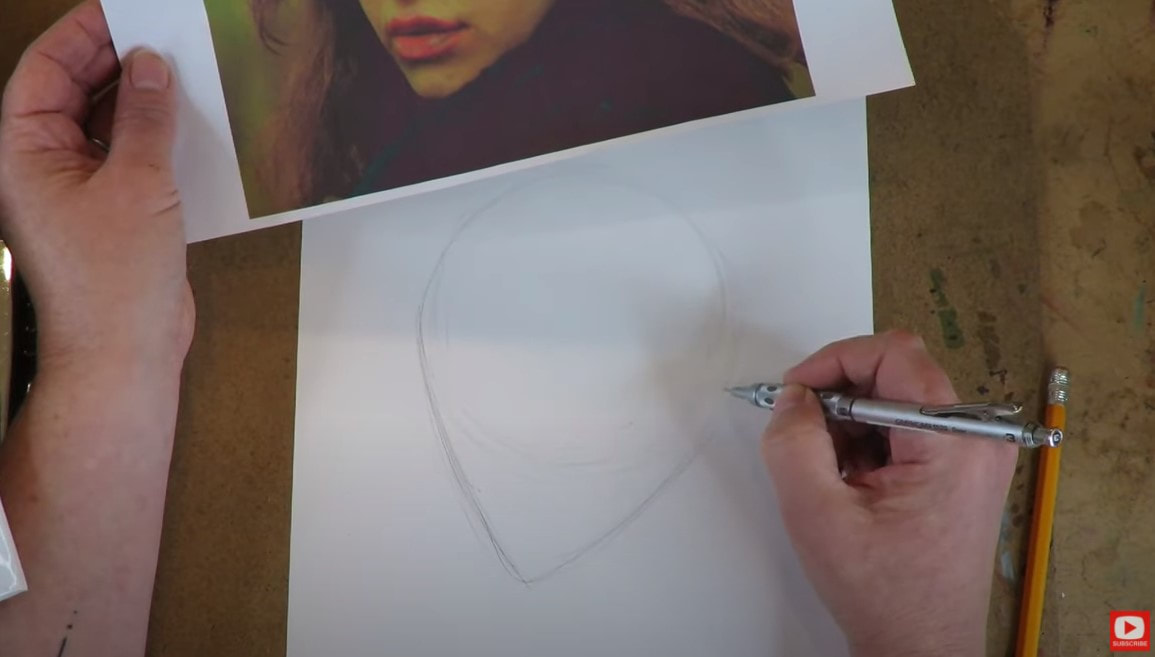
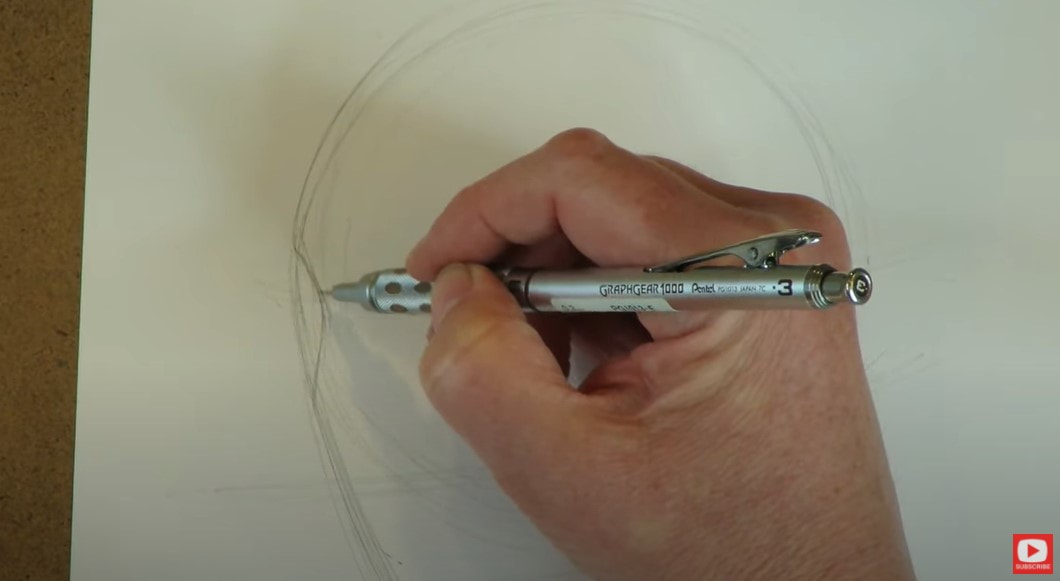
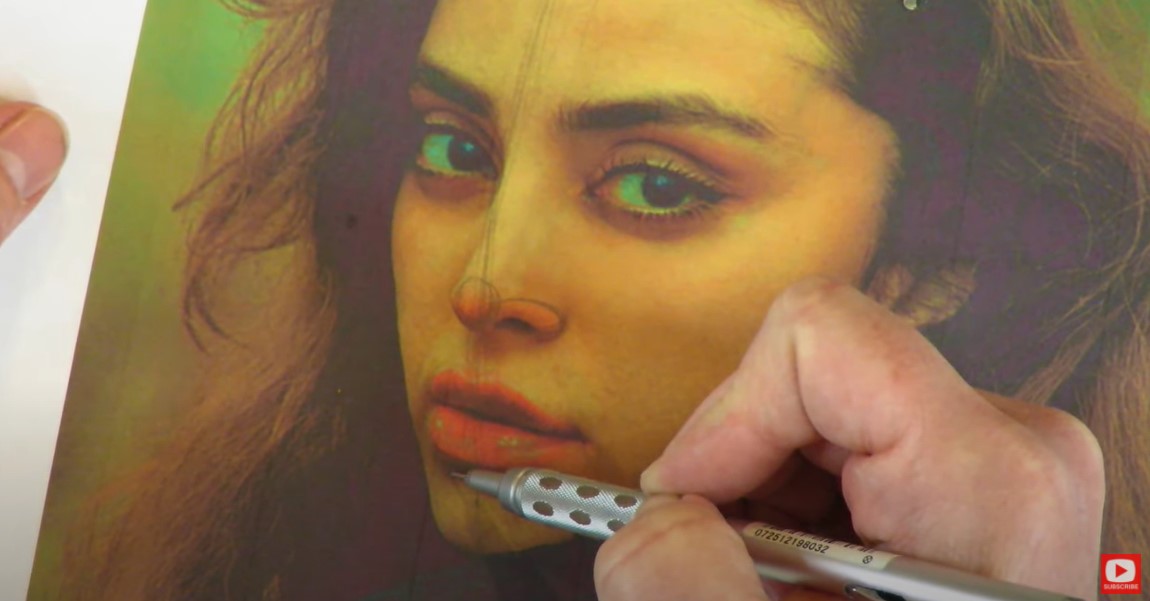
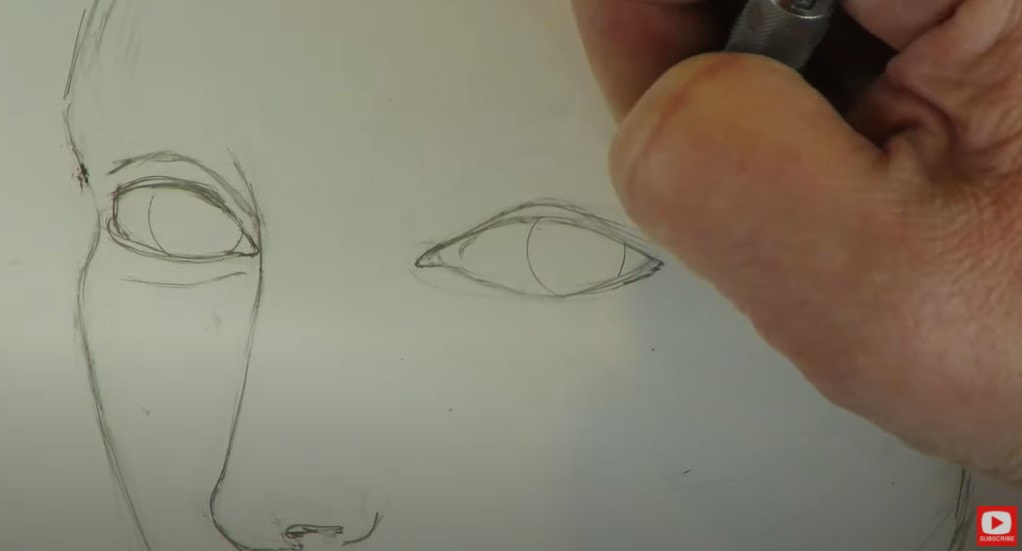
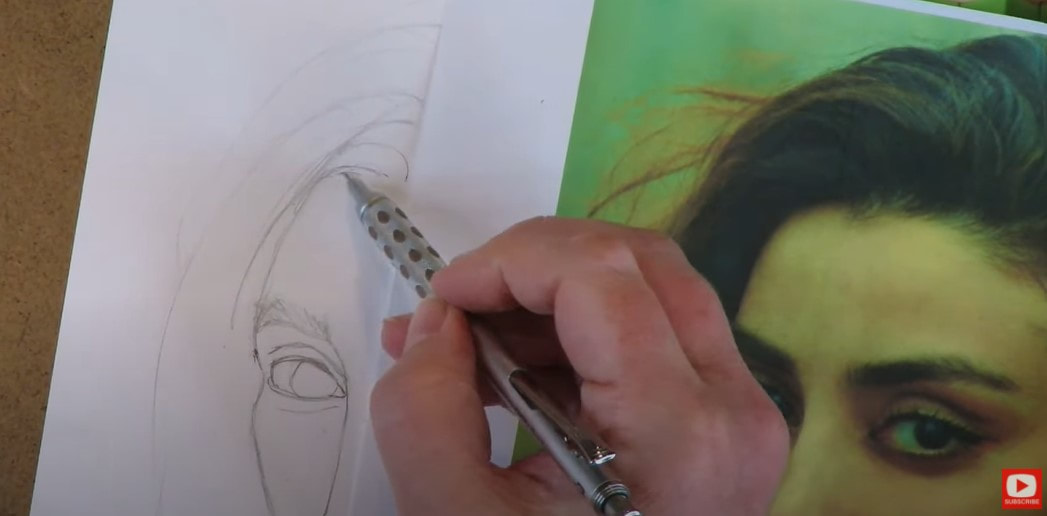
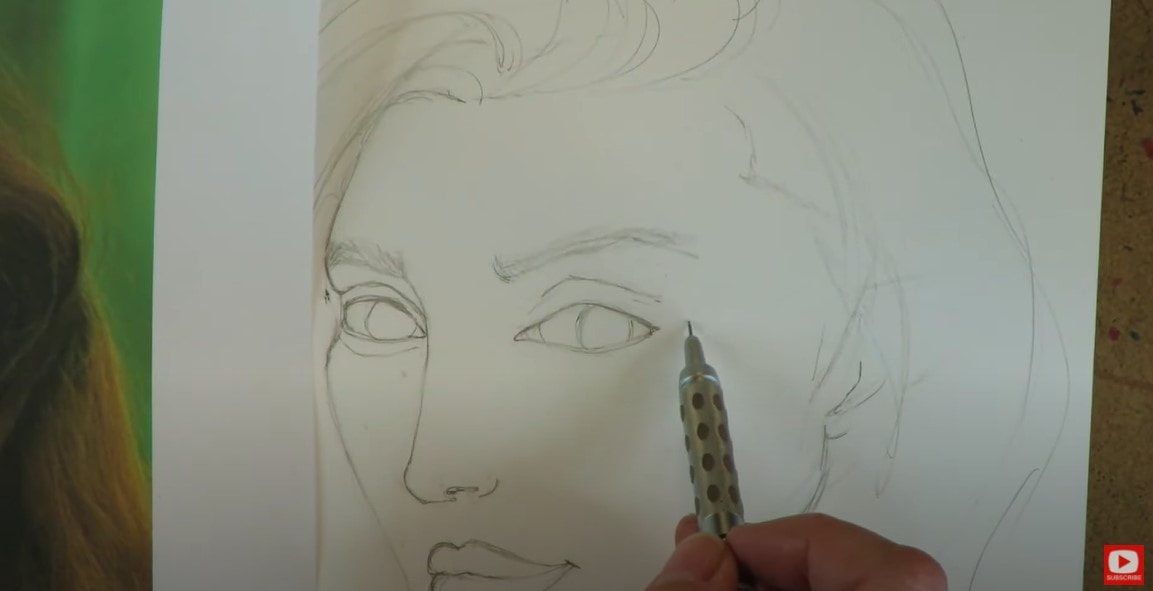
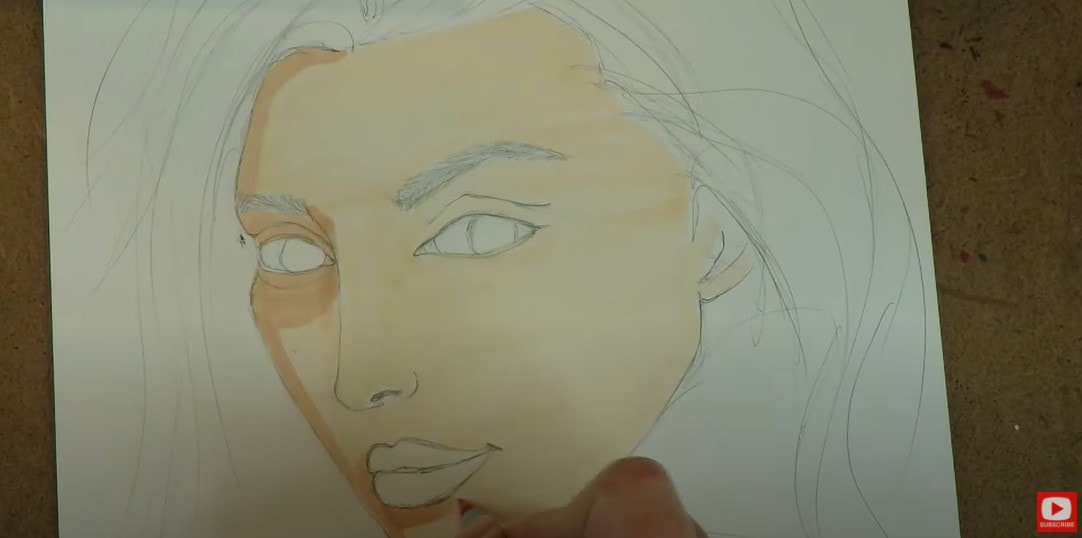
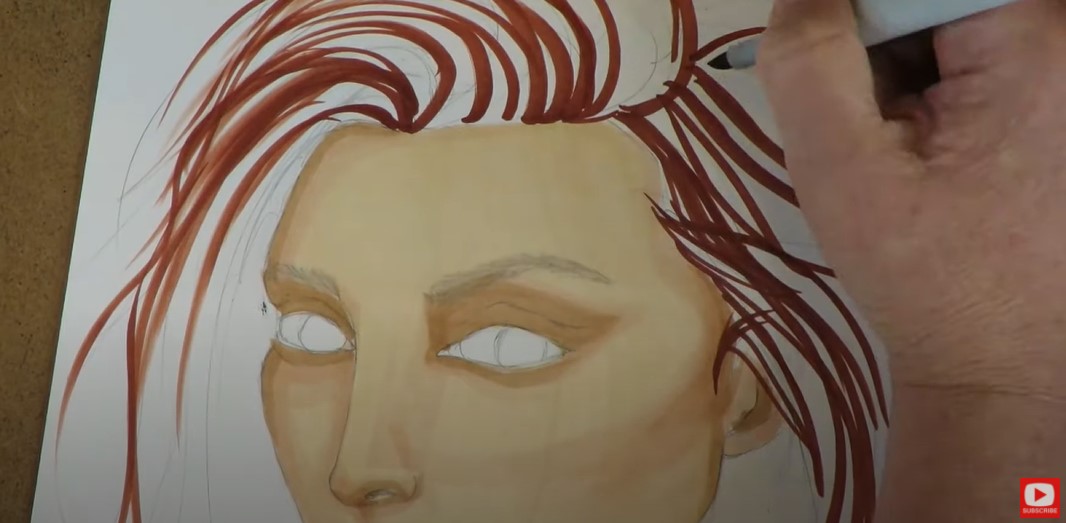
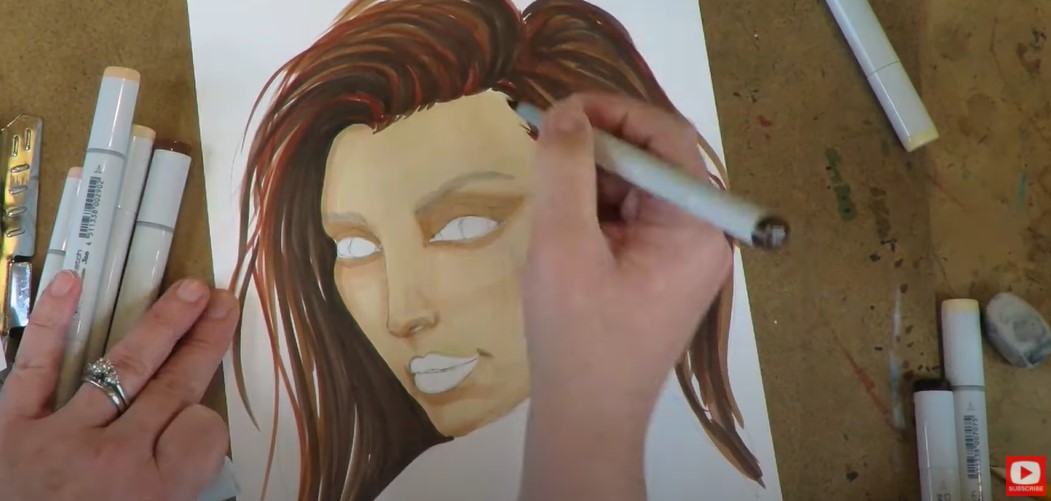
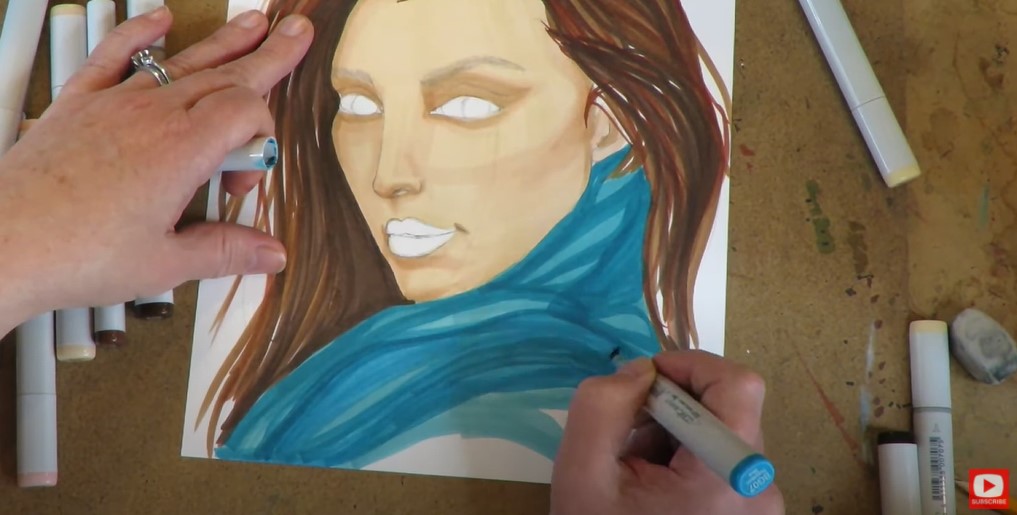
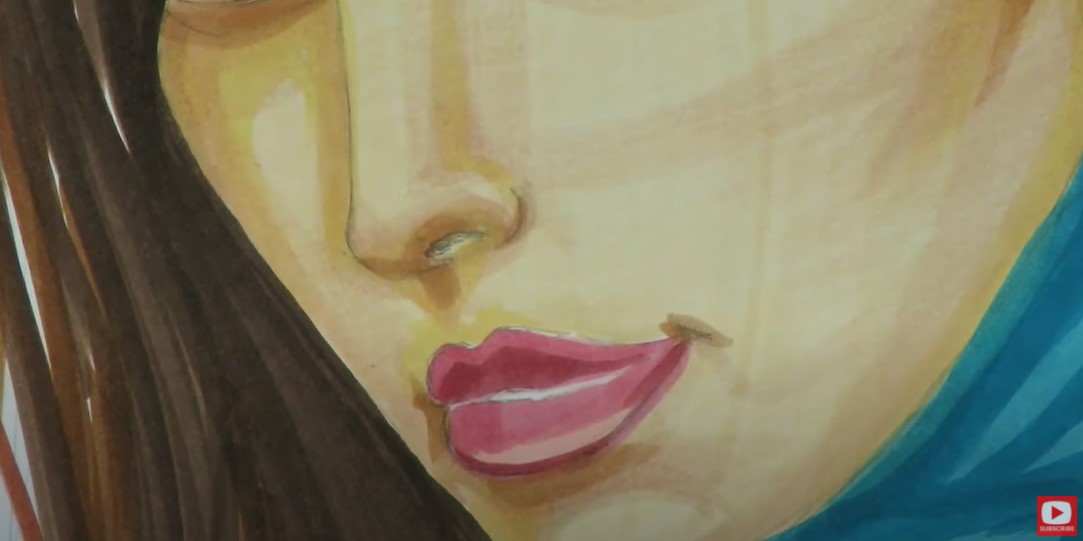
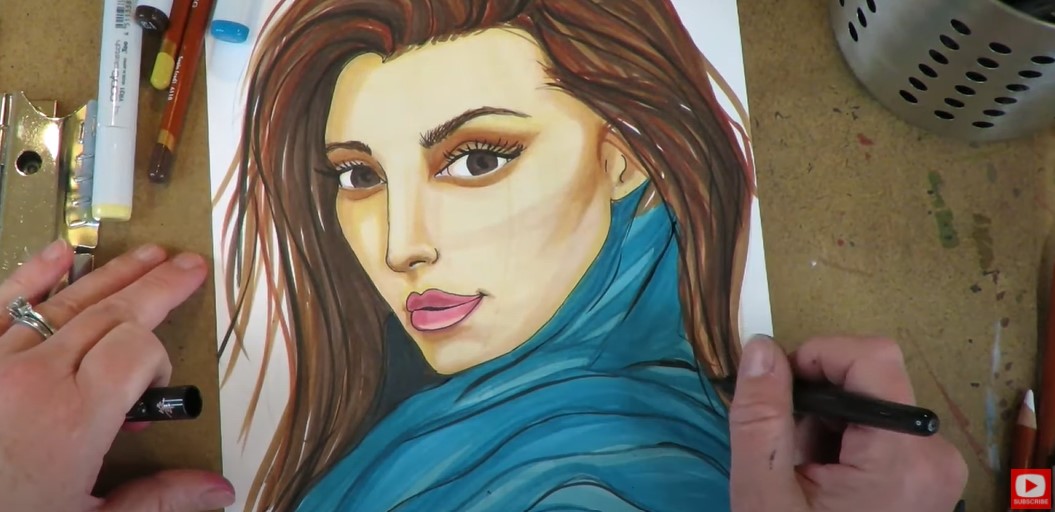
HOW to DRAW & SHADE a WHIMSICAL 3/4 View Latina Face in Copic Markers (Whimsical Women #10)13/12/2020 Teaching how to draw a whimsical face is one of my FAVORITE things to share on YouTube, and I'm having SO much fun with the whimsical face drawing tutorials in this series! Today's reference image features a three quarter view - one of the trickiest to draw! As always, the whimsical drawing portion of today's video is in real time so you can see exactly how I get it done!! HOT TIP! Because the color version of my reference image is highly saturated, the lighting can make it tricky to see where my shading should go naturally. Whenever you have difficulties with images like this, and color is throwing you off - I HIGHLY recommend you simply print yourself a black and white copy of the image so you can clearly see what is in shadow and where the highlights are. As a matter of fact, this is the WHOLE REASON I printed my book How to Draw and Find Your Style in black and white instead of color! It's so much easier on artists to replicate the values they see on paper, when working in grayscale - especially when they are just learning to draw faces. Once you master this skill- moving over to color is SO much easier!! Trust me!! Before we go any further, super quick announcement: All links are Affiliate. I may earn a small commission if you choose to order through these links, but by law there is never any additional cost to the consuner for doing so. I thank you for your support! People ask me all the time about how to draw faces from different angles. The three quarter view is definitely one of the hardest to conquer! If you were watched episode 4 in this series, our Asian reference was also a three quarter face drawing prompt, and we used my 3/4 Face Drawing Guidelines Cheatsheet (click the link below to download yours for FREE if you haven't grabbed this yet). Today, I'm using my other favorite method for drawing a 3/4 face. It's slightly different, and from my How to Draw and Find Your Style book. I sketch a rough triangle at the bottom of a circle and add some curved lines across the face to help me position facial features. Make sure you click over to see me do this in the video because watching it in motion REALLY helps!! In case you feel like you need them, the art reference photos for this whimsical face drawing tutorial, and ALL of the Whimsical Women of the World tutorials can be found in my YouTube & Cheatsheet Library over at Awesome Art School, as well as in my new Whimsical Women of the World classroom over at Awesome Art School. Once you have the face shape sketched in, take some time to really study the angle of your reference image. Sometimes I actually draw right on top of my printouts (shown below), because it helps me understand the angles on the model's face. This can sometimes make me feel a little more comfortable when I put my pencil to paper and try to replicate what I see. Don't worry if you get into your sketch and feel things need to move around or be adjusted - just make alterations as needed. That's what erasers are for!! I LOVE the eyes on this model. They are SO huge and are going to look awesome when they are all colored in! When I'm ready to move on to the hair, I sketch in the main shapes that I see, in sections. When you're drawing hair, it extends UP and OVER the the oval of your face shape drawing because it has so much volume. Hair also has TONS to do with directionality - so look to your reference to copy what direction it's flowing from. Be sure to watch the video so you can see how this is done. Remember to always take a step back from your drawing to pause and really look at it from a distance to reassess the spatial relationships in your drawing vs the art reference photo. It makes a huge difference! When you're ready to begin shading with your alcohol markers, erase all of your face drawing guidelines and extraneous marks. I often "pounce" the graphite a bit with my vanish eraser as well, to life some of it off the page without fully erasing my lines because I don't want my lightest copic markers to smear the graphite, or pick that up as I'm dragging them across the page. If you're new to coloring with copic markers, you need to move fairly quickly with them as you lay your color down because they can definitely get streaky. You only have a small window of time while the alcohol is wet, and the pigment from the color is suspended in the alcohol. This is the time when it's easiest to blend shades from multiple markers. I love drawing hair with the copic markers brush tip because I feel like I can almost paint with it! A cheaper copic marker alternative that I've recently discovered and enjoy working with are my Ohuhu markers. They also have a brush nib, which makes them very easy to work with in a painterly way. I use the chisel nib on my copics when I want to cover large areas on my paper, and find this can get the job done a little bit faster than the brush nib. Another thing I LOVE about using my copic markers, is I feel like I can really achieve a lot of personality and variety with them - just by switching nibs or changing the amount of pressure I use when I press the marker to paper. As you alreayd know if you've been watching this series - copic markers and colored pencils work amazingly together!! Colored pencils are awesome for adding detail, easing transitions between colors, and they create a pretty texture. As you'll see in today's face drawing tutorial, adding colored pencil on top of the coat (or blanket- or whatever she's wearing!!) helped to create the look of cloth that I couldn't achieve by using copics alone. SUPER HOT TIP! The ingredients in your art supplies matter greatly. If you're experiencing smearing/bleeding where you've added some black outlines - make sure you're using a WATER BASED black marker/fineliner here, because the alcohol and water IGNORE one another! There is currently a 40% off coupon running - so be sure to check that out if you are interested in purchasing or gifting the Whimsical Women of the World classroom for the holidays!! Each lesson is about 90 minutes long, contains all the drawing reference photos, and the lessons are in real time (even the shading parts)! I hope you have fun with this lesson! See ya back here next week!!
0 Comments
Leave a Reply. |
Karen CampbellFounder of Awesome Art School. Mixed Media Artist. Author of 15 Instructional Art Books! Archives
January 2021
Categories
All
|