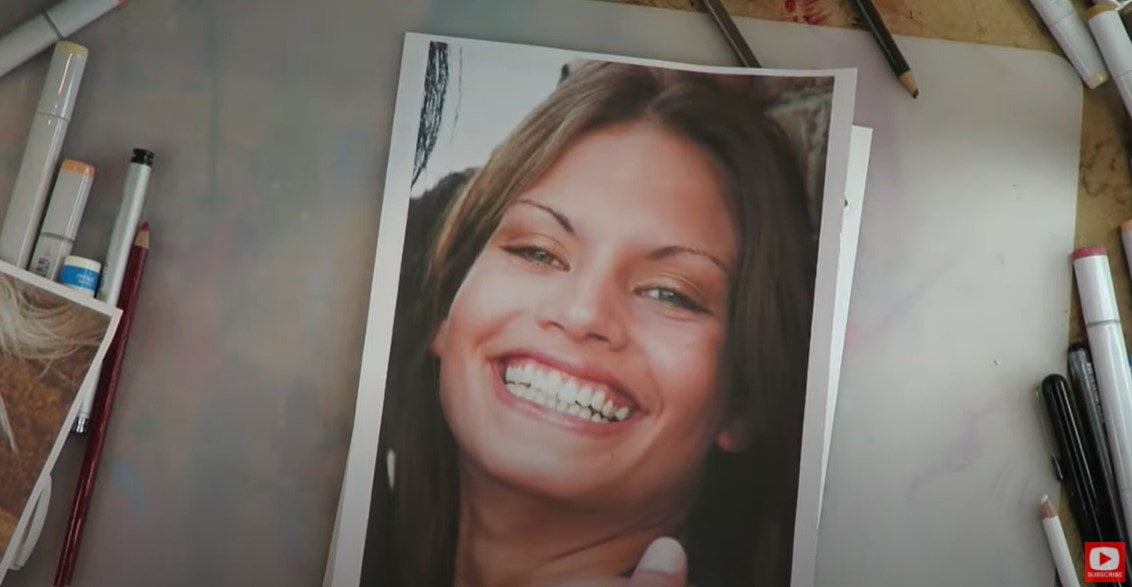
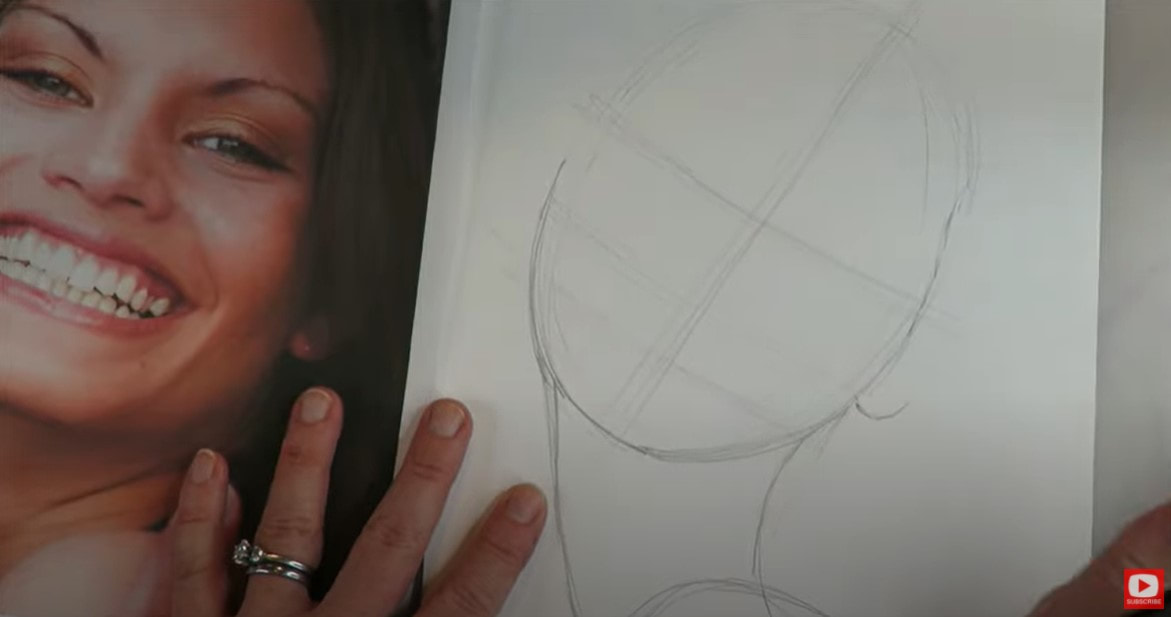
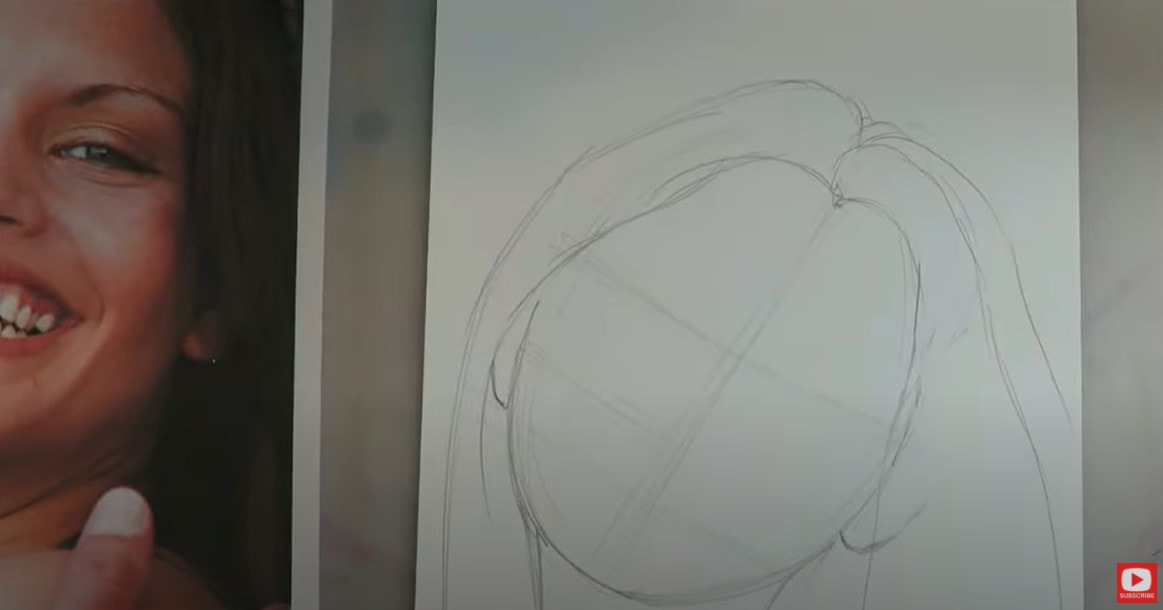
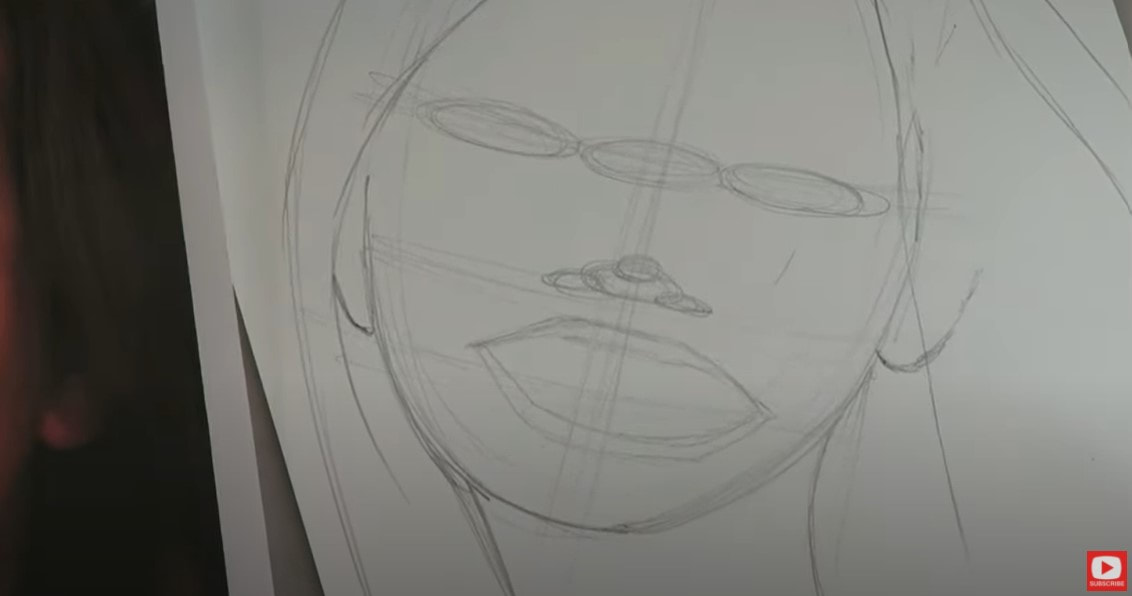
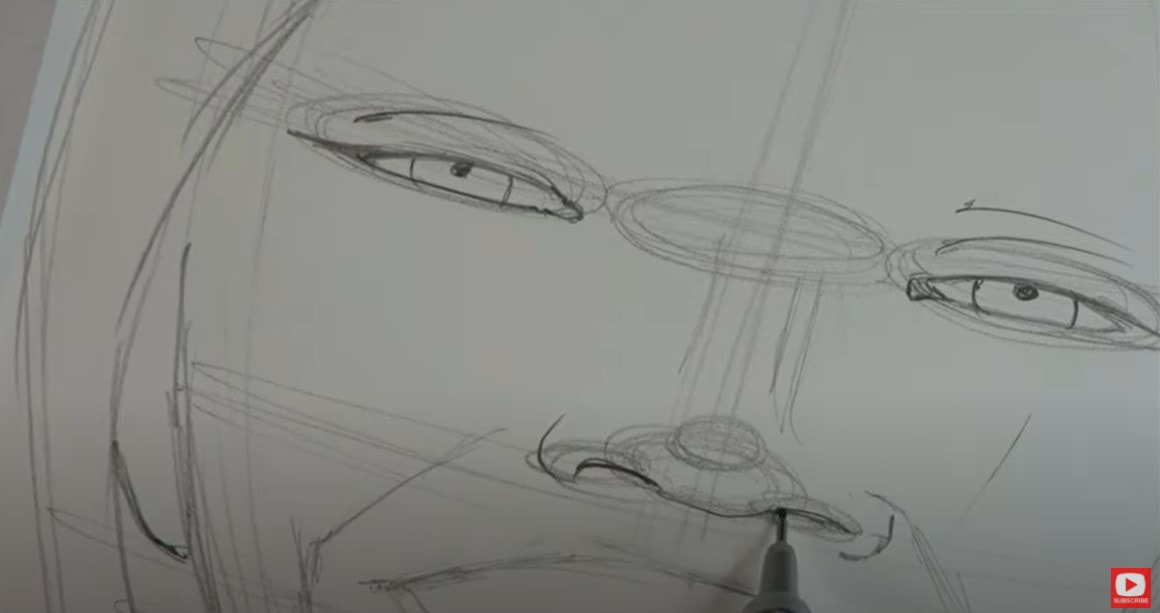
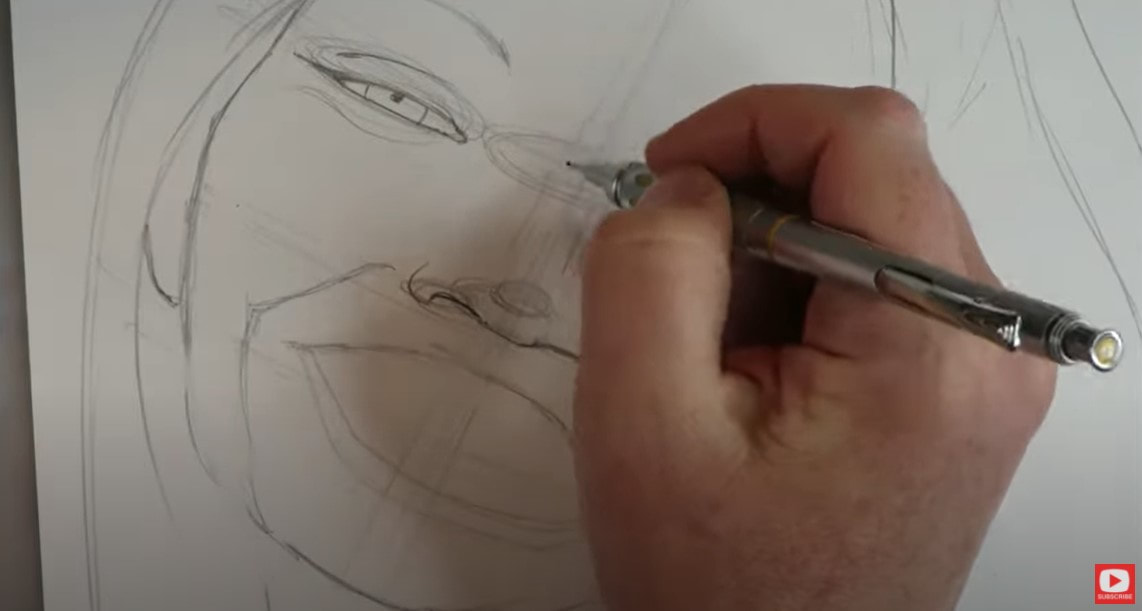
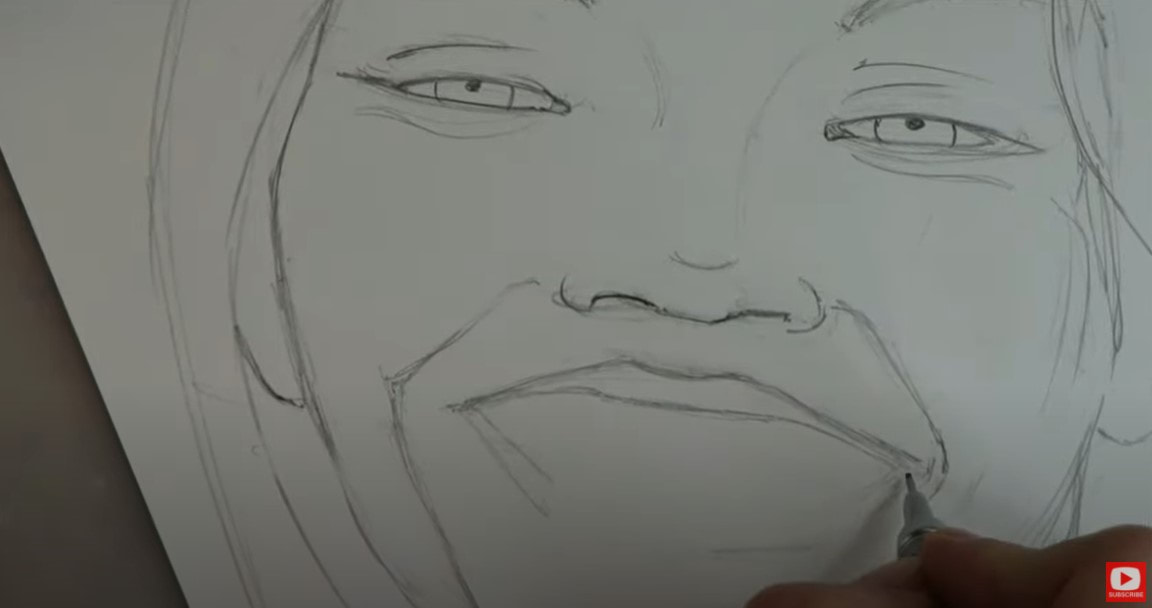
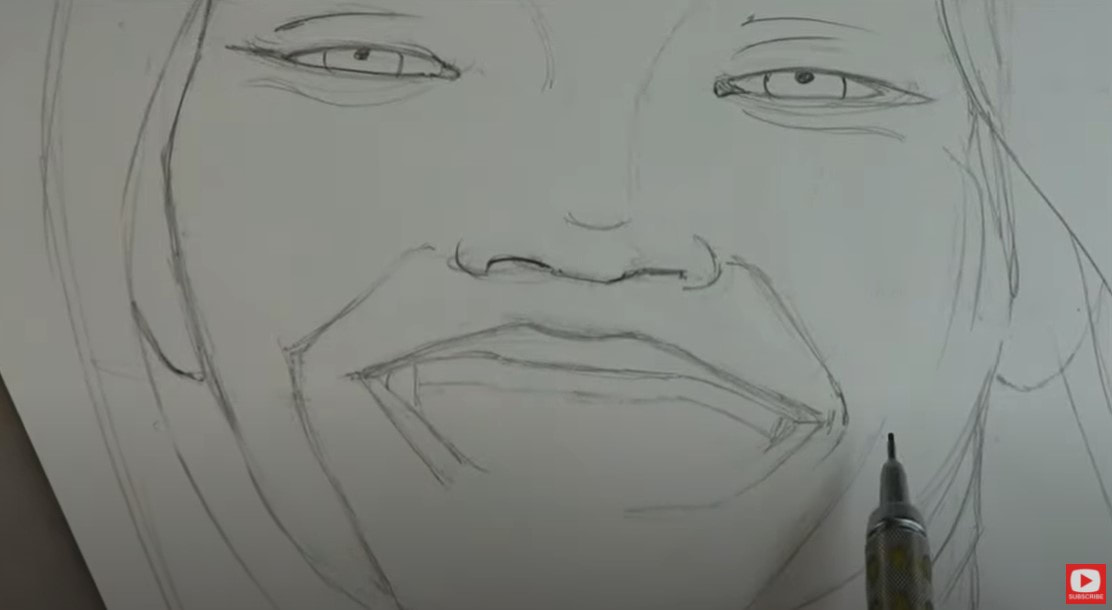
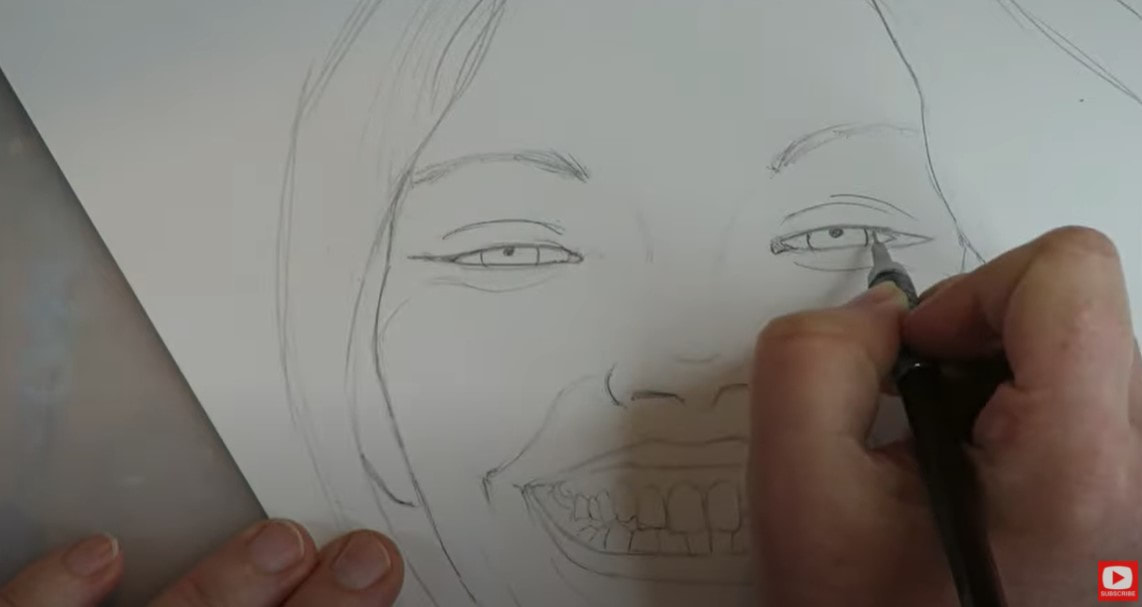
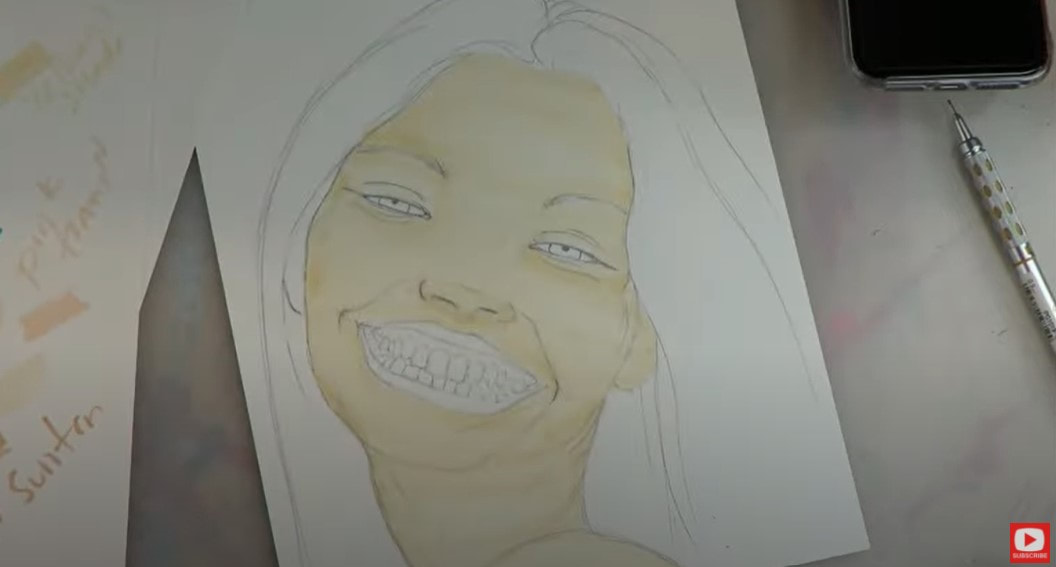
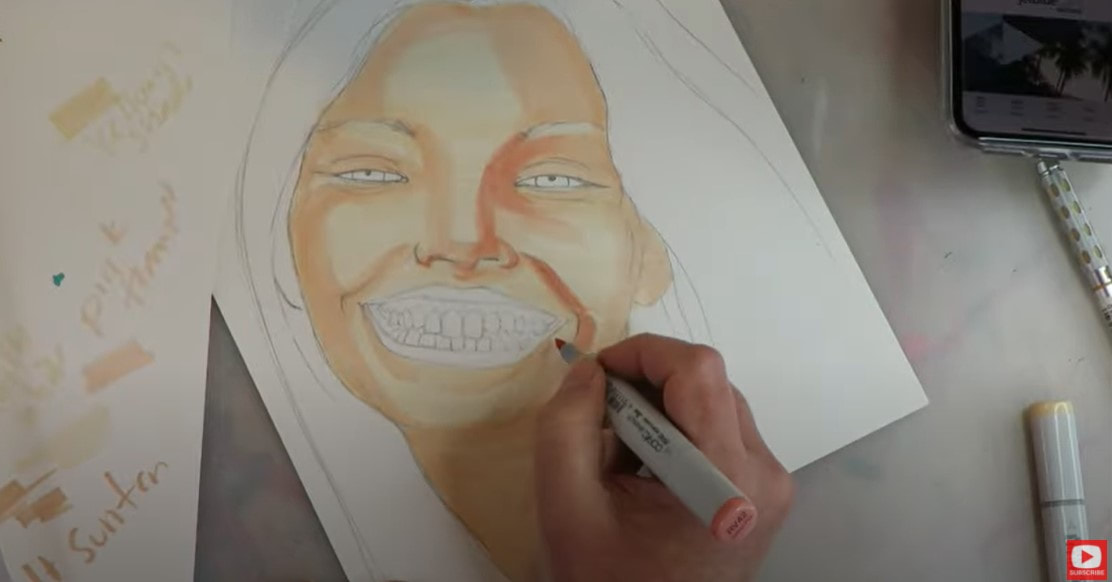
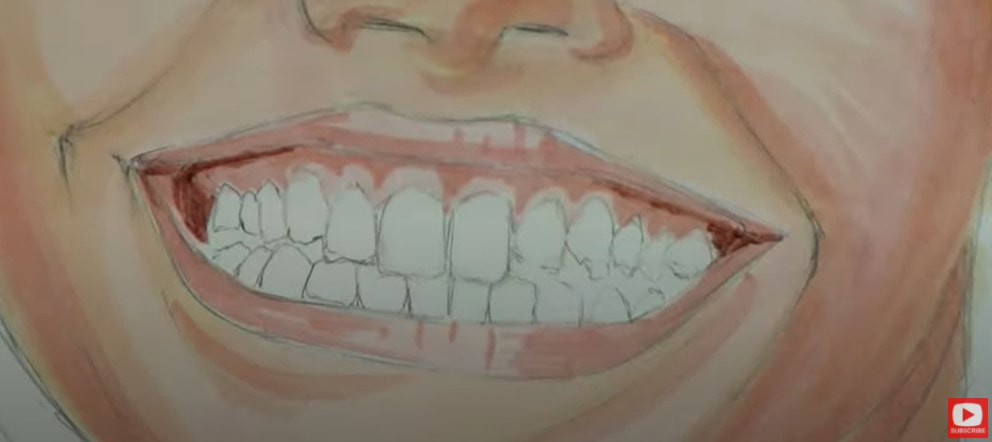
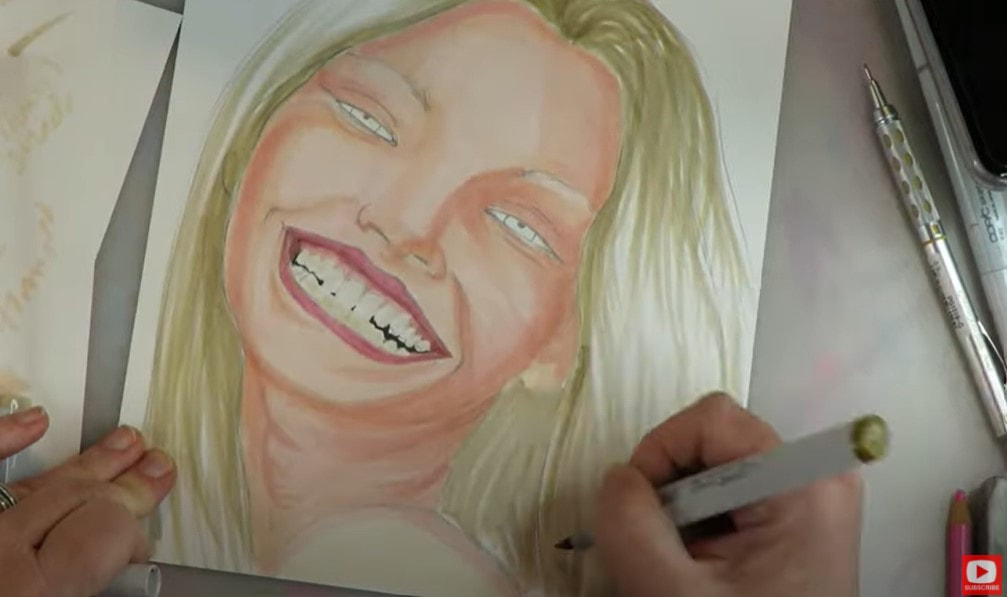
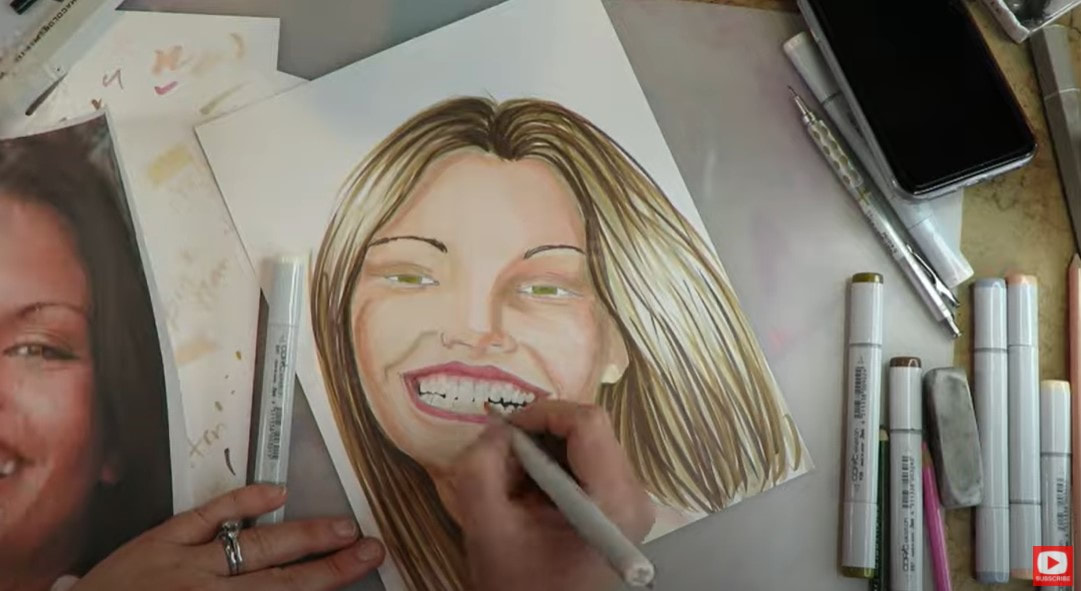
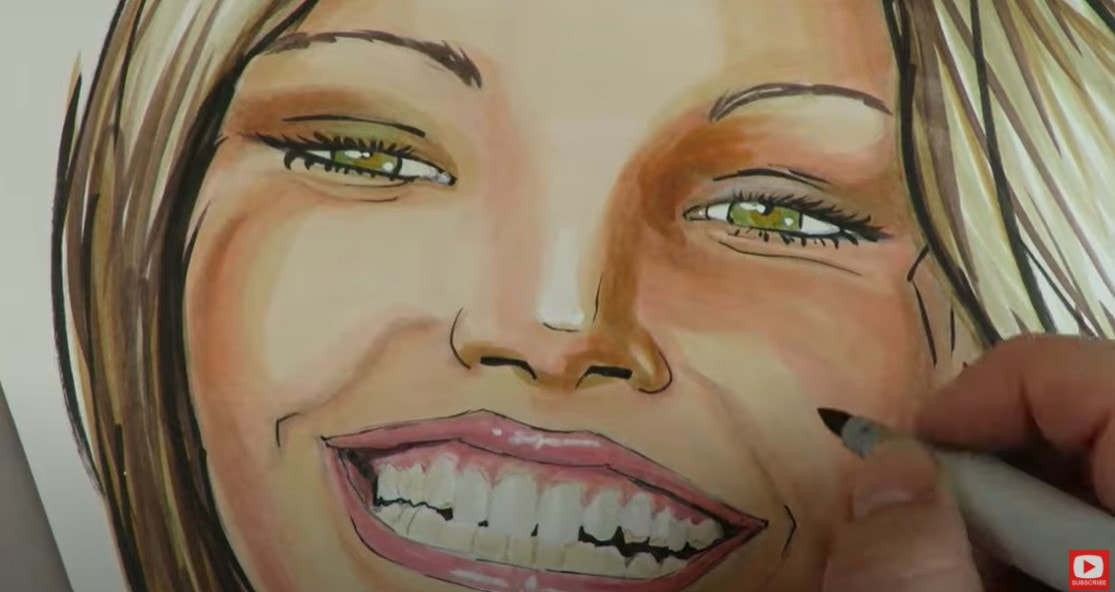
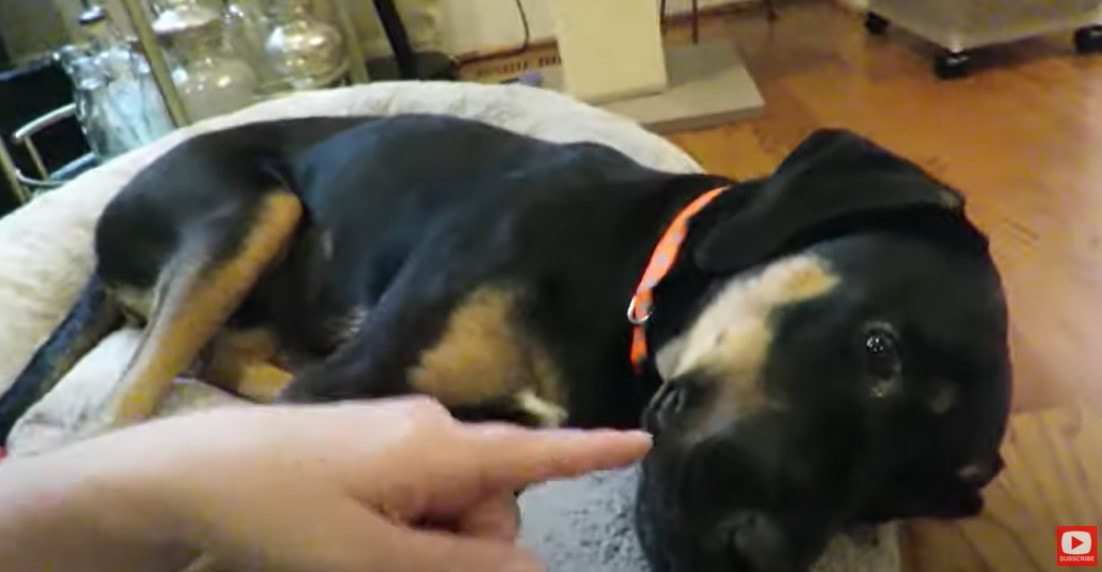
HOW to DRAW & SHADE a SMILE with TEETH on a WHIMSICAL Italian Face in Copics (Whimsical Women #9)30/11/2020 Students often ask me how to draw a smile with teeth on a whimsical face! This totally cracks me up because drawing and shading teeth is actually super detailed! BUT, I aim to please, and love breaking things down so drawing feels EASY, so let's do this! Grab a sheet of card stock or a paper you love using for copic marker drawings, a pencil, and let's get ready for another Whimsical Women of the World drawing project!! As you can see in the art reference photo for today's portrait drawing tutorial, the model also has her head tilted at an angle, creating some interesting smile lines and skin folds in her face and neck. I did that on purpose! These are two other things people have been requesting in my Facebook group quite a bit - if we could work on drawing faces at different angles and how to draw wrinkles. Needless to say... week 8 of my Whimsical Women of the World series is JAM PACKED with learning opportunities!! It's not for the faint of heart though... and really not for beginners, so if you've landed here and want something easier- I've got you!! To start at the beginning of the series, CLICK HERE. If you're a total beginner and want to learn how to draw a whimsical face that's SUPER EASY, click here. Everybody else - especially if you are one of the lovely FB peeps who requested all these crazy things.... I love you, but YOU better be drawing WITH ME! You're not gonna learn a thing just by watching 😘 We are beginning this lesson just like we have for ALL of the Whimsical Women of the World drawing projects in my series! Sketch your face shape in, followed by your whimsical face drawing guidelines. Not sure what I'm talking about? It sounds like you need to download my FREE Face Drawing Guidelines Cheatsheet to help you out! I printed and laminated this because drawing proportions of the face are SO important. They also really are the same no matter what ethnicity you are drawing. I've always got this drawing reference on my art table. Click the button below, and I'll send a copy straight to your email! If this angle of the model's head is driving you nuts, one of the easiest ways to get started with how to draw a face at an angle, like this one, is to actually tilt your paper sideways so it's sitting at the same angle as your art reference photo - just like if you were reading a map! Easy fix, right?! After your paper is tilted, go ahead and sketch in your face drawing guidelines. While I sketch in my main guidelines, I also rough in what I'm seeing in my art reference photo for the shape of the model's hair, and how it extends up and OVER the head, and does or doesn't touch the sides of the face and ears. If you've been drawing with me lately, you know we are definitely straying from my whimsical face drawing guidelines today with the huge smile on this model! Be sure to draw along with me so I can walk you through drawing facial features for this girl. I'm not gonna lie - she's a little tricky! If you feel like you want a copy of my art reference photo for this drawing project, or any of the whimsical women in this series, head on over to Awesome Art School and join my YouTube Collection and Cheatsheet Library. When you're ready to move on to sketching in her nose and eyes - these facial features are also quite different as a result of the model's smile. There are a lot of laugh lines around both her mouth and her eyes, so watch carefully as you're getting those roughed in. When you're drawing expressions like the one in today's art reference photo, you really have to pay attention to all the extra wrinkles, skin folds, and angles because these are what create the expression you're trying to replicate, so all these lines have to be in your drawing. Things get especially busy on the right hand side of her face with the folds in her neck - so this is another area to really watch me carefully on. Again, the entire drawing portion of this video is in real time so you can draw along with me, just like all of the videos in this series. I don't time lapse the project until it's time to shade because I know a lot of us are shading with a wide variety of art supplies. Before we continue, super quick announcement: All product links are Affiliate. I may earn a small commission if you choose to order through these links, but by law, there is never any additional cost to the consumer for doing so. I thank you for your support! When you are ready to start drawing the teeth in for this lovely model's smile, make sure you have a really great eraser by your side. If you need a new drawing eraser, I LOVE mine. It's called the Vanish Eraser. It, ever so lightly, removes my graphite from the page without ripping it. I also love it because sometimes I don't want to erase an entire line of graphite- I just want to pick up some of the graphite because of how I'm shading. This eraser is A-MAZ-ING at that! You can get one for about $2 in person at Jerry's Artarama. When you're drawing teeth, or anything detailed and small, it can also be helpful to also have a teeny eraser. I often use the eraser on the end of my blackwing pencils if I'm drawing with those (they have a refillable erasers!). I also love the tombow mono eraser. It's the bomb at getting into teeny corners, or removing bits of shading to create highlights in pencil drawings. It's also helpful to use a pencil with a very thin lead if you want to draw a smiling mouth with teeth. I love using mechanical pencils for stuff like this. My favorite is the Pentel Graph Gear Mechanical Pencil Set. For this project I'm using a 0.3 lead because these teeth lines need to be really light. Before we start drawing teeth in on this girl's smile, it's important to sketch in her gum line so we get the proportions correct, and know exactly where her teeth need to go. When you're ready, just go one by one, tooth by tooth- drawing what ya see until you're done. This part of today's tutorial takes about twenty minutes. When everything's penciled in, and your drawing guidelines are erased, it's time for the FUN PART!! Coloring!! I've been doing all of the #WhimsicalWomen in this series in my alcohol markers, but please feel free to use whatever art supply YOU love best! I've seen a ton of gorgeous girls flying around in my Facebook group in watercolor, colored pencil, straight up grayscale pencil - so use whatever supplies you have and love best! Regardless of what art supply you are using, be sure you swatch your colors so you have a game plan before diving in. I don't know how many times I have reached for a marker based on the cap, only to find it was totally NOT what I expected when I started to shade. Like I typically do with a lighter skinned art reference photo, I shaded from light to dark with my alcohol markers. As you can see in the above photo, I began by covering the entire face in my lightest skin tone marker. Little by little I took the shading one step darker wherever I saw shadows in my reference. As you can see in the photo below, the teeth are the white of my paper. In reality, that's not how we look - even if we have SUPER white teeth! Some of our teeth are behind others, or positioned further back in the mouth, so there are shadows all over the place. Before I begin shading her teeth, I work on the gums with some very light pinky/peach tones. Little by little, I added very pale shades of ivory, and even gray to replicate the shadows I am seeing in my art reference photo. I used a teeny, black copic multiliner to indicate the darkest areas of her smile, behind the teeth. To shade her hair, I used the same hair drawing technique from last week's episode for my Sweet Scandinavian. Simply drag your marker from root to tip for some of the strands. Wherever you'd like to indicate highlights, drag your marker from the root to a half-way point. Taper your pressure here, and leave some white space. Then pick your marker up and drag your marker up from the tip of that imaginary hair strand to the half-way point. Taper your pressure again, and deliberately leave some white space. This looks SO cool when you get additional layers of color added!! Definitely check out the video to see how this technique is done! As with the other lovely ladies in this copic marker drawings series, I added a layer of colored pencil on top to indicate texture, and to help soften the transition lines between marker shades as needed. I used my favorite pentel pocket brush for the eyelashes, and to do a little doodling throughout. I grabbed my white sharpie (a white posca pen works beautifully too here) to add in some highlights wherever I see them in my art reference photo. There's always some gorgeous eyeshine, a little sparkle on the lips, and I totally added some highlights to the teeth in the middle, front - where they were gleaming most in the model's smile! I hope you enjoyed today's tutorial and learned a TON!!! I know I sure did (even though I whined!! LOL!!) NOW YOU KNOW why I tend to always draw my whimsical faces with a closed lip smile!! Haha!! Because I just wanna have fun... and I actually also really love doing drawing projects and mixed media projects that don't take a long time to complete ;) Stay with me till the end of the video because I give you a sneak peek at my baby girl, Maggie dog!! Thanks for watching!! Have so much fun with this lesson! I can't wait to see your work!!
0 Comments
Leave a Reply. |
Karen CampbellFounder of Awesome Art School. Mixed Media Artist. Author of 19 Instructional Art Books! Whose work has appeared in...Archives
July 2024
Categories
All
|
|
"Karen is flipping hilarious and she's very real...I like the way she teaches in a way that really gives you confidence, whether you're a beginner or advanced there's always something new to learn!"
- Elizabeth W. |
What Fans Are SayingKaren, you are absolutely fabulous! You make me feel like I can draw anything. I have recently retired and finally have the time to do some of the art that I have loved since I was in school. I am really at the beginning of my art journey and I hope to learn as much as I can. Thank you for all you do. |
Contact ME |


 RSS Feed
