blog
Let's Get Your Creative Juices Flowing!!!
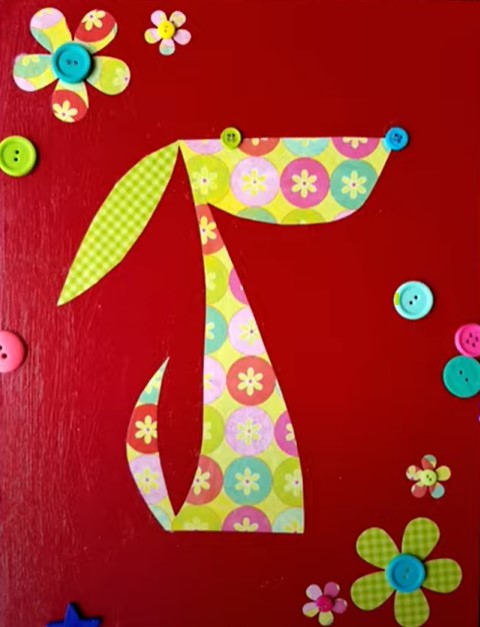
This project is SO FUN!! If you were with me on YouTube the last couples of weeks - this project is similar - another decoupage / collage project, AND it's easy enough to share with an artsy little one in your life if you want to - OR to gift to that special little one for his/her bedroom walls (if you can bear to part with him!!). SUPPLY LIST for THIS no draw Mixed Media Collage PROJECT:
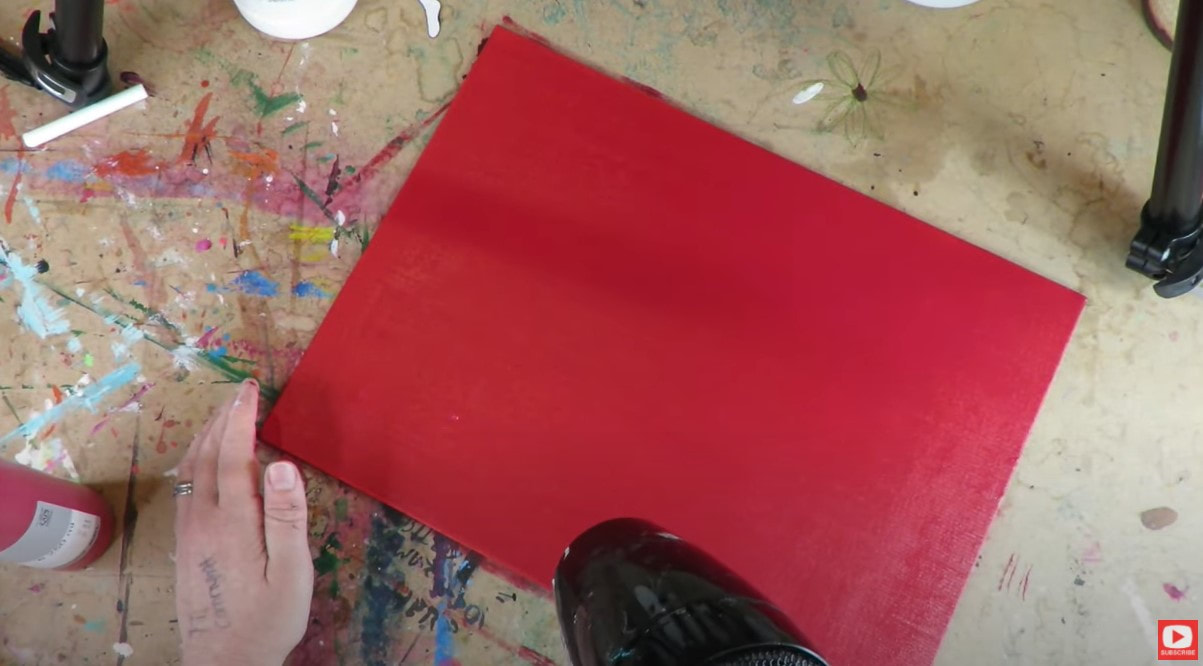
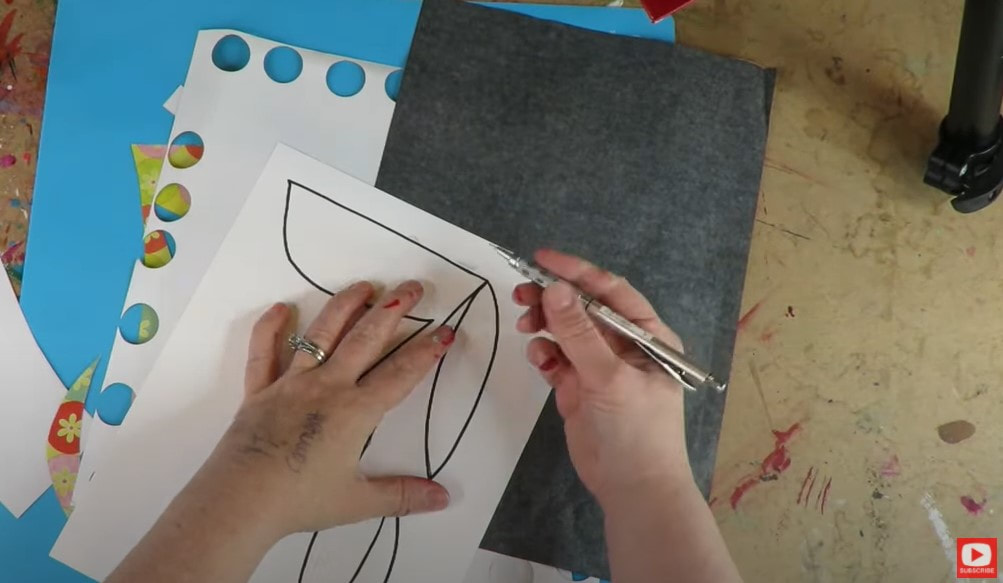
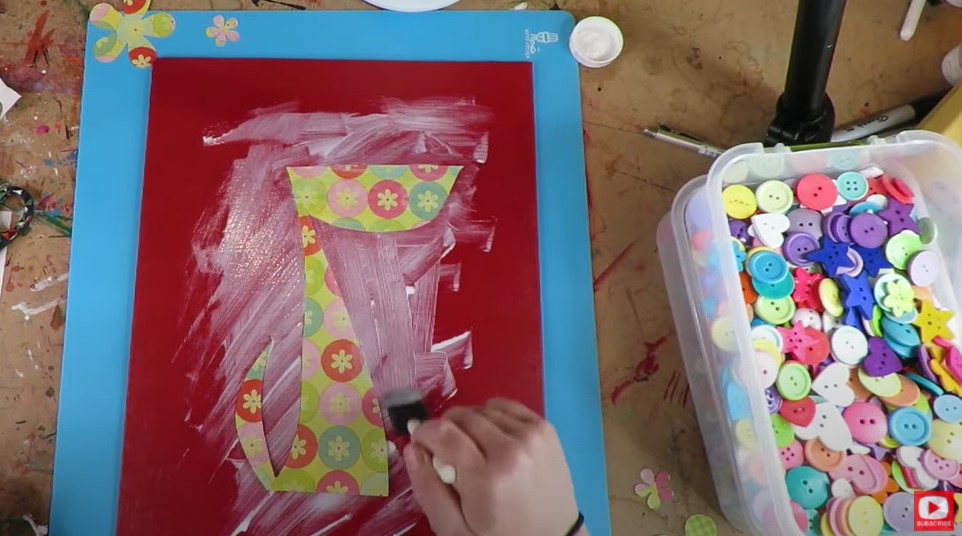
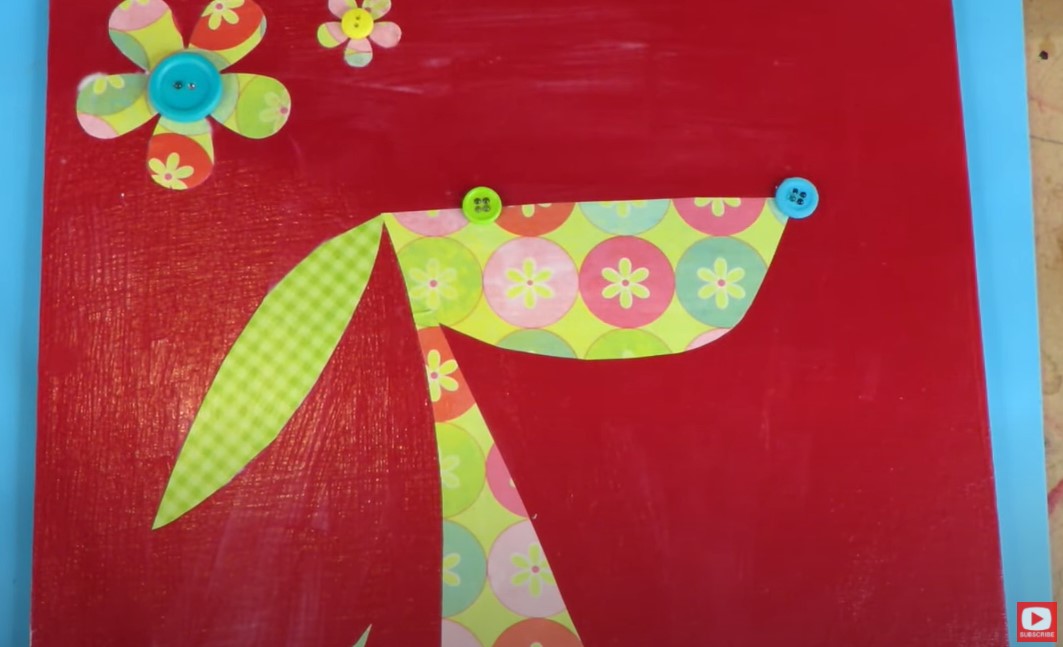
Once you've gathered your supplies, CLICK HERE to meet me on YouTube for this mixed media tutorial! The first thing we're gonna do is cover your entire art journal page or mixed media canvas with two complete layers of acrylic paint! I know you'll probably think one layer should do it- but trust me ;) I've got you! Apply one juicy coat of acrylic horizontally, dry it, then apply a second juicy coat of acrylic vertically. This will ensure you've covered every inch of your canvas, so when it dries- no teensy white space will be poking through! While you're waiting for the second layer of background paint to dry, let's move on to your puppy! Grab you sheet of transfer paper and one of your sheets of scrapbooking paper. Lay the scrapbook paper face down, then lay your transfer paper face down on top of that. Finally, stick your puppy template printout on top. Finally, just trace the outlines of the puppy FACE and BODY from the template with a sharp pen or pencil and the design will totally transfer onto the back of your scrapbook paper! It's EXTRA cute if you trace the puppy ear and/or tail onto your second sheet of scrapbook paper ;) Or - use a different sheet of scrapbook paper for each body part!! That would be adorable too - do whatever YOU think will be cutest!! When all of the body parts have been outlined and transferred to scrapbook paper, simply cut the pieces. If you have a favorite punch - use that to cut out some additional scrapbook paper decorations in the background. Then it's time for mod podge!! Slather a thick layer of mod podge where you want your puppy to sit on the canvas and set him down gently. Next cover him on top with a thick layer of mod podge, and just keep going- allllll over your canvas! Even if you're using matte mod podge- there will be the teeniest bit of sheen in the areas of your canvas WITH mod podge- so just cover the entire canvas at this point so everything looks uniform. As you're slathering that top layer of mod podge... lay down the puppy ear (and tail if you chose to cut that out separately) and any background decorations you may have punched out (in my case- they're flowers). Be sure to fling that puppy's cute little ear in whatever direction you want to add a little extra personality to your piece!! Remember to layer even MORE mod podge on top of the ear and background decorations so everything has mod podge under AND on top of it. The more mod podge you use, the fewer wrinkles you'll have in any of the scrapbook paper you lay down. Once you have your mod podge over the top of your entire piece, hit it with the hair dryer (if you have zero patience like me!!) LOL!!! Then go ahead and add a button eye, nose, and center to your flowers (if you added those to the background). A dab of hot glue works great to glue those buttons down. Isn't he SOOOO CUTE?!!! I hope you have as much FUN making him as I did!!!
See ya next week ;)
0 Comments
Leave a Reply. |
Karen CampbellFounder of Awesome Art School. Mixed Media Artist. Author of 15 Instructional Art Books! Archives
February 2021
Categories
All
|
What Fans Are SayingKaren, you are absolutely fabulous! You make me feel like I can draw anything. I have recently retired and finally have the time to do some of the art that I have loved since I was in school. I am really at the beginning of my art journey and I hope to learn as much as I can. Thank you for all you do. |
Contact Us |