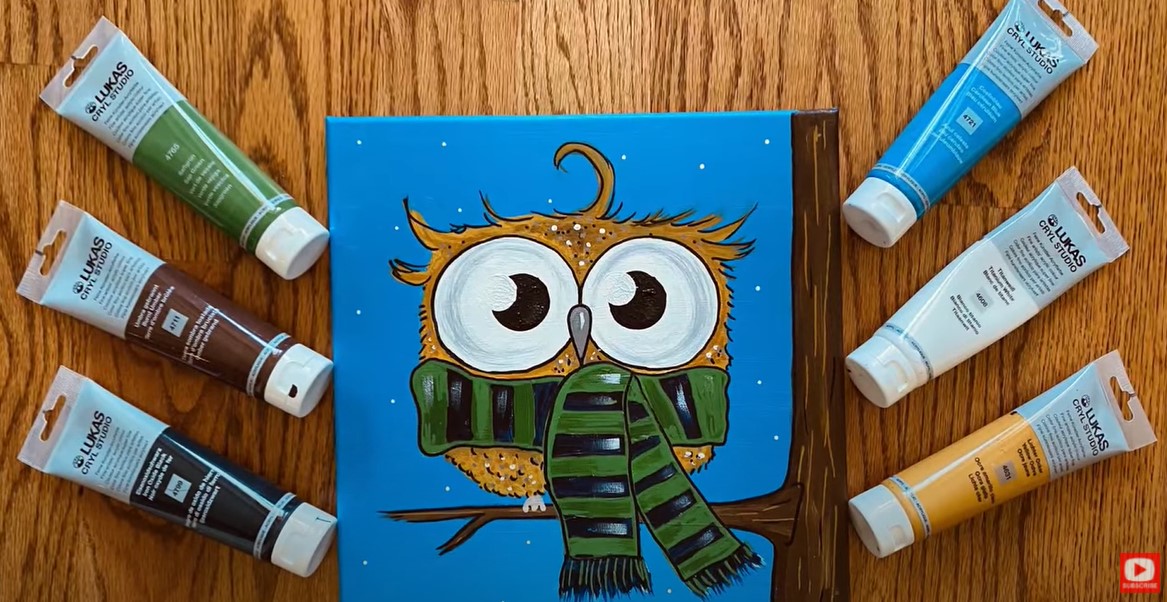
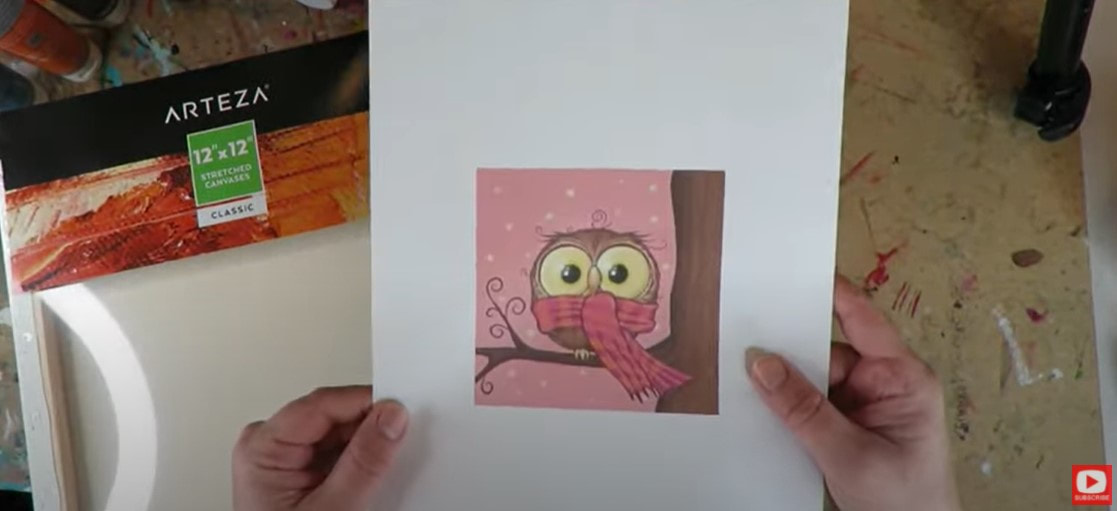
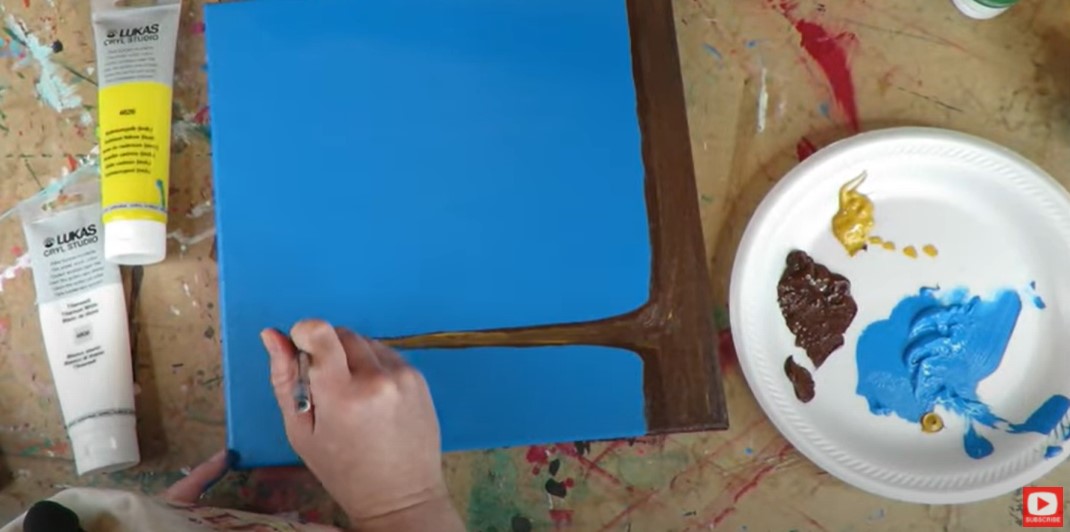
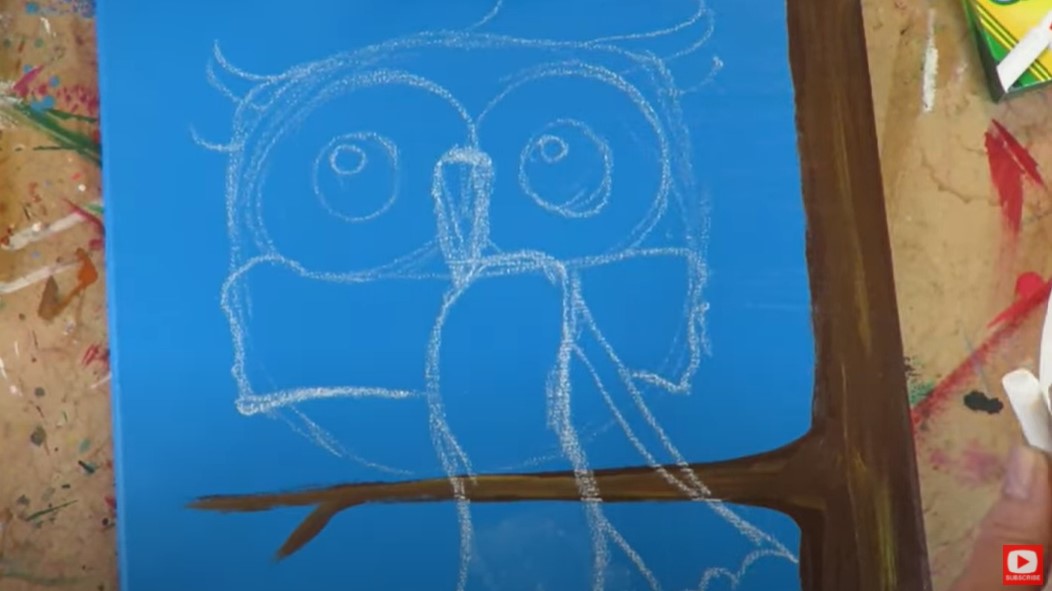
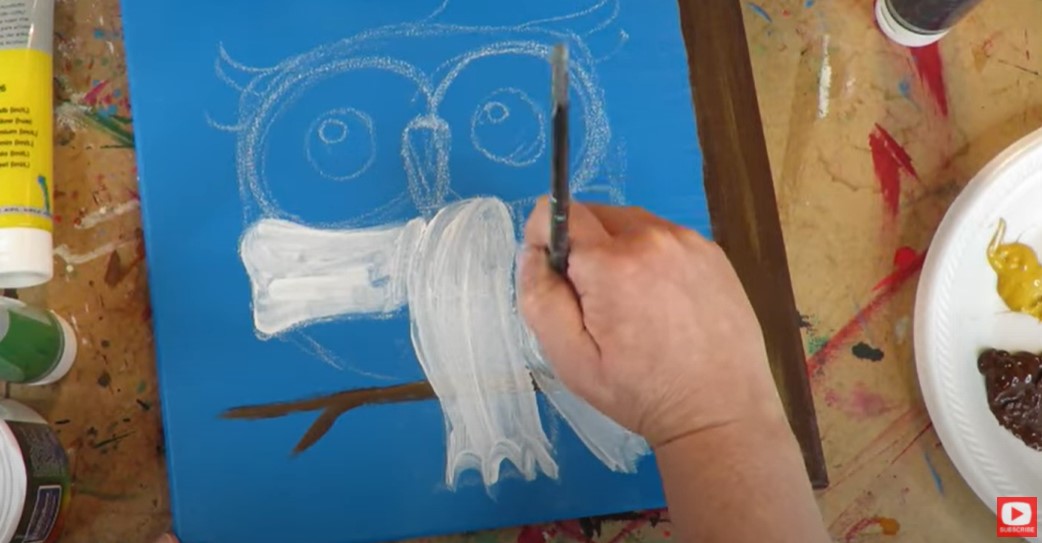
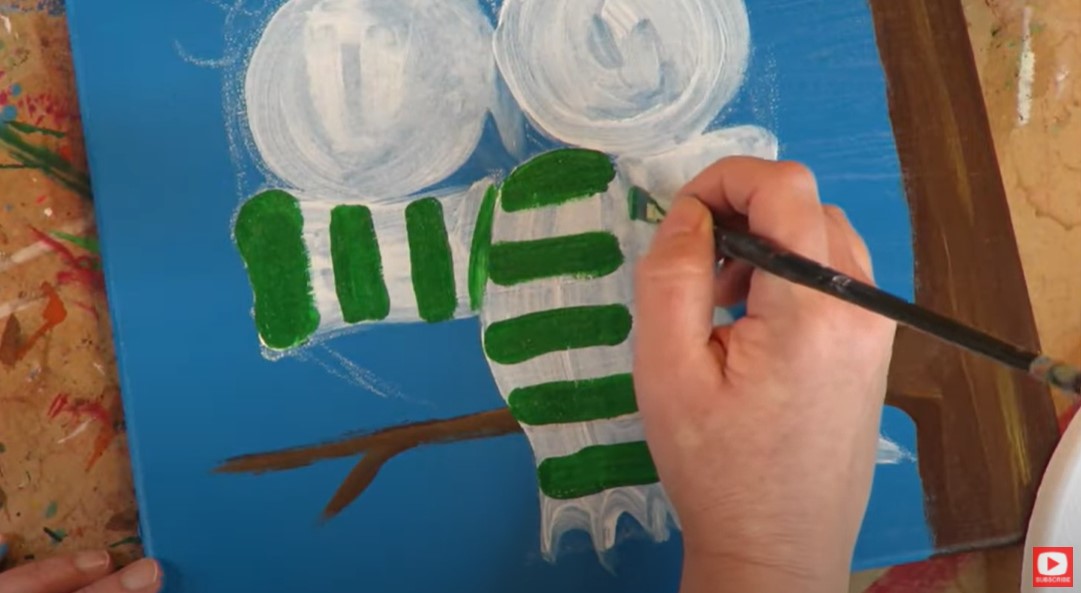
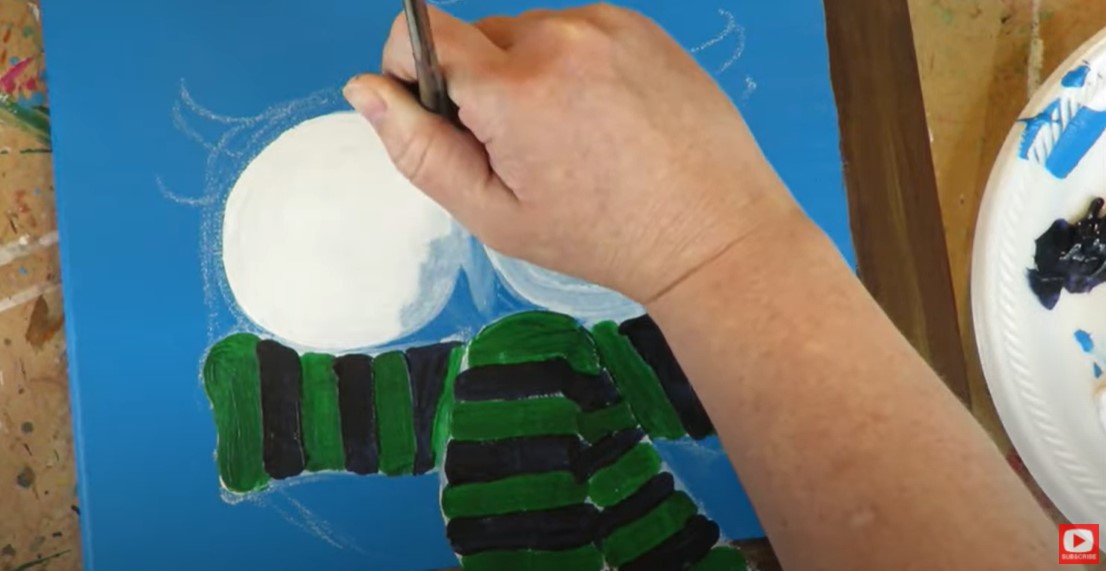
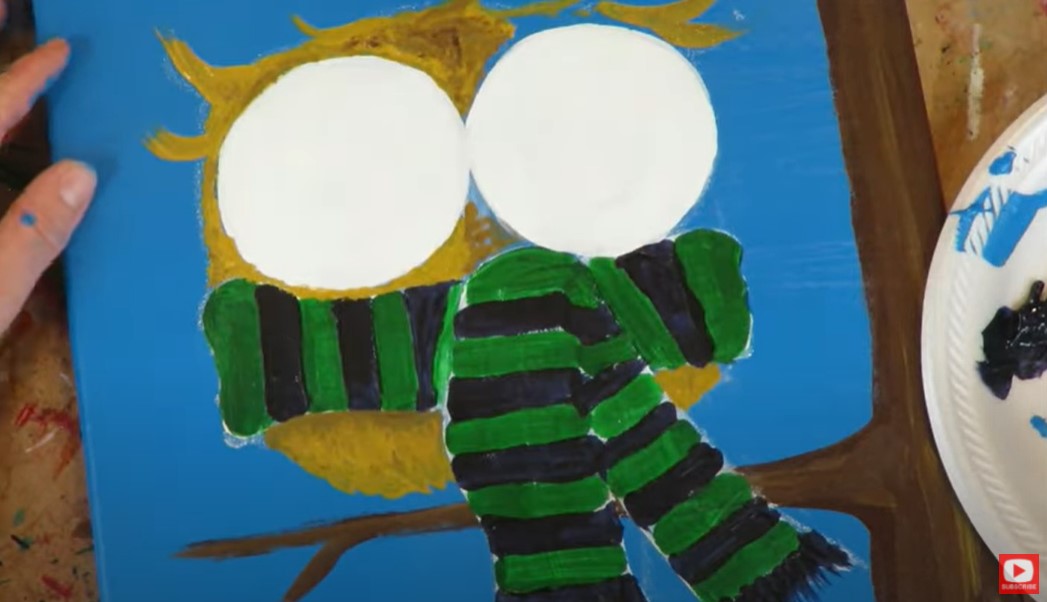
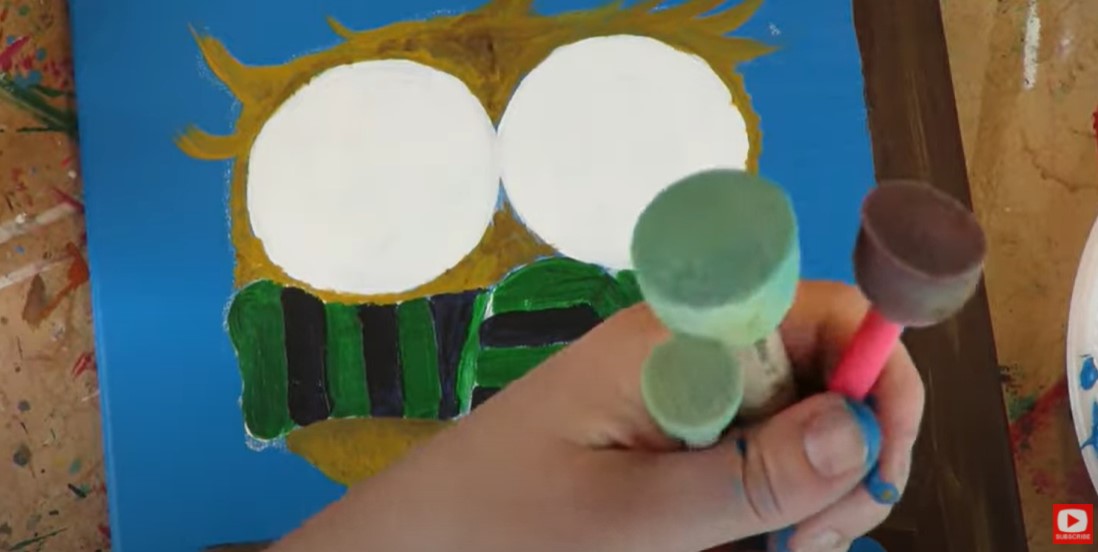
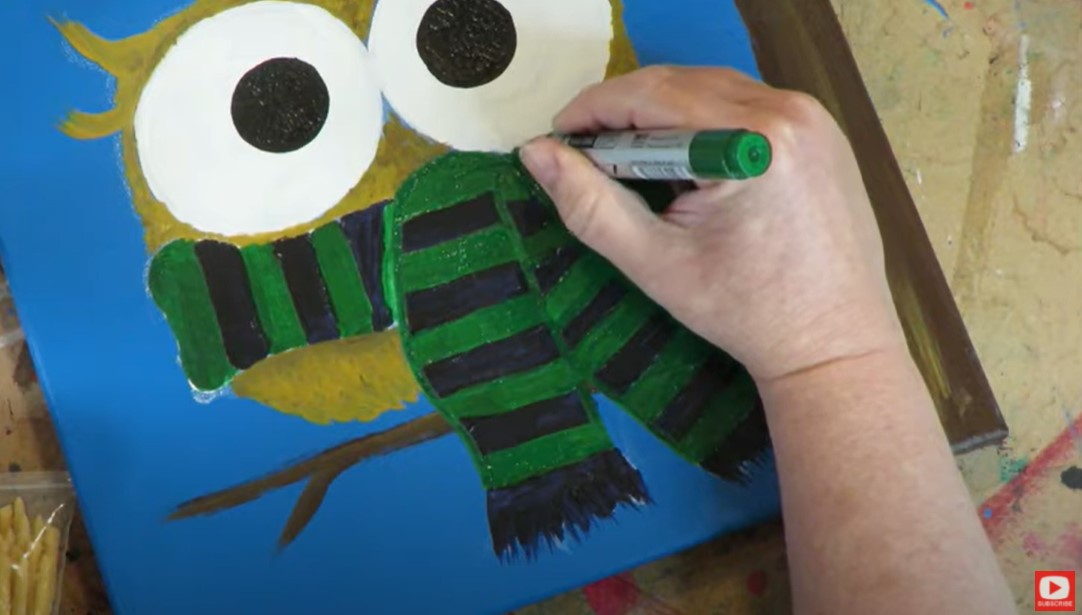
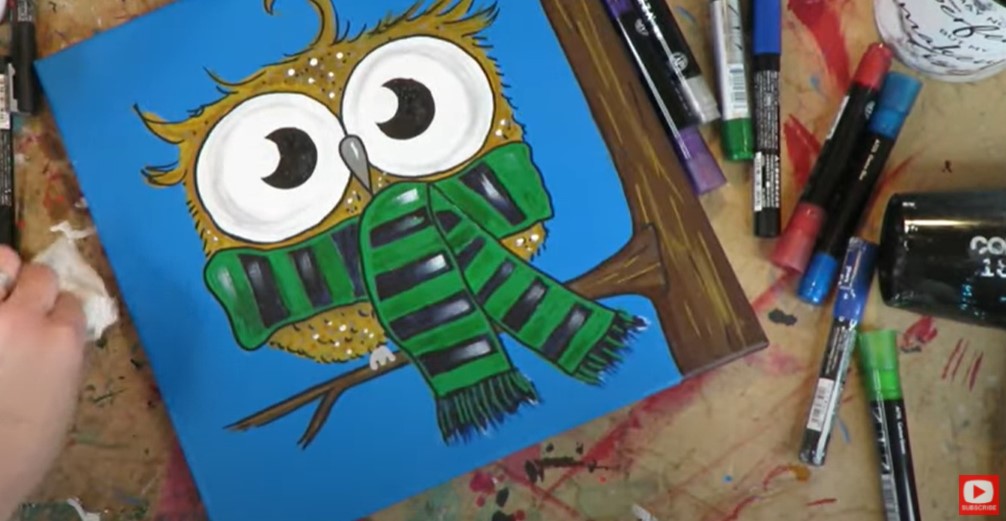
You HAVE to do today's acrylic owl painting with me over on my Mixed Media channel!! Not only is he the cutest, this is the perfect acrylic painting for beginners to try. The whimsical style alone means there's absolutely NO PRESSURE!! Plus there's just something extra fun about doing an acrylic painting on canvas! If you've been wanting to learn how to paint with acrylics or are simply looking for cute fall painting ideas to melt your cares away and put a smile on your face (because it's 2020 dang it!!) - this owl painting is it! You can paint along with me in REAL TIME during today's step by step, easy acrylic painting tutorial. There's nothing fancy going on - just straight up acrylics, and a FUN, fall art project! I've even got an acrylic painting supplies giveaway, thanks to ARTEZA! For my reference, I'm using an adorable royalty free stock image of an little owlet. So cute, right?! I've pulled out one of my ARTEZA canvases and have selected paint colors from my "Whimsical Animals" Signature Paint Kit by LUKAS Cryl Studio - which you can get over at Jerry's Artarama! Real quick - if you have any questions about the paint brushes I'm using, or if you missed last week's video, you might want to check that out first, because I shared everything you need to know about paint brushes for mixed media. Make sure you watch that if you need tips, or before you head out to the craft store! Now, back to today's project! I started this painting off with a super simple layer of blue for the sky. Try not to worry about being precious with your paint here. Use a generous amount because I want you to be able to spread it freely. Keep all of your brush strokes going in the same direction, and remember to paint the edges of your canvas before you move on to the next step. Once my canvas is covered AND dry (this part is SUPER important!), I'm ready to add a cute tree to the right side of my canvas in brown. Before your tree trunk dries - blend a little yellow into your brown for some added dimension. Don't worry if you're not in love with the shade of your tree trunk when you add your yellow- just add a little more brown until you're happy with the shade you've got! Next, I pulled out my chalk (YES - it's totally just regular, school chalk!). I used this to "pencil in" my drawing of the owl because the chalk is totally erasable when used on top of acrylic like this!! If you draw a line you don't like - you can wipe it away with your finger! If drawing perfect circles stresses you out - grab a stencil or mug to trace so you can draw in the eyes of your owlet. You can totally just freehand it like me- a little wonkiness will make your owl just that much MORE adorable!! Since I wanted the scarf of my owl to have stripes, and I've already painted a dark blue all over my whole canvas, I decided to lay down a thin layer of gesso to "prime" the scarf and eye areas for new colors. You don't have to do this- but I find throwing a layer of gesso down will help me cover a darker background color if I want something white or light in the foreground. If you caught my video last week - you'll remember I talked about the importance of having ONE flat acrylic paint paint brush reserved just for gesso. I used my gesso brush for this light application below. QUICK TIP for ACRYLIC PAINTING: If you want to keep your colors sharp and crisp (especially for something like stripes!), take the time to make sure one color is fully dry before going in with the next shade of paint. If you're impatient like me, hit your first color with the hairdryer for a few minutes until you're good to go! Once all of my stripes are done, I headed over to the eyes to lay down a nice coat of white. Since my gesso is there already, this goes down in no time and covers SUPER well! If you don't have gesso- you might just need to do two coats of white paint to fully cover the blue here. For the owl's body and feathers, I decided to start with yellow. Feel free to gesso that area as well before you go in with whatever color you're using for your owl's body. I also worked in some brown (wet on wet) to texture his feathers. While my feathers were drying, I pulled out these cute art supplies left over from when my kids were little. I call them "pouncers." Basically they are these little foam brushes with a handle, and if you cover the spongey end with paint, you can use them to stamp down a perfect circle. They work amazingly well for doing polka dots, suns, moons, and of course for the pupils on whimsical animal eyes!! After the pupils, I'm ready for my paint markers! Typically I will use my posca pens when I'm adding outlines or doodling on top of my mixed media paintings, but something about this little guy was calling for my chunky Arteza paint markers!! They have a super juicy nib - and I had a green to exactly match the acrylic I used earlier in my scarf stripes. I used my yellow ochre paint marker to doodle over the feathers, outline near the whites of my little owl's eyes, and on top of my tree trunk to add depth. Because I LOVE the look of a black outline - I pulled out my sharpie and added those in everywhere! Outlines are kinda one of those things that you either love or hate. They're also something that you either have to be "all in" for, or leave out completely. If you use outlines for some of your painting, but not all of it - it can make your piece look disjointed or unfinished. After the outlines were done, I went in with a dry brush to add some teeny strokes of light gray around the inner edges of the eyes so they didn't look quite so flat! That's it!! He's done :) I hope you have as much fun with this project as I did!! I totally loved it. A GREAT break from the outside world for a bit!! Don't forget to enter for the ARTEZA GIVEAWAY!! Details are in today's video and the description box !! See ya next week!!!
0 Comments
Leave a Reply. |
Karen CampbellFounder of Awesome Art School. Mixed Media Artist. Author of 15 Instructional Art Books! Archives
January 2021
Categories
All
|