blog
Let's Get Your Creative Juices Flowing!!!
EASY Fairy Drawing in Alcohol Markers with Karen Campbell [Week 3 #50FunFabFaries Challenge]14/6/2022
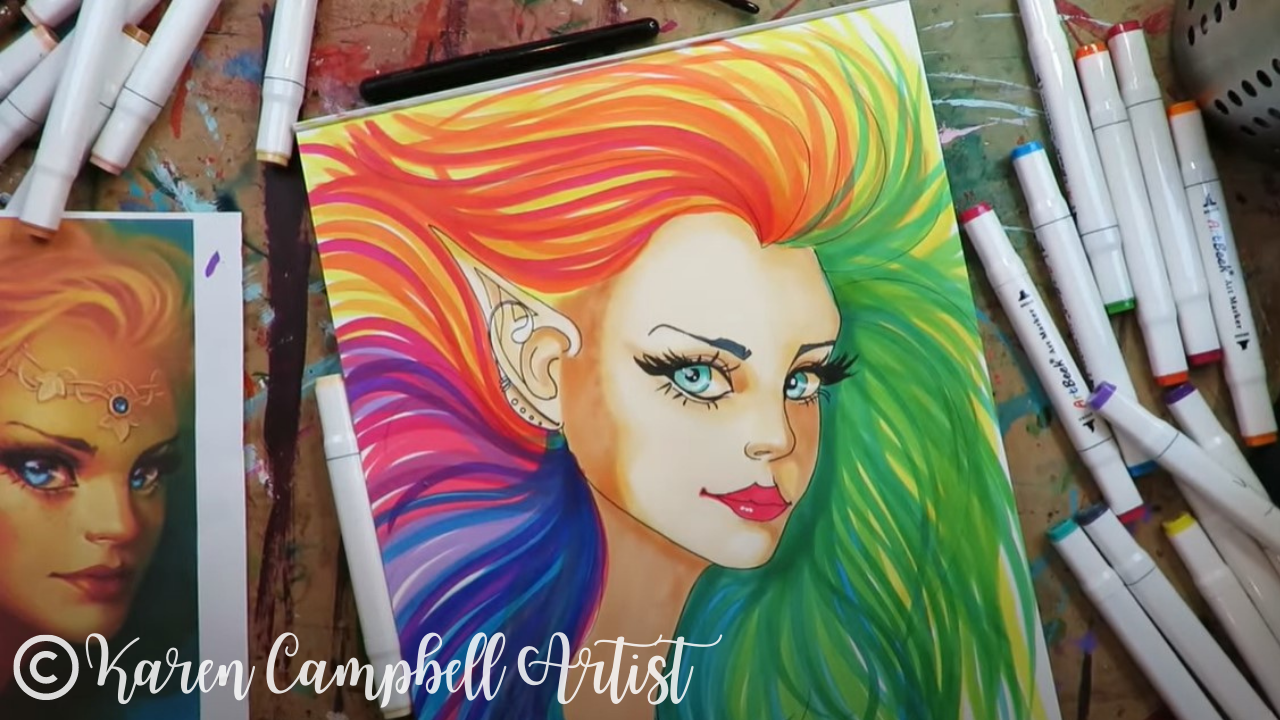
Wanna create this EASY fairy drawing with me in alcohol markers? These are one of my FAVORITE art supplies to use when shading faces I draw. If you've never tried them before, stick with me - I'll guide you step by step in today's drawing tutorial as we continue with week three of the #50FunFabFairies drawing challenge!
To find ALL the info for the FREE #50FunFabFairies drawing challenge, simply click the button below to receive instant access to ALL the fairy reference images for each drawing prompt, plus info on supplies, cheatsheets and more!
Wanna become a better artist? Do today's lesson (and every lesson of the challenge) five times, making a few creative alterations of your choice, and watch your skills soar as you practice fairy eyes drawing, fairy ears drawing AND fairy hair drawing 50 different ways!
Before we continue, super quick announcement: All product links are Affiliate. I may earn a small commission if you choose to order through these links but by law there is never any additional cost to the consumer for doing so. I thank you for your support.
Just because we're switching up our supplies for week three of #50FunFabFairies, I don't want you to get distracted from the actual purpose of this fairy drawing challenge - which is increasing your drawing skills!
You're learning how to draw faces and where to look in reference images for face shading guidance so you know how to add depth to your drawings. If all you have is a pencil and a piece of paper and you want to do this drawing challenge - that's perfect. You're good to go! All that matters is you draw.
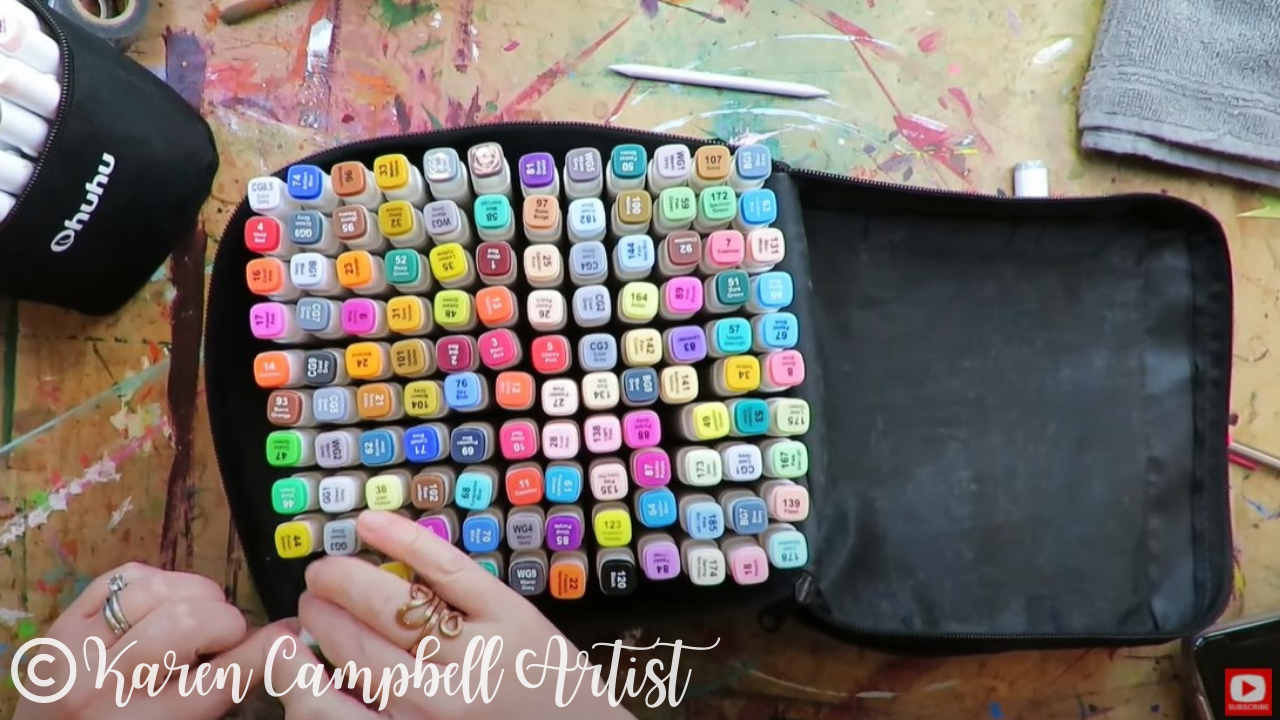
If you're new to my world, my absolute favorite alcohol markers are copics, but they cost between $8-9/each, so when I teach my students how to use alcohol markers I use Ohuhus (especially for skin tones!) because they only cost $1/marker.
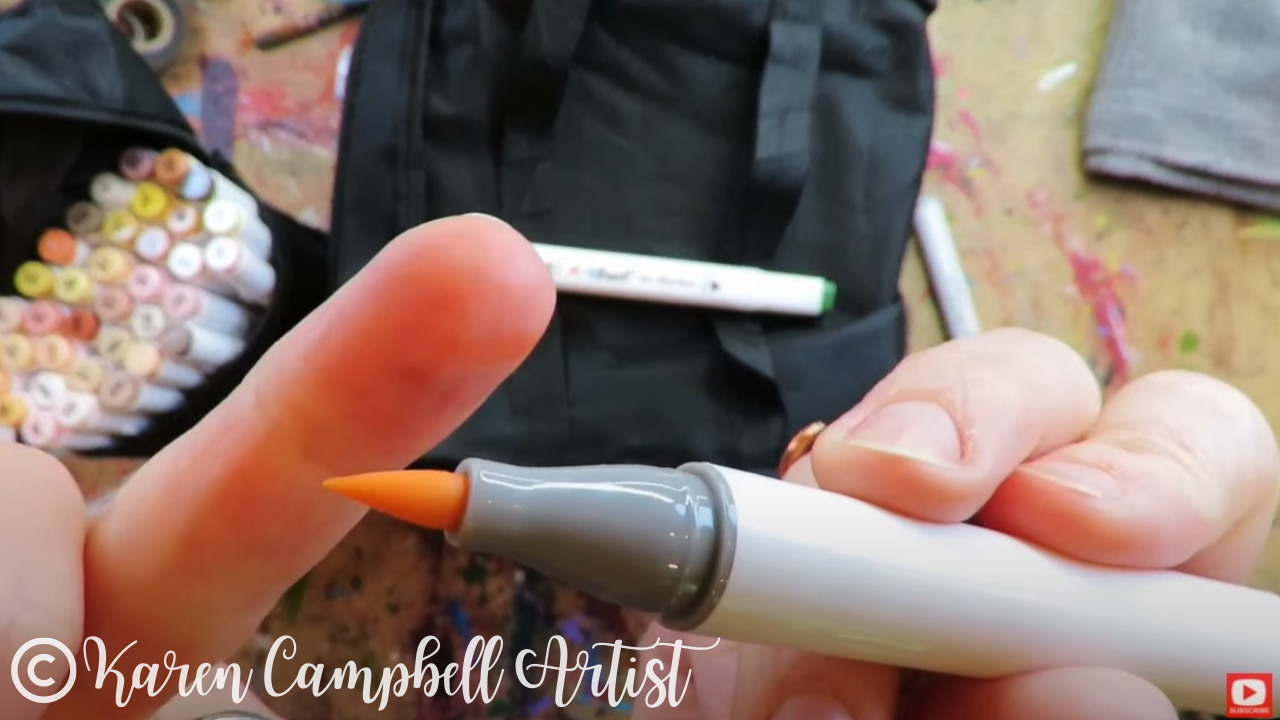
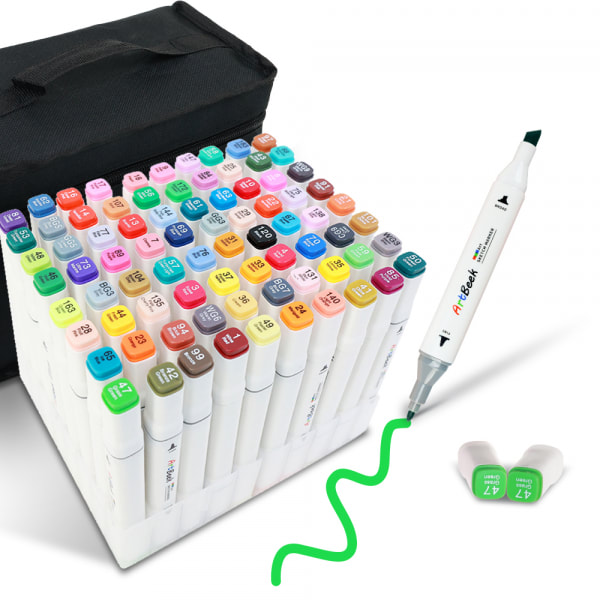
I was recently approached by a company called ArtBeek to try out their alcohol markers. I said I would because their cost per marker is only 40 cents and they have a brush nib on their markers -which is a must have for me. So today's project is not only our #50FunFabFairies drawing prompt number 3, it's a product test and review for ArtBeek Alcohol Brush Markers.
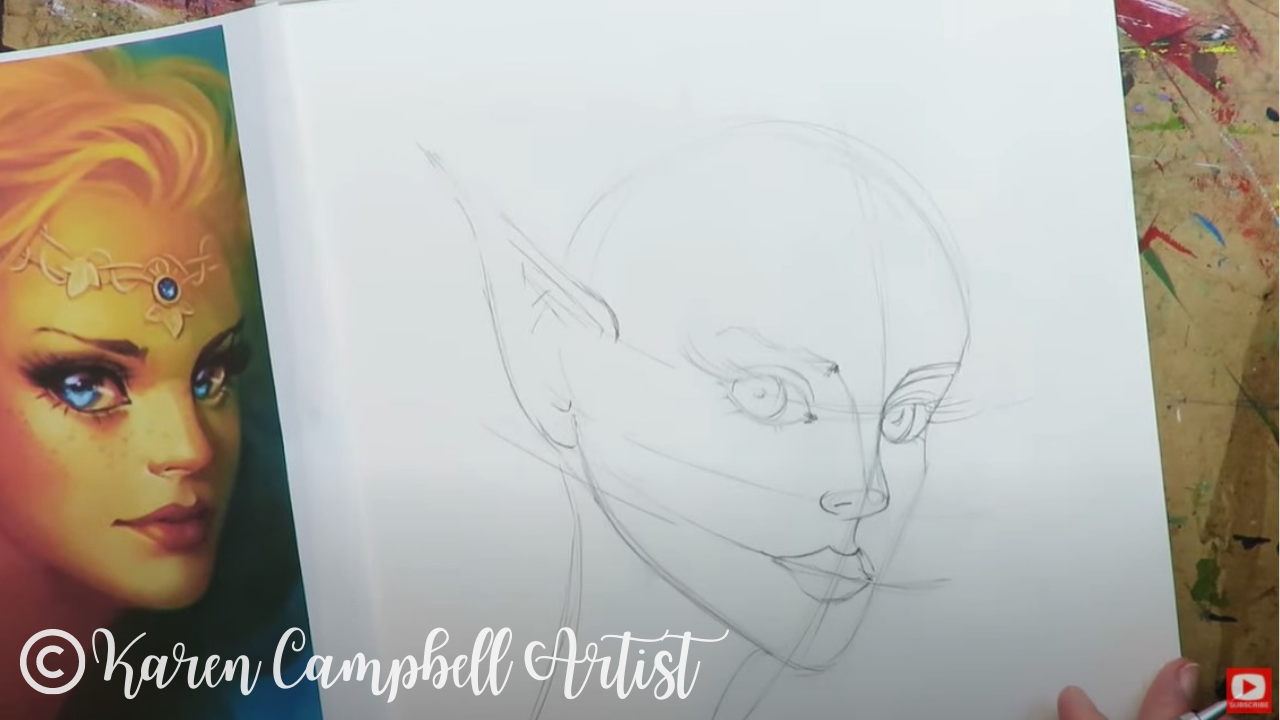
The fairy face drawing we're doing today is a side profile drawing in the three quarter view pose. While this is the most challenging view to draw - I think it's important for you to start practicing this right away so you don't feel intimidated.
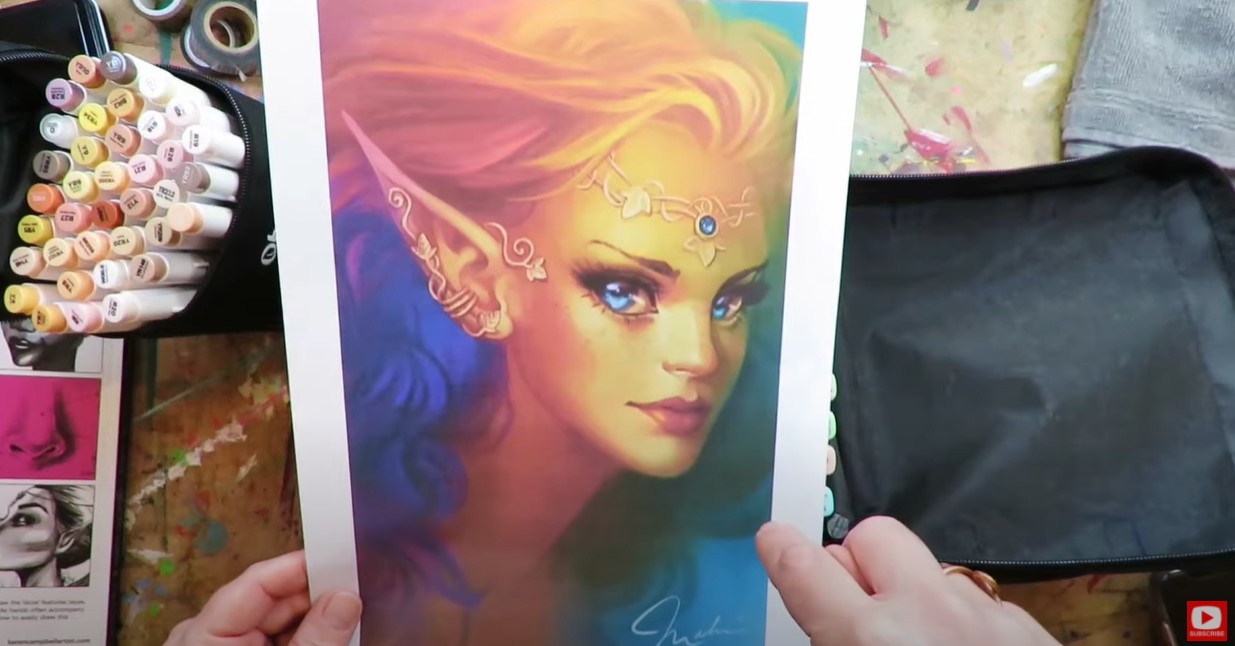
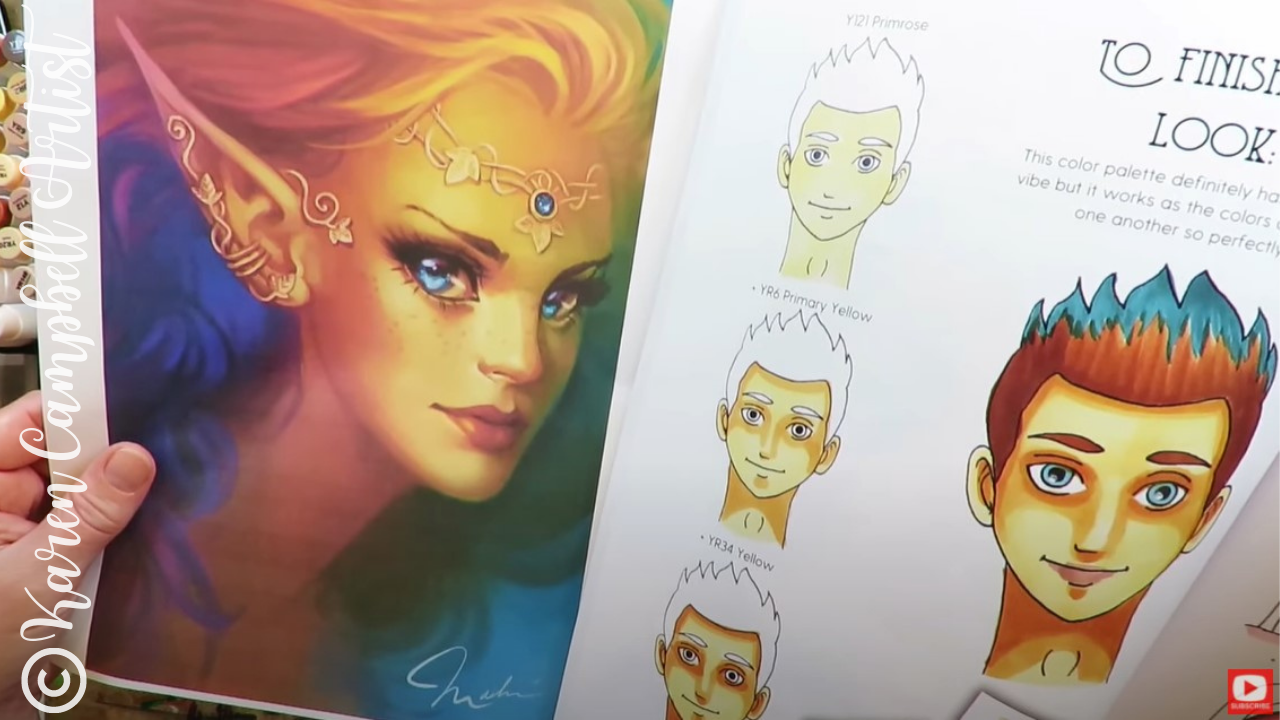
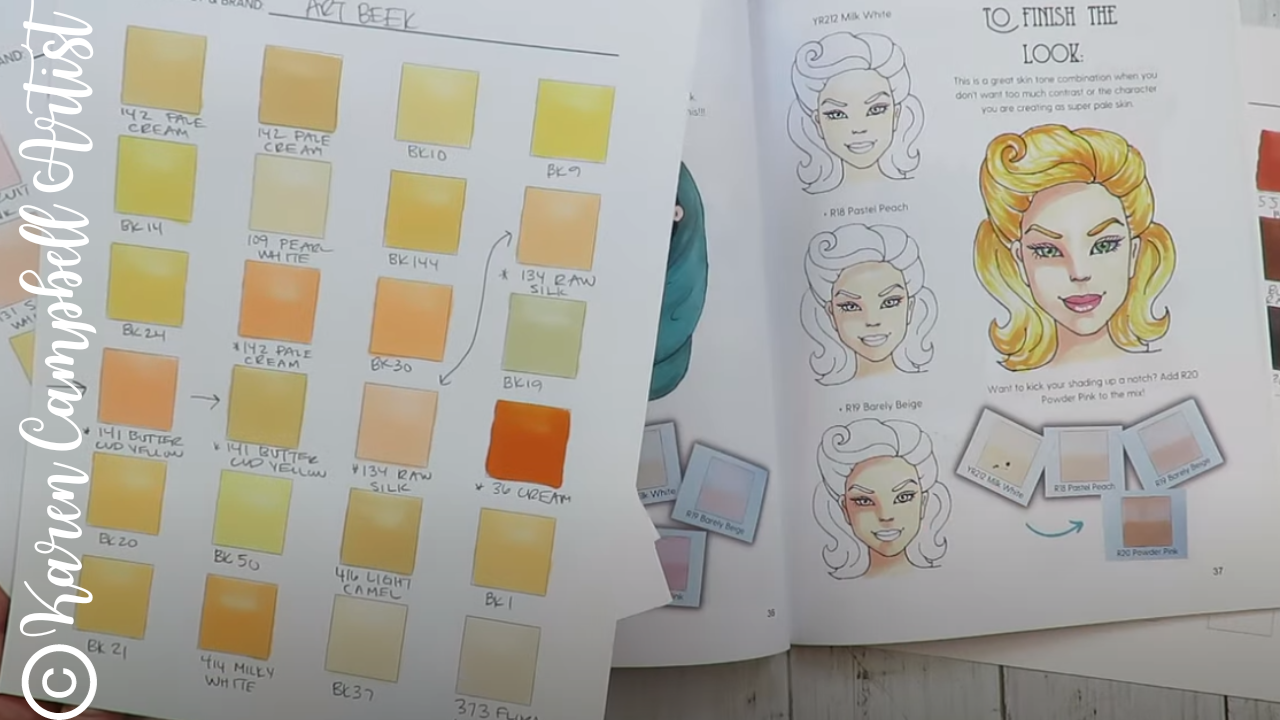
I'm including cheatsheets on how to draw a three quarter portrait from my book How to Draw & Find Your Style in the #50FunFabFairies classroom for you over at AwesomeArtSchool.com. I'm also referring to my book Skin Tone Secrets for a little help in locating the skin tone marker shades I want to use for this drawing. I love the rainbow vibe in our reference fairy drawing image. I see seeing a lot of yellow in the lightest areas, so immediately connected with this page from Skin Tone Secrets.
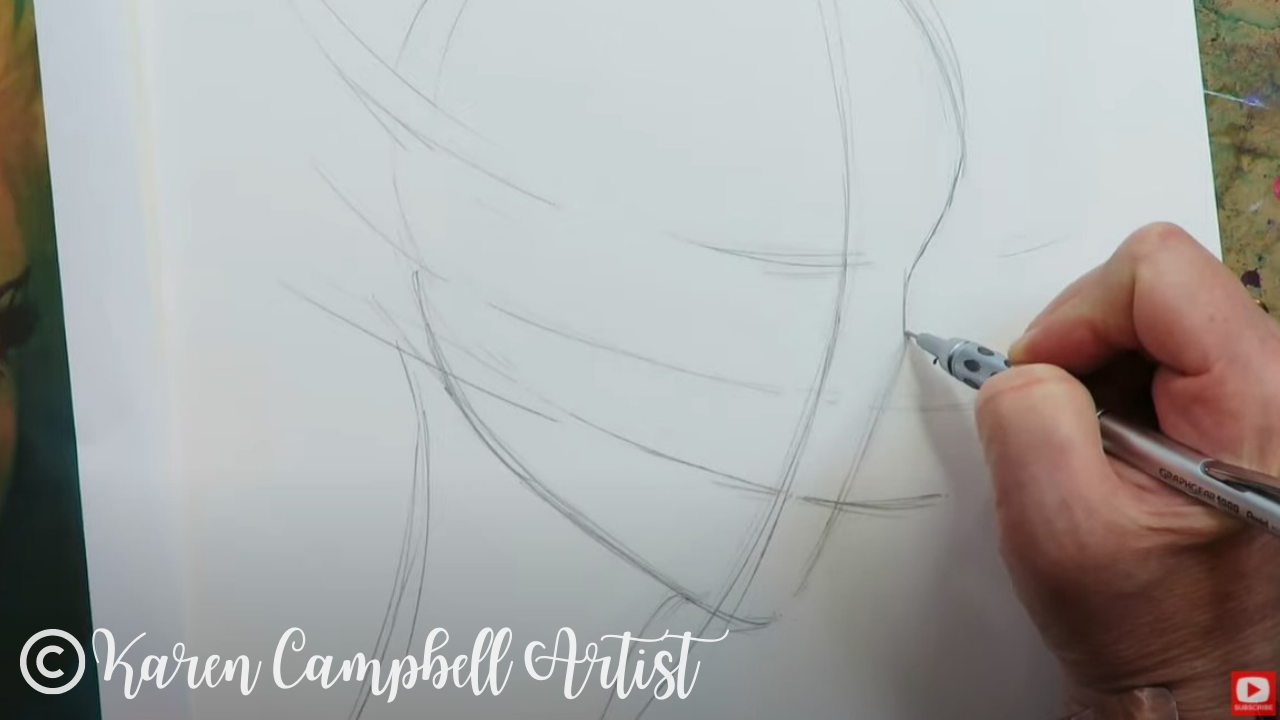
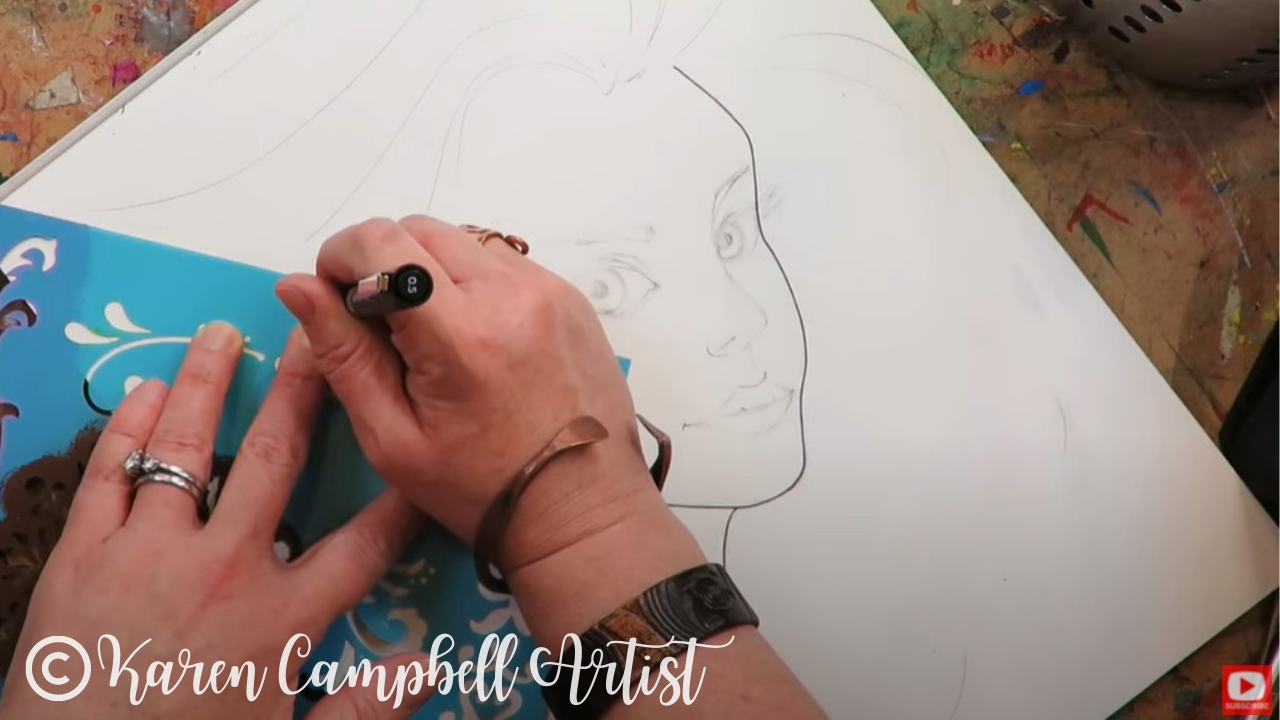
To get started, we need to sketch in the basic side profile drawing shape for a three quarter portrait AND the facial feature guidelines. If you know me - you know I NEVER draw a face without guidelines, because they're just too important!
If you're not sure how to draw fairy ears, I've got you! Simply watch the video, and I'll show you step by step.
Once I've penciled in a few swirly hair lines, it's time to get rid of our graphite as well as we can, because graphite and alcohol markers really don't mix. The brush nib of an alcohol marker can get dirty and pick up graphite super easily. This can drag all over your drawing and muddy things up, so make sure you take enough time to erase as much of the graphite as possible.
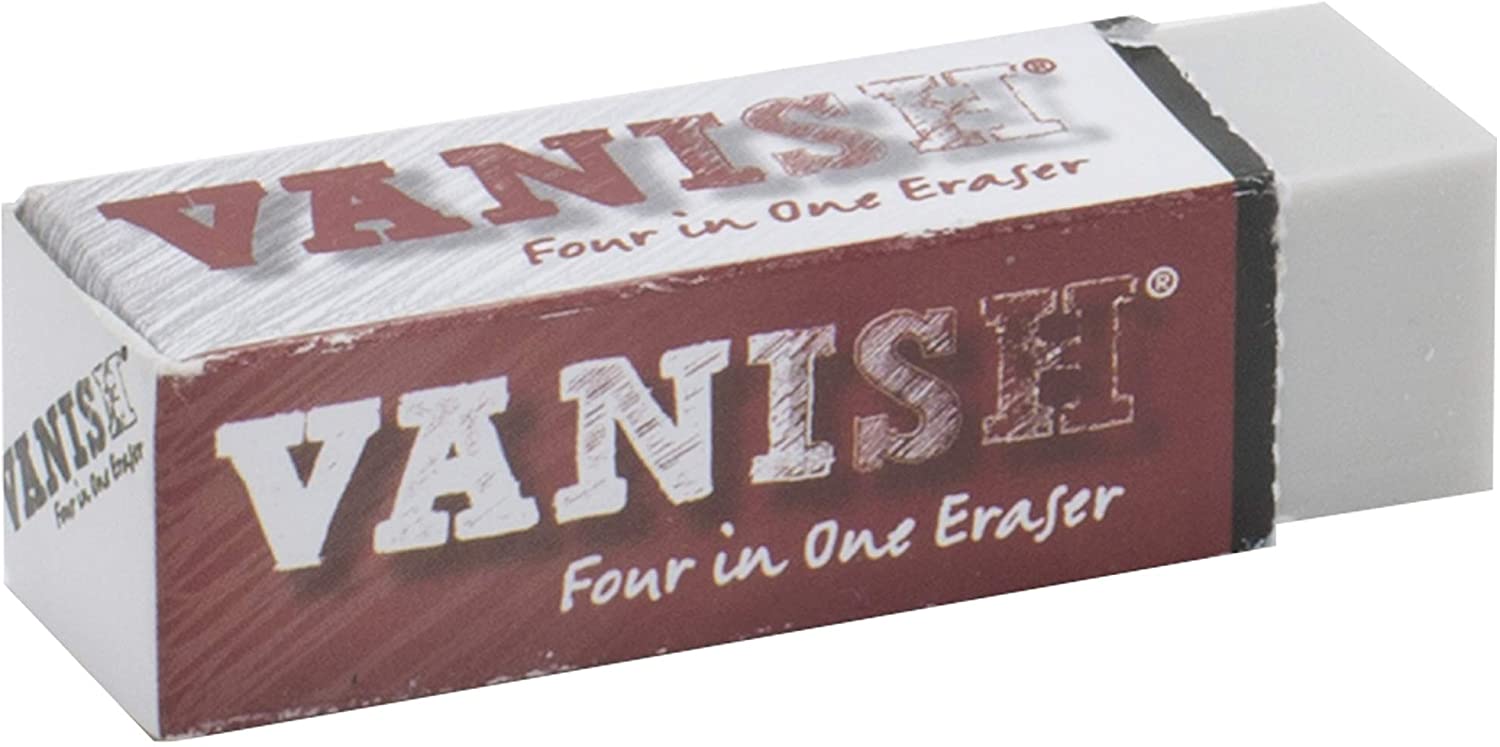
I use my vanish eraser for this. After the guidelines are gone, I actually pounce my eraser over the rest of my lines just to remove even more.
HOT TIP: If you're an outliner like me, and want to do those first, make sure you're NOT using a sharpie because these are also alcohol markers and they will naturally want to bleed and blend in with the other colors you're using.
Instead, opt for a fineliner that is water-based or pigmented, like this one from Molotow. These will NOT smear when you're working with Copics, Ohuhus, or the new markers I'm testing out today by ArtBeek.
HOT TIP: There are lots of fun swirlies in our fairy drawing image for jewelry, I love using a STENCIL to do this! It takes the pressure off trying to copy something exactly and looks SO precise in your drawing. I highly recommend you do this as well :)
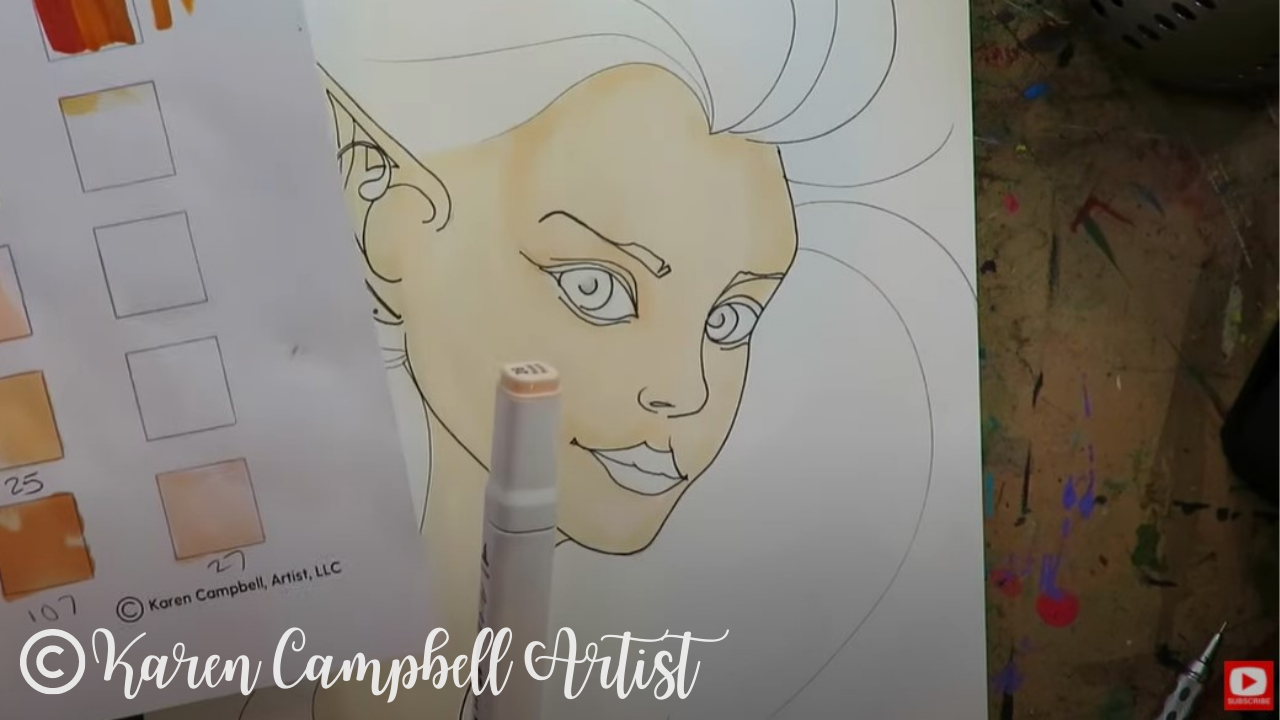
Since I'm using a new to me set of alcohol markers, I do need to swatch them out prior to coloring today. As I do this, I'm loving the soft brush tip of the ArtBeek markers. There aren't a lot of skin tones (even in the large set of 120), but I do feel like they're even softer to work with than the Ohuhus, which kinda surprises me!
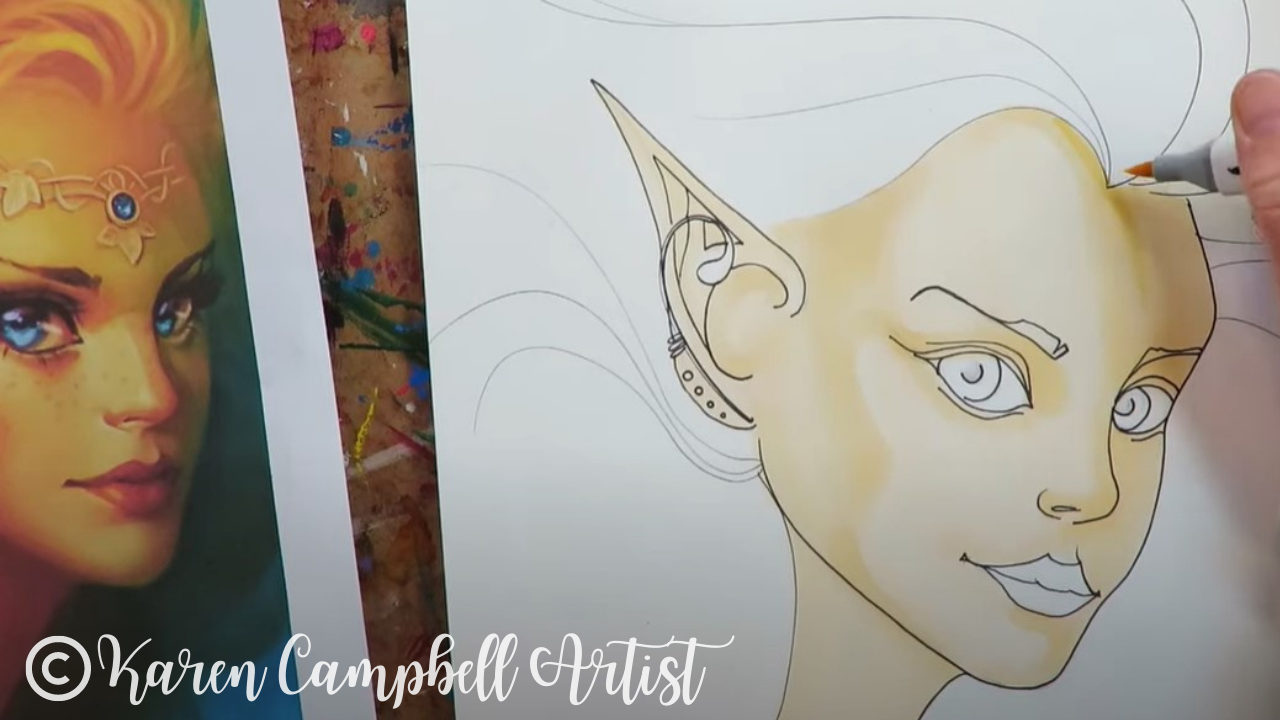
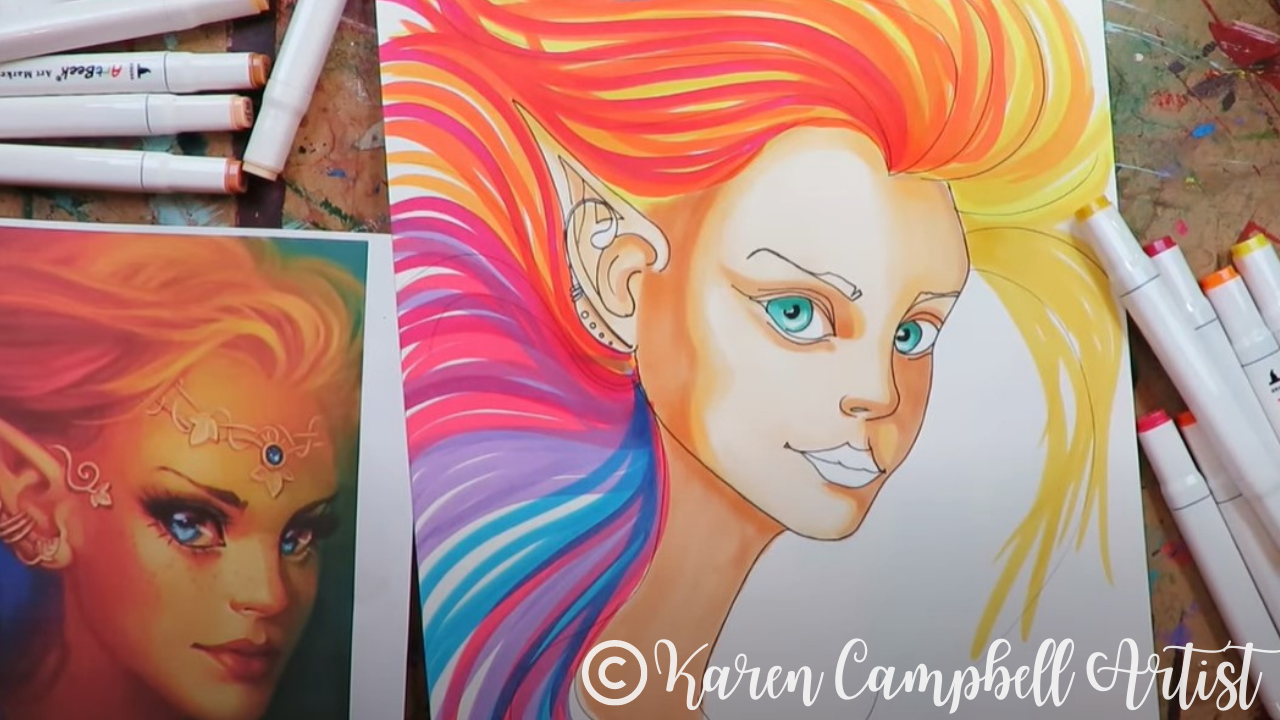
In the video, you'll really see how I look to my reference fairy drawing image to "inform" my face shading. If you're scared to change marker shades as you get into shading the face - that's ok. Just use the same shade you were working with for layer one and darken your drawing with a second coat of that same color to start creating subtle shadows (above). It's totally fine to do this in baby steps until you're comfortable.
Typically I recommend using three shades of a color to do face shading in alcohol markers. As you can see in the photo above, each time you add a layer of shading that is slightly darker than the one you did previously, leave that a bit of that previous color exposed to really add depth to your drawing. In the photo above, you can see all four skin tone marker shades I used in the shadow on her face, next to her ear.
The hair on this fairy is wild and SO much fun! I am in love with the rainbow and the fact that it gives me the opportunity to use so many colors from this fun new marker set by ArtBeek.
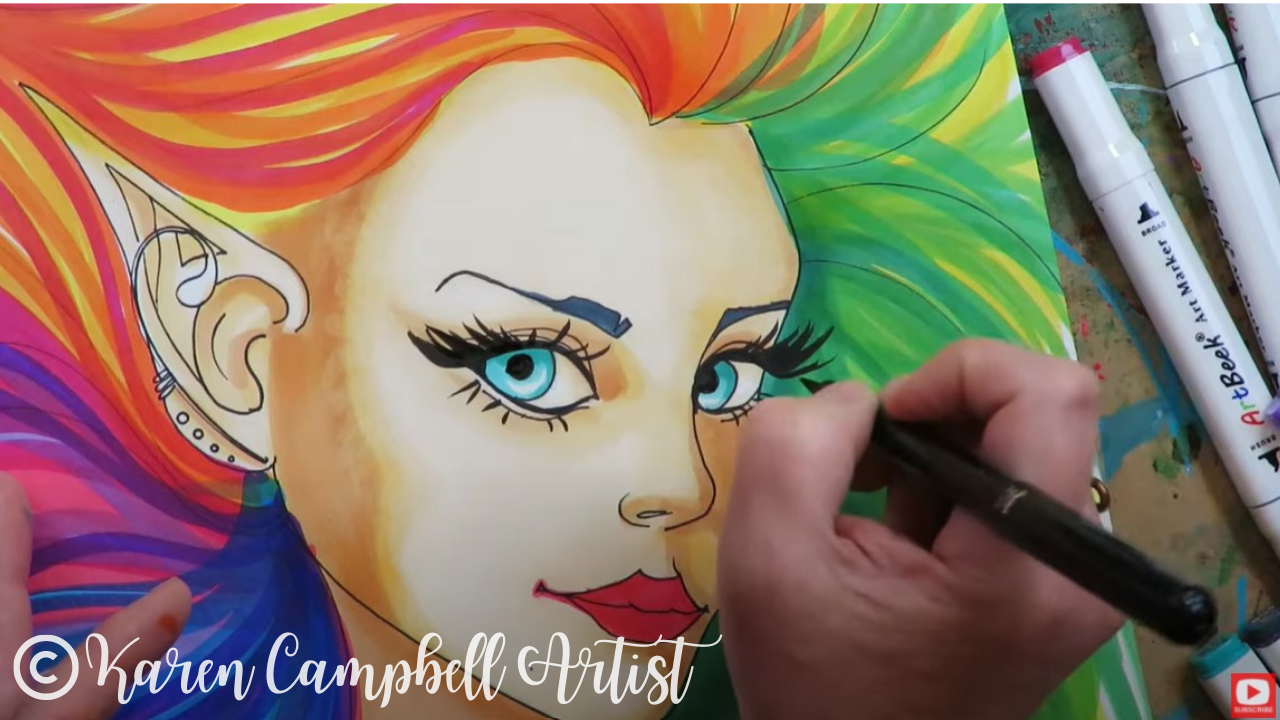
After my fairy is done, it's time for me to pull out my secret weapon for drawing killer eyelashes! I LOVE my pentel pocket brush. It's also water-based so works just as beautifully with alcohol markers as it does over china markers and my mixed media paintings!
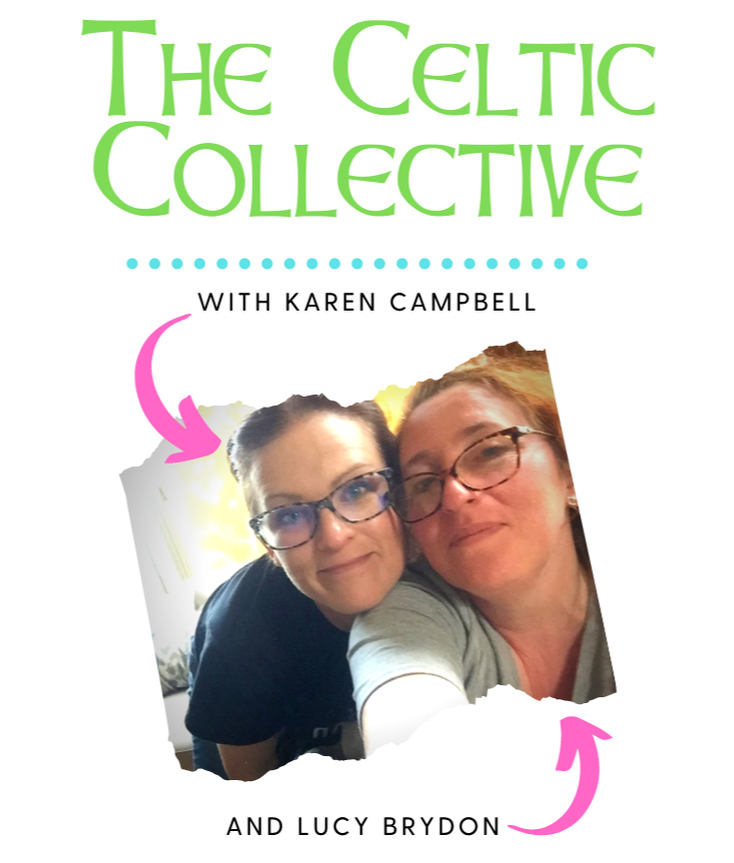
I hope you enjoyed today's fairy drawing lesson. Remember, if you haven't signed up for the FREE #50FunFabFairies drawing challenge - you can still do that whenever you want to. It's not too late to join, and there is no "behind" with the challenge. Everything is draw at your own pace on your own time! I've stocked the FREE classroom at AwesomeArtSchool.com for you with PDFs of our fairy reference images for each lesson, plus drawing cheatsheets to help you along, info on supplies and SO much more! Have so much fun and I'll see ya in the classroom, or if you're posting your progress in the Facebook group! If you're OBSESSED with fairies and fantasy art like me, you might just LOVE the Celtic Collective over at Awesome Art School. It's an art membership my Scottish bestie, Lucy Brydon, and I run together!
You might ALSO enjoy our podcast, 1Scot,1 Not. We talk about everything under the sun to do with Scotland - whether it's historical, fantasy, whatever. Just a quick warning - we have a blast and are totally ourselves on the podcast, which means there is some drinking and swearing.
❤️ CHECK OUT ALL my art books on AMAZON ❤️ MY FAVORITE ART SUPPLIES on AMAZON ❤️ MY BELOVED FACEBOOK GROUP ❤️ FOLLOW ME ON INSTAGRAM
0 Comments
Leave a Reply. |
Karen CampbellFounder of Awesome Art School. Mixed Media Artist. Author of 18 Instructional Art Books! Archives
May 2023
Categories
All
|
"Karen is flipping hilarious and she's very real...I like the way she teaches in a way that really gives you confidence, whether you're a beginner or advanced there's always something new to learn!"
- Elizabeth W. |
What Fans Are SayingKaren, you are absolutely fabulous! You make me feel like I can draw anything. I have recently retired and finally have the time to do some of the art that I have loved since I was in school. I am really at the beginning of my art journey and I hope to learn as much as I can. Thank you for all you do. |
Contact ME |