
Why Cheap Alcohol Markers are AWESOME **PLUS** 11 HOT Marker TIPS! (FaceChart Inspired Art No. 4)30/11/2022
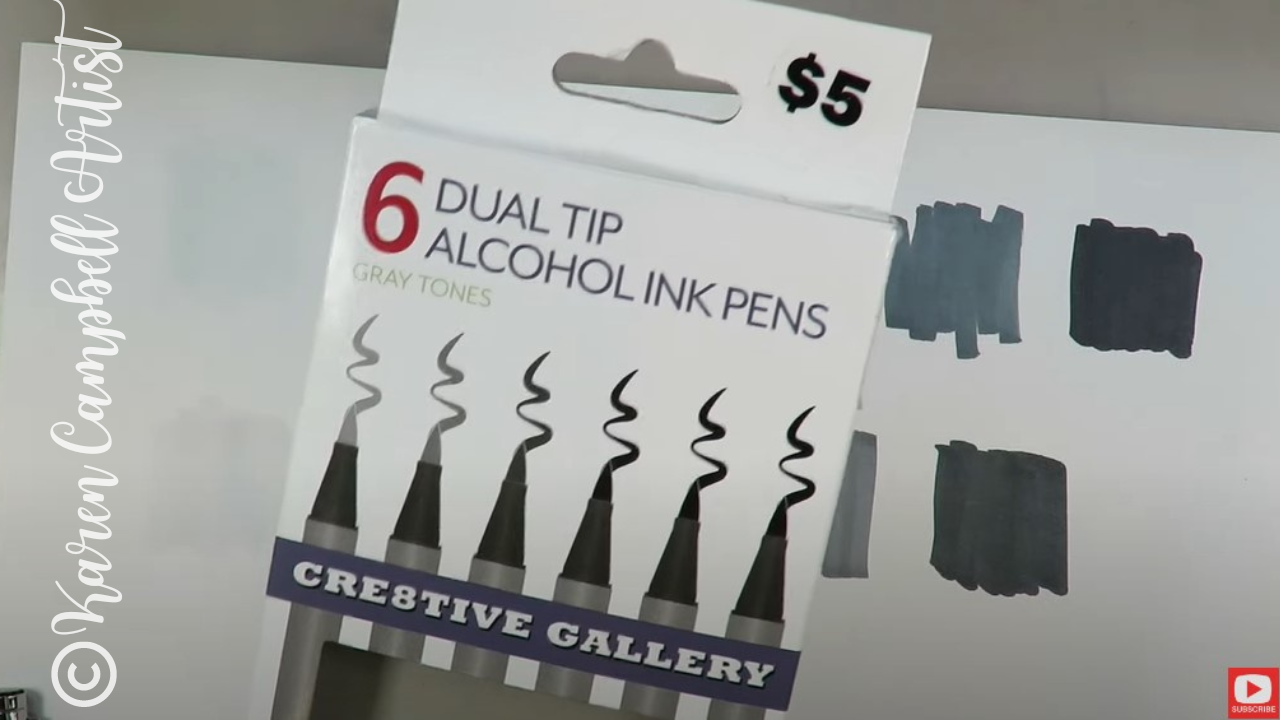
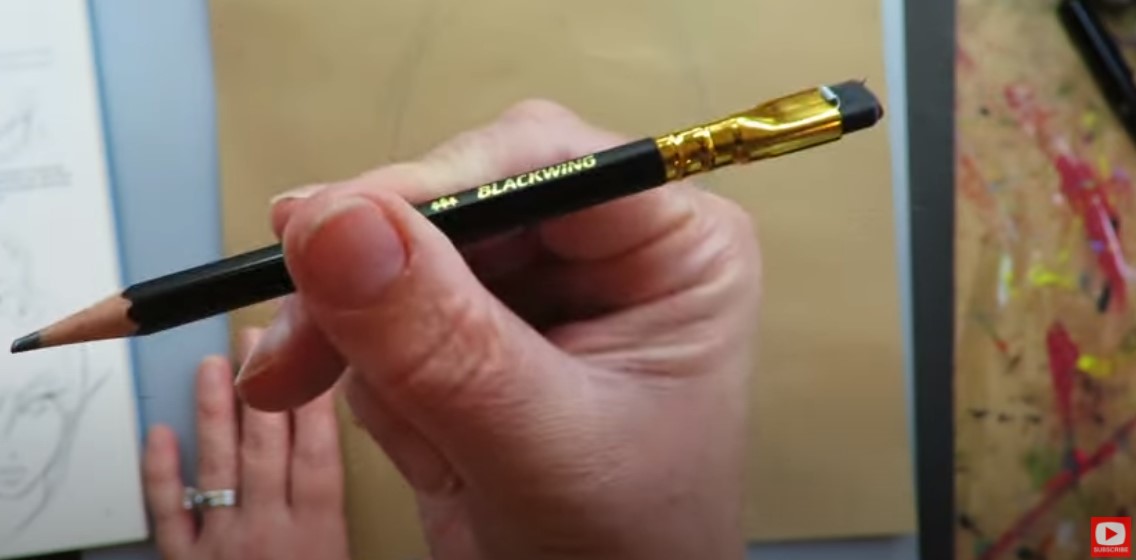
When it comes to alcohol markers, I keep noticing there is such a HUGE range in price points. WHY is THAT?! For example, I bought a 5-pack Copic Sketch Marker set in grayscale that comes with a fine liner, for $38 (~$6.33/marker) on Amazon. Recently I also grabbed a 6-pack grayscale set of alcohol markers FOR $5 at my local Five & Below shop. You can't really beat the price at less than $1/marker.
But...will they perform? Let's find out!! 
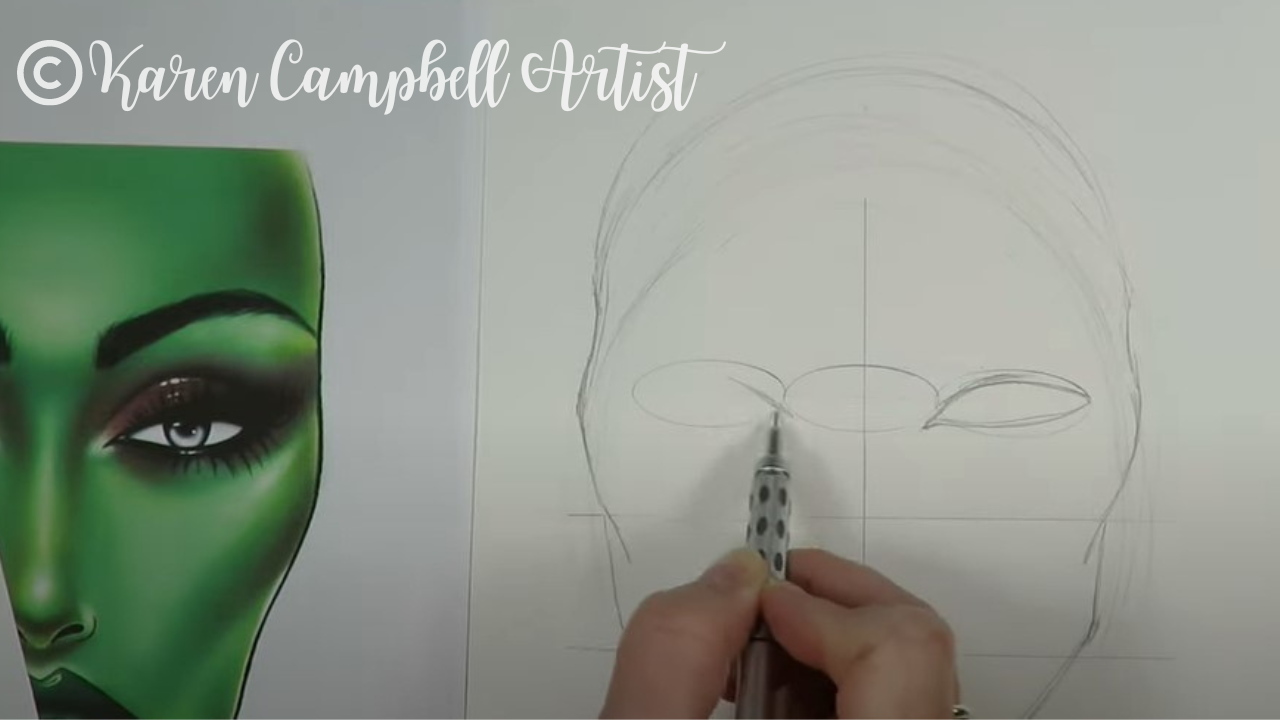
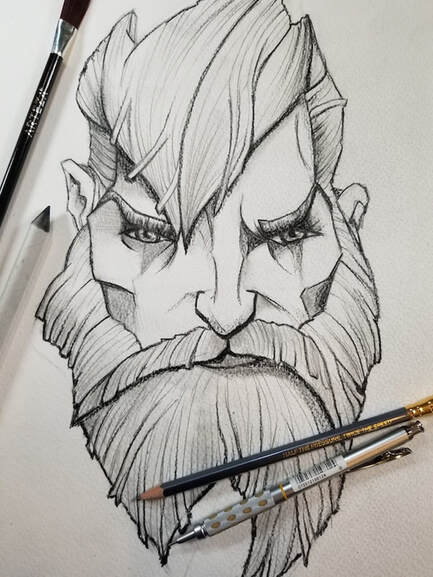
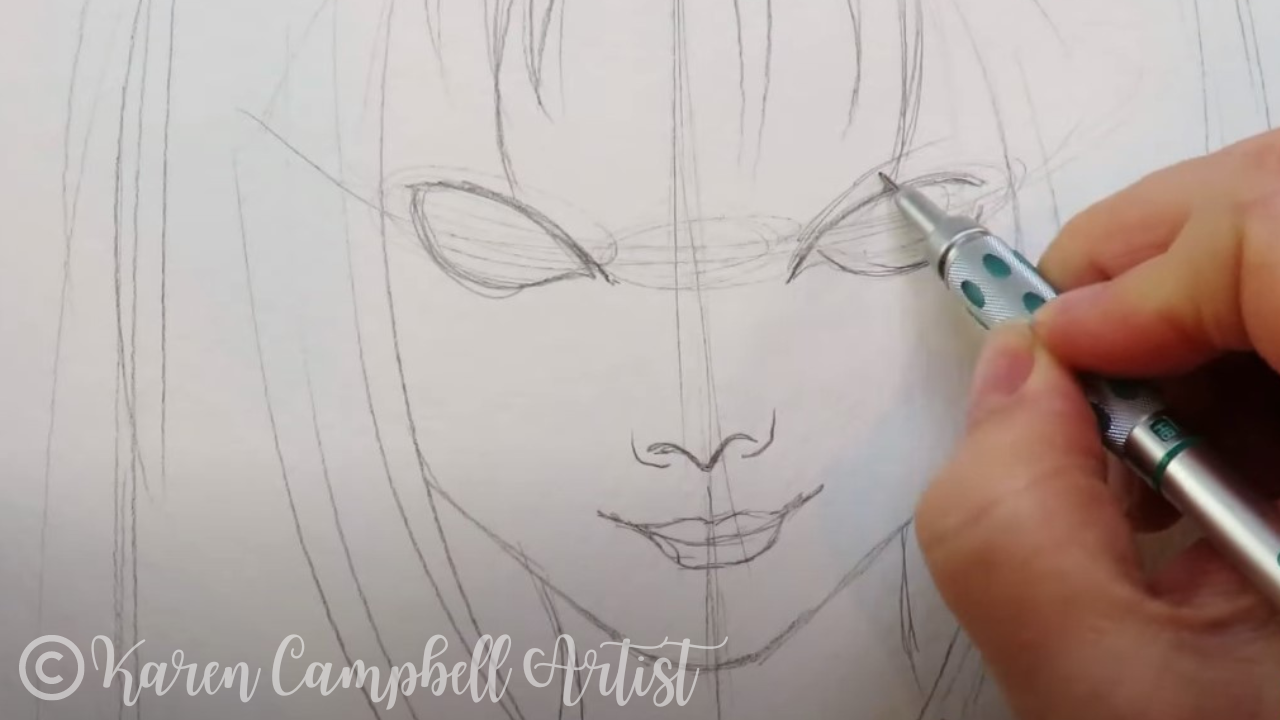
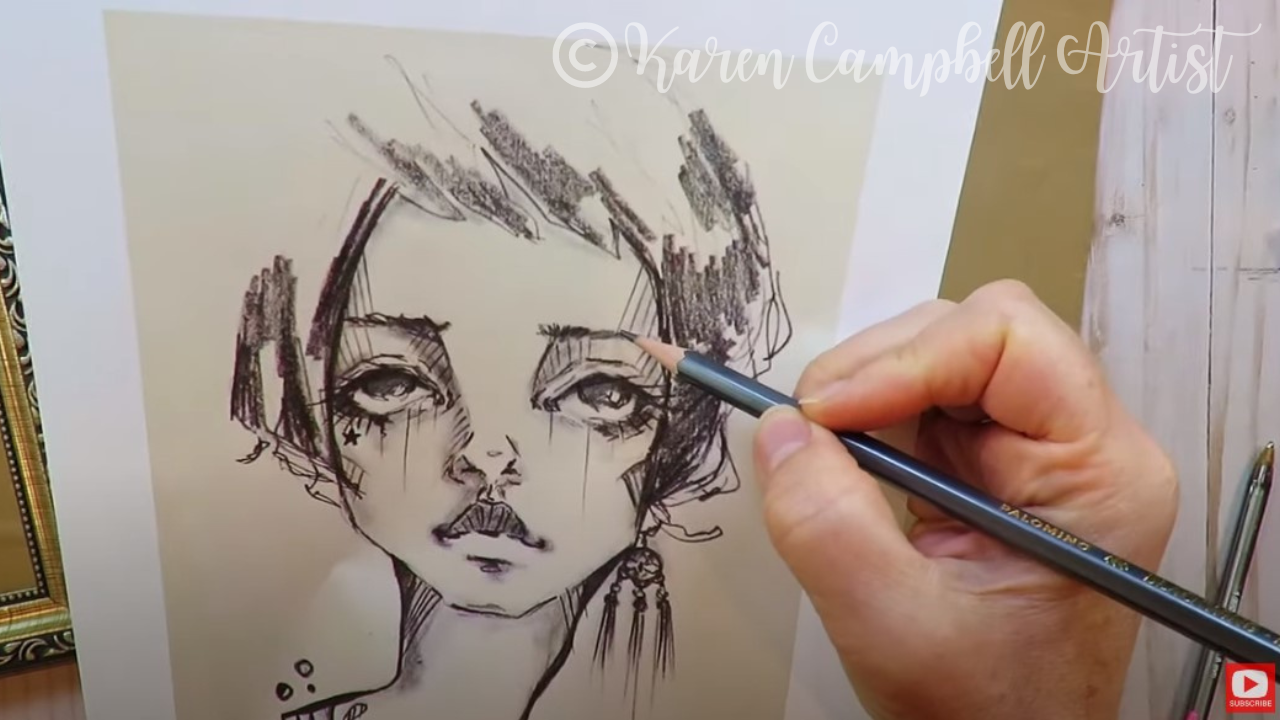
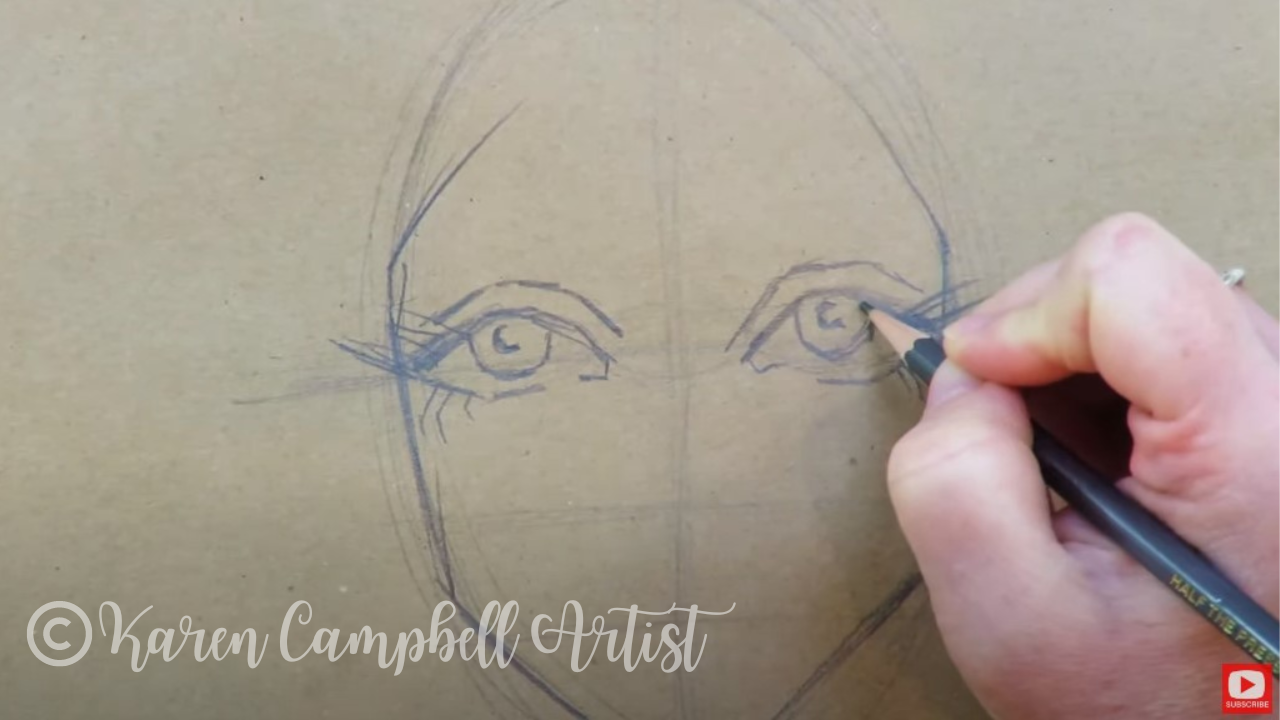
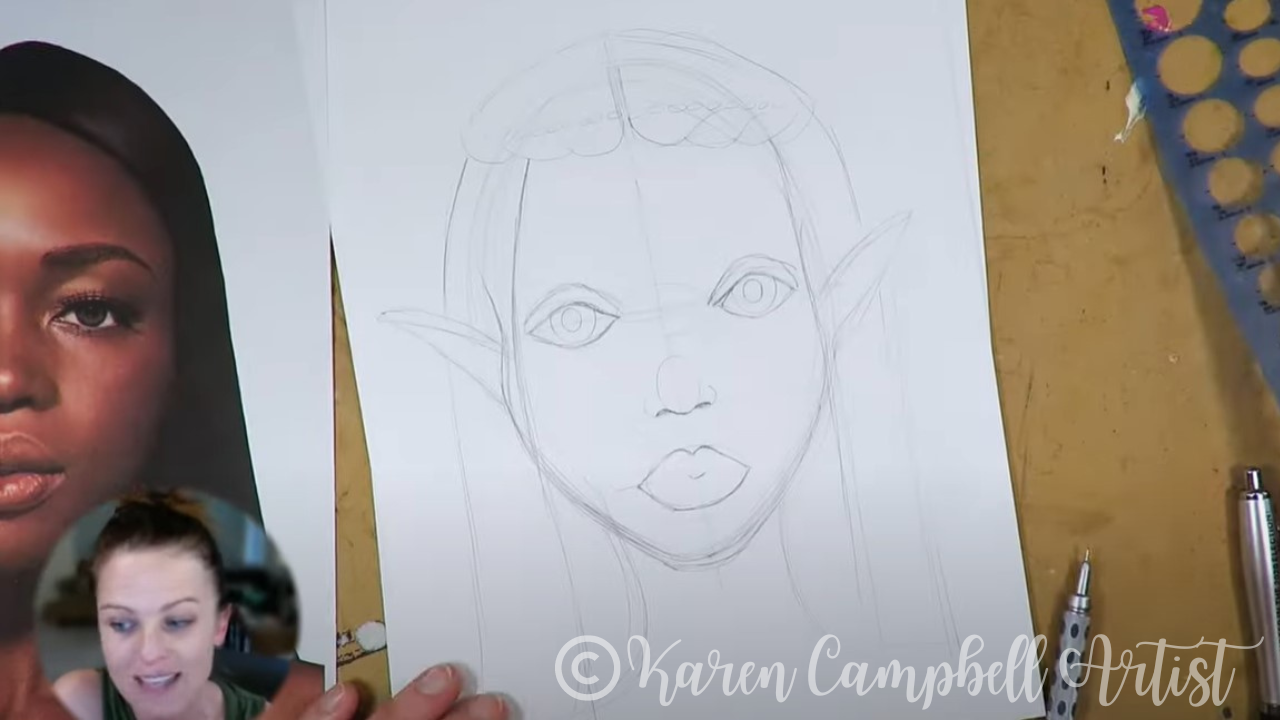
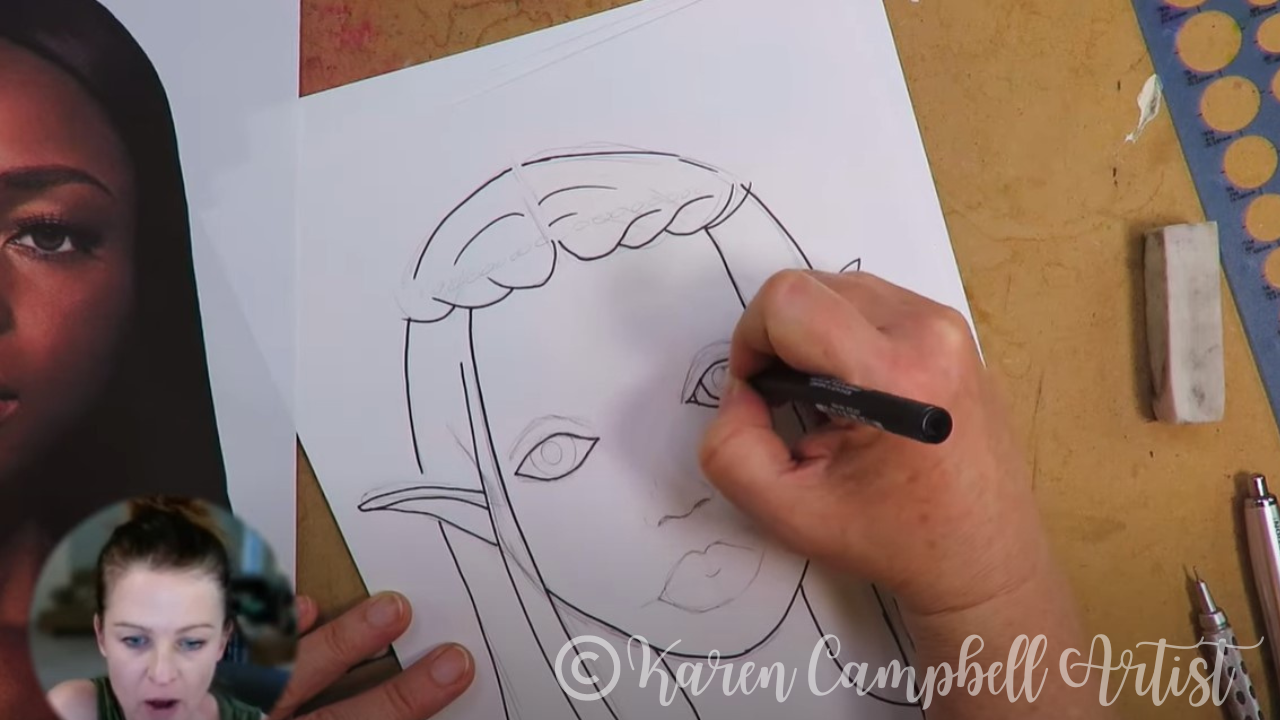
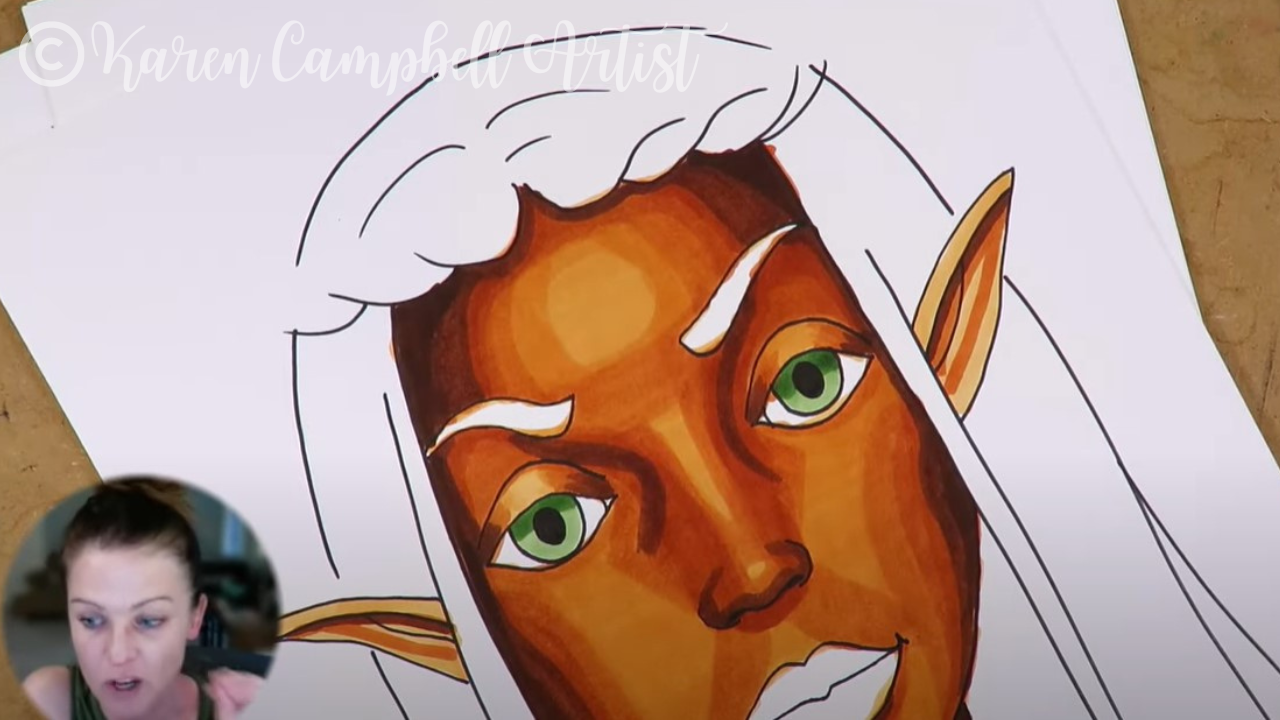
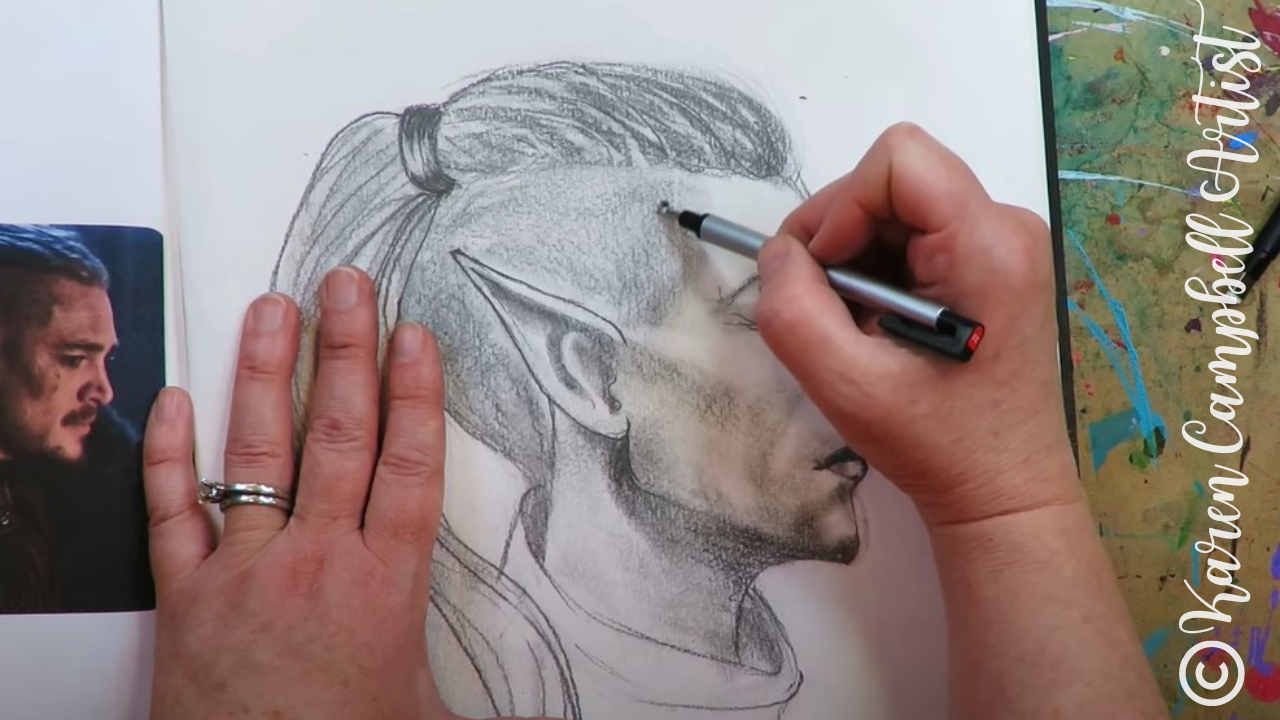
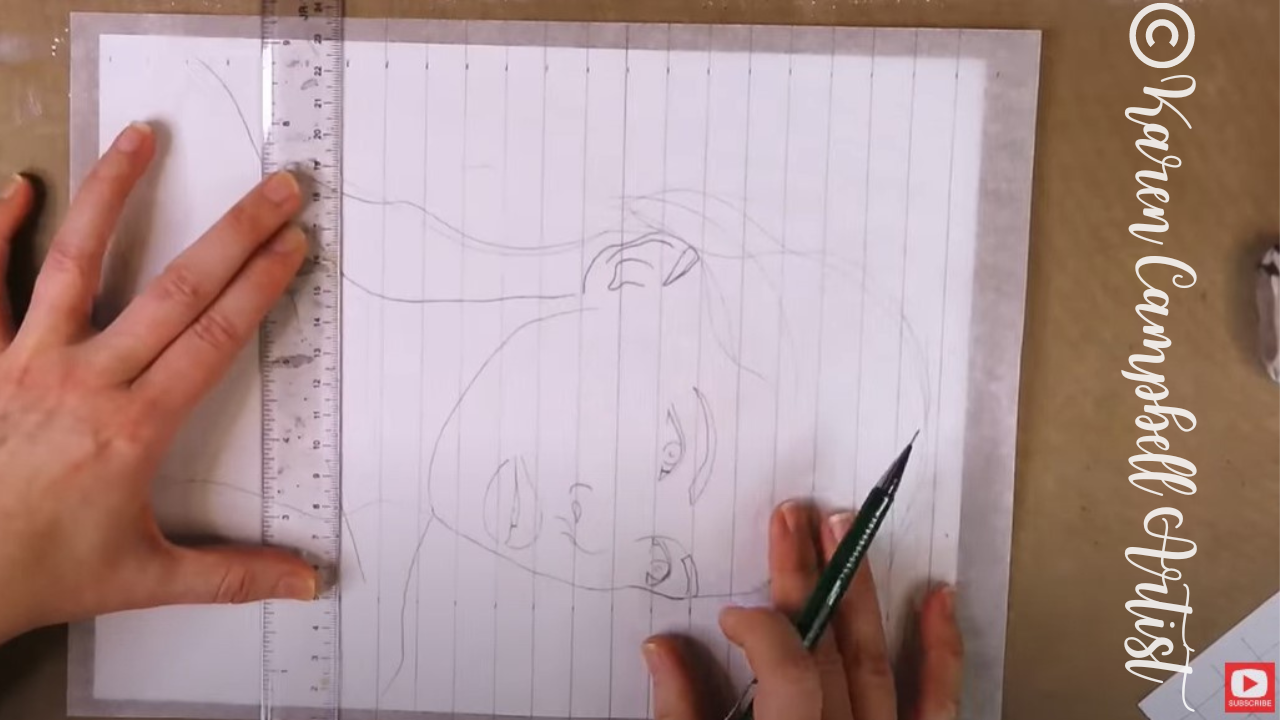
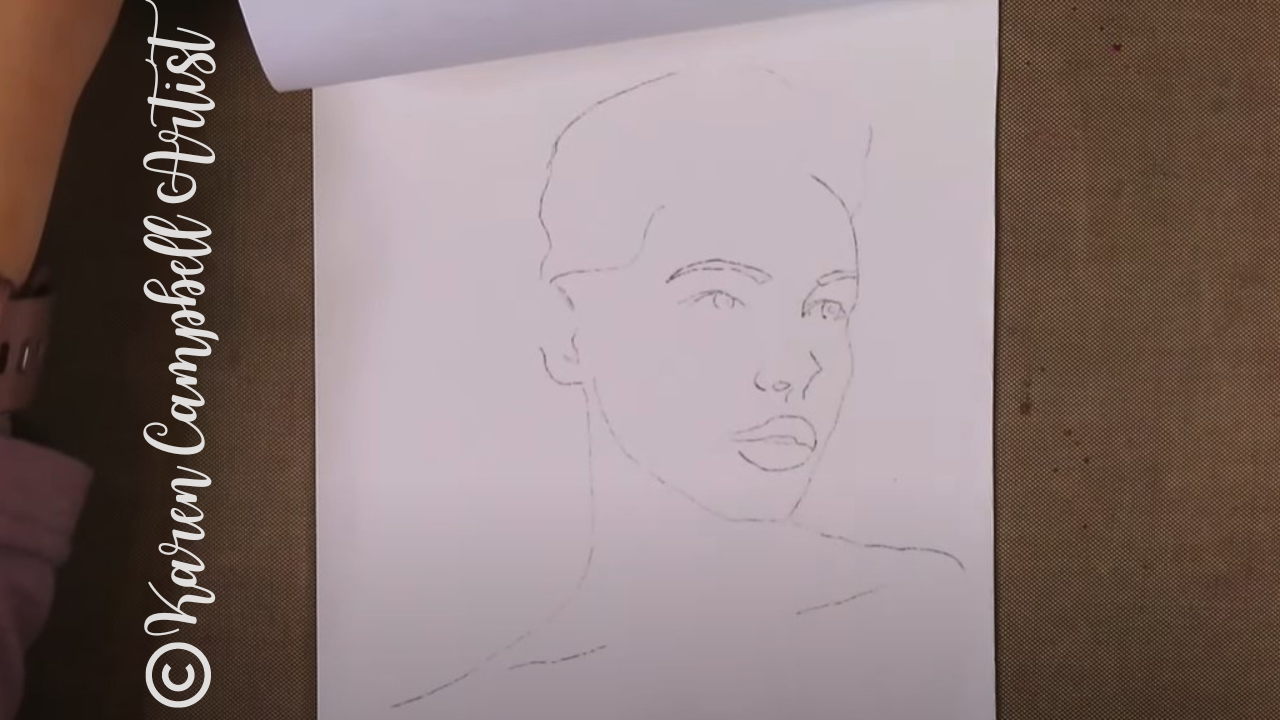
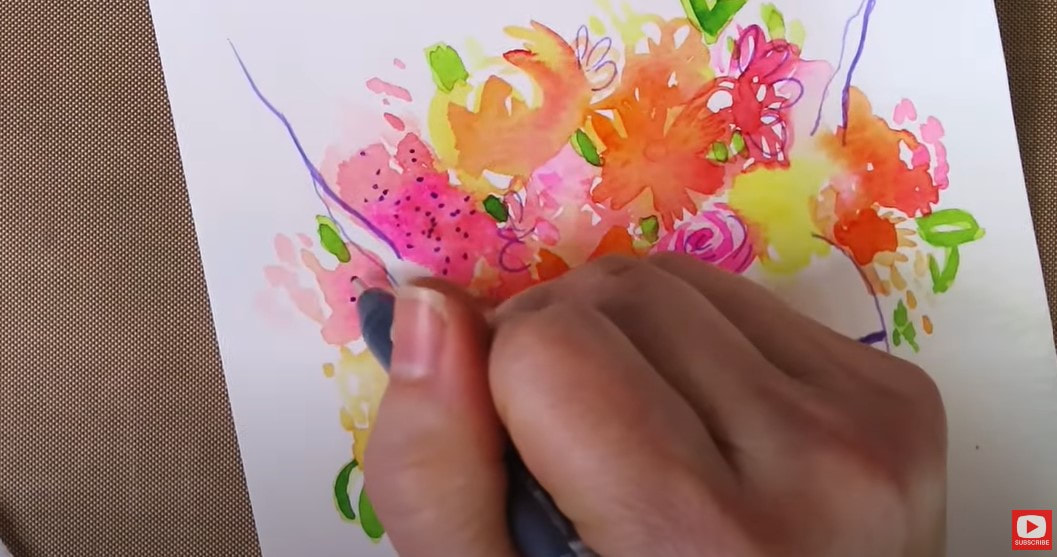
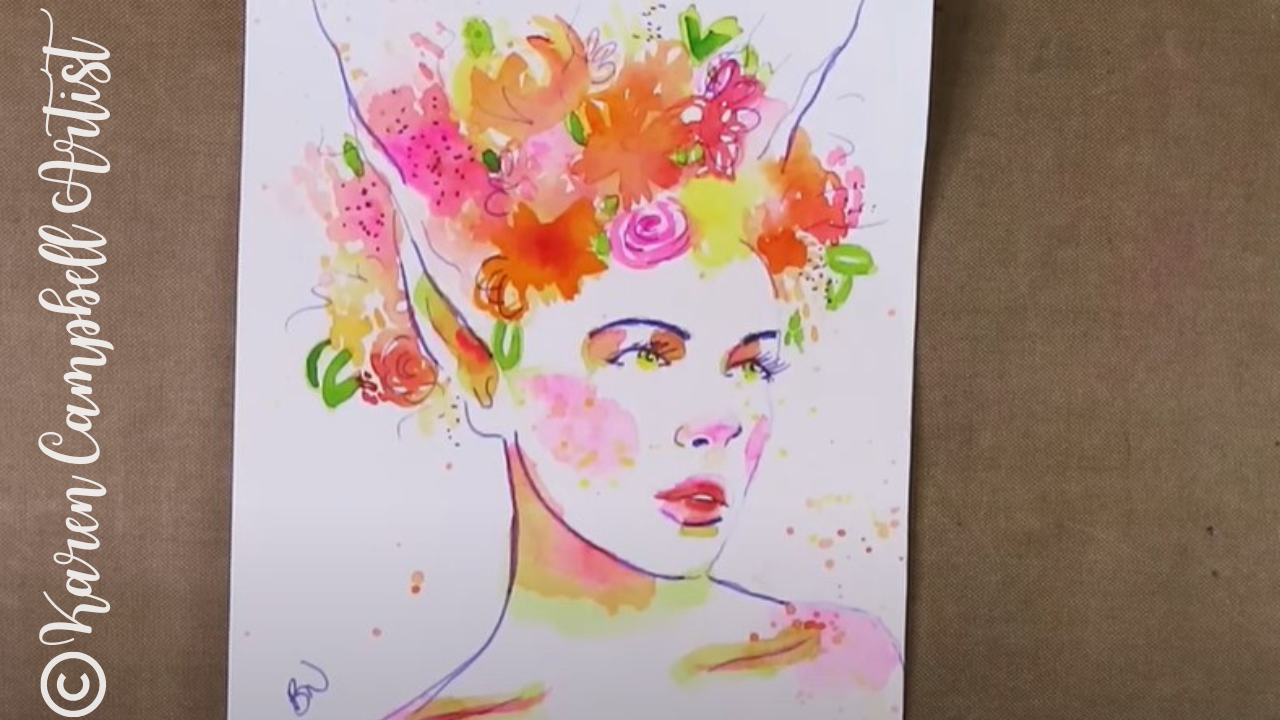
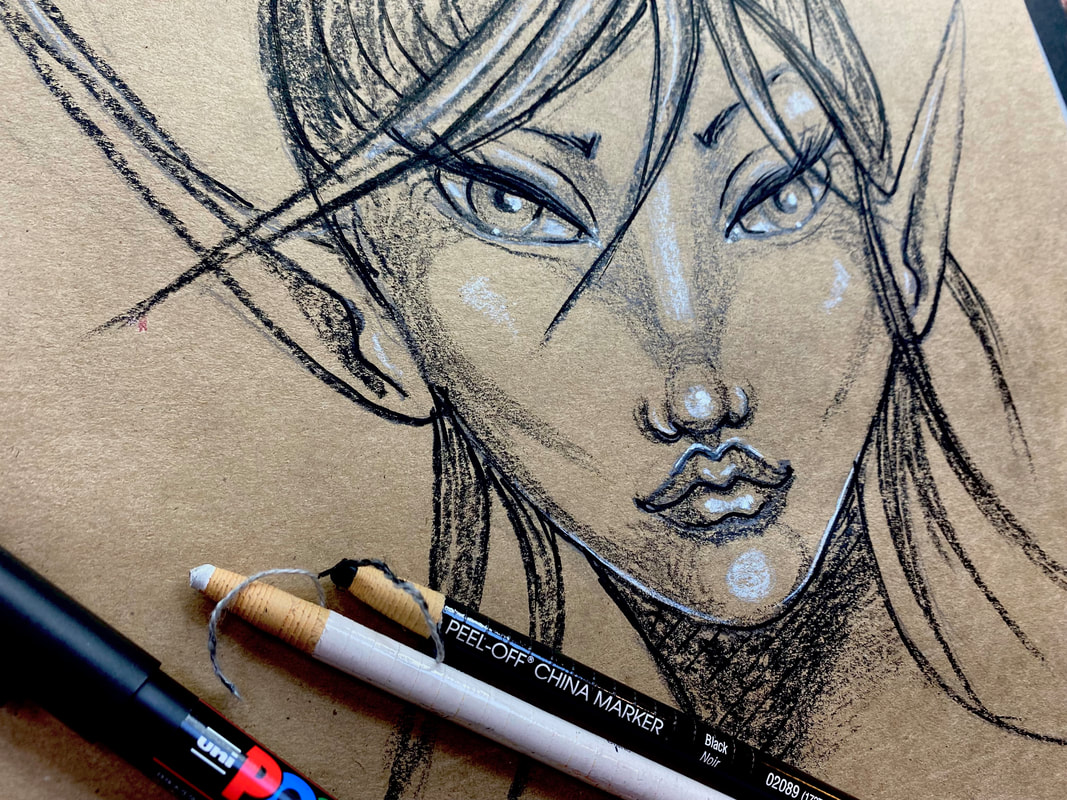
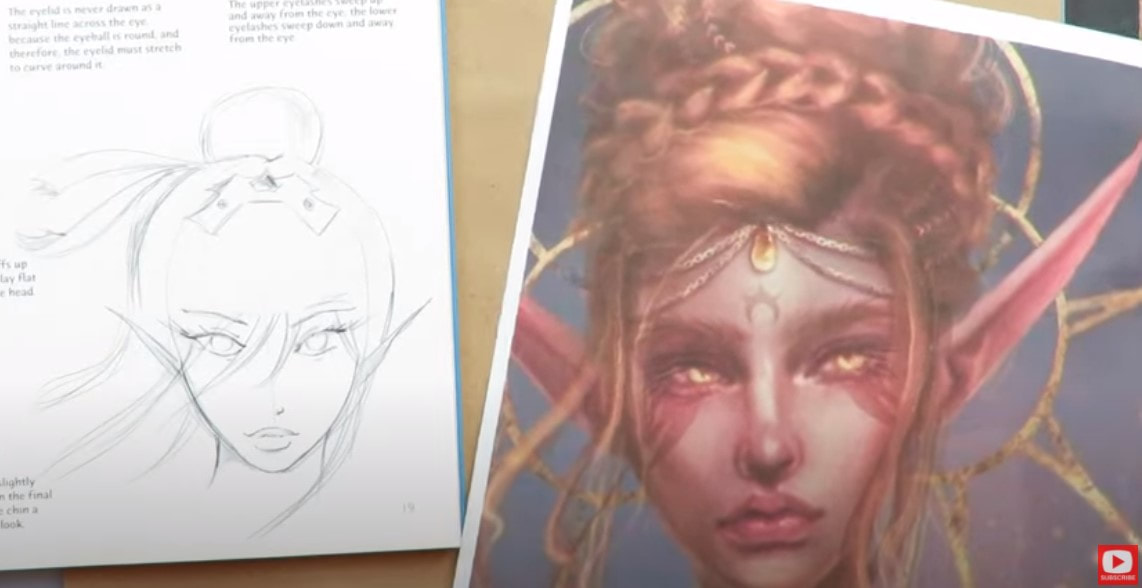
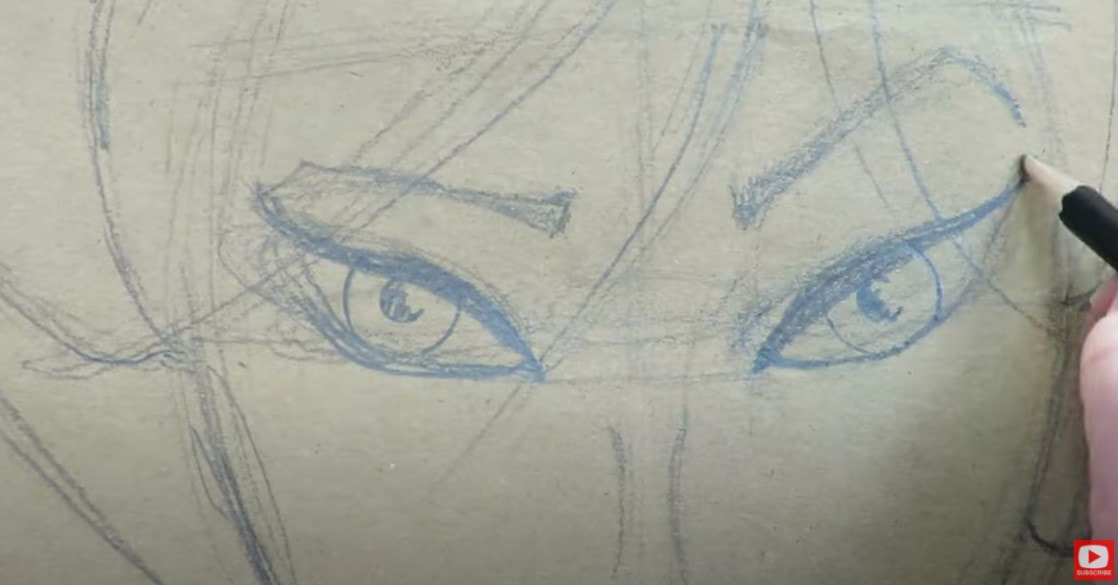
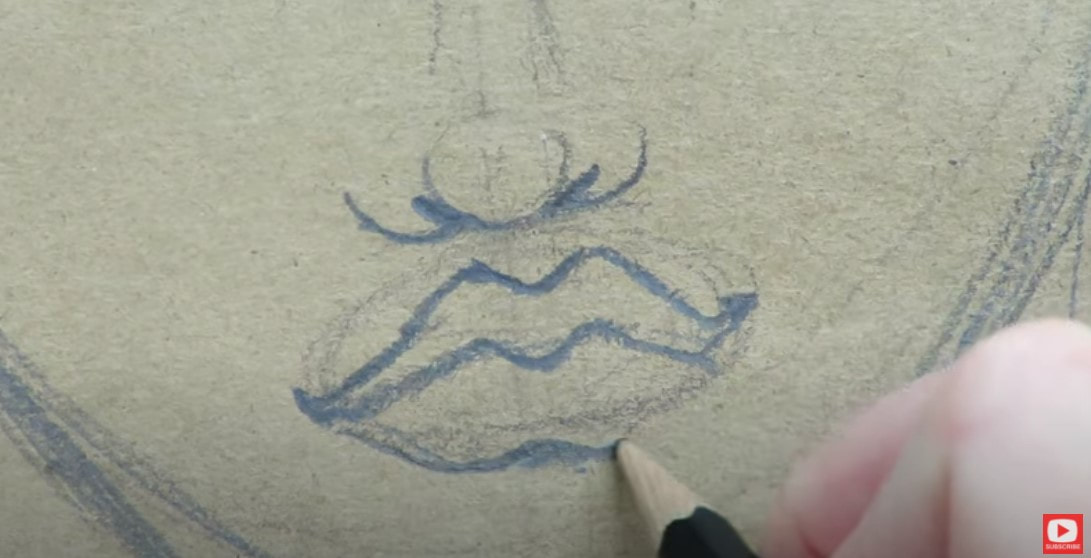
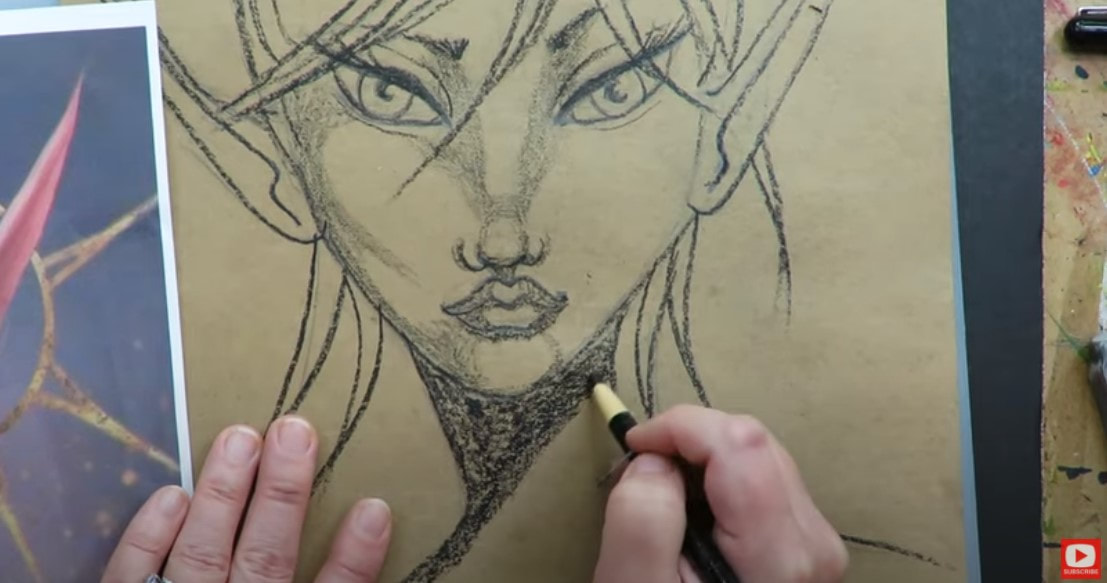
I seriously HOPE you are drawing along with me today! Face charts make amazing face drawing references!!
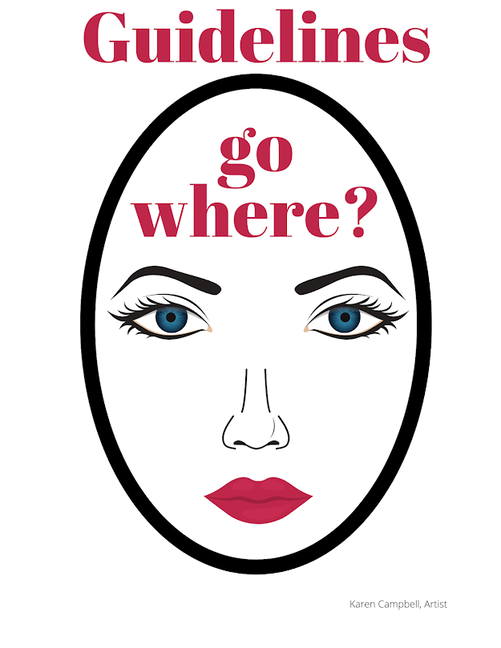
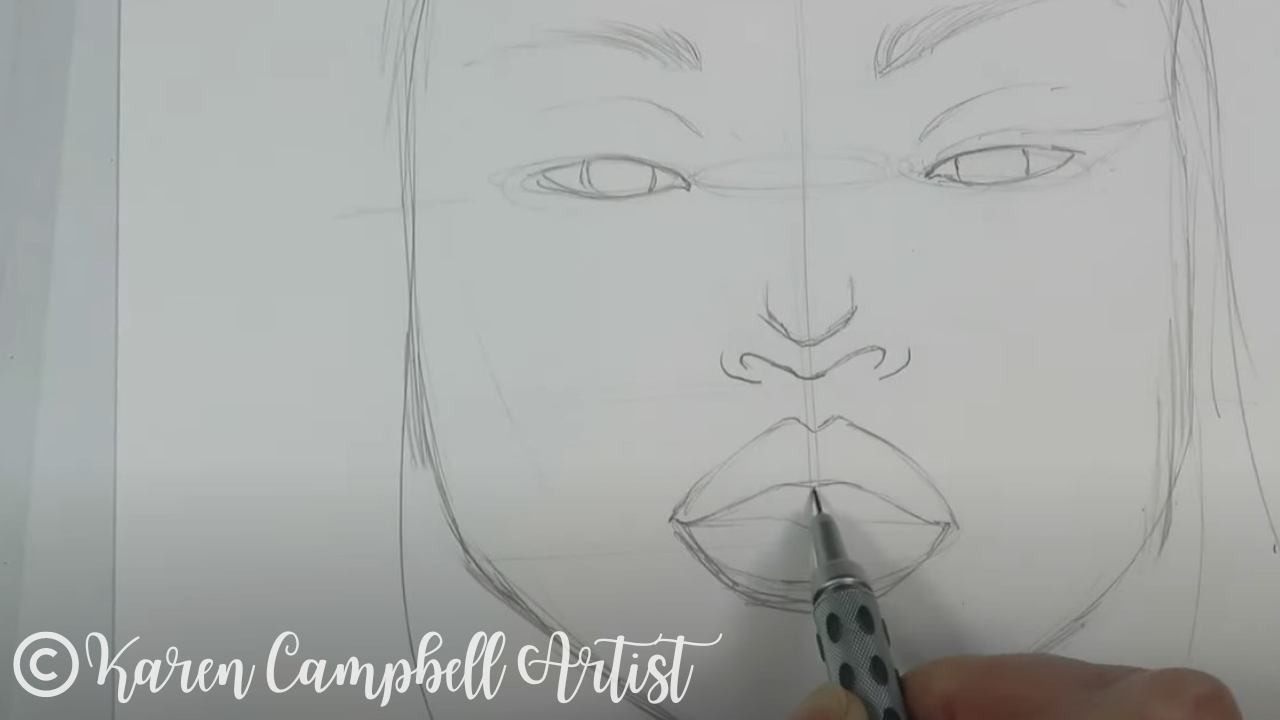
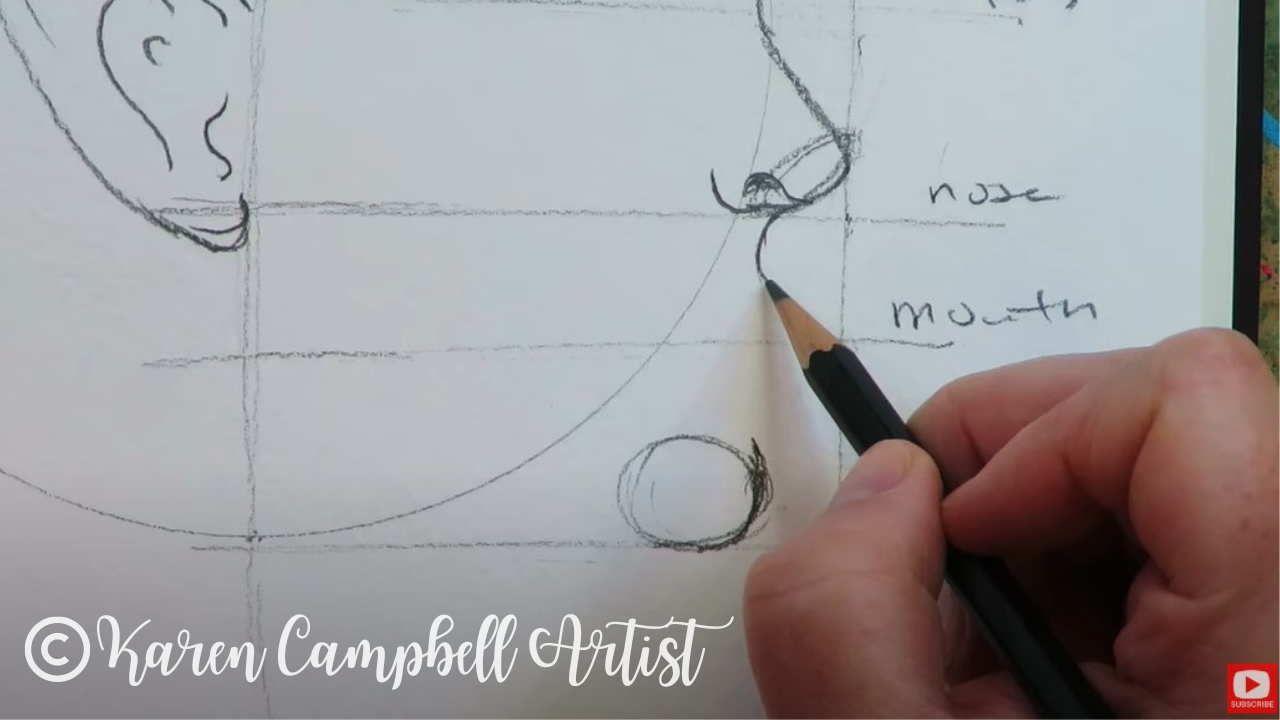
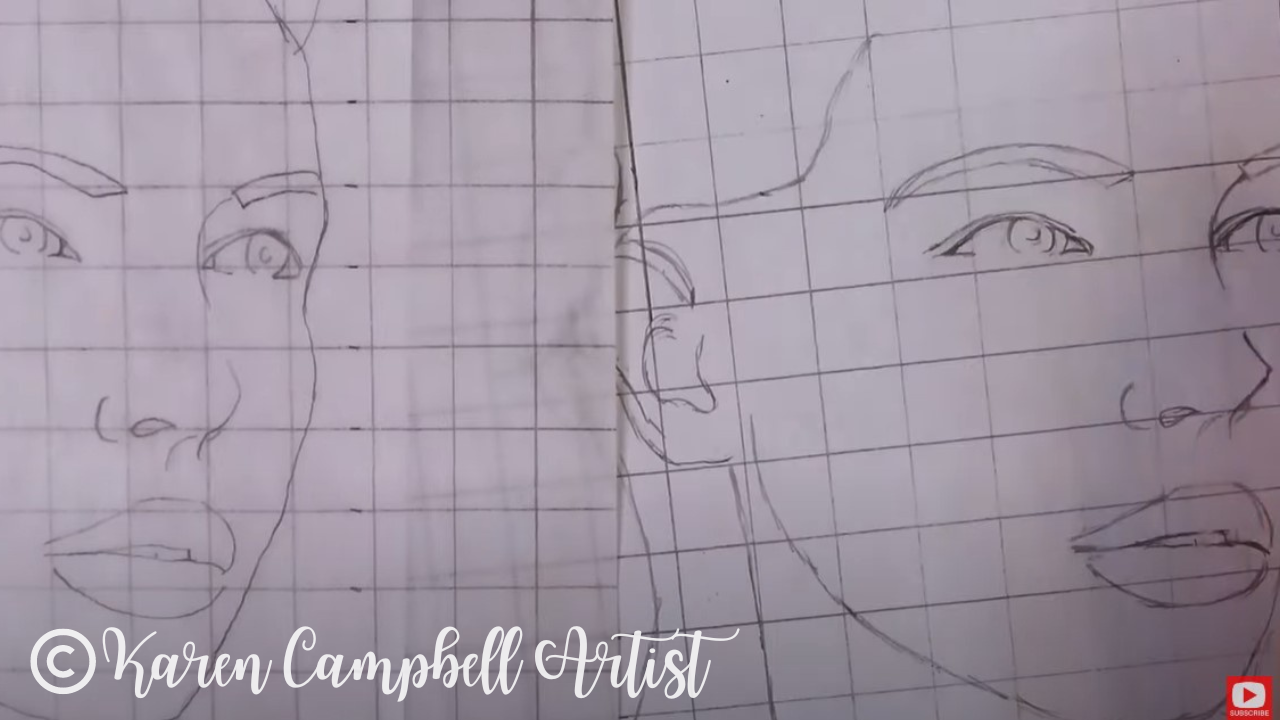
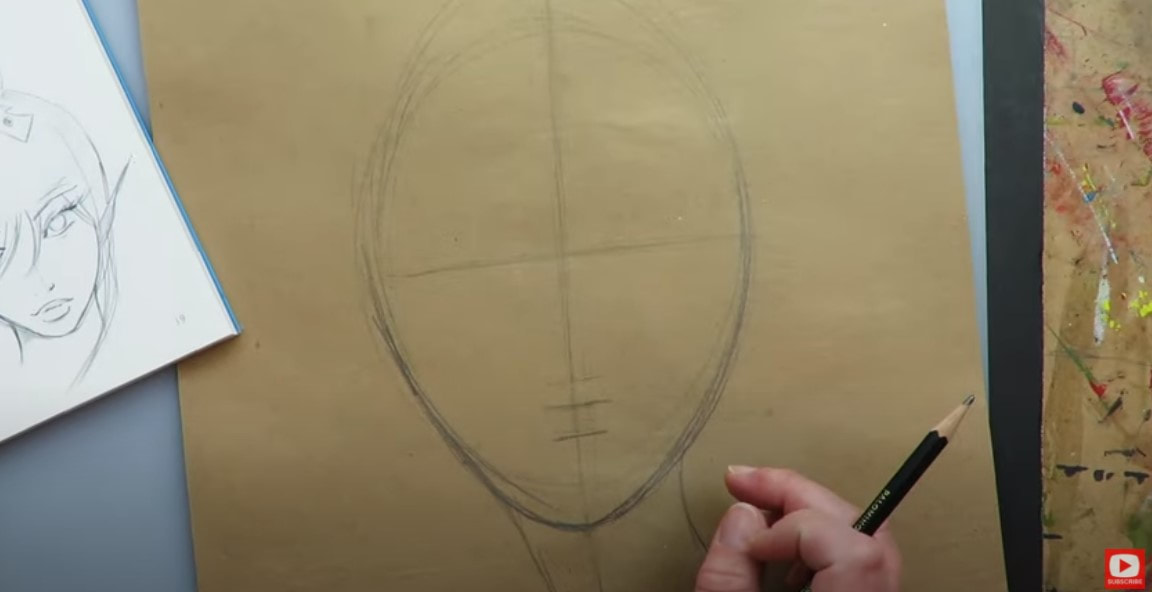
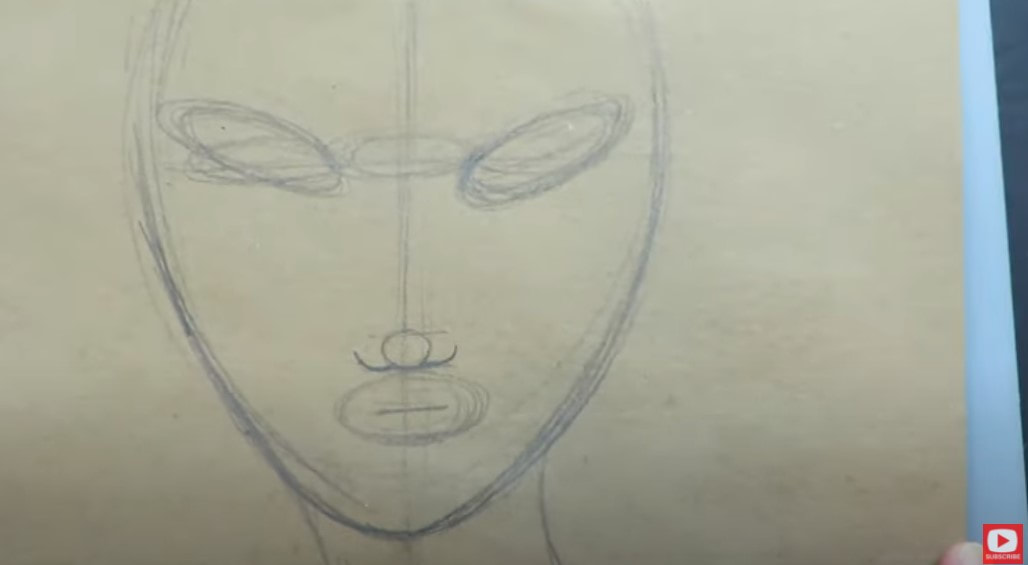
But before you even attempt drawing the fun makeup in today's reference, you NEED to make sure your facial features are proportional! How do you do that?! With my FREE whimsical face drawing guidelines! Click the button below and I'll send them straight to your inbox! 
Before we continue, super quick announcement: All product links are Affiliate. I may earn a small commission if you choose to order through these links but by law there is never any additional cost to the consumer for doing so. I thank you for your support.
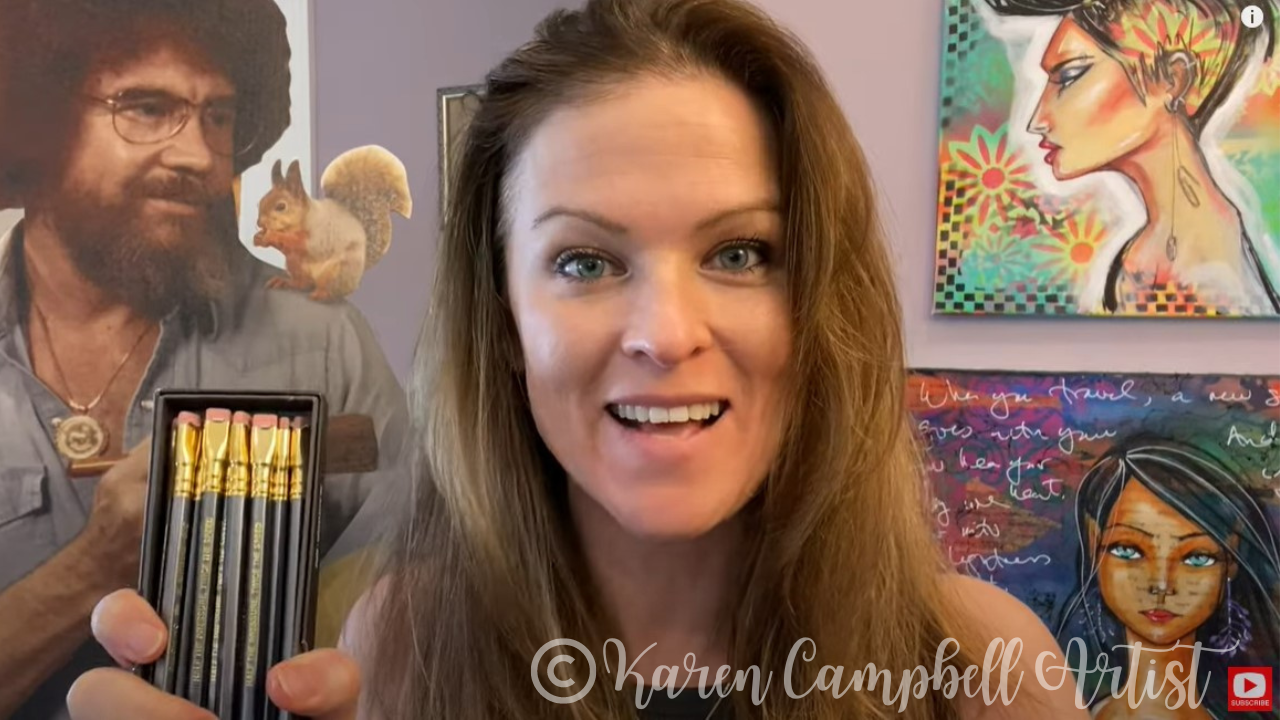
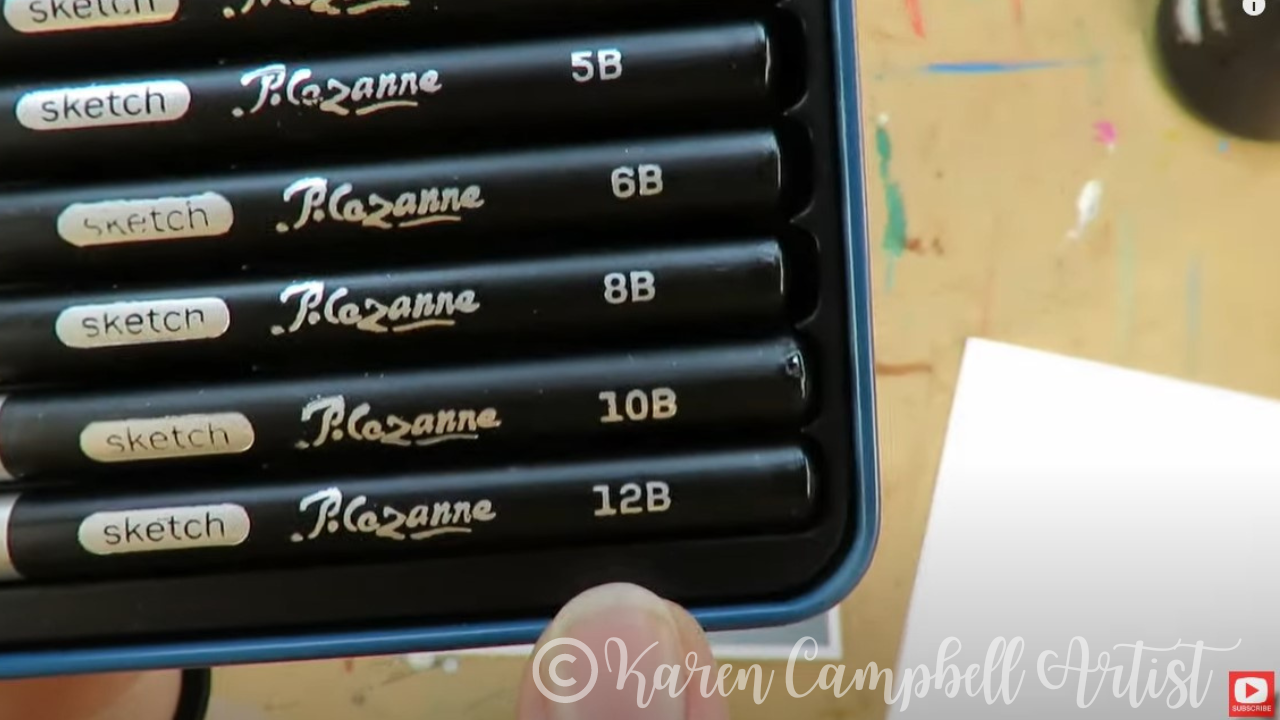
Whenever I get new markers, I've gotta swatch 'em to see what I've got! I compared the Five & Below cheapies with my neutral grayscale set of copic sketch markers (see how they compare below). The top line is the cheapies (that set came with one additional marker, so score!), and the bottom line is my copics.
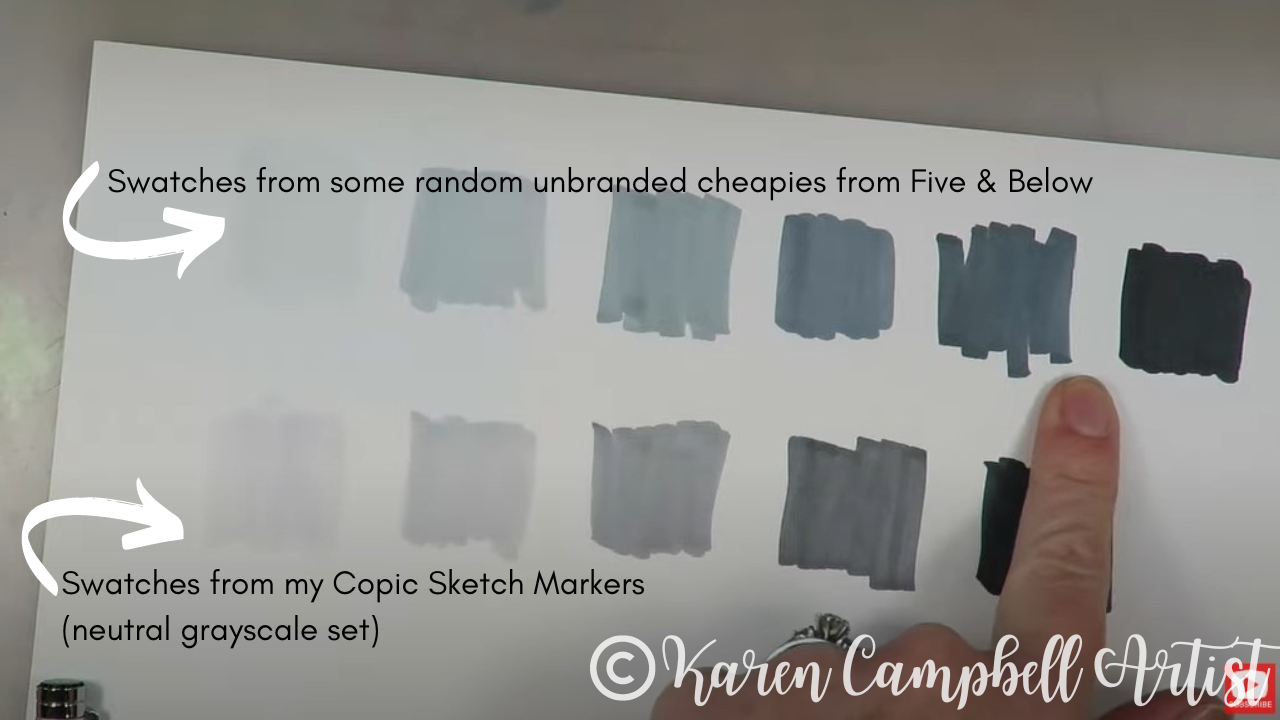
I love the gradation and the value scale range included in both sets, but I gotta say - whenever you can get MORE colors - I tend to gravitate toward that option, so way to go Five & Below!
However, I also REALLY love how Copic included one of their black fineliners in this set. The fineliner they included retails for about $12 on its own - so adding this to their grayscale pack is really pretty generous. 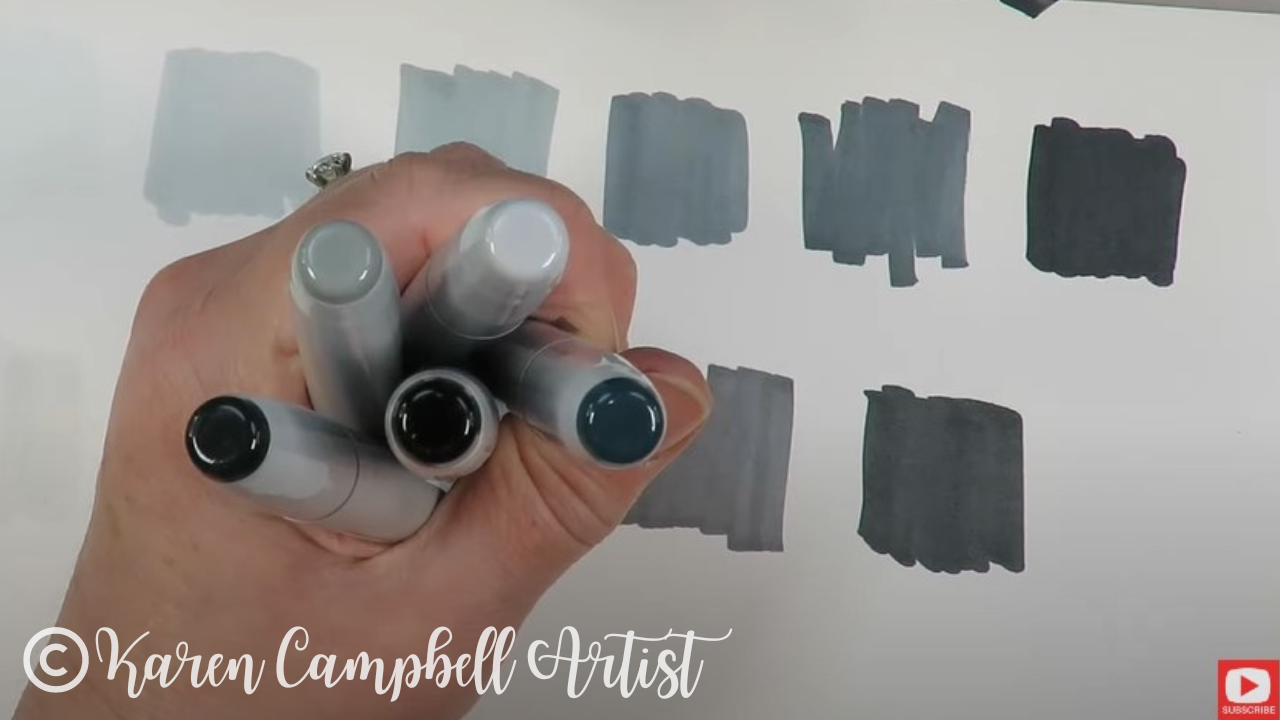
Whoever manufactured the cheapies from Five & Below DID cut some corners by producing their alcohol markers without labels. Kinda hilarious. At least the opposite sides of these caps have labels so I don't have to swatch again every time I grab a marker!!
In terms of quality- the nibs in this set are great, and the ink is nice and juicy, so these were definitely worth picking up. I have no idea how readily available this specific pack of alcohol markers are, but I guess my general advice is not to shy away from grabbing a set of cheapie alcohol markers when you find them at your local dollar or craft store.
Pretty much every set I've picked up, I've been happily surprised by in terms of quality. Now let's see how they PERFORM in an actual project! 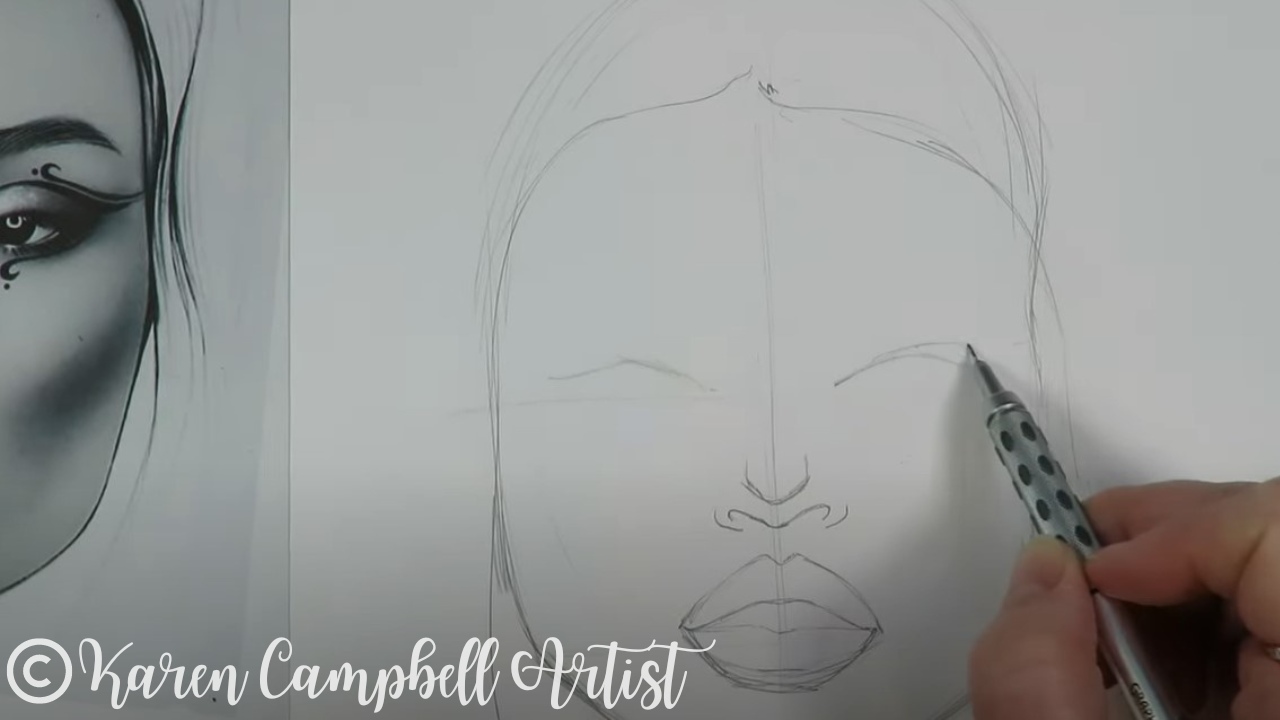
Make sure you click over to see today's face chart inspired drawing tutorial so you can DRAW ALONG with me!! Don't just sit back and watch - go grab your markers and come draw with me!
Need today's face drawing reference? Grab today's along with the last 3 in this series right here in my YouTube & Cheatsheet Library.
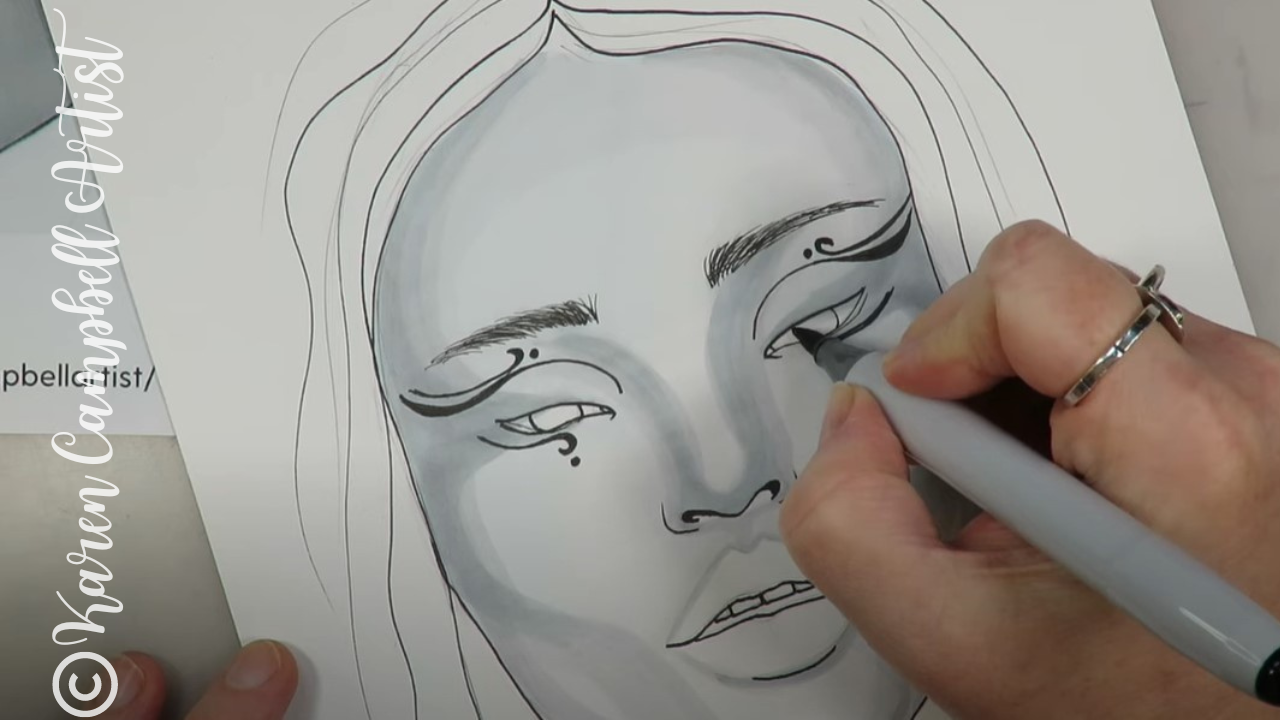
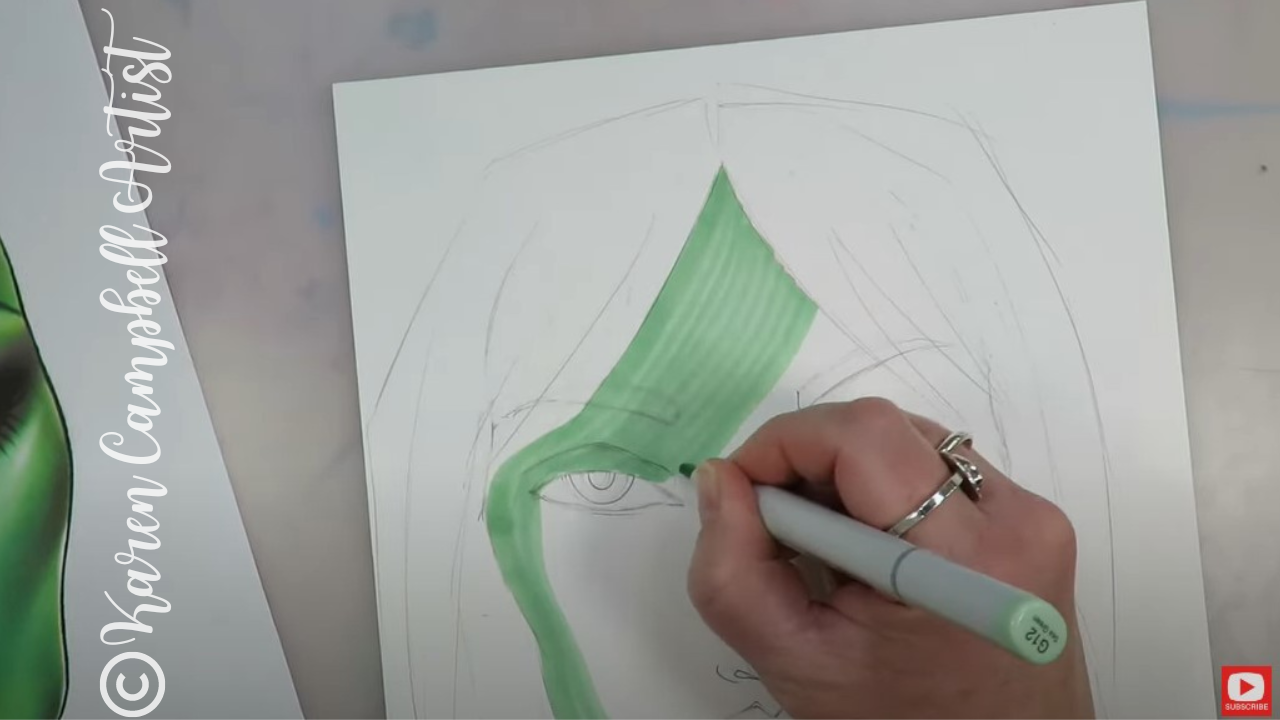
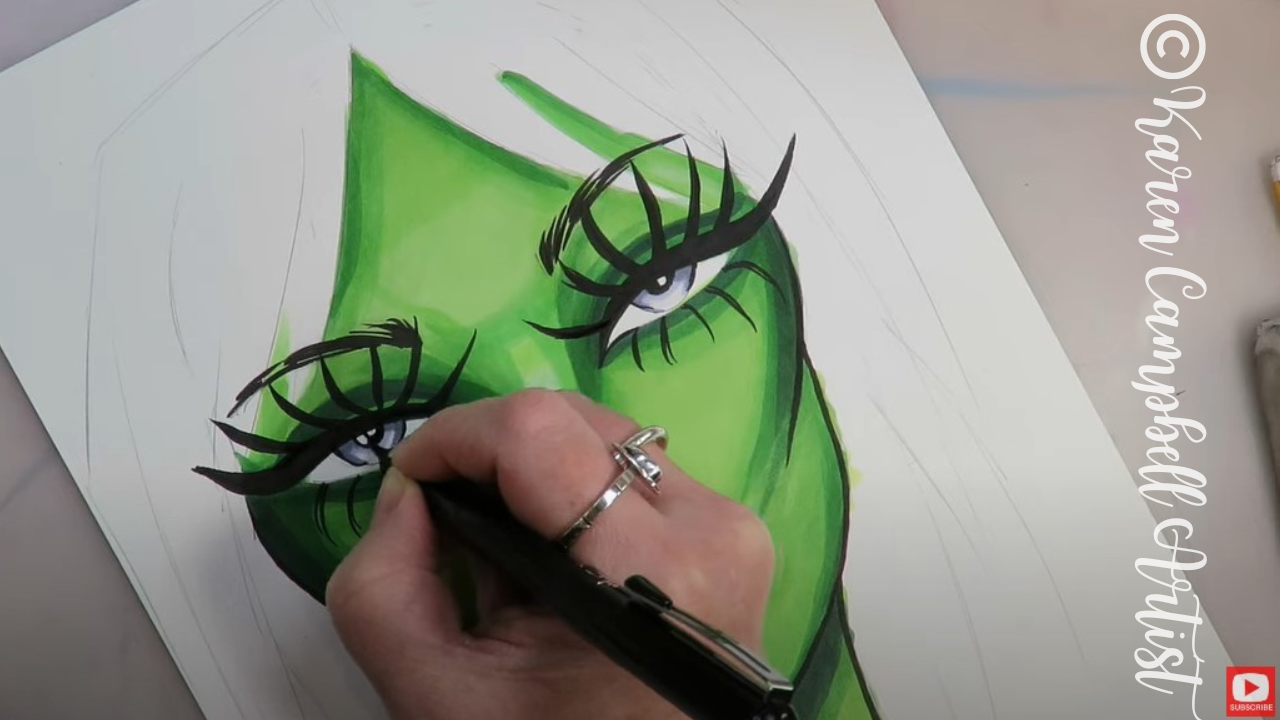
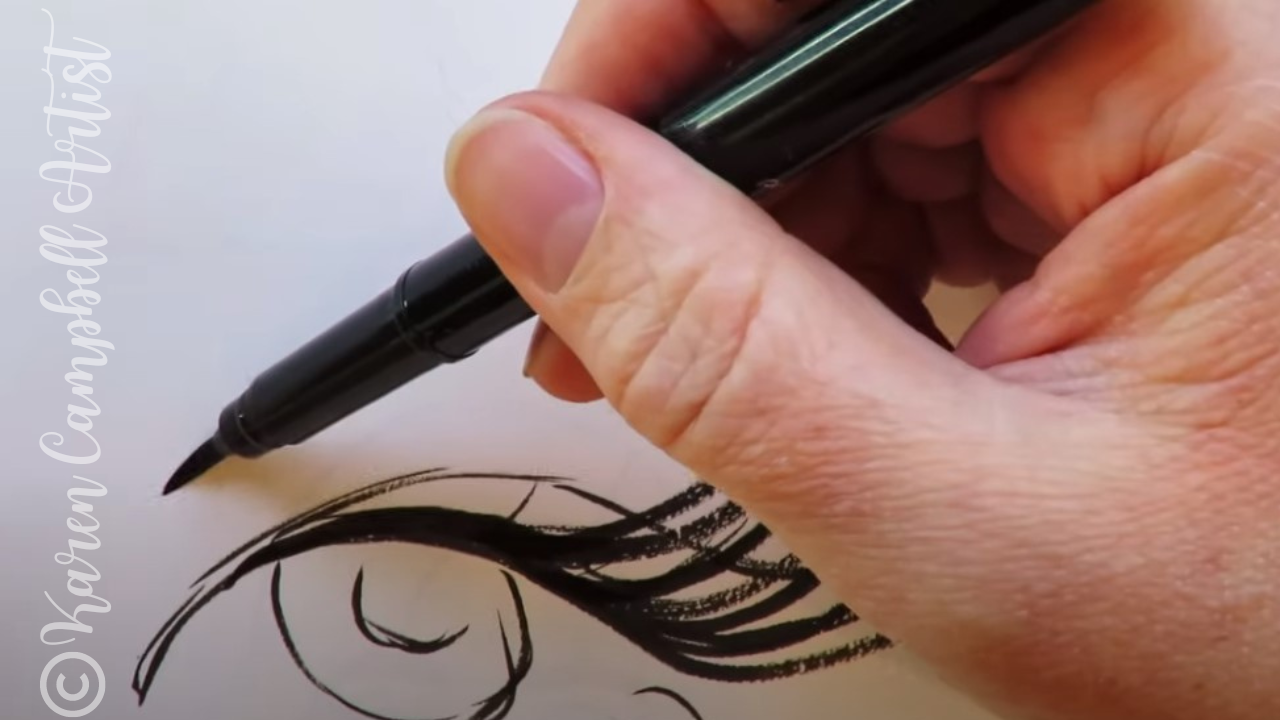
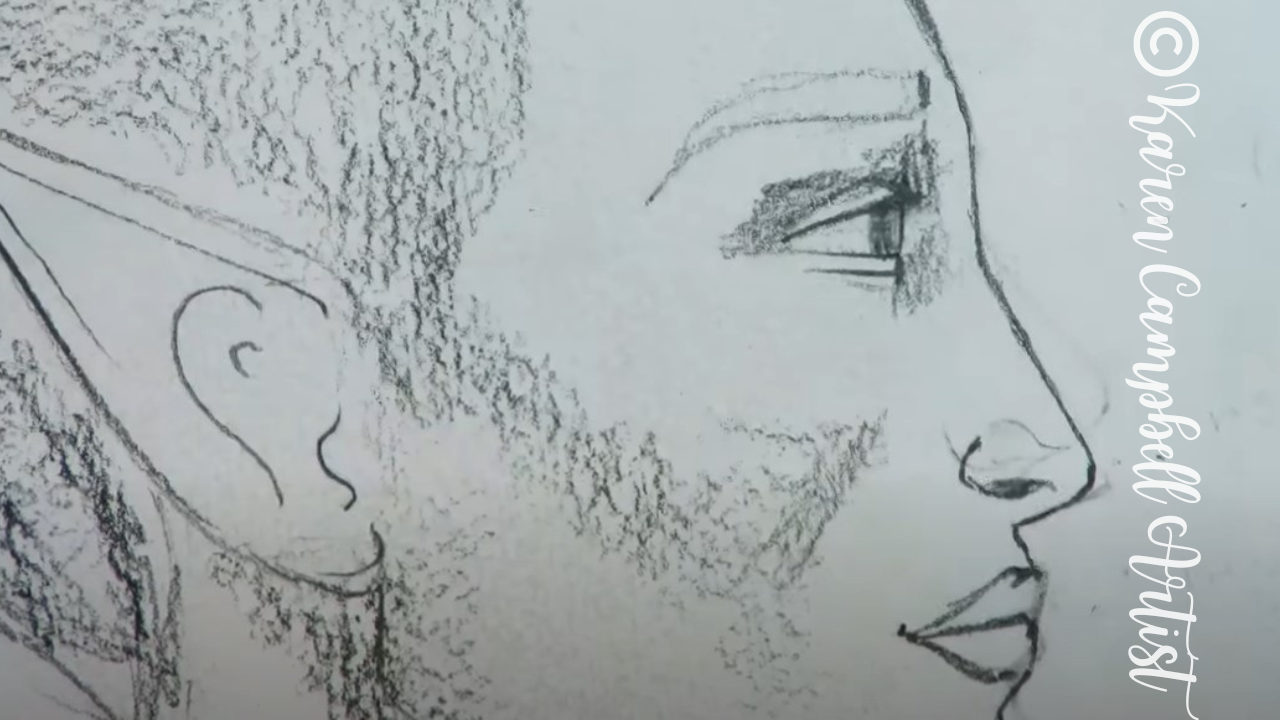
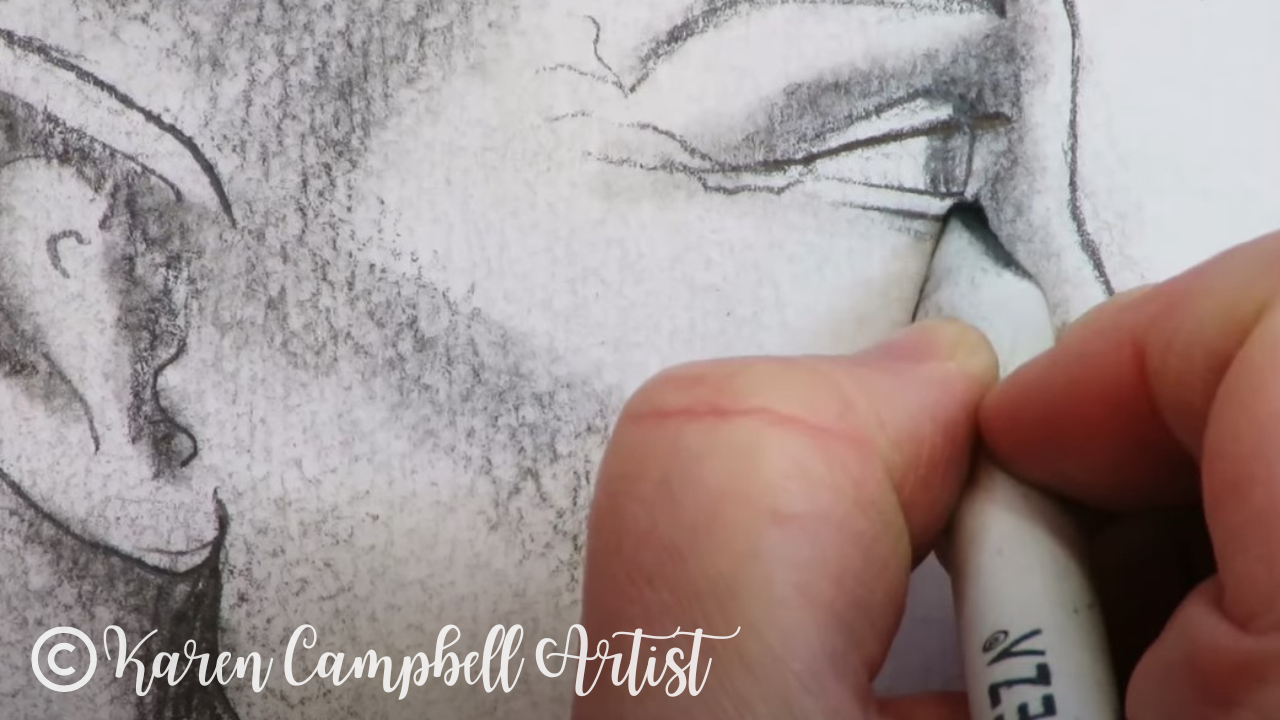
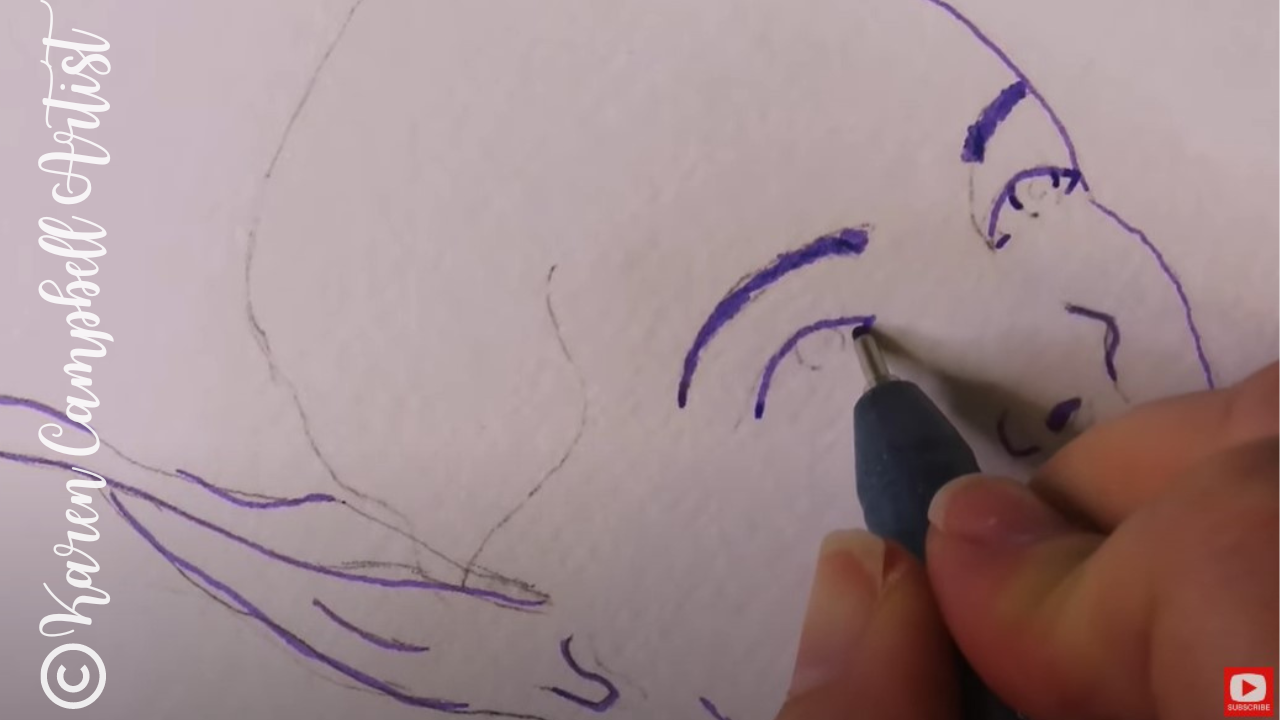
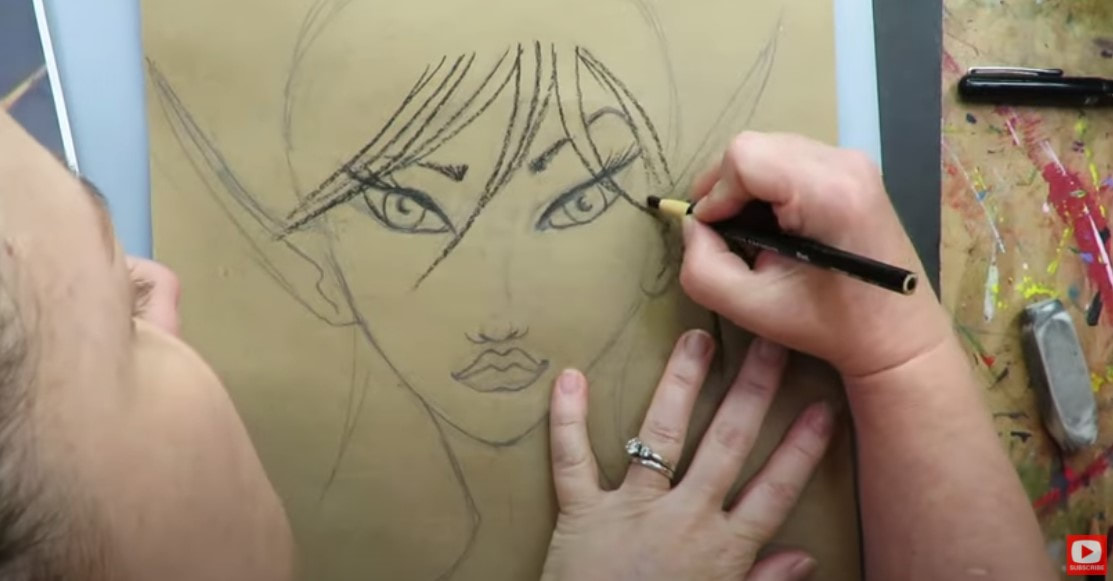
Definitely check out today's YouTube drawing tutorial because I give you TONS of hot tips for shading faces with alcohol markers that will help you tremendously - whether you're new to alcohol markers as a medium or not!
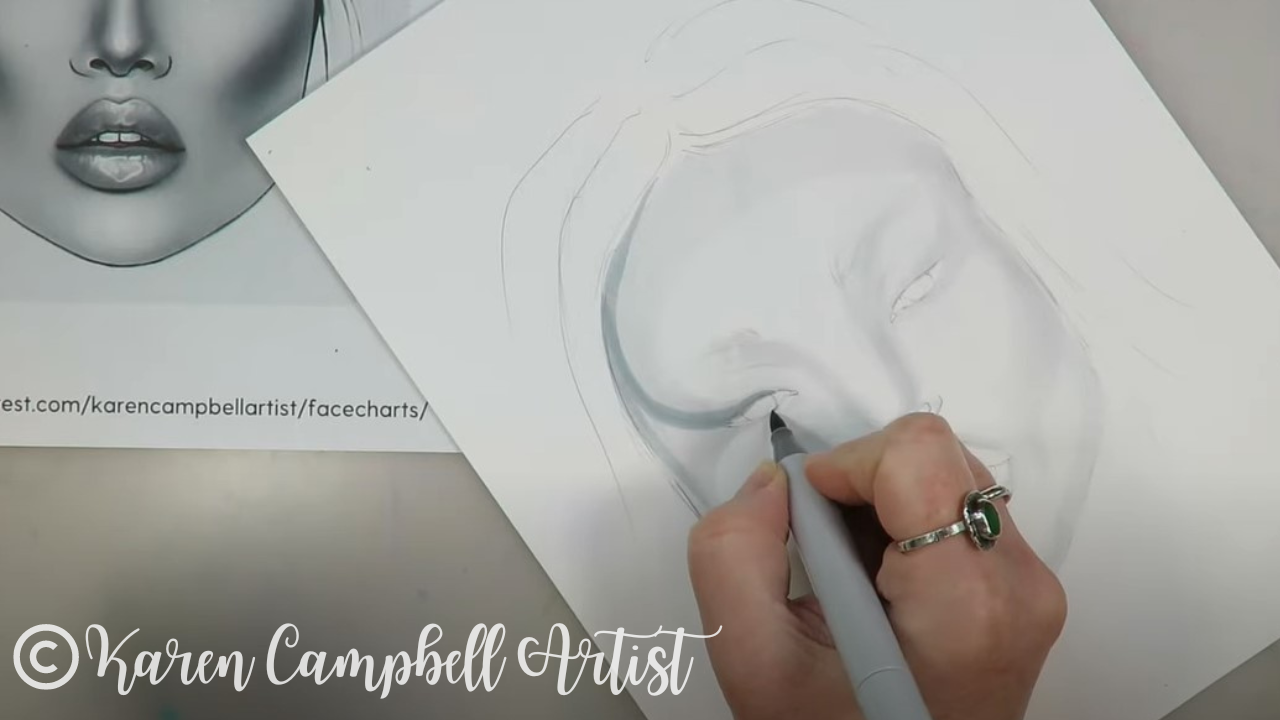
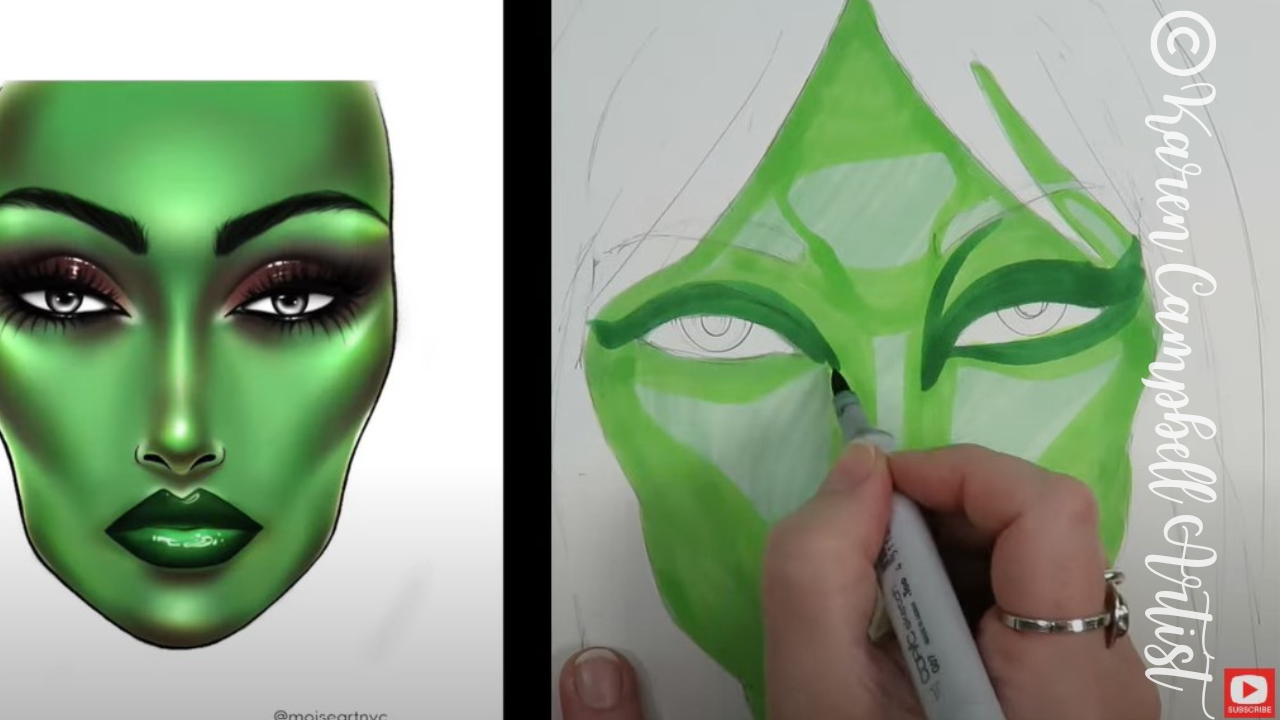
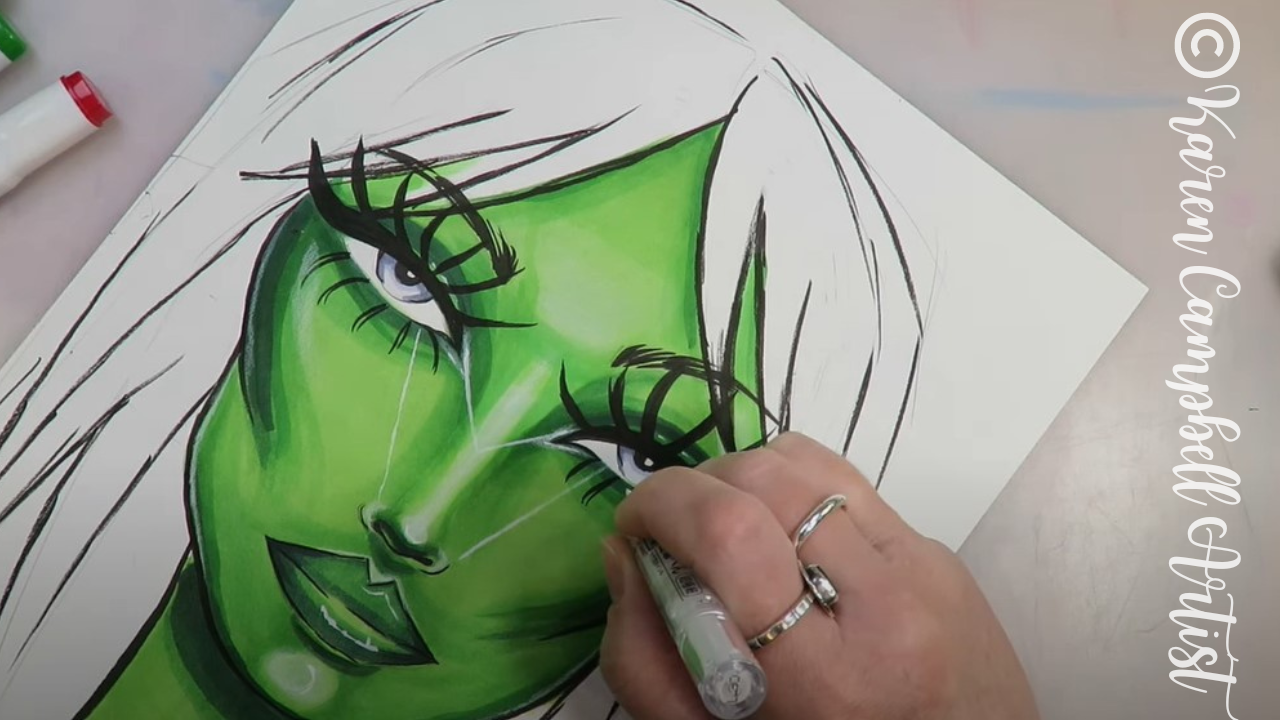
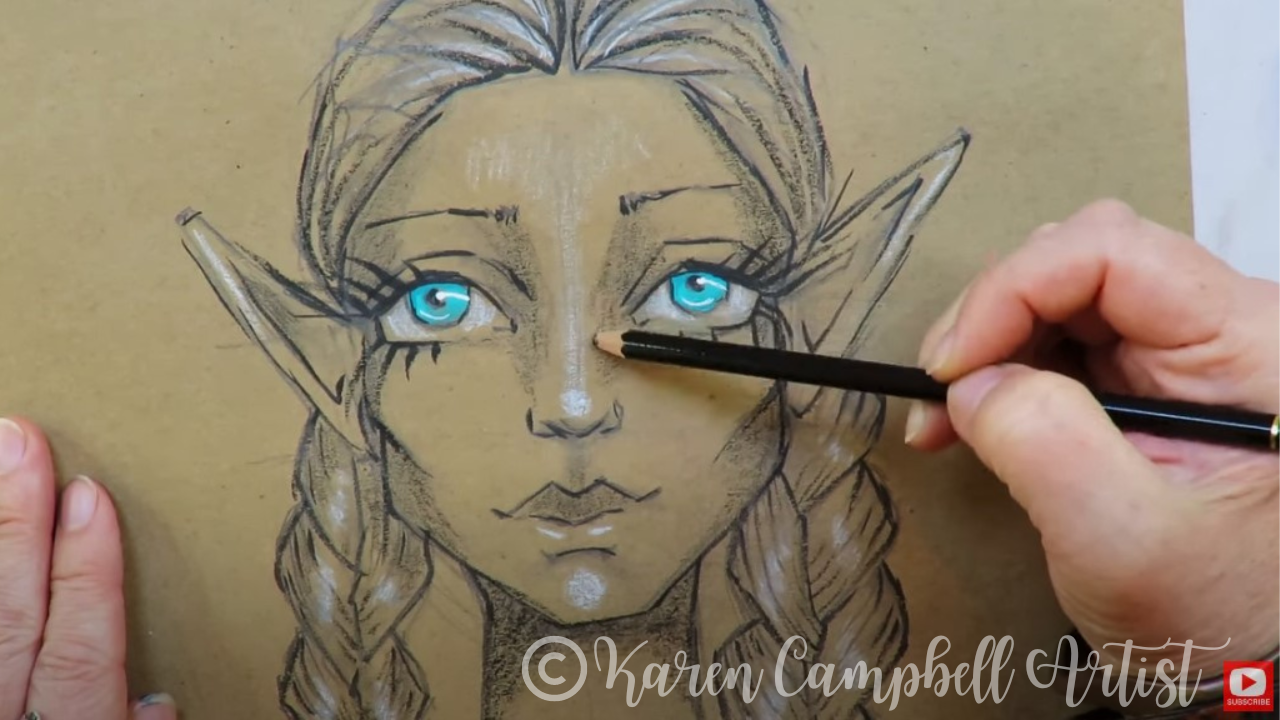
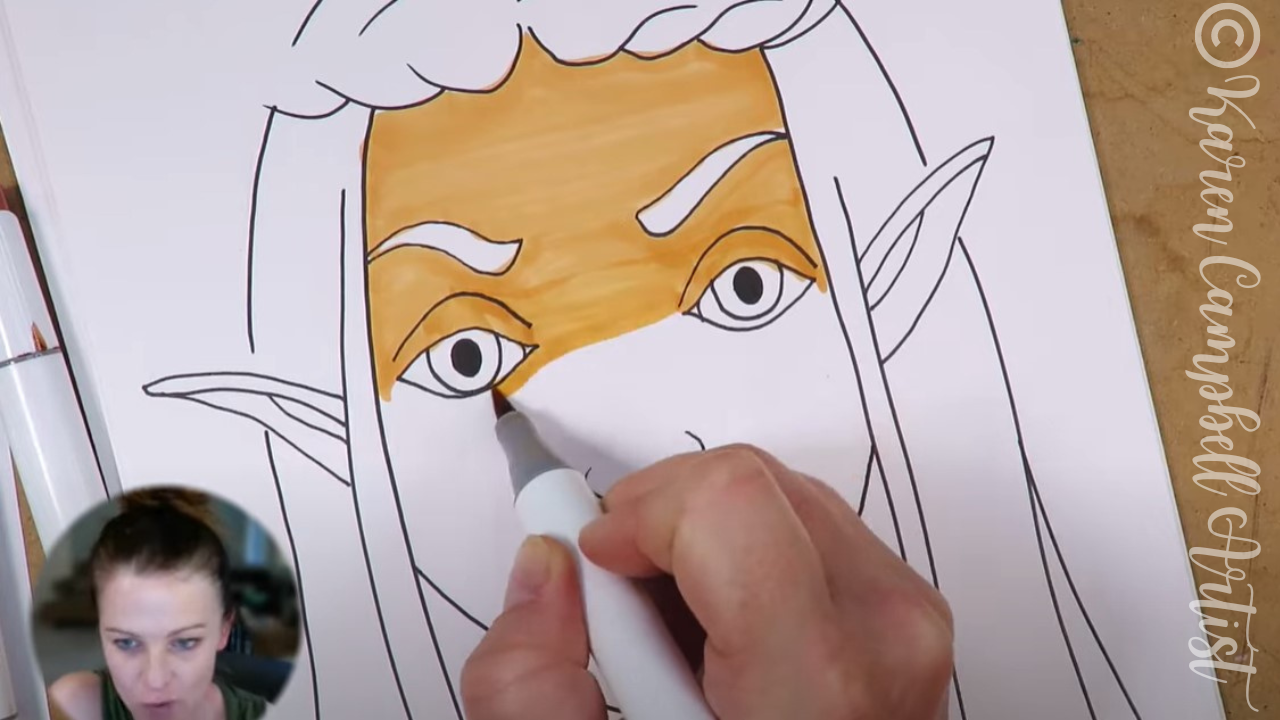
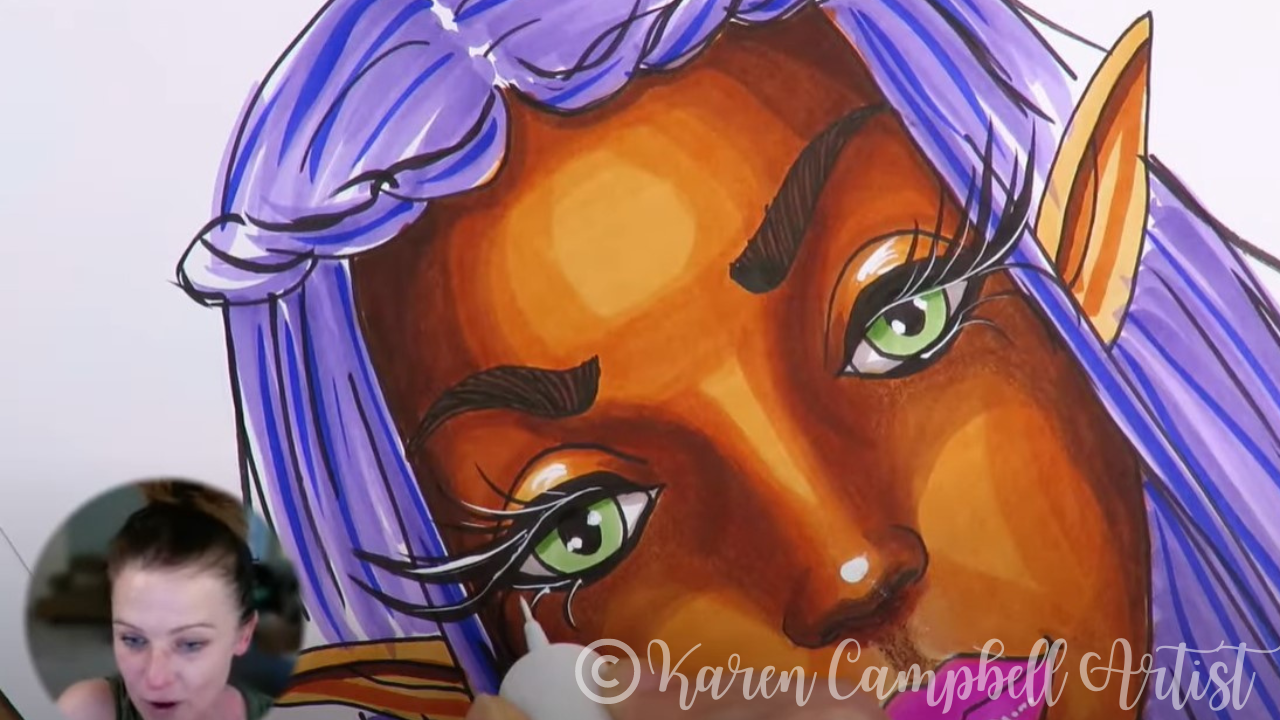
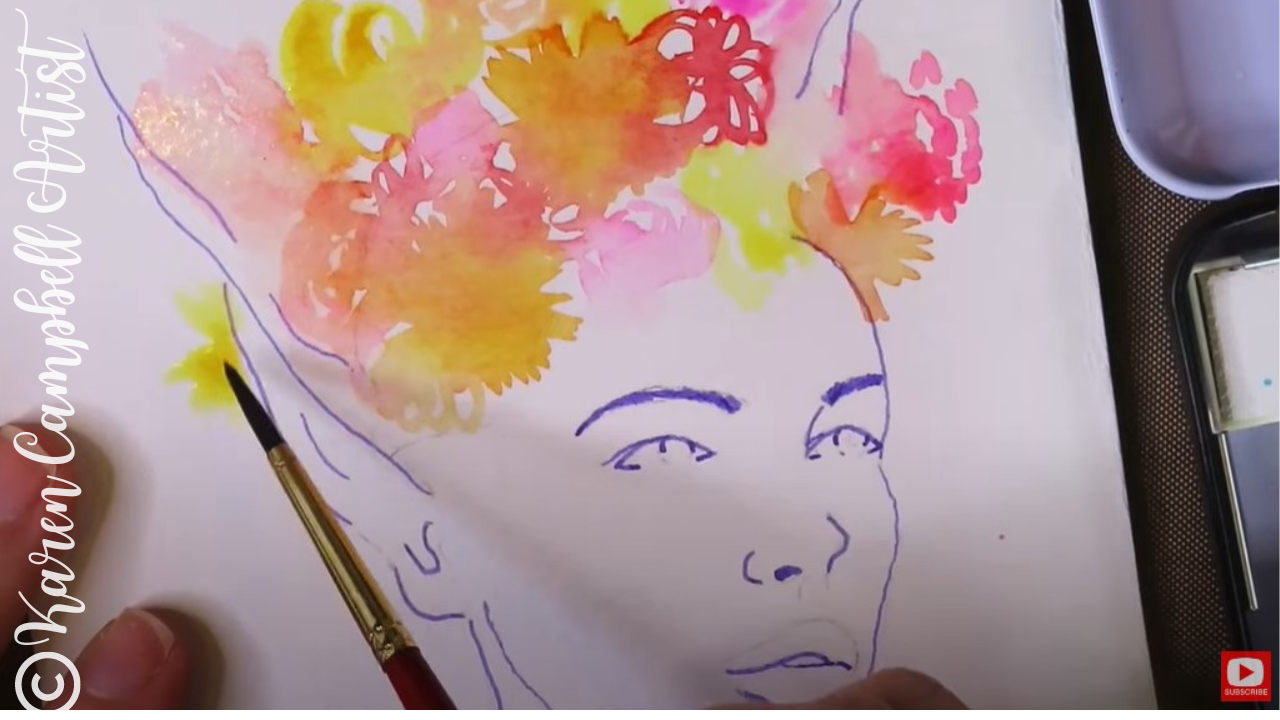
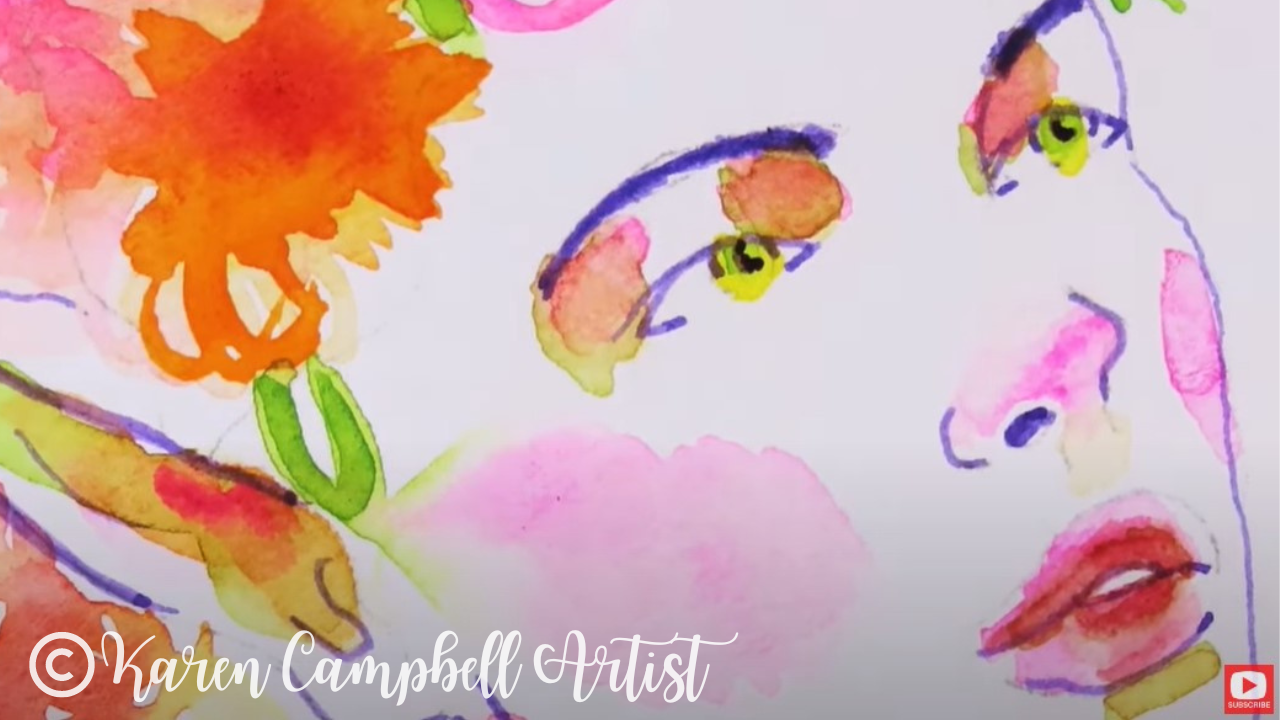
Shockingly, as soon as I started today's face shading with my cheapie alcohol markers, I was surprised to discover they felt identical to my copics. I KNOW!! This is a big deal, because if you've been following me for a while you KNOW how much I love my copics and ohuhus!!
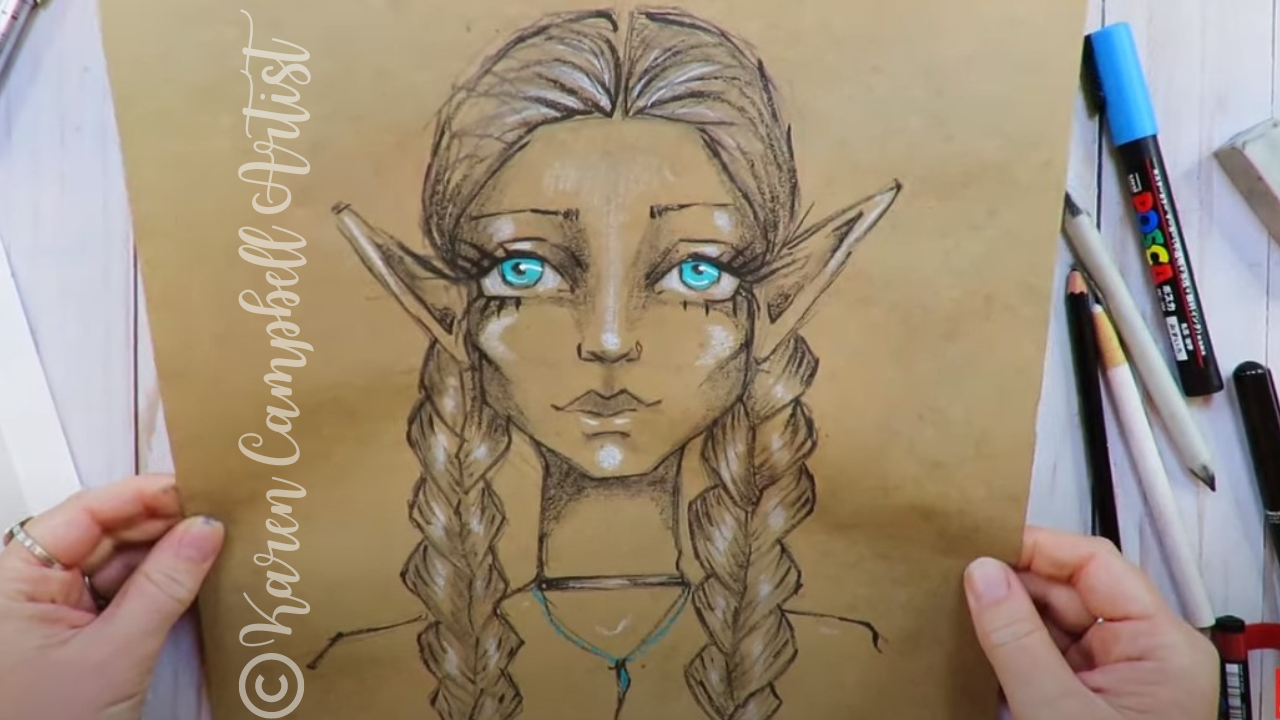
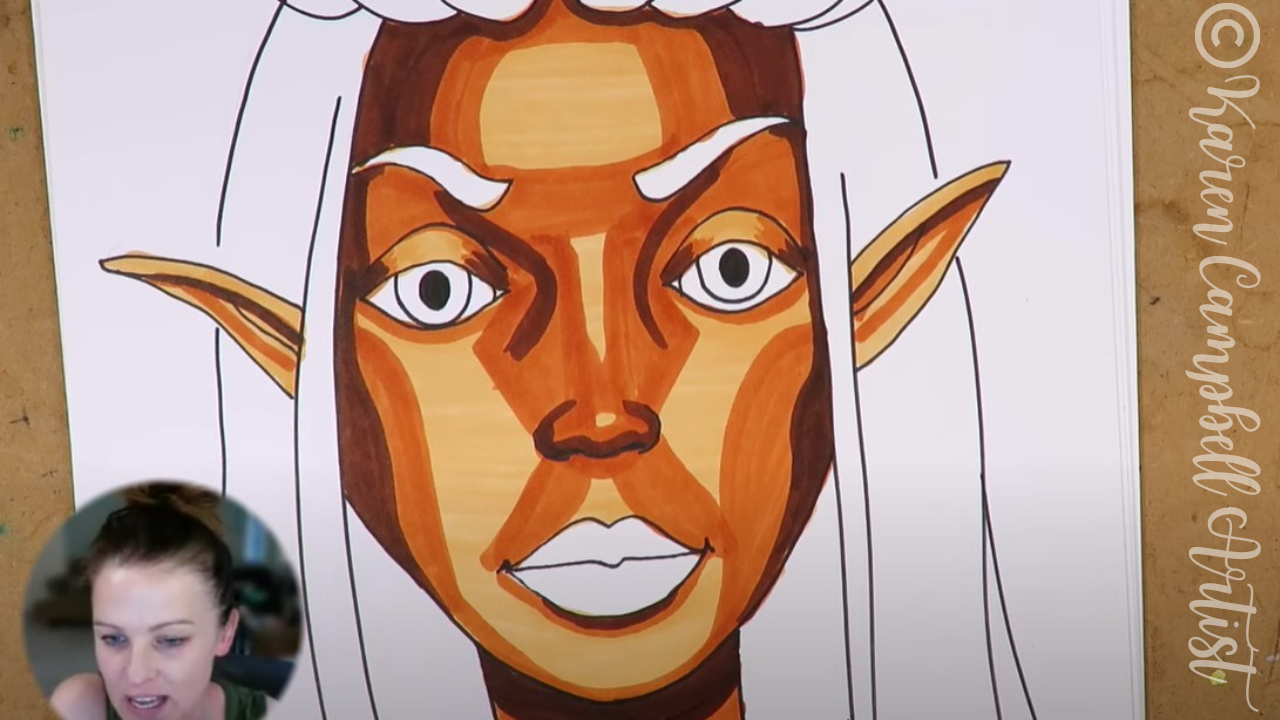
Today's project has once again solidified my opinion that copic marker alternatives are WORTH trying! And really, price point doesn't seem to matter as much as you might think as far as this medium is concerned.
I've shared TONS of copic marker alternative product reviews for you here on YouTube, but hope YOU have confidence to try out whatever you find, especially if you're on a budget. You DON'T have to stop drawing, even when money is tight. 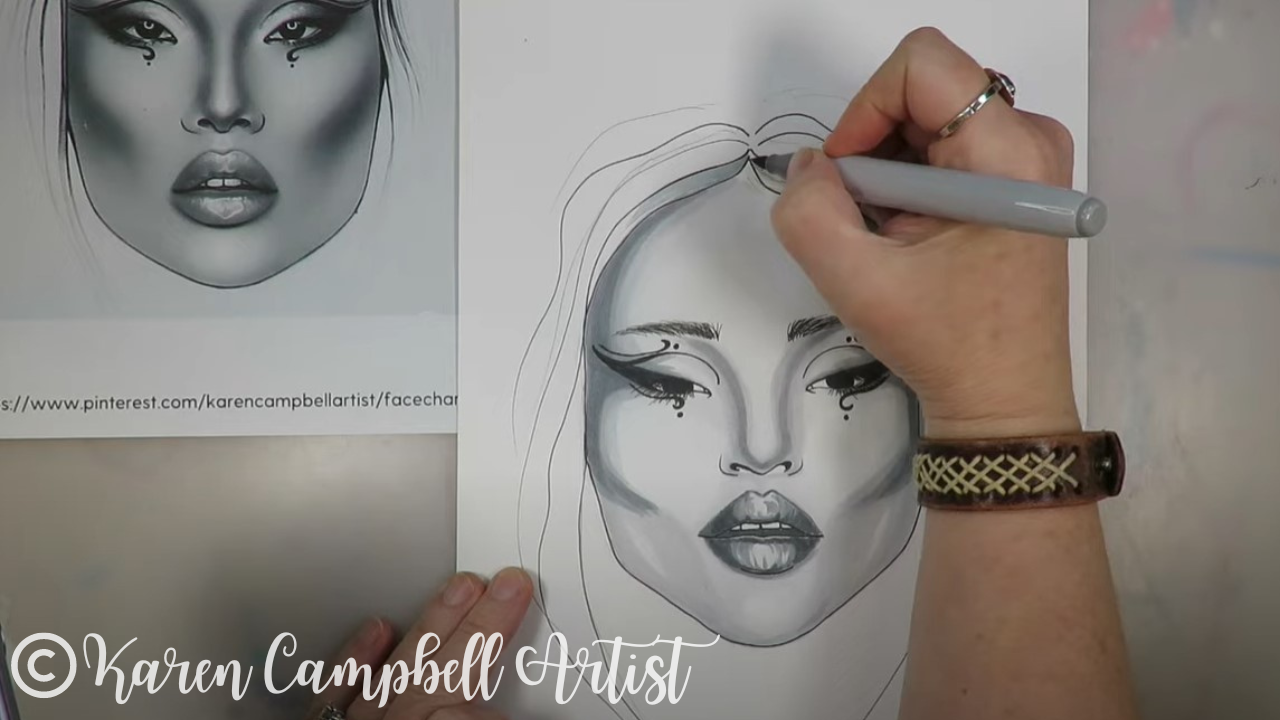
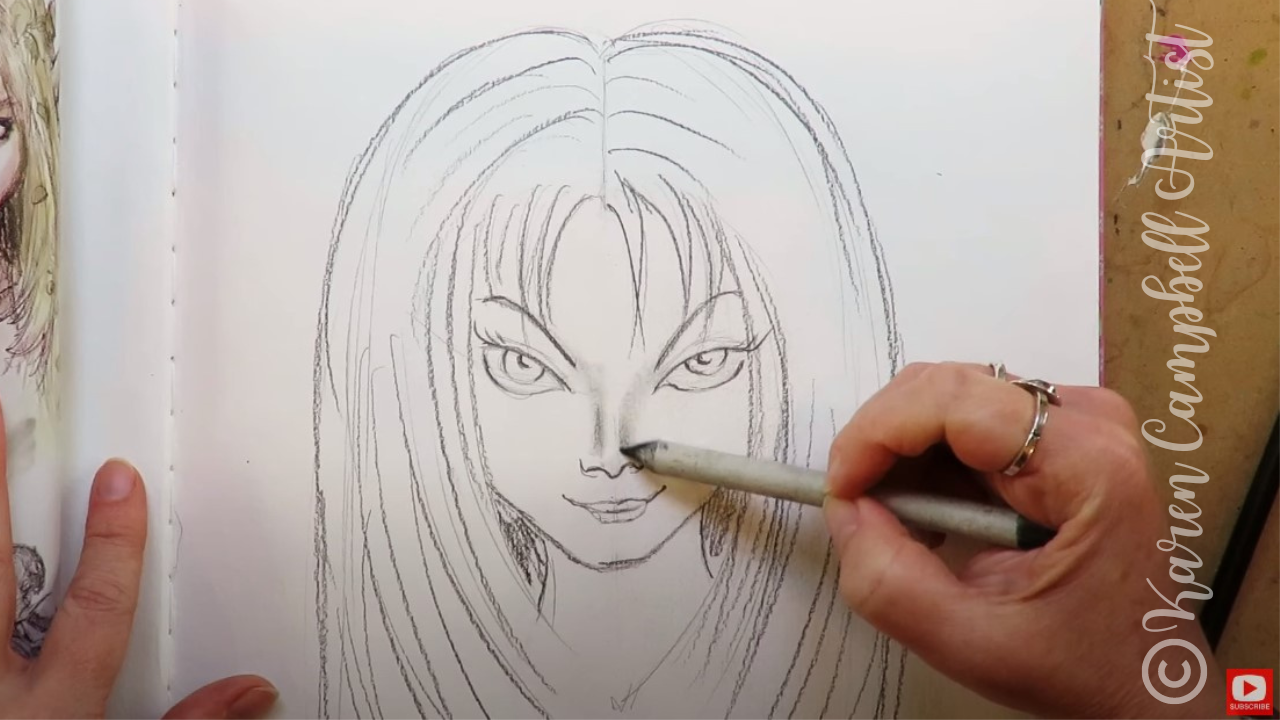
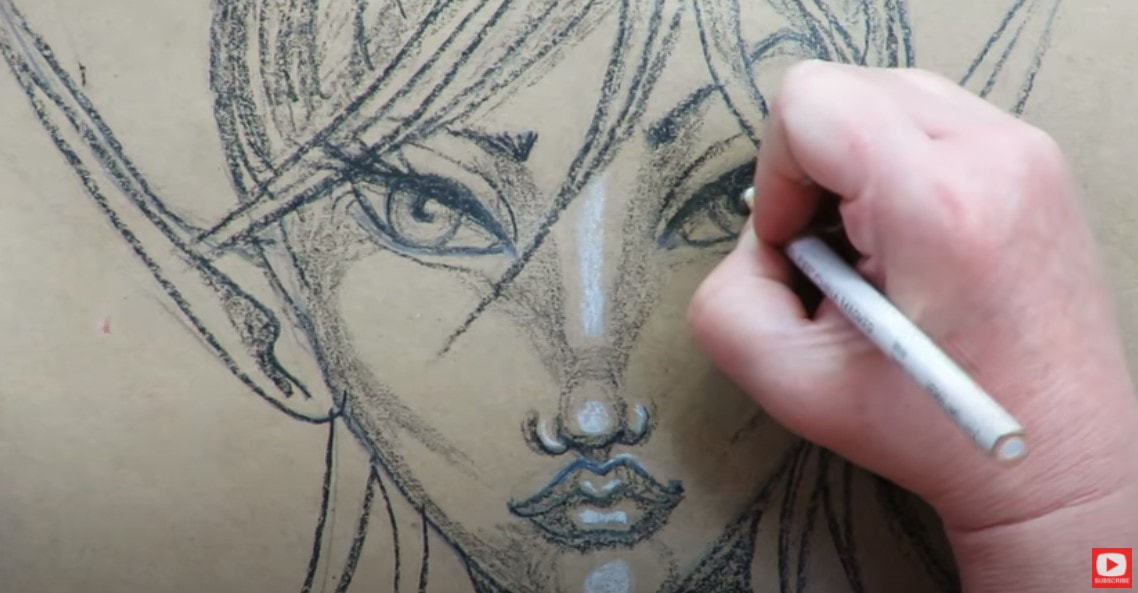
If you've never tried shading a face in alcohol markers, maybe you're addicted to shading faces in pencil - TRY today's free face drawing lesson. It's filled with tips to help you along.
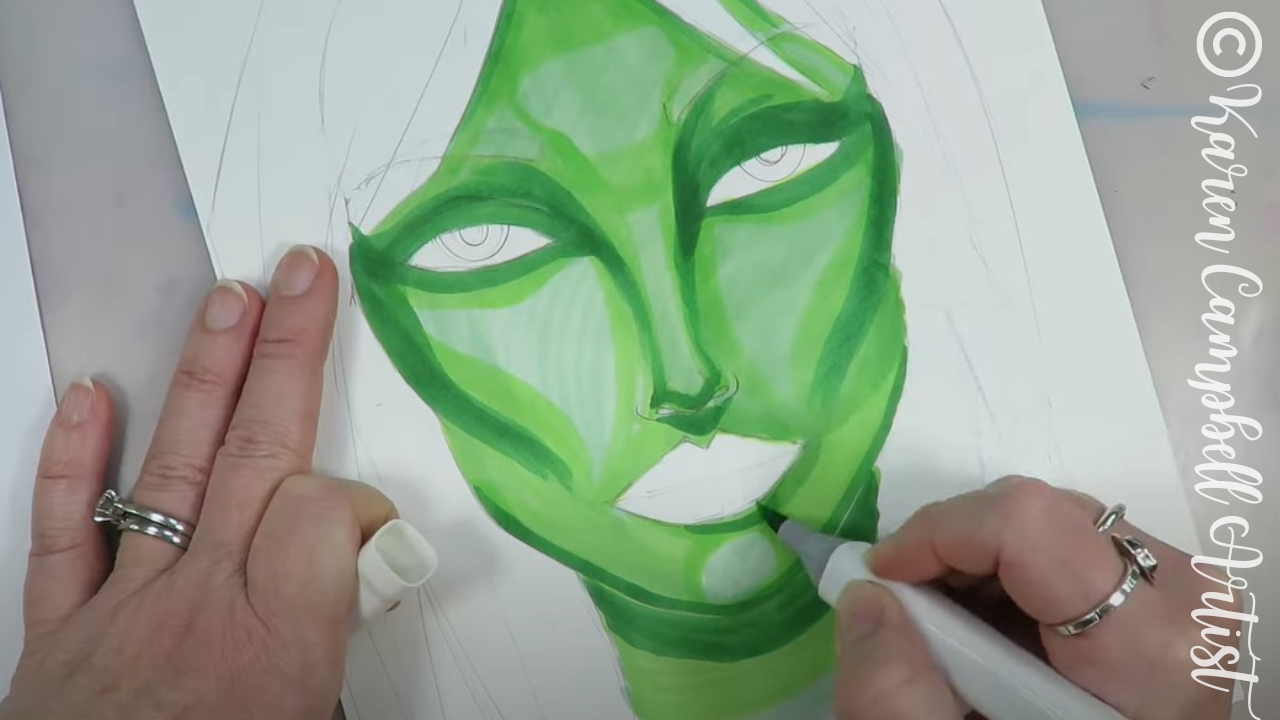
If you're nervous to try shading faces with alcohol markers, especially when it comes to layering in darker shades, you REALLY CAN go at it slowly by adding multiple layers of the SAME shade over and over again. Your piece WILL get darker wherever you've added additional layers, and there's very little risk if you're afraid of screwing up :) Plus- if you're hanging out with me on YouTube (or in one of my online art classes or clubs at Awesome Art School) you're NEVER alone, I'm right there by your side doing the project with you from start to finish!
Thanks for hanging out with me today! If you drew along with me, make sure to share your work so we can give you some love over in my Facebook Group!!
LOVING the whole face chart inspired drawing tutorial thing? Here's a playlist with MORE of them for ya!! NEED MORE resources to get your creative juices flowing? ❤️ CHECK OUT ALL my art books on AMAZON ❤️ CHECK OUT ALL my online art classes @ Awesome Art School ❤️ MY FAVORITE ART SUPPLIES on AMAZON (affiliate links) ❤️ MY BELOVED FACEBOOK GROUP
3 Comments
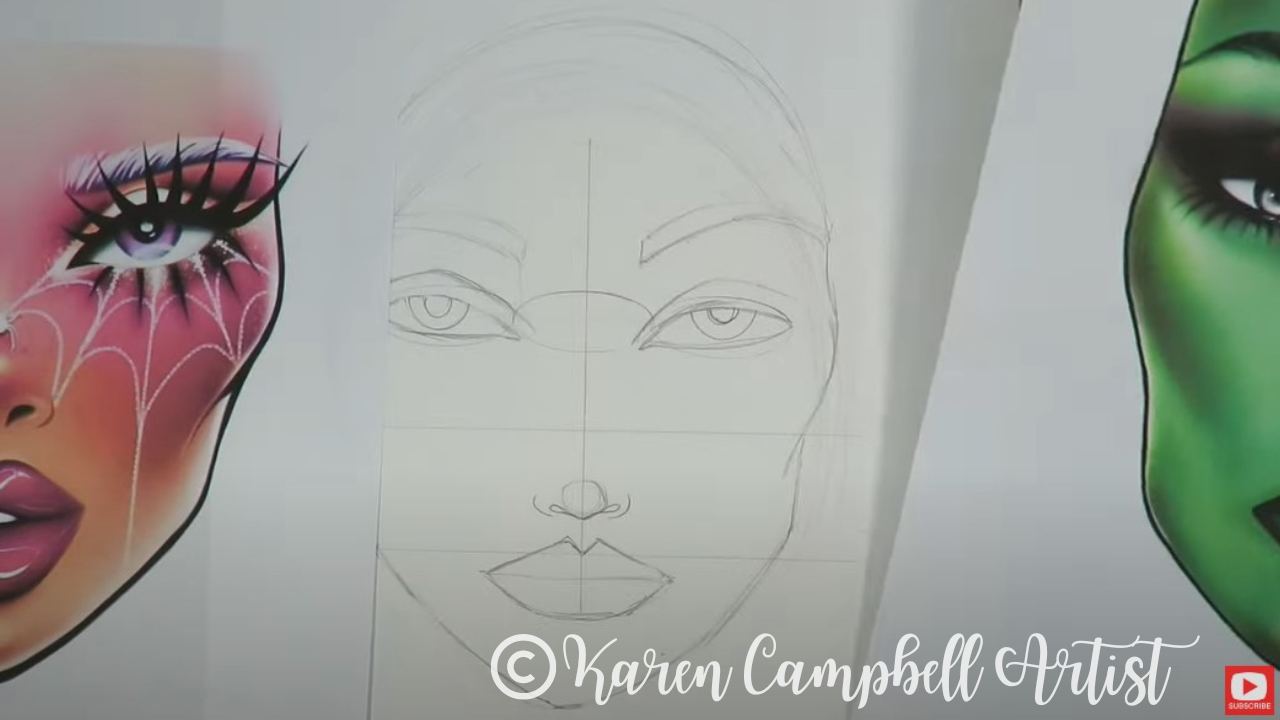
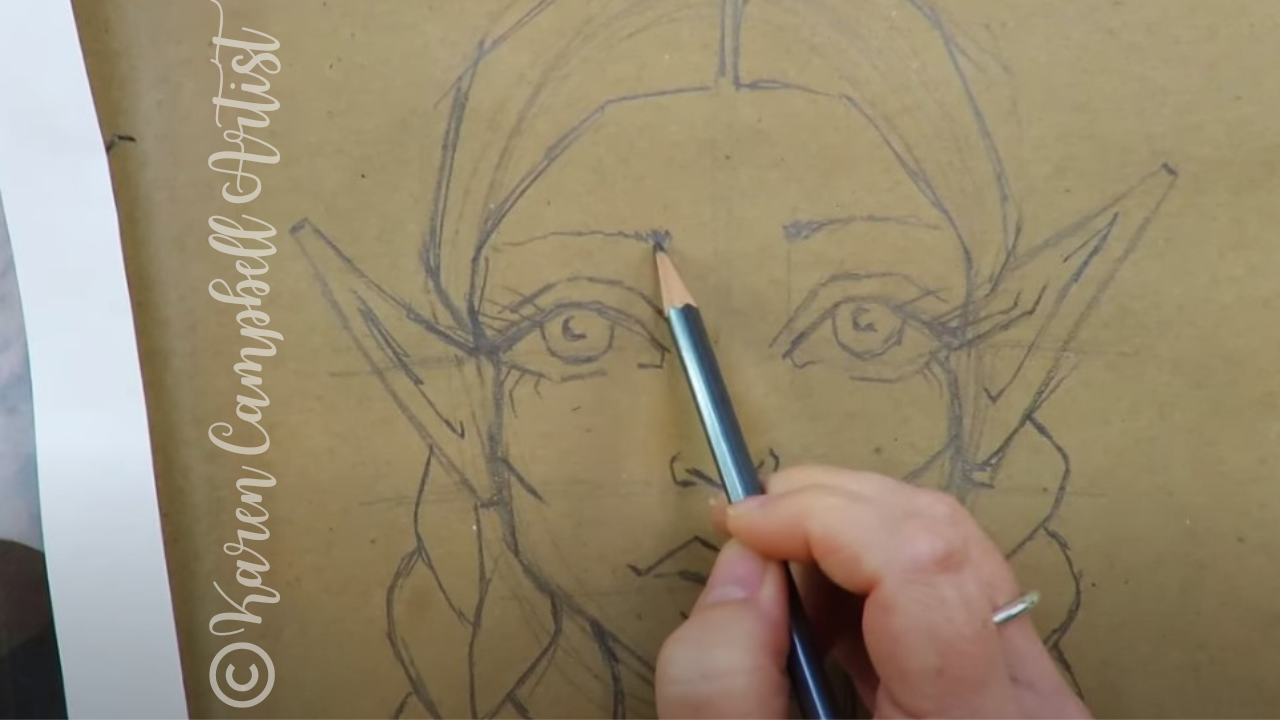
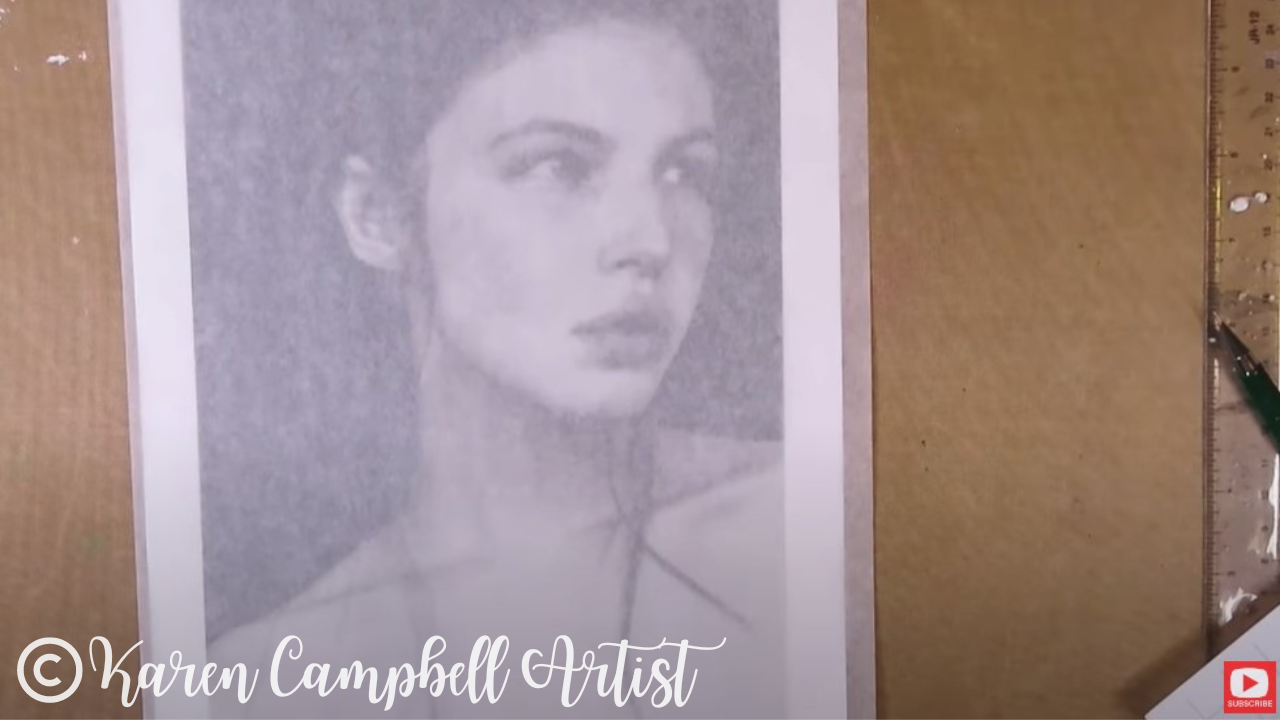
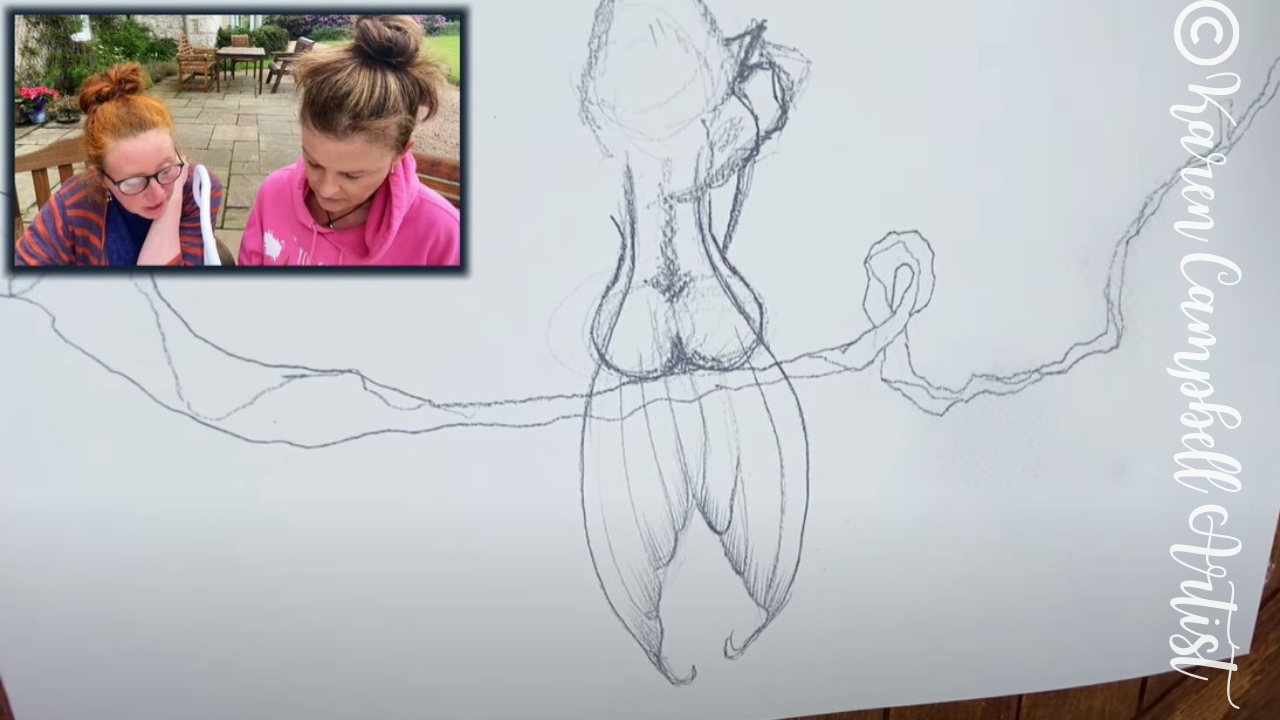
Halloween is right around the corner, so I thought it would be super FUN to create an original drawing with inspiration from TWO fashion face charts! Not sure what a face chart is? No problem. I can't wait to introduce you to them in today's Halloween Drawing project!
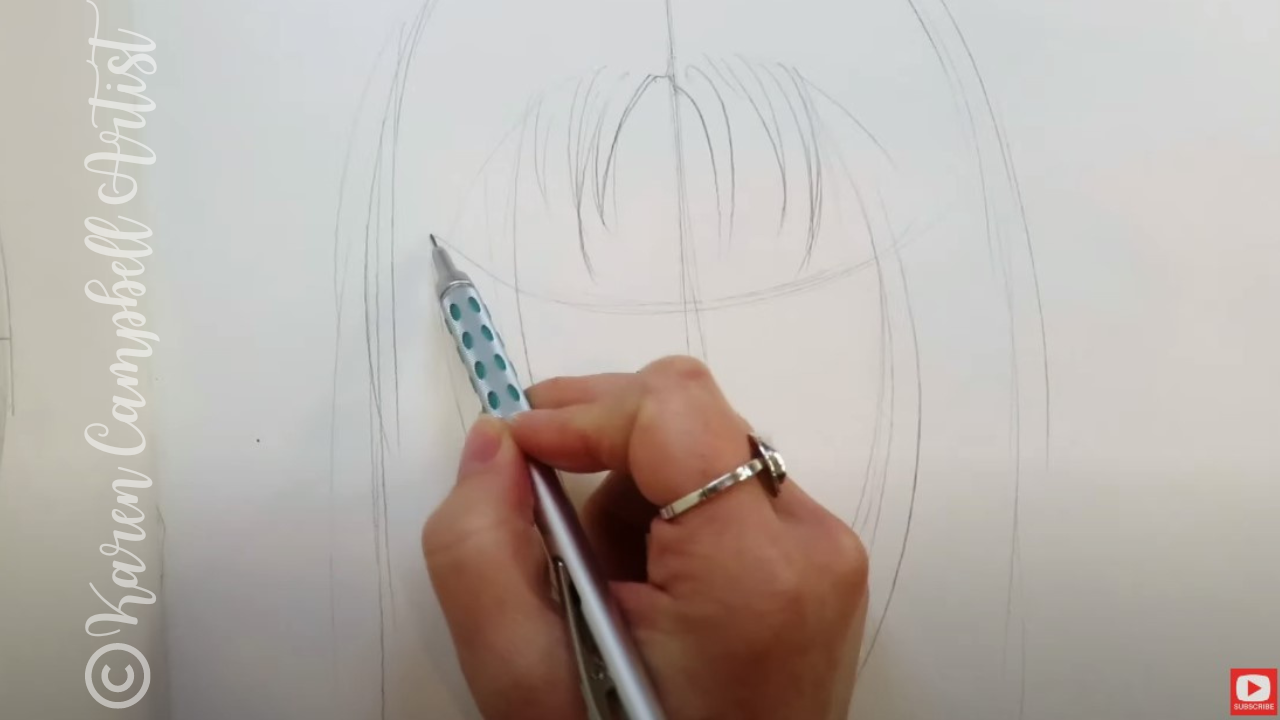
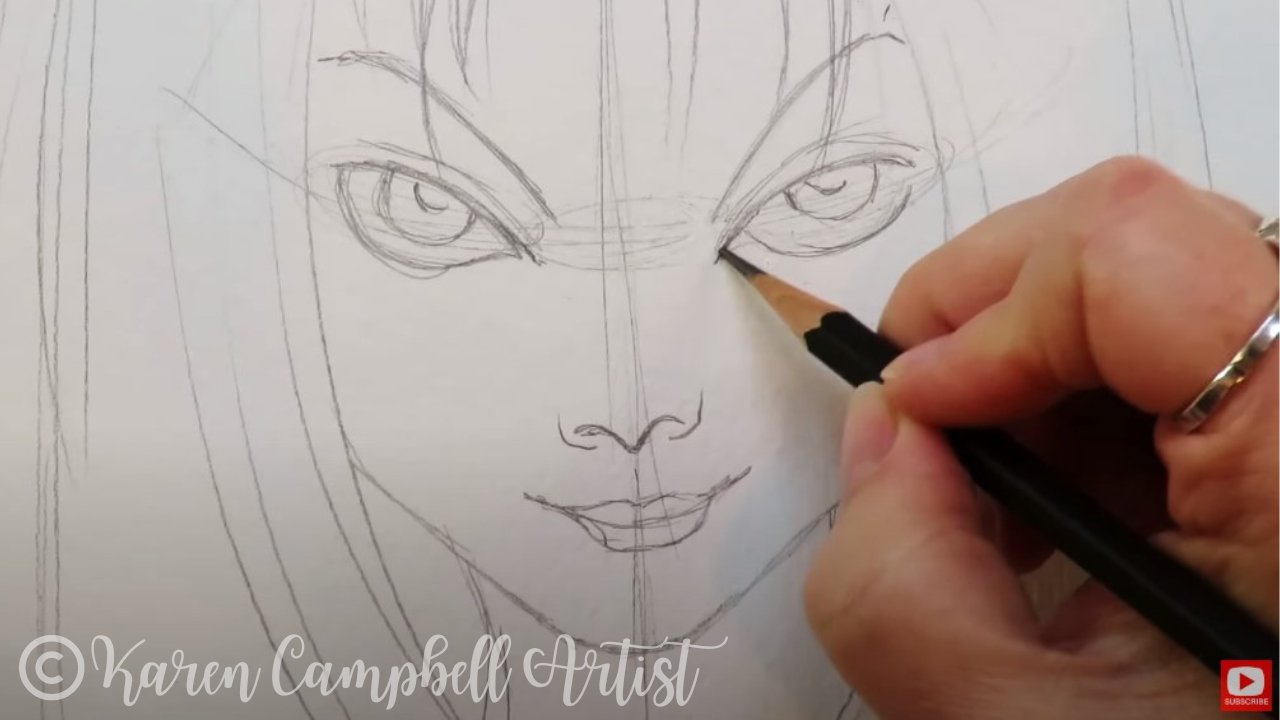
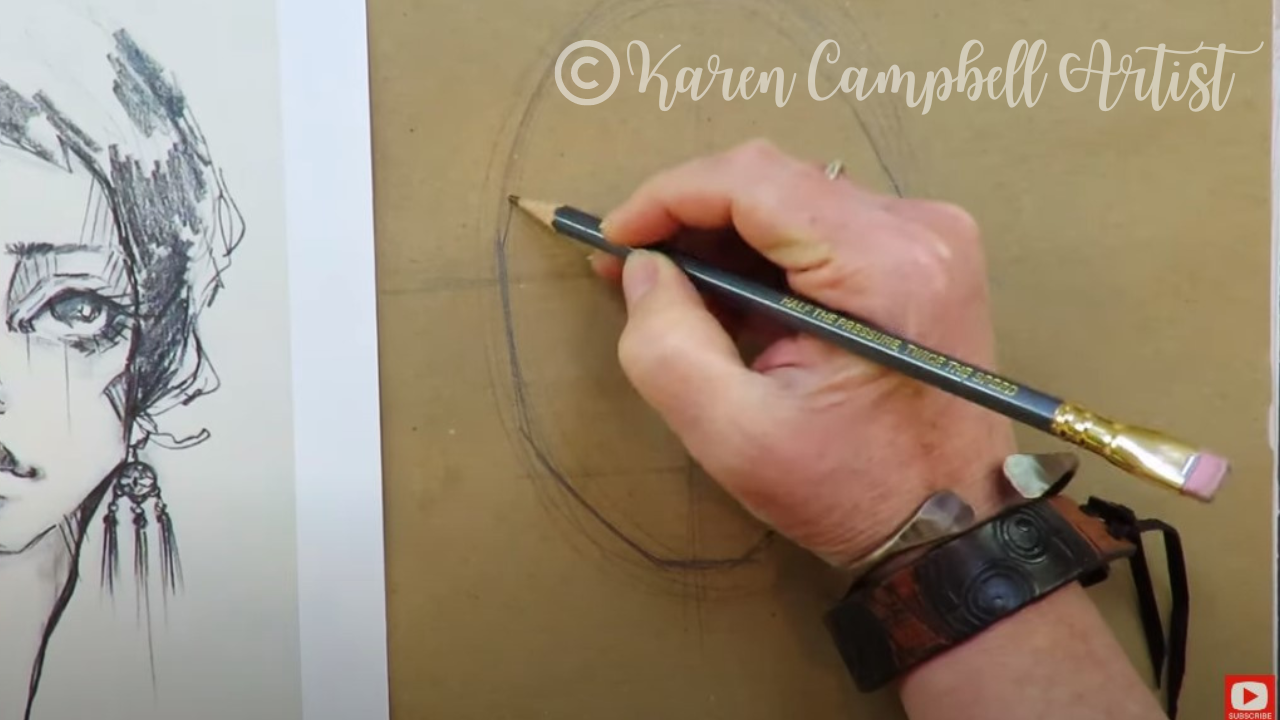
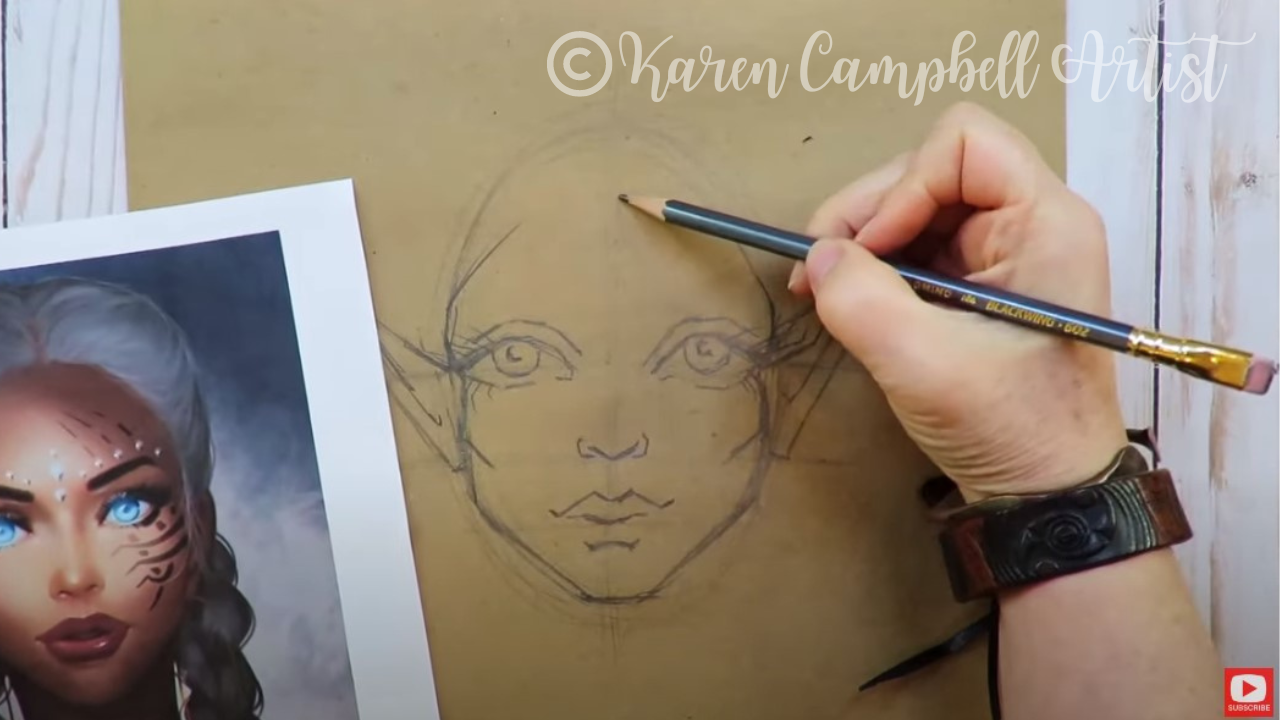
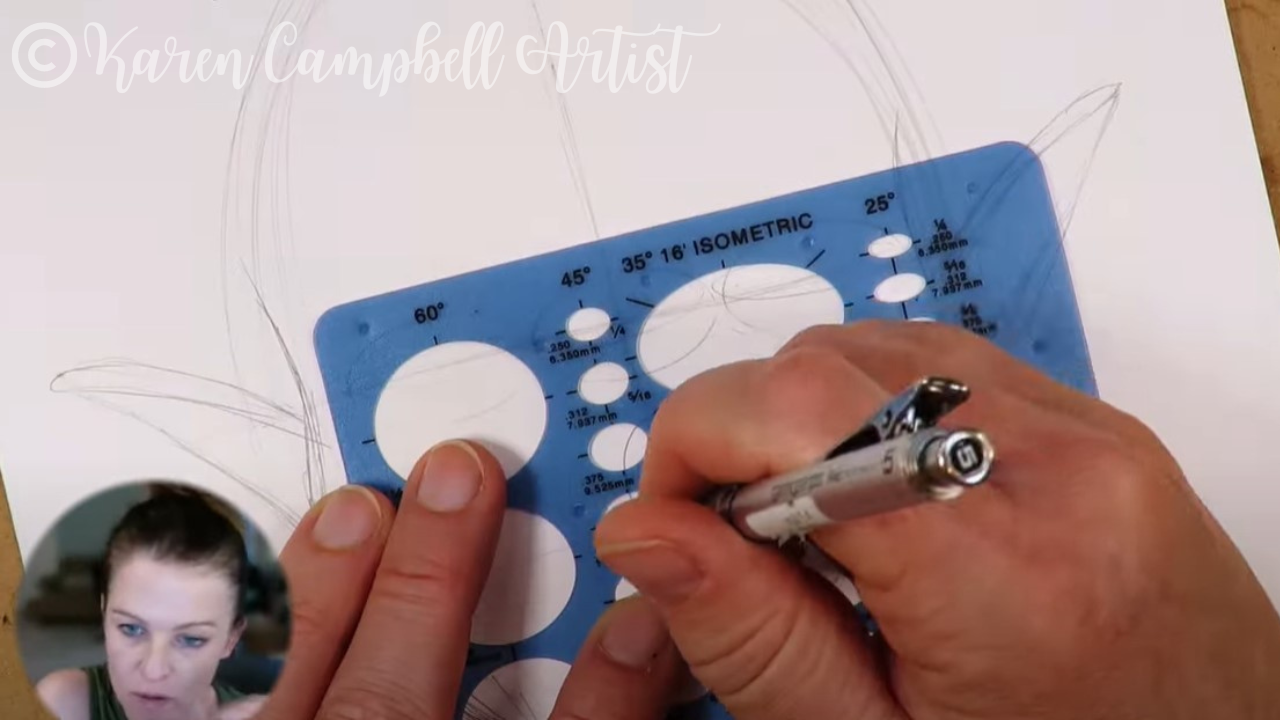
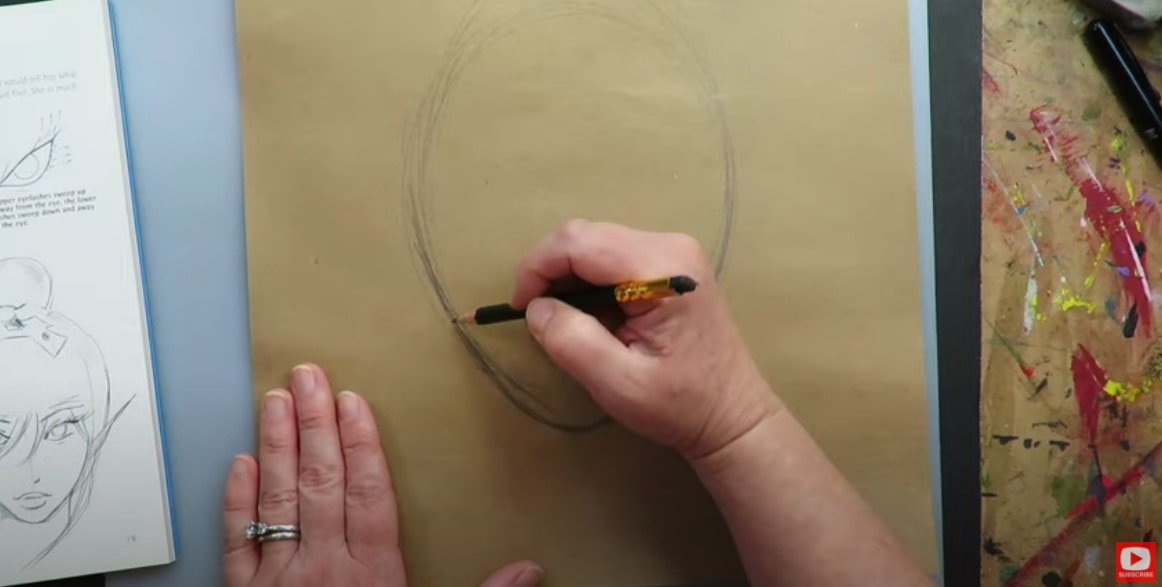
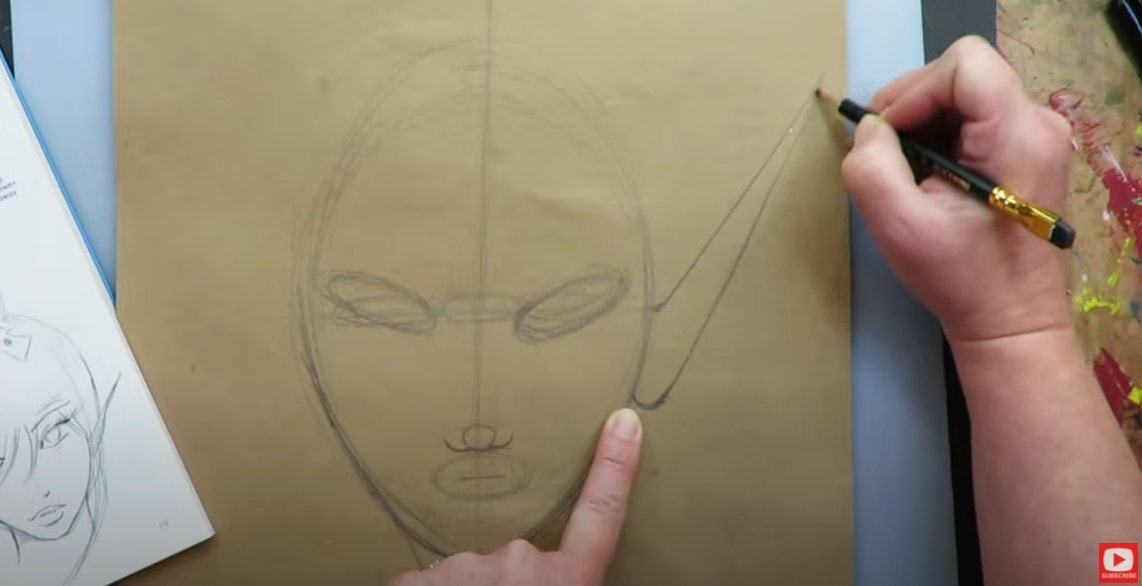
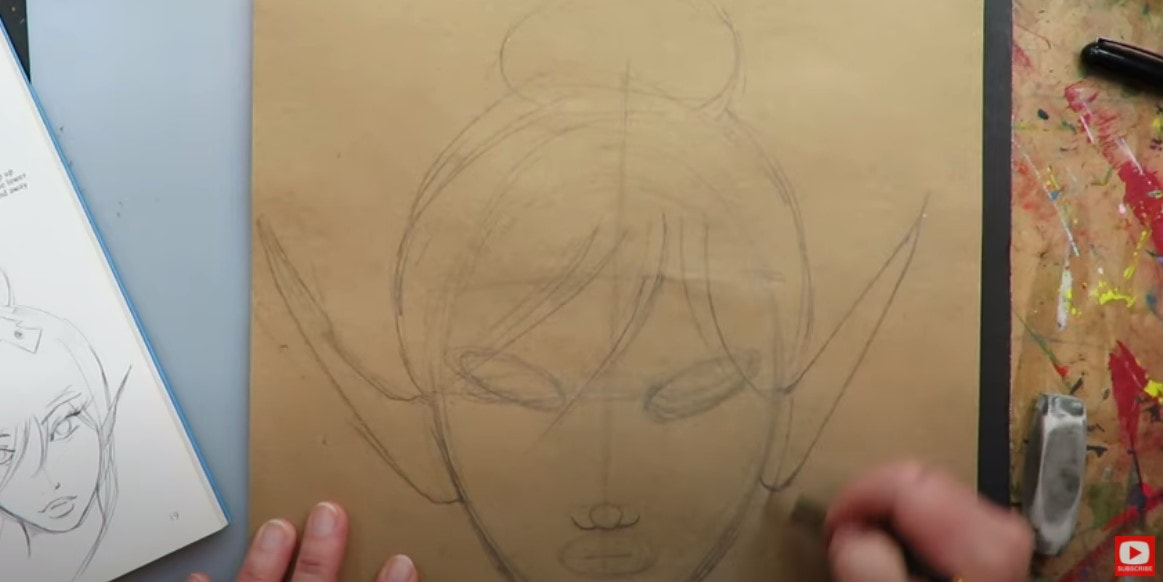
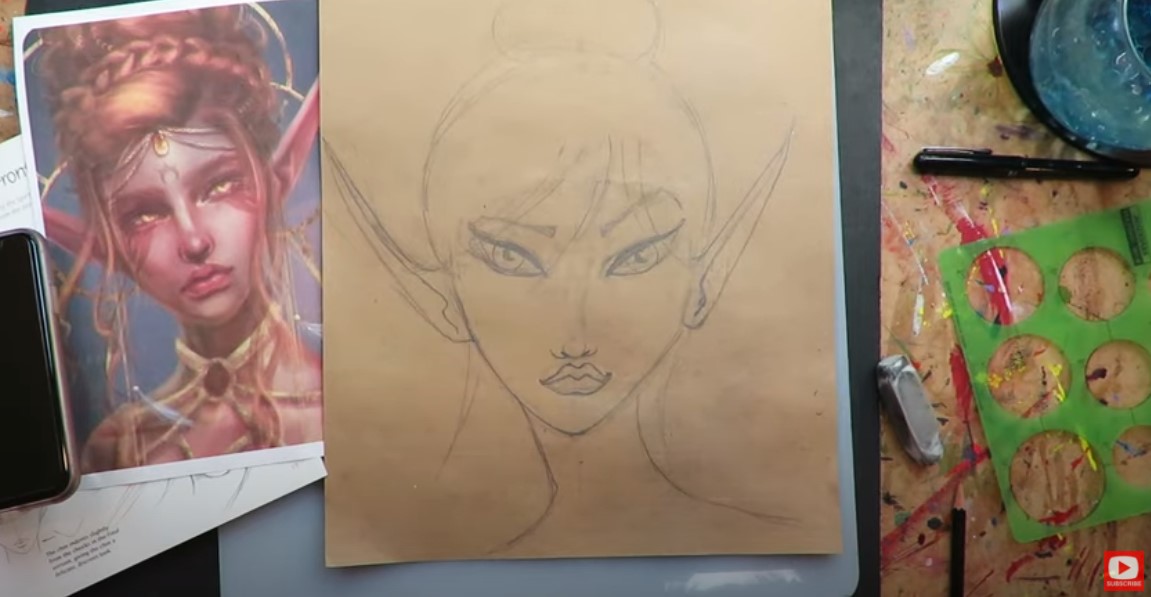
Go grab a sheet of bristol, a pencil, and let's draw! 
New to drawing faces? Or have trouble making them look proportional? It's WAY easier than you think.
Simply click the button below to download my FREE Whimsical Face Drawing Guidelines. I'll email them right over! 
Then check your email, print out the guidelines and meet me right back here for today's FUN Halloween fashion face drawing tutorial.
If you're TOTALLY brand new at drawing faces, you might wanna do this project first :) What's a Face Chart?
If you're not familiar with what a face chart is - I want to explain that right off the bat. Face charts are basically drawings of fashion faces that have been used since the 80s by makeup artists to plan out the makeup they'd like to do on their clients.
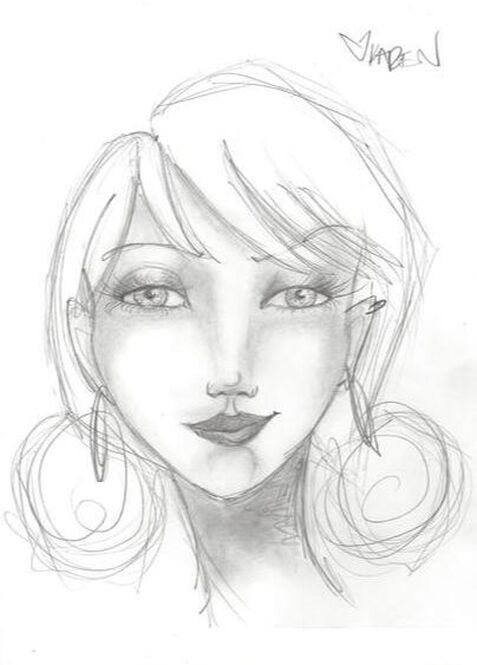
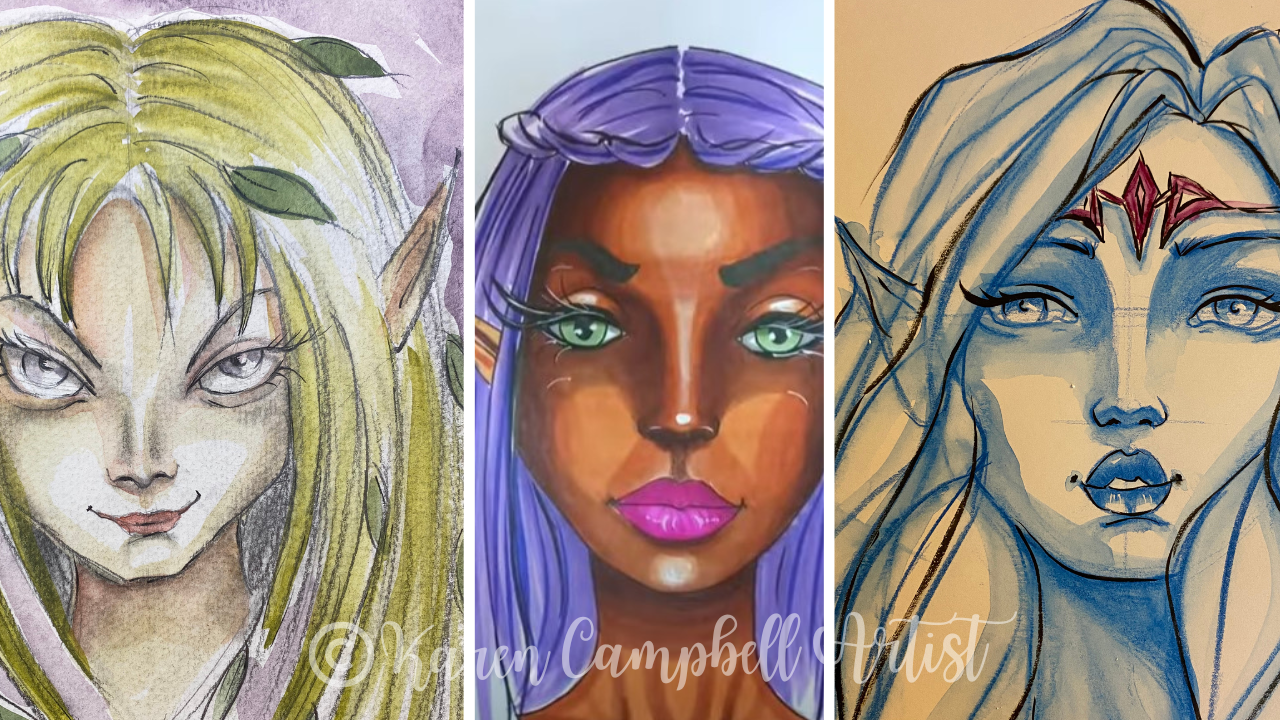
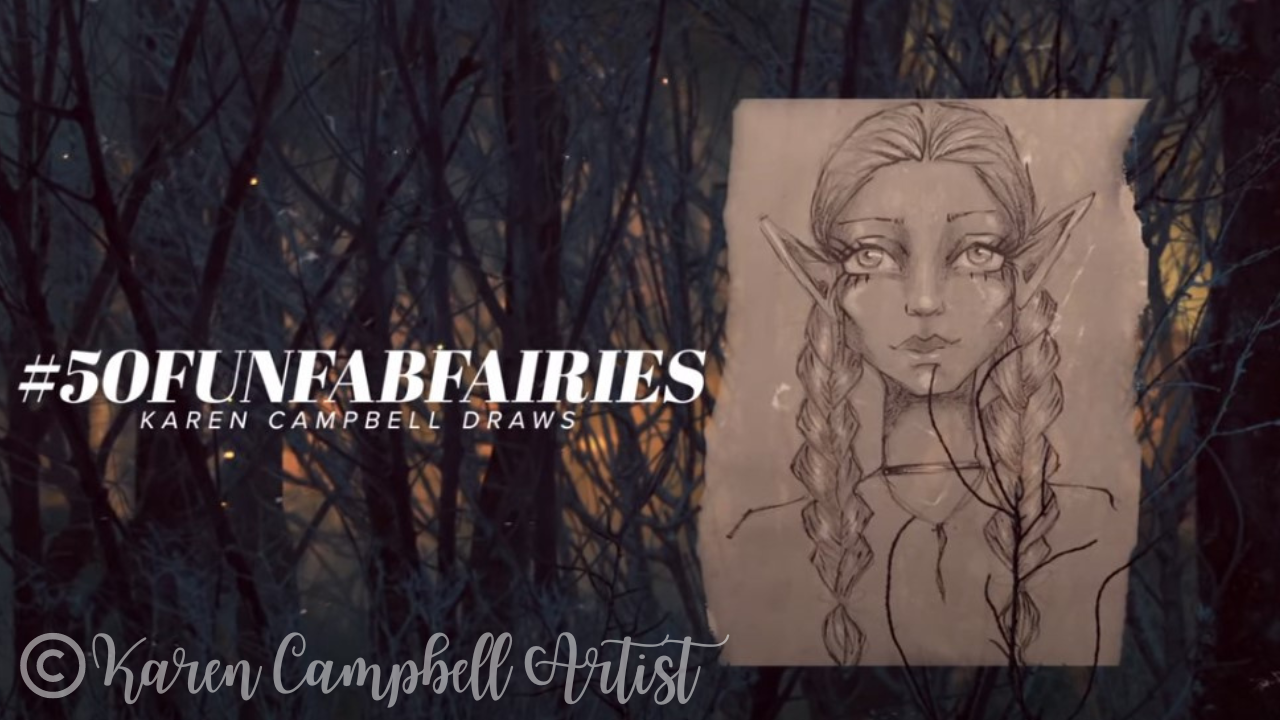
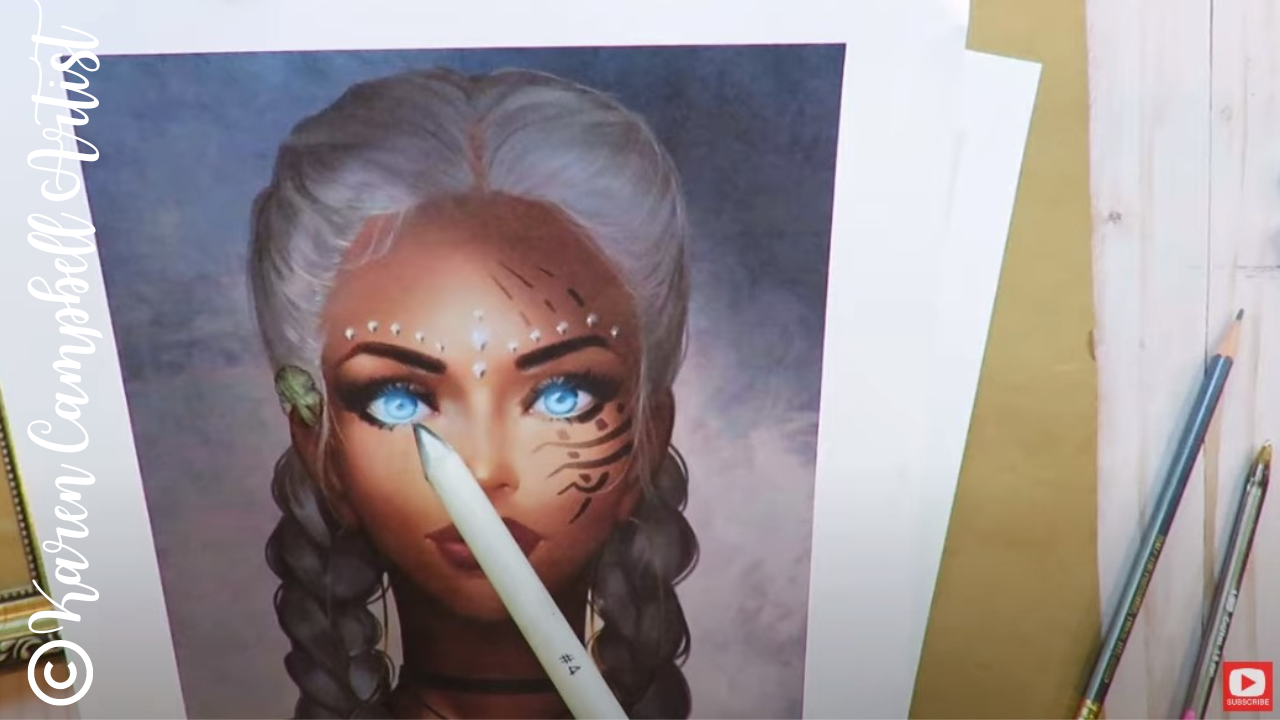
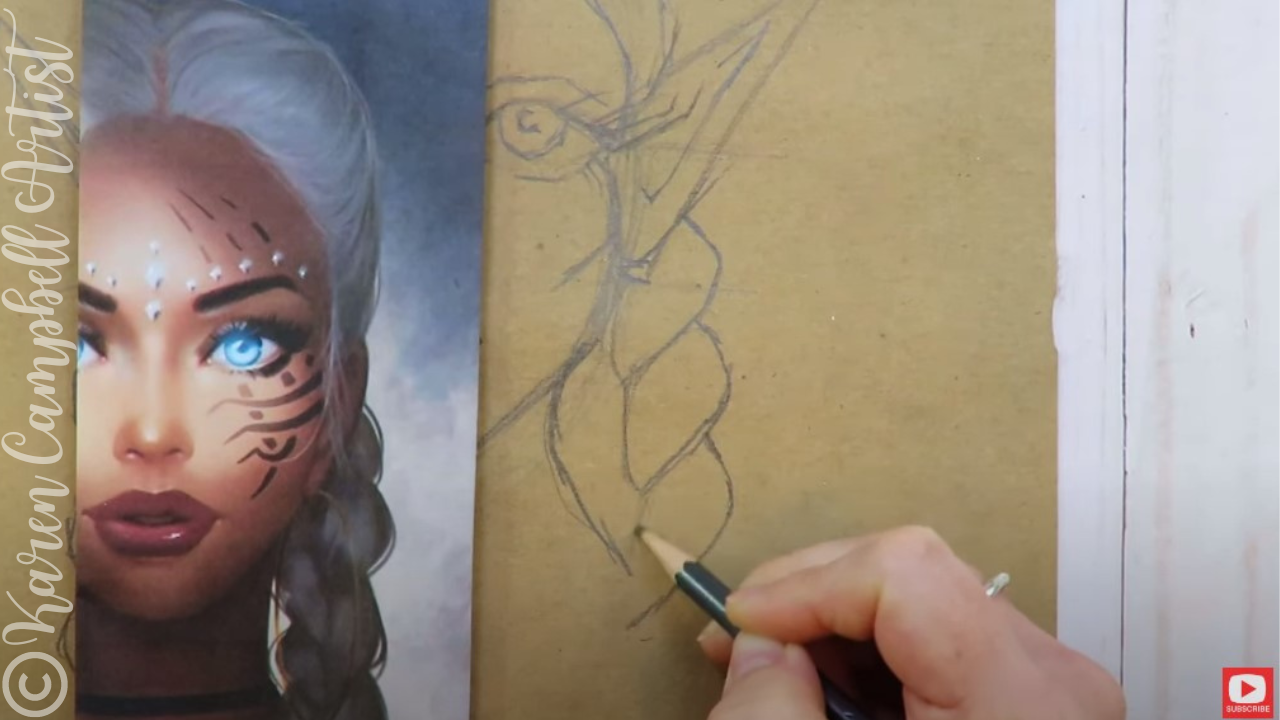
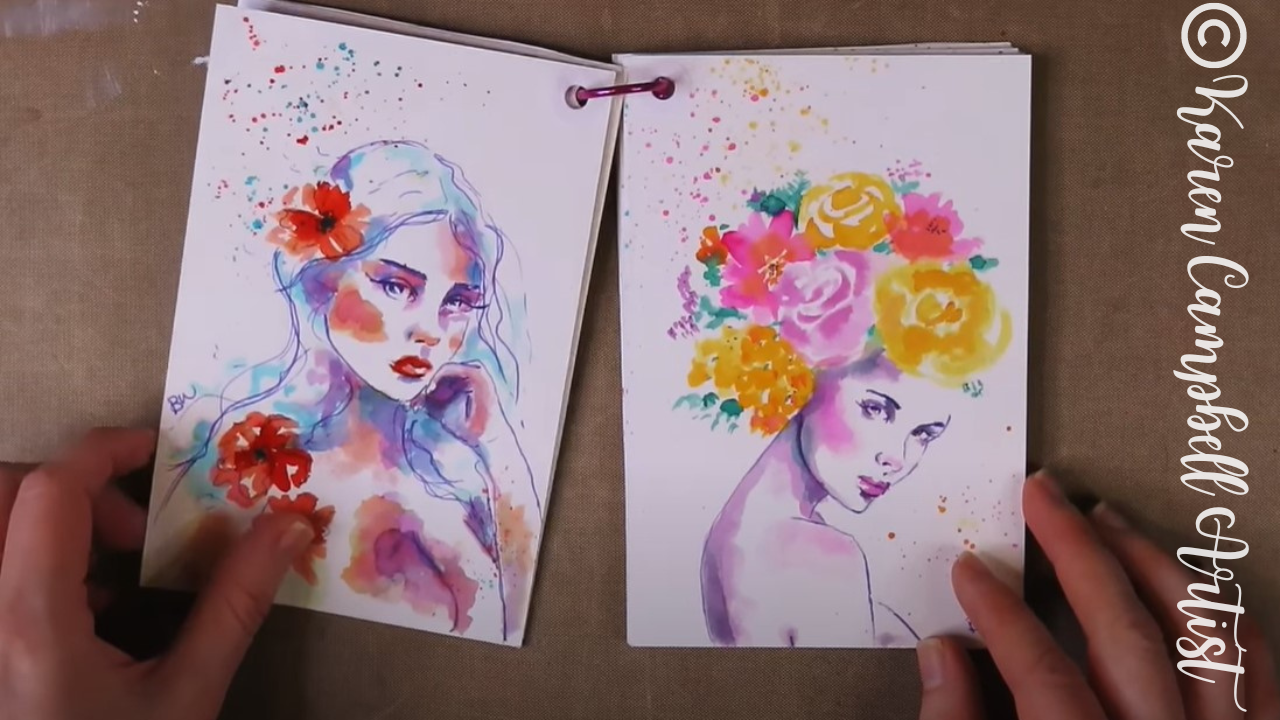
Tons of these are floating around online from individual makeup artists to big makeup companies like MAC. I think they're gorgeous and often print them out as drawing references to inspire me with new drawing ideas. Isn't this one stunning?! 
It one was done by someone I follow on Instagram, @sonya_miro. I used one of her Halloween makeup looks to inspire me for the spiderweb makeup in today's drawing.
If you'd like to get a copy of the face charts I'm using in this lesson, I've added them to my YouTube & Cheatsheet Library over at Awesome Art School. Use the coupon code YOUTUBESUB to save 25%.
|
Karen CampbellFounder of Awesome Art School. Mixed Media Artist. Author of 19 Instructional Art Books! 
Whose work has appeared in...
   
 Archives
April 2024
Categories
All
|


 RSS Feed

"Karen is flipping hilarious and she's very real...I like the way she teaches in a way that really gives you confidence, whether you're a beginner or advanced there's always something new to learn!"
- Elizabeth W. |
What Fans Are SayingKaren, you are absolutely fabulous! You make me feel like I can draw anything. I have recently retired and finally have the time to do some of the art that I have loved since I was in school. I am really at the beginning of my art journey and I hope to learn as much as I can. Thank you for all you do. |
Contact ME |