
|
People ask me this question ALL the time, "How do you decide which watercolors to take along with you when you're traveling?" Is it better to work from tubes, pans, or to create your own custom travel watercolor palette?
Today I'm diving into ALL these questions, and can't wait to show you not one, but THREE ways to decide which colors are coming along for your next trip! 
Before we continue, super quick announcement: All product links are Affiliate. I may earn a small commission if you choose to order through these links but by law there is never any additional cost to the consumer for doing so. I thank you for your support.
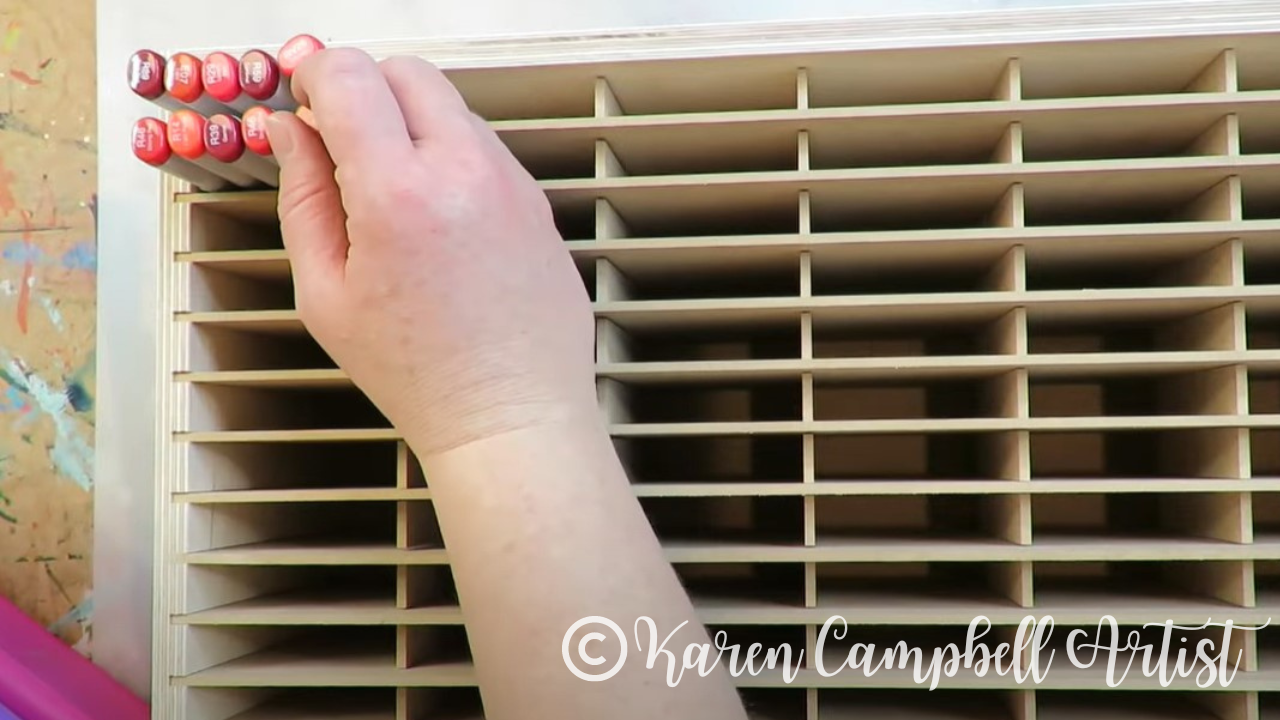
Some artists prefer to purchase a palette that's already been prepared by a brand specifically for travel, like the one below, from Field Artist.
Typically palettes like this come with around 12 colors in them, including the primaries, so in theory, you can mix whatever additional colors in the rainbow you'd like to!
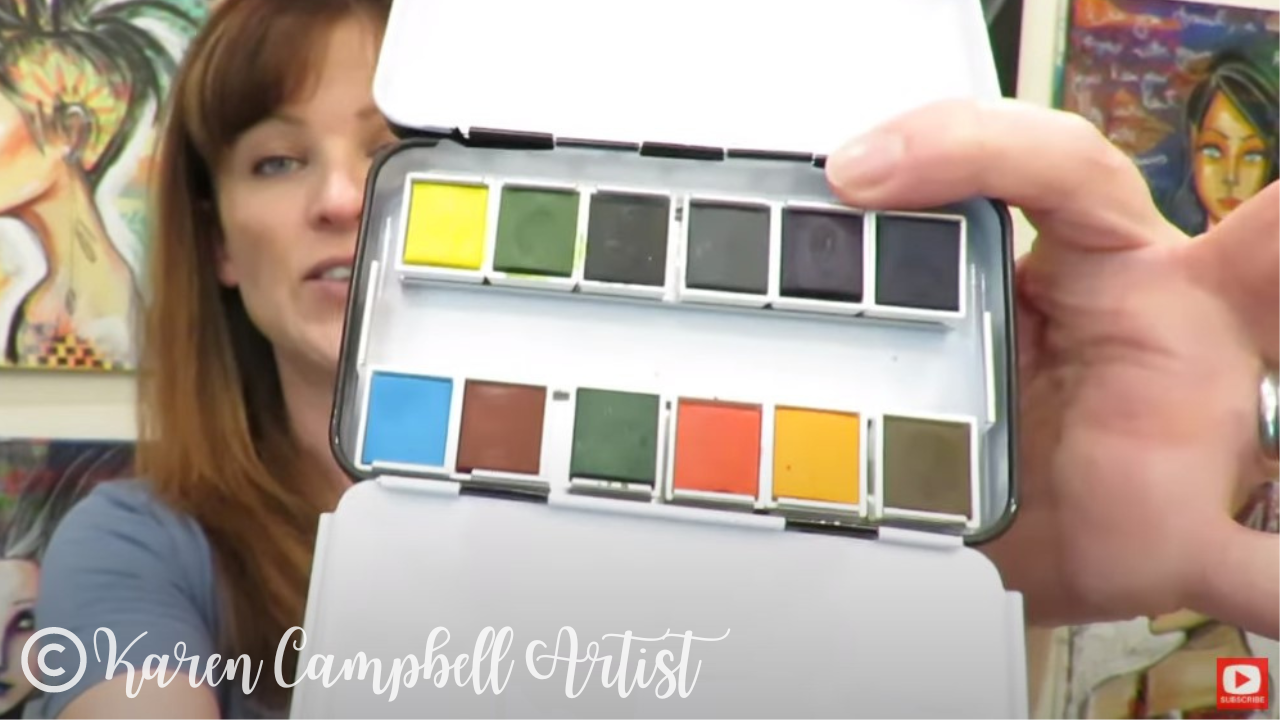
Personally, I hate mixing colors ALWAYS and prefer to just dip right into my palette to grab the perfect color. And, I find going with a standard out-of-the-box palette like the one above ... BORING!
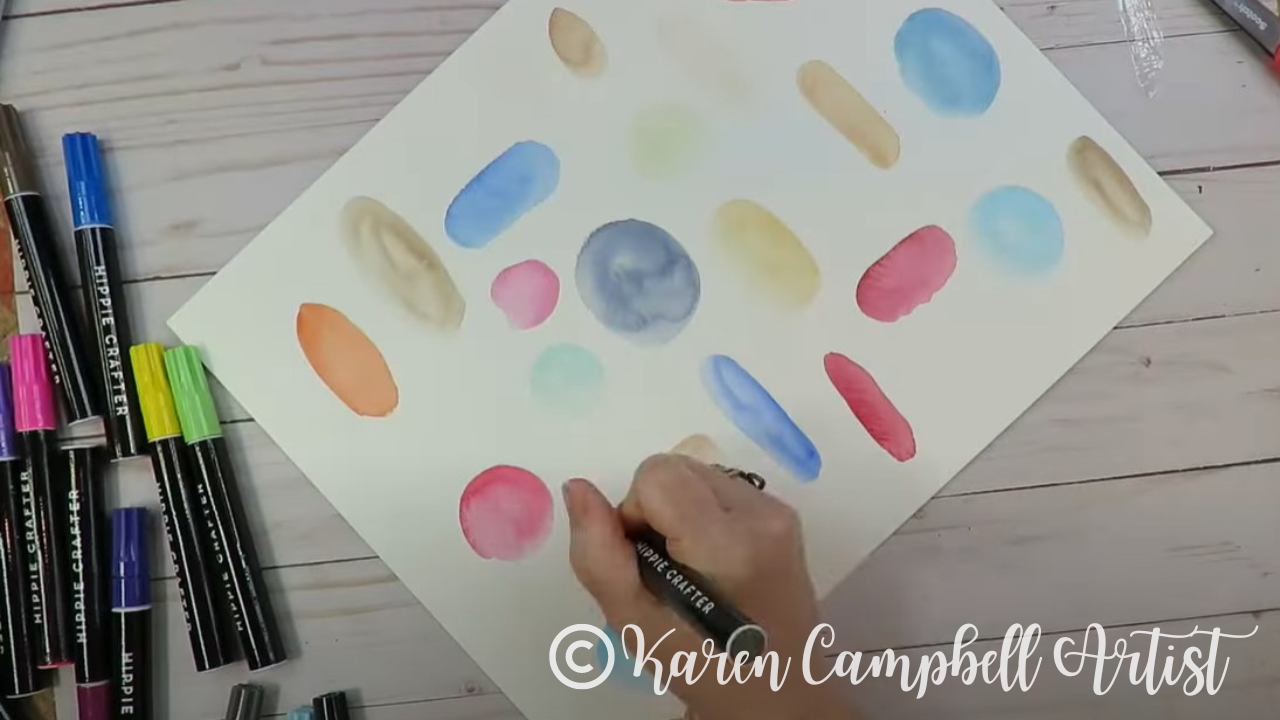
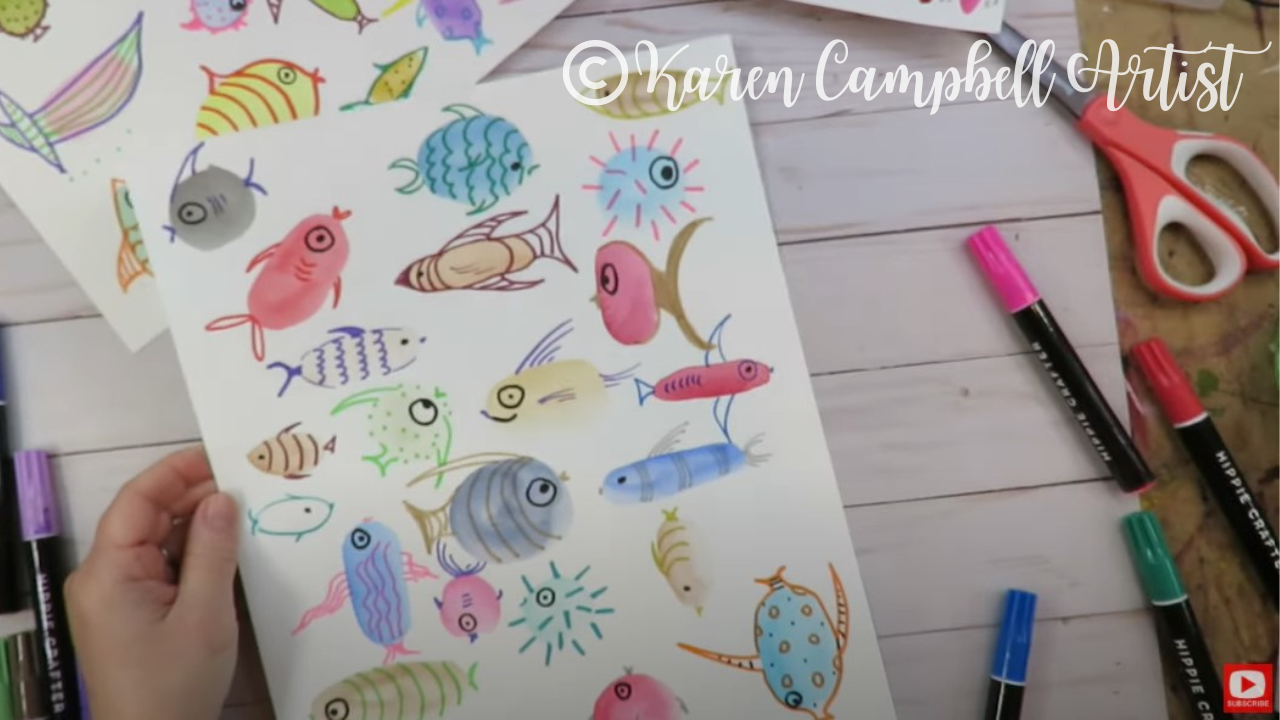
There, I said it!! LOL. One of the AWESOME ways I totally enjoy choosing which watercolors get to come on a trip is by looking to my DESTINATION for inspiration! This is especially important if you plan to do landscapes and cityscapes. Here's an example of what I'm talking about. If you're headed to the beach, you'll want a palette filled with colors like this to paint those gorgeous waves, skies and cocktails you'll be sipping (or I would be sipping, LOL!). 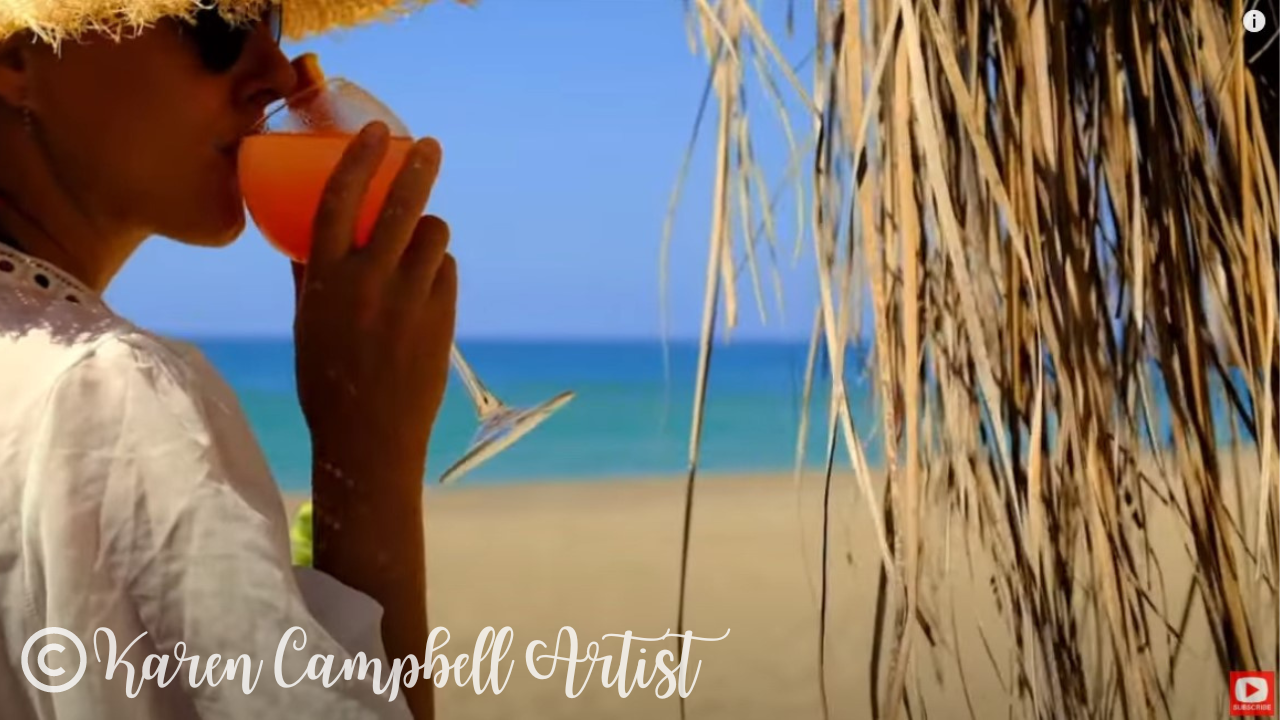
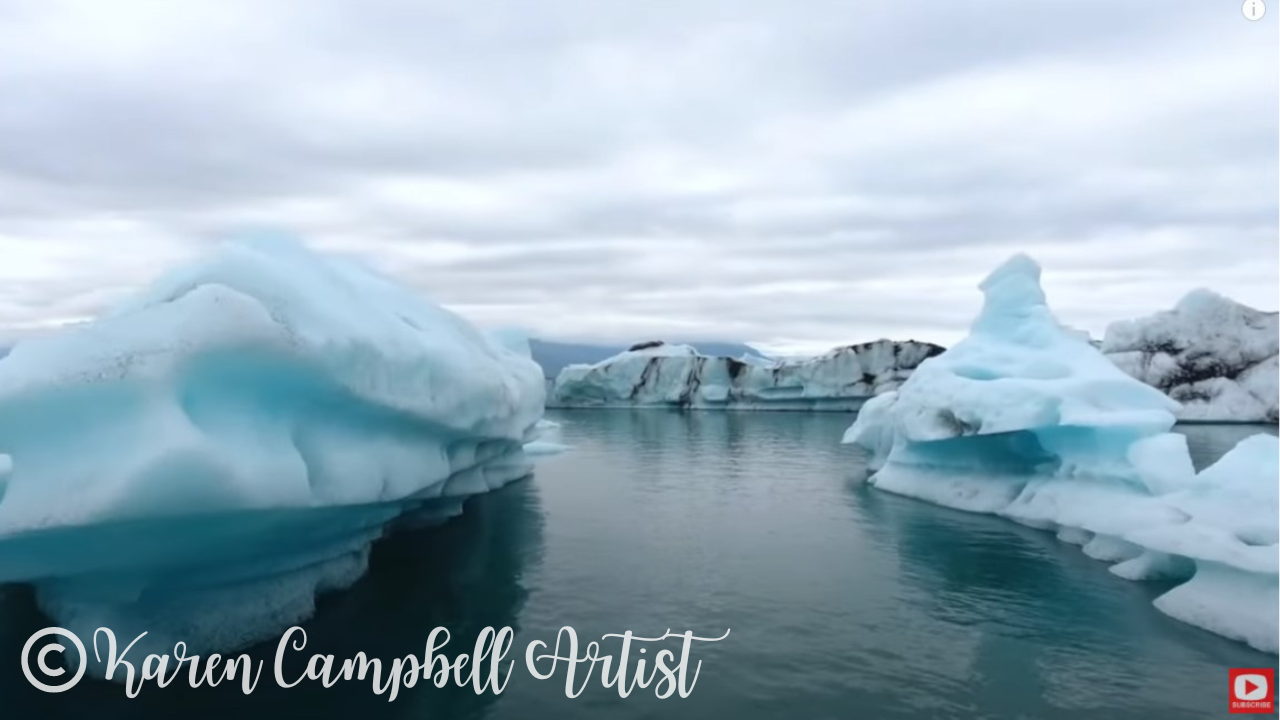
If you're headed to a place like Iceland, you're gonna want to include cool blues and grays like this to capture the moody skies, glaciers, and seas...
Or, maybe you don't even care about colors inspired by your destination... you'd rather just bring your favorites!! That's cool too!!
I tend to do a combo of bringing my faves and thinking about colors inspired by where I'm going.
When it comes to which colors I choose or recommend YOU choose, it's personal. I'm NOT gonna tell ya what to bring, and there are NO WRONG ANSWERS :) Just bring what YOU LOVE, and don't worry about anyone else! For me, Daniel Smith Serpentine Genuine (below), goes wherever I go! 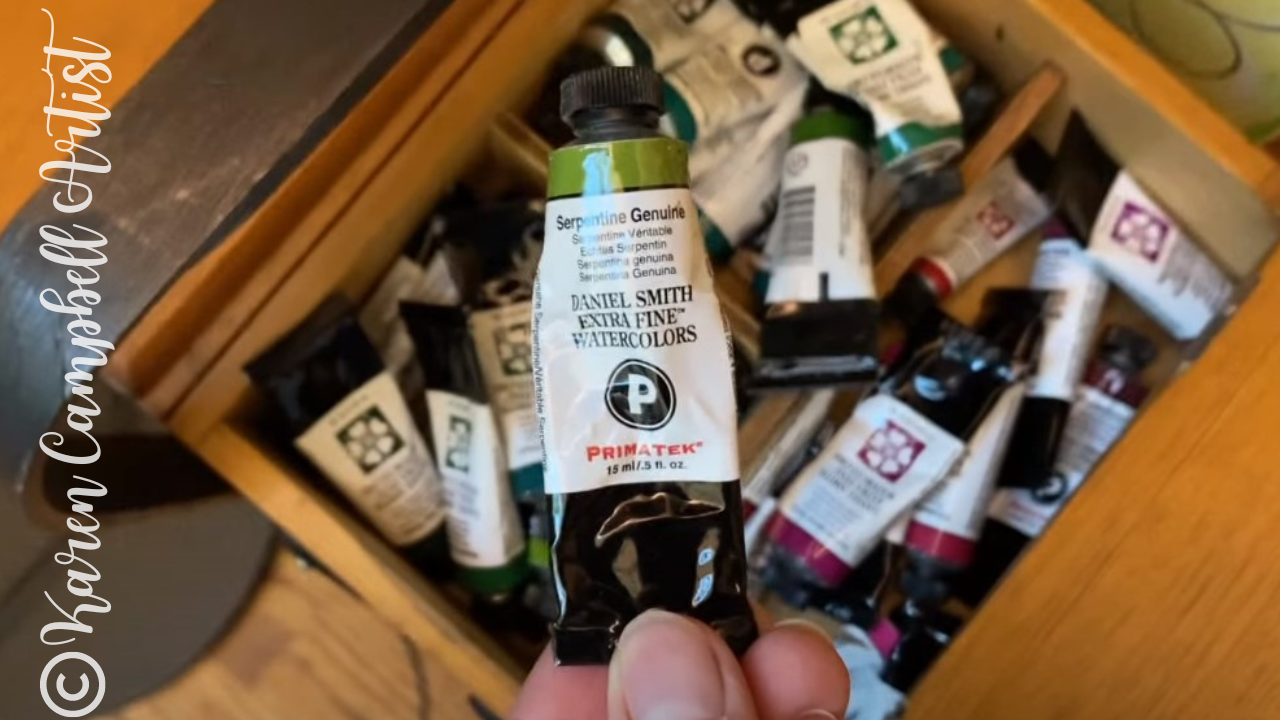
Since I love choosing specific colors to bring with me, I prefer to create my own custom travel watercolor palettes. I've done videos on this before, but today's demo is a little different, so make sure you click over to watch this new process unfold.
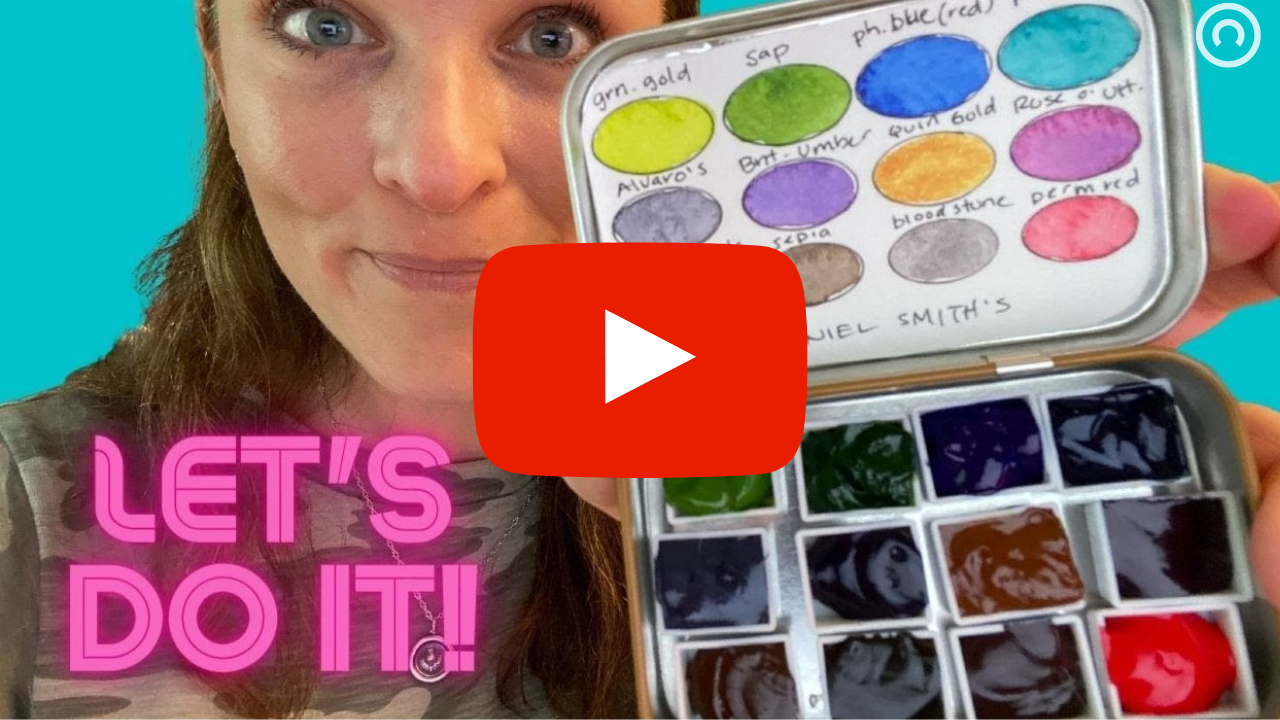
I recently discovered some cute PARTIALLY FILLED travel palettes by Daniel Smith (see below). Each palette has 15 half pans, 9 of which are totally empty - ready and waiting for YOU to add your fave colors to, and 6 of the half pans come pre-filled with color families like blues, purples, neutrals, etc. Cool, right? Best of both worlds!
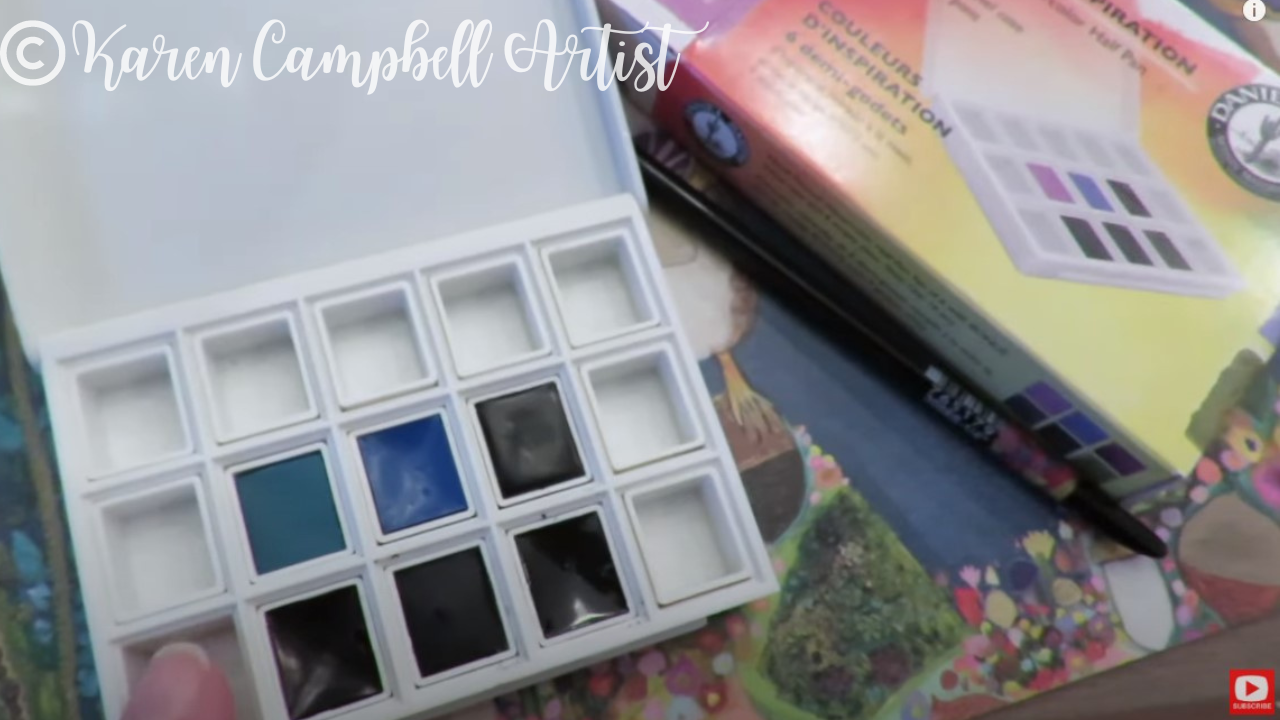
The brand QoR also has a similar travel palette that's been pre-filled with 6 colors, and has 6 empty half pans ready and waiting to hold YOUR favorites!
Just look at how beautiful these color selections are!! 
I've really been enjoying the vibrancy of QoR watercolors lately. I recently purchased this QoR set of 24 5ml watercolor tubes and am planning on adding 15 of them into a baby watercolor palette that will clip onto my journal. Its' SO adorable. Make sure you stay tuned till the end for a sneak peek at THAT!
Once I've filled my empty half pans in each palette, I swatch my colors inside a little travel watercolor journal so I know what's inside each palette.
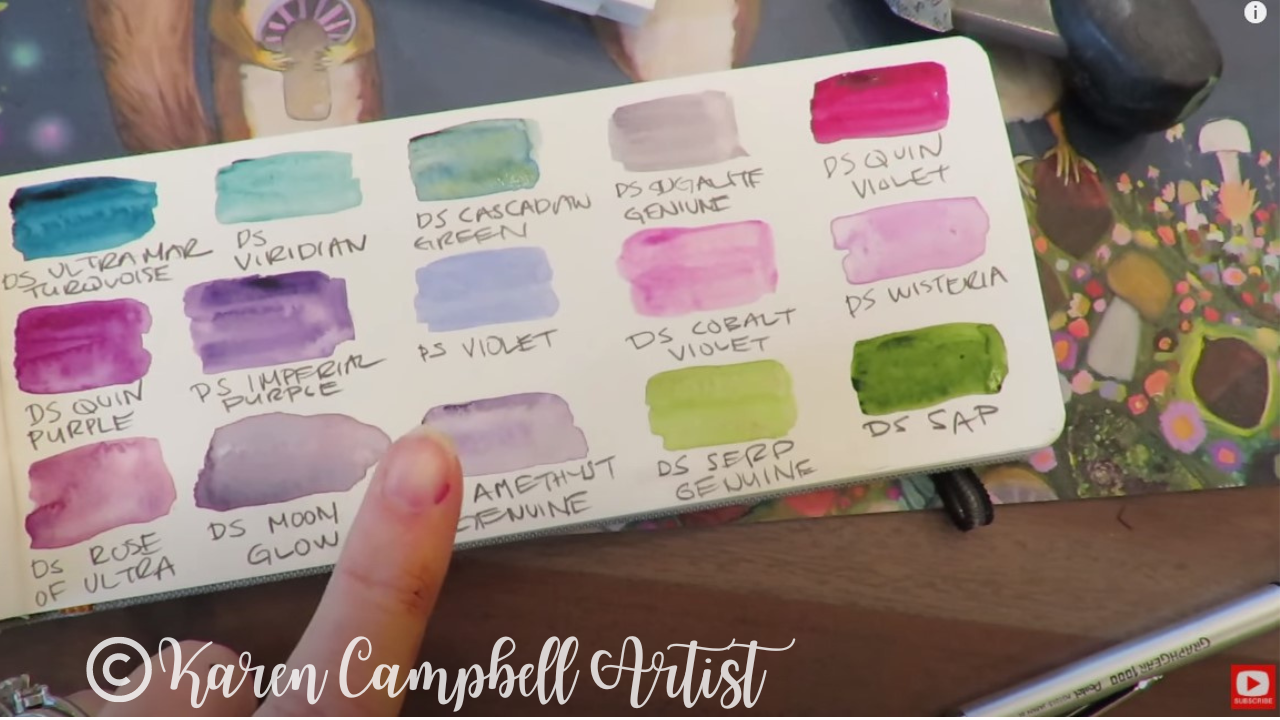
These cute skinny watercolor journals are awesome for swatching!
If you're NOT getting ready for a trip and just want something to make swatching a little more fun, make sure you download my FREE Swatch Sheet! You can use it for watercolors, markers, colored pencils, you name it!! 
I hope you found today's video helpful for your next trip!
And if you DON'T have any travel plans right now, who cares?!! You can STILL create some little custom watercolor palettes for yourself. 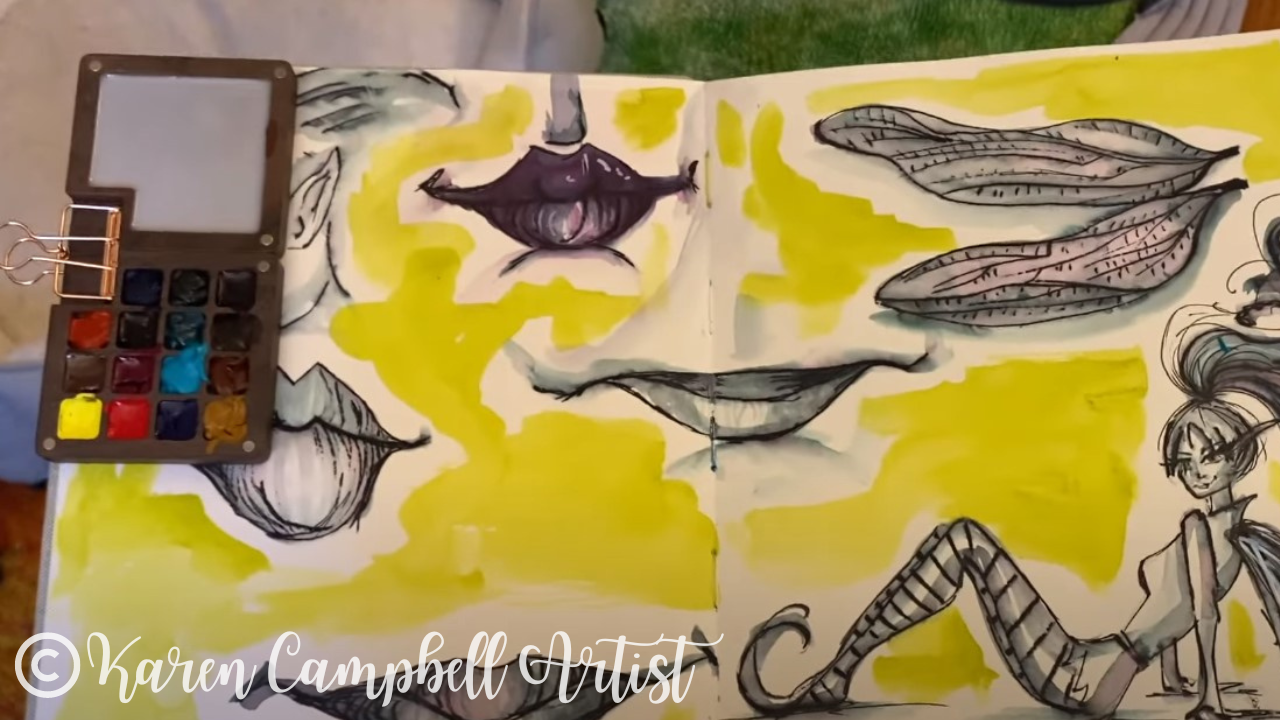
This baby mini travel watercolor palette is completely ADORABLE, wooden, and even clamps onto your journal!! It's perfect for moving your watercolor supplies easily around your house, into your backyard, or for an artsy walk in the park! I can't wait to use mine!!
Need Some Awesome Watercolor Lessons?
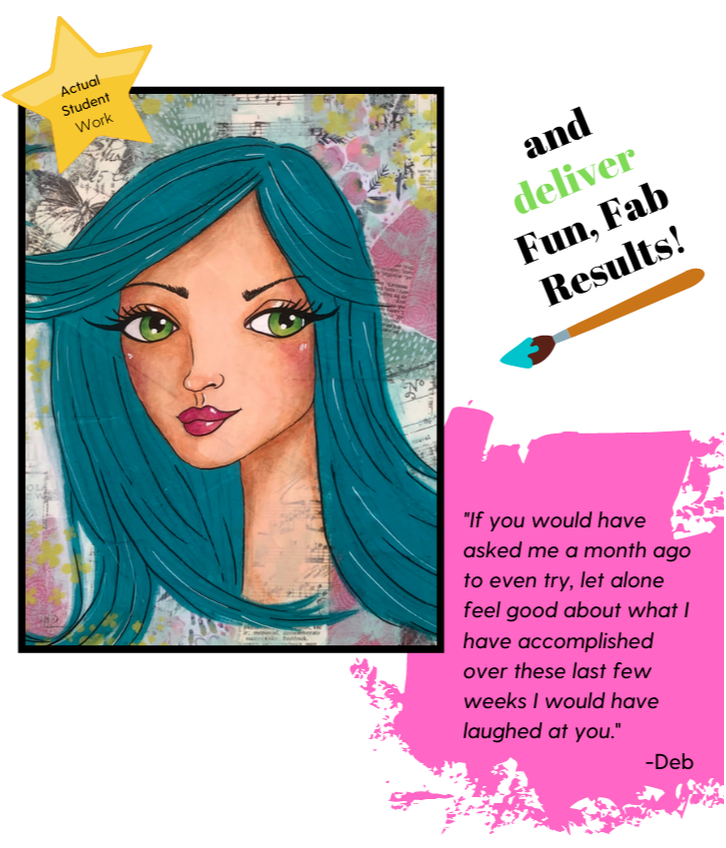
Of course you can't just have a set of gorgeous watercolors and NOT use them, RIGHT?! Check out the Celtic Collective art club over at Awesome Art School. It's like Netflix for watercolor and drawing lessons and are all FANTASY themed! So tons of mythical creatures from fairies (good & bad!!) to mermaids, unicorns and more!
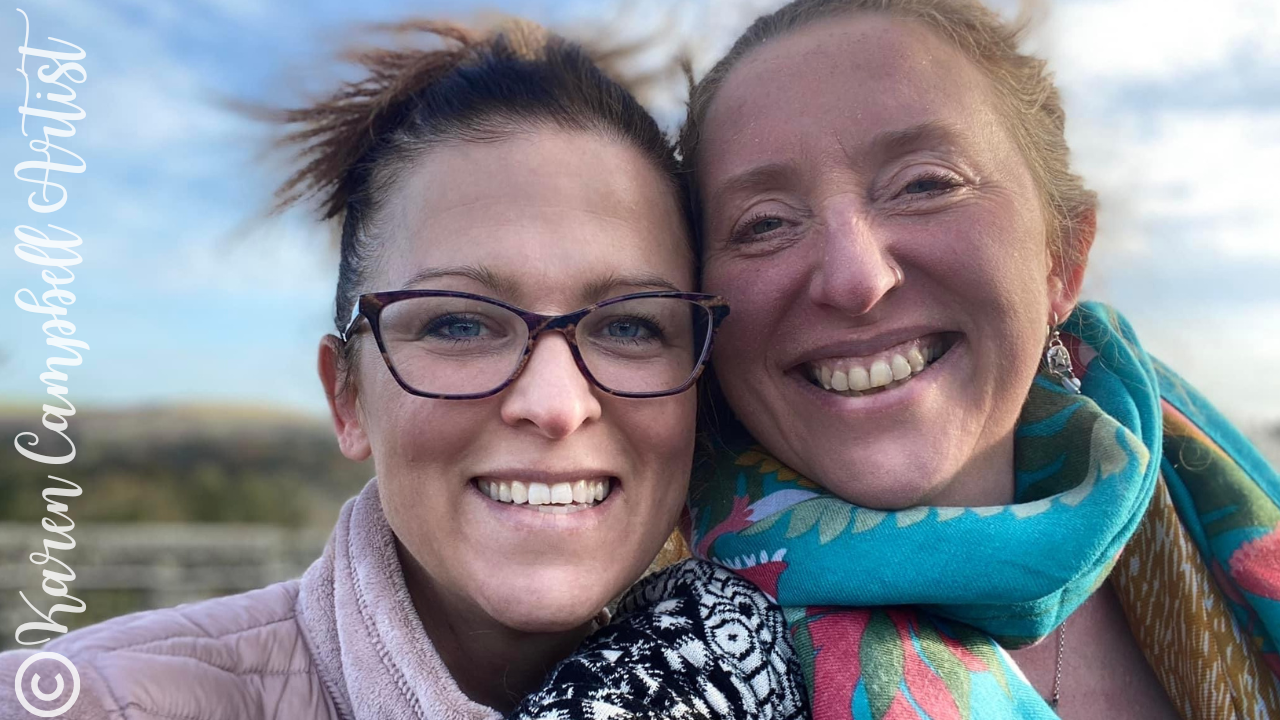
Lucy Brydon and I are having a blast with our students, and would LOVE for you to join us!! You don't have to have ANY watercolor skills to join. We'll teach you everything you need to know from the ground up!! 
Wanna Watch Another Video?
I thought you'd never ask ;) This one's a goodie about ... surprise, surprise... how to make a teeny tiny travel watercolor palette!! It's SOO fun and soo cute!!
Need More Resources?
0 Comments
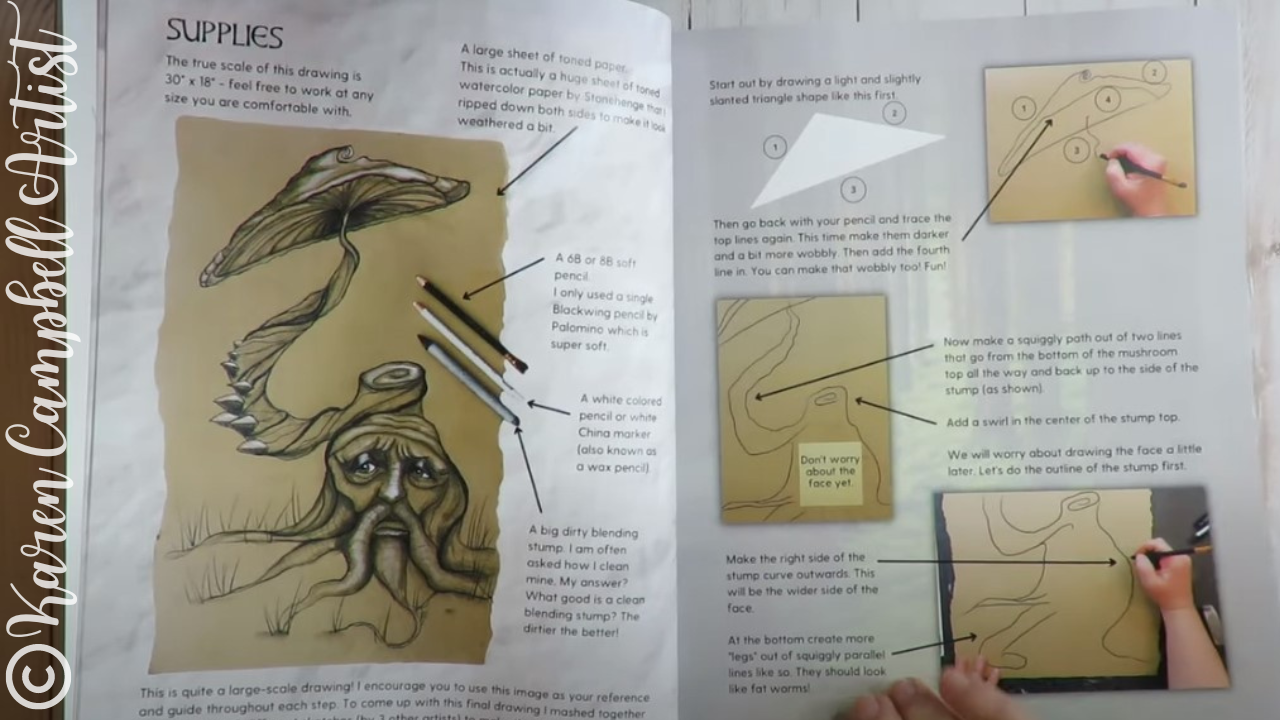
Have you ever looked at art by a master artist and tried to just GUESS at how s/he created something? I have learned SO much from doing this over the years!
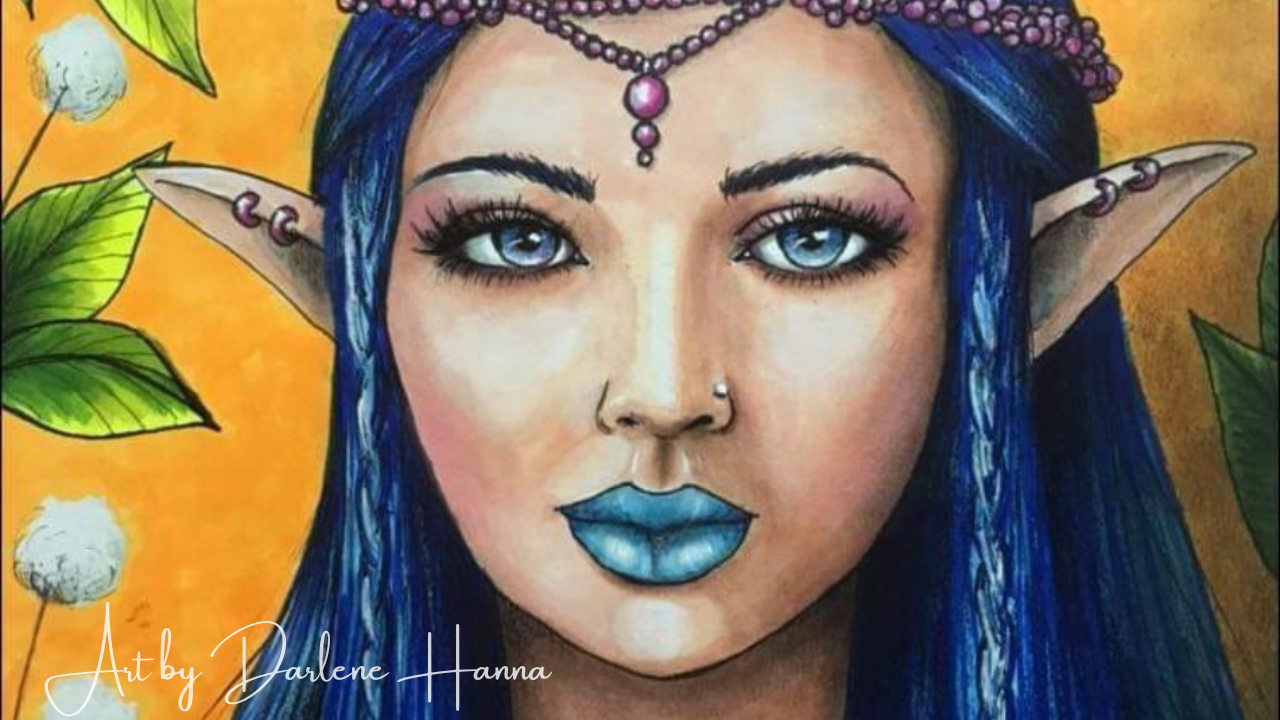
I recently developed a fantasy art drawing lesson for my Celtic Collective art club using this process and took inspiration from one of my favorite fantasy artists, Brian Froud. Stay with me till the end for some magical fountain pen ink painting!! 
Before we continue, super quick announcement: All product links are Affiliate. I may earn a small commission if you choose to order through these links but by law there is never any additional cost to the consumer for doing so. I thank you for your support
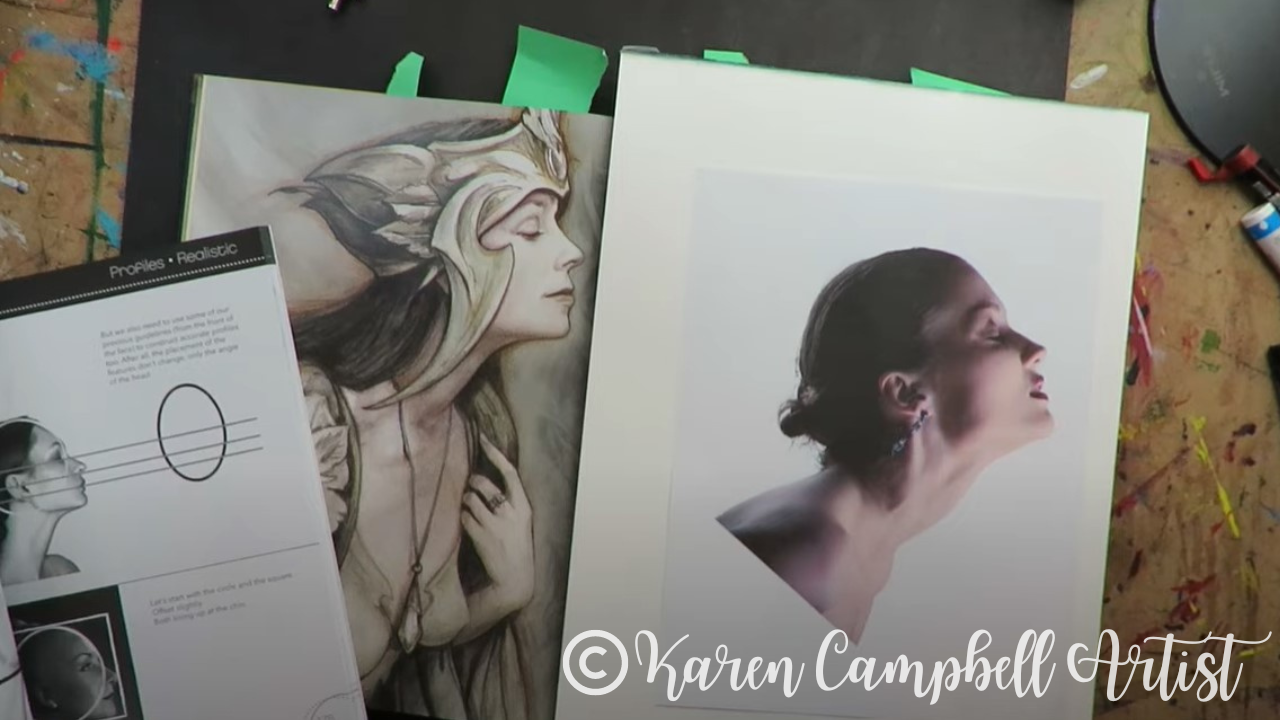
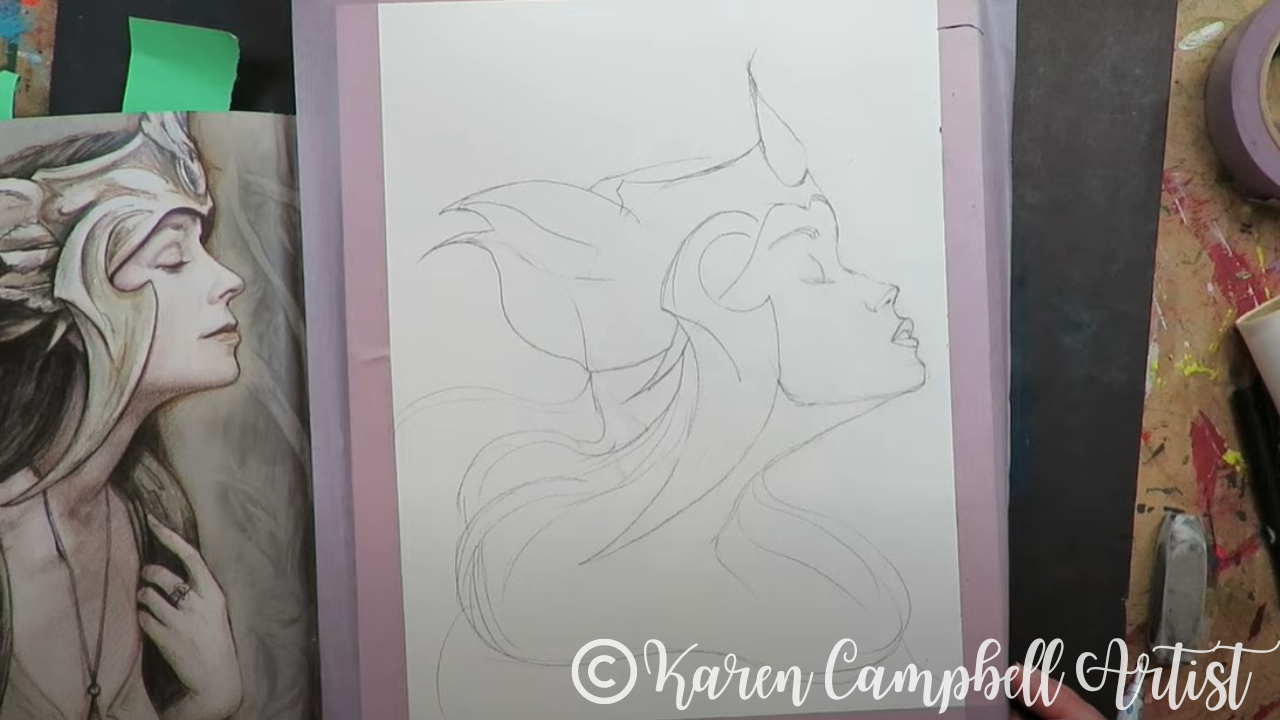
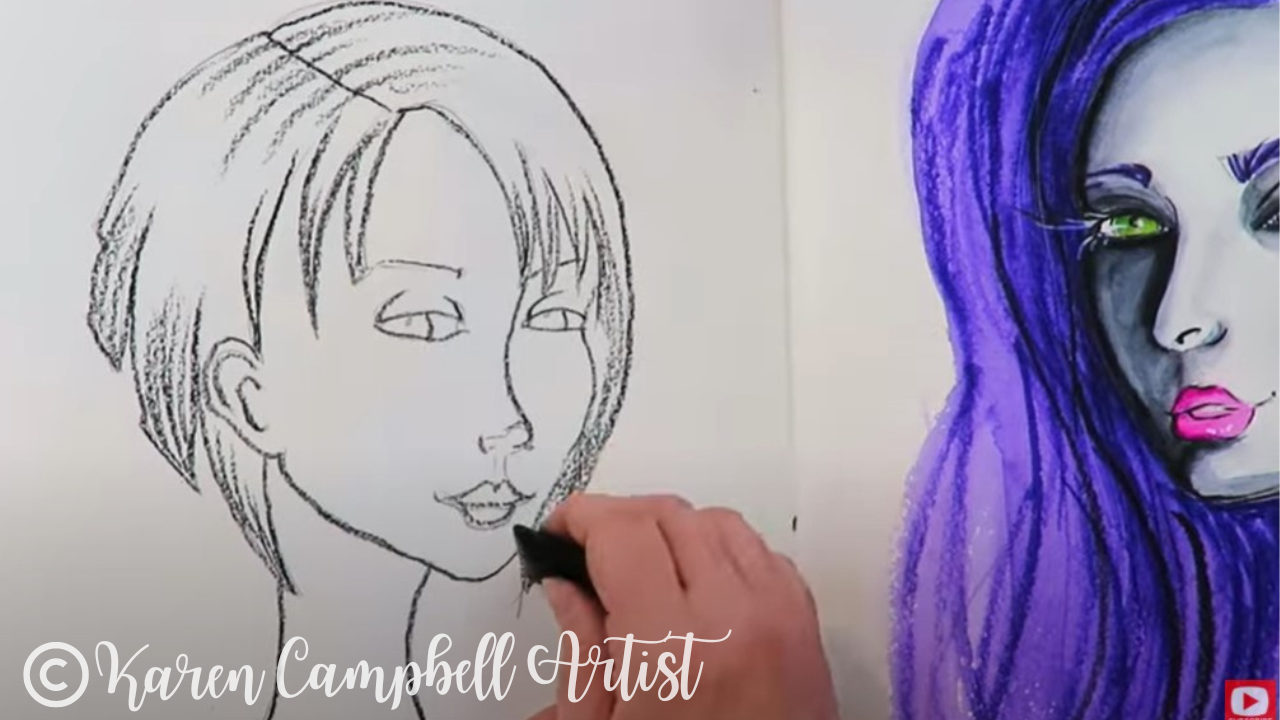
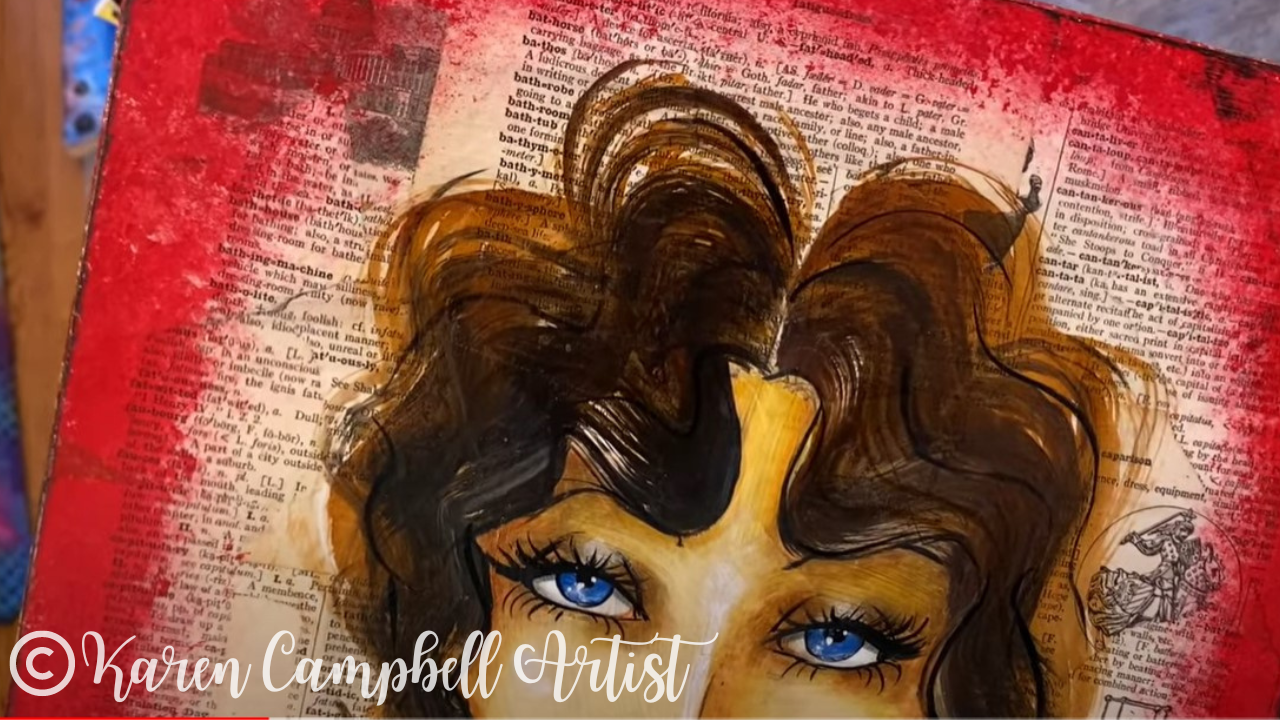
Just look at THE NECK on my face drawing reference today!! Isn't she gorgeous?! I'm using this copyright-free profile photo to guide me on the angle of the head and facial feature placement for my own drawing.
If you're not sure how to draw a side profile, the drawing portion of today's lesson is in real-time, so make sure you click over to watch, and draw along with me, step-by-step.
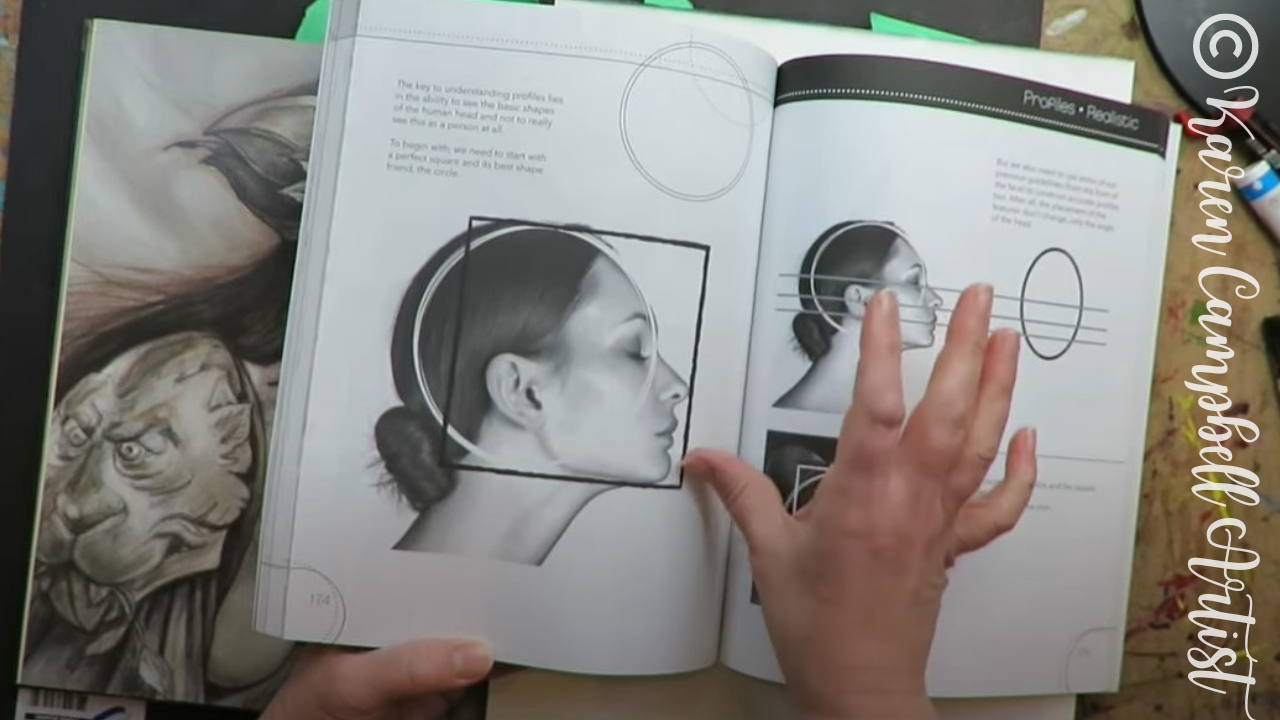
Profile guidelines get sketched in first (as always). If you have a copy of my How to Draw & Find Your Style book, I'm using the realistic profile drawing guidelines found on page 174, and starting off by sketching a circle and square onto my own paper. 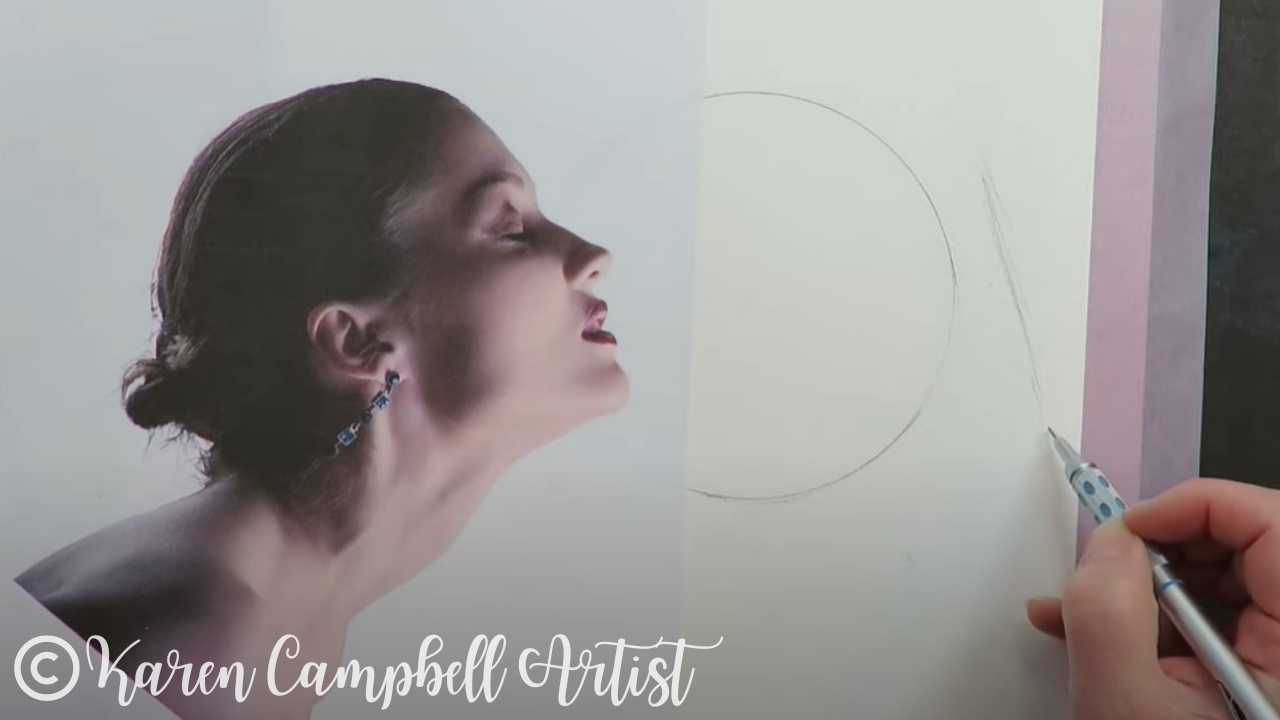
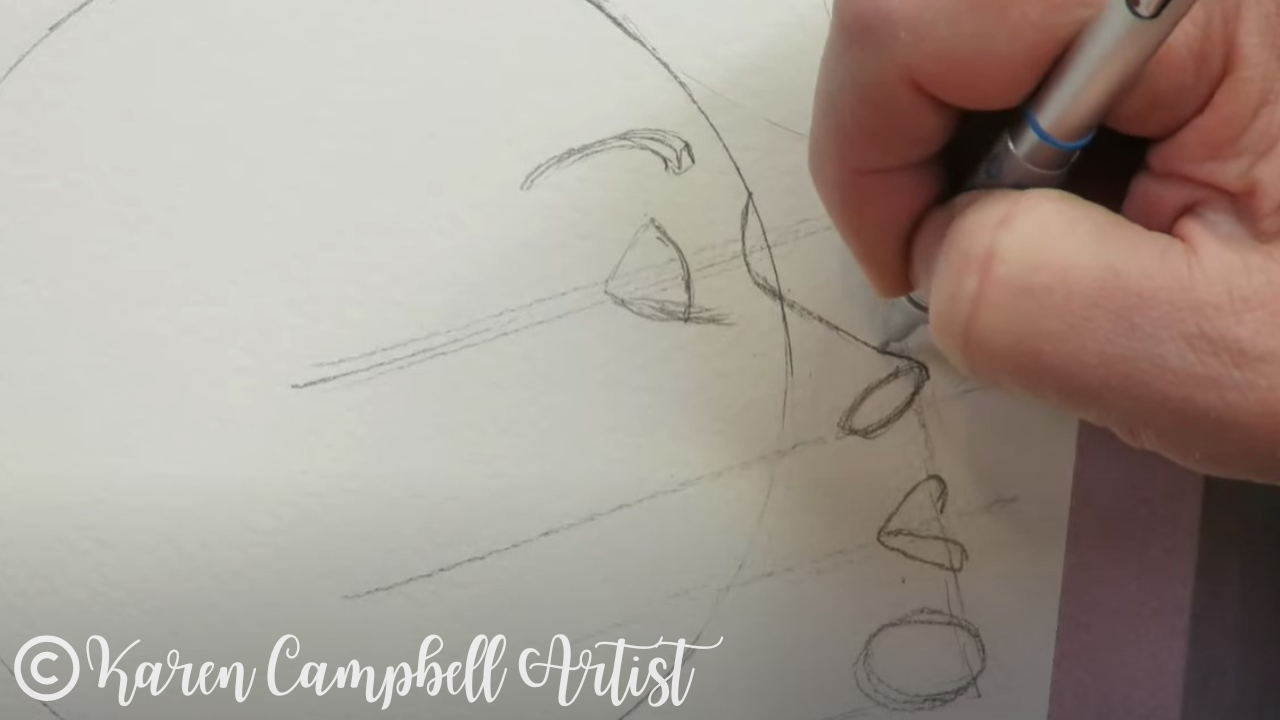
Next, I add in guidlines for the eyes, nose and lips, and begin to pencil in placeholder ovals where these facial features will go. As you may have noticed, I'm using a mechanical pencil for today's tutorial. This set by Pentel is my favorite.
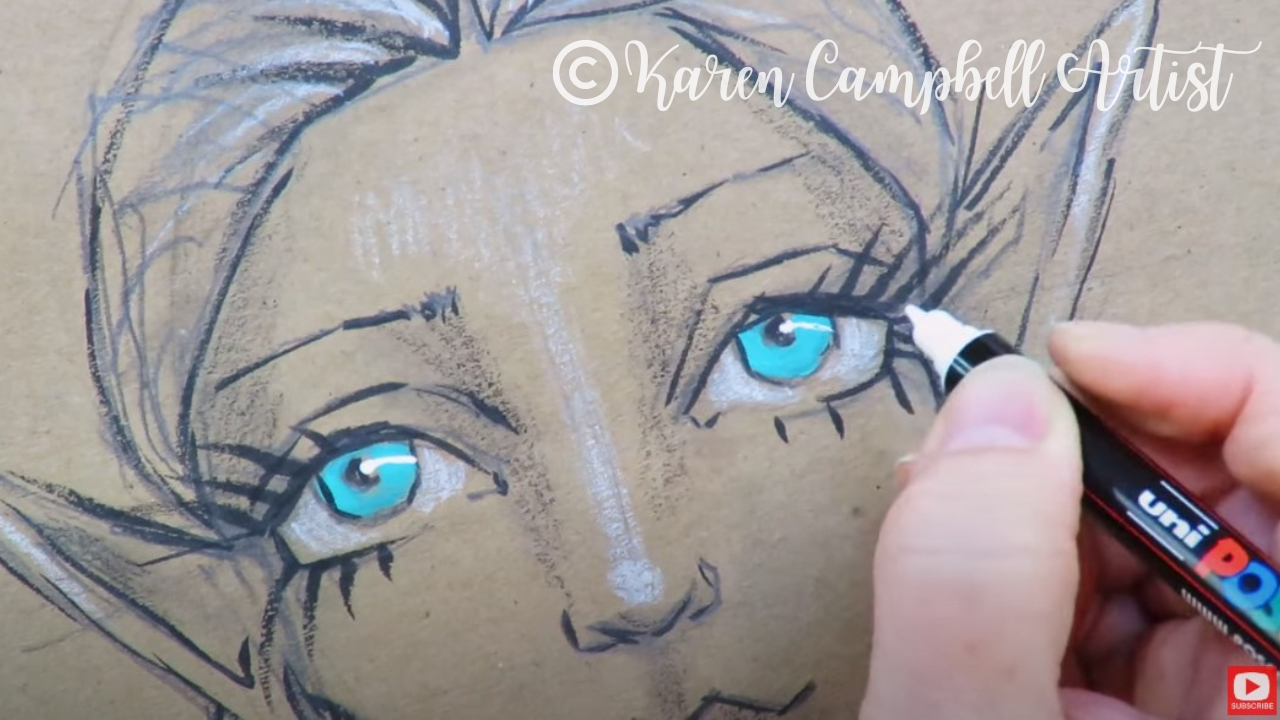
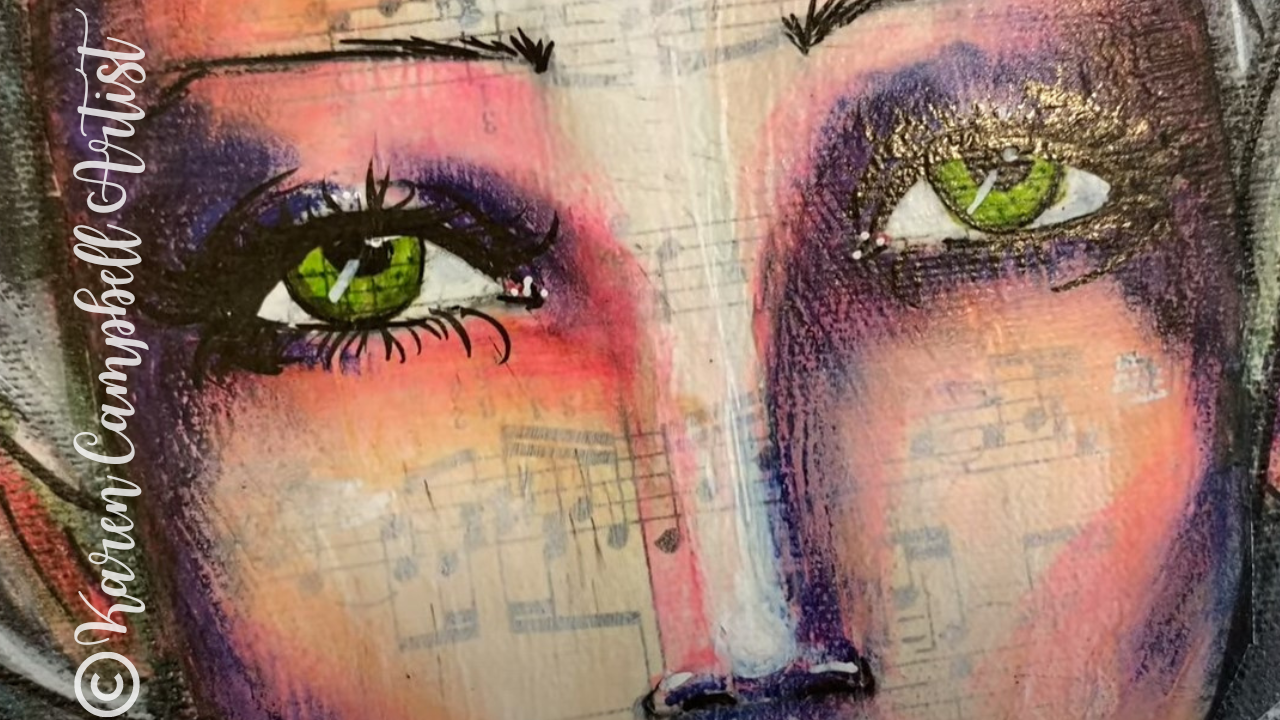
Next, I begin connecting the features and erasing my guidelines. Once this part is done, I start looking to a gorgeous piece by Brian Froud for inspiration on how to draw a killer headpiece. I'll also be studying Brian's piece to guide me on shading, which I CAN'T WAIT to get started on!!
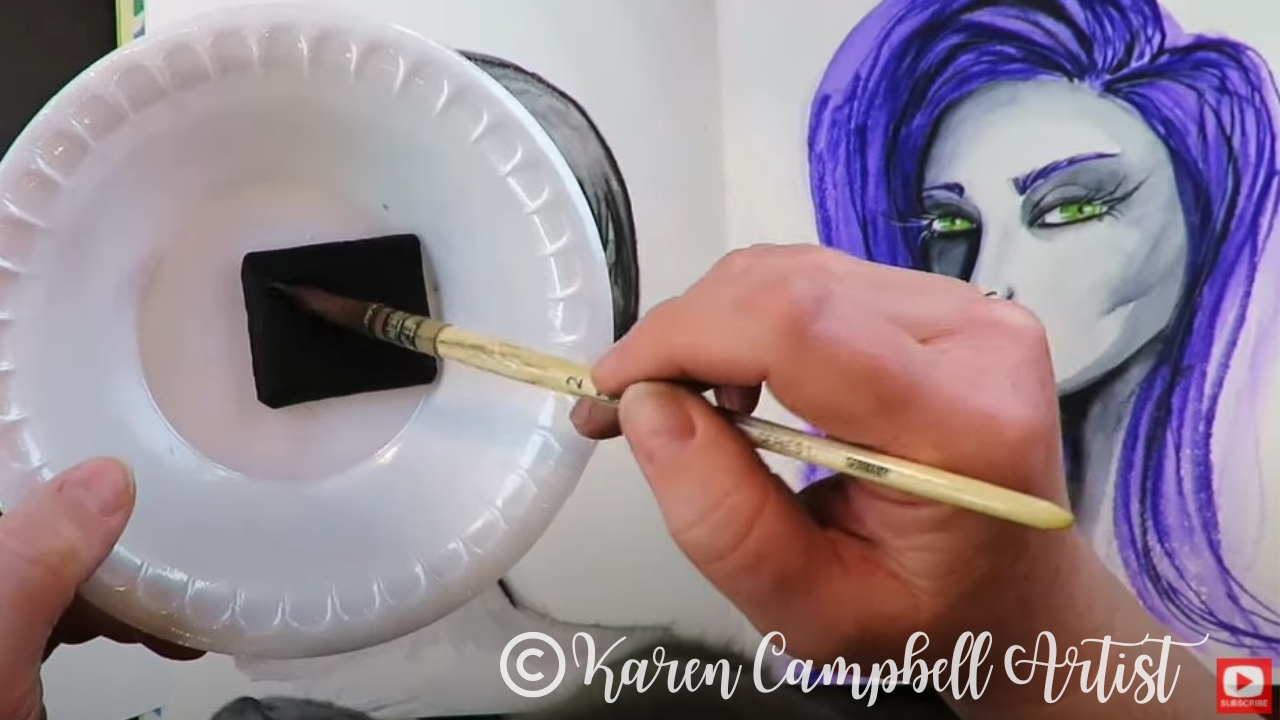
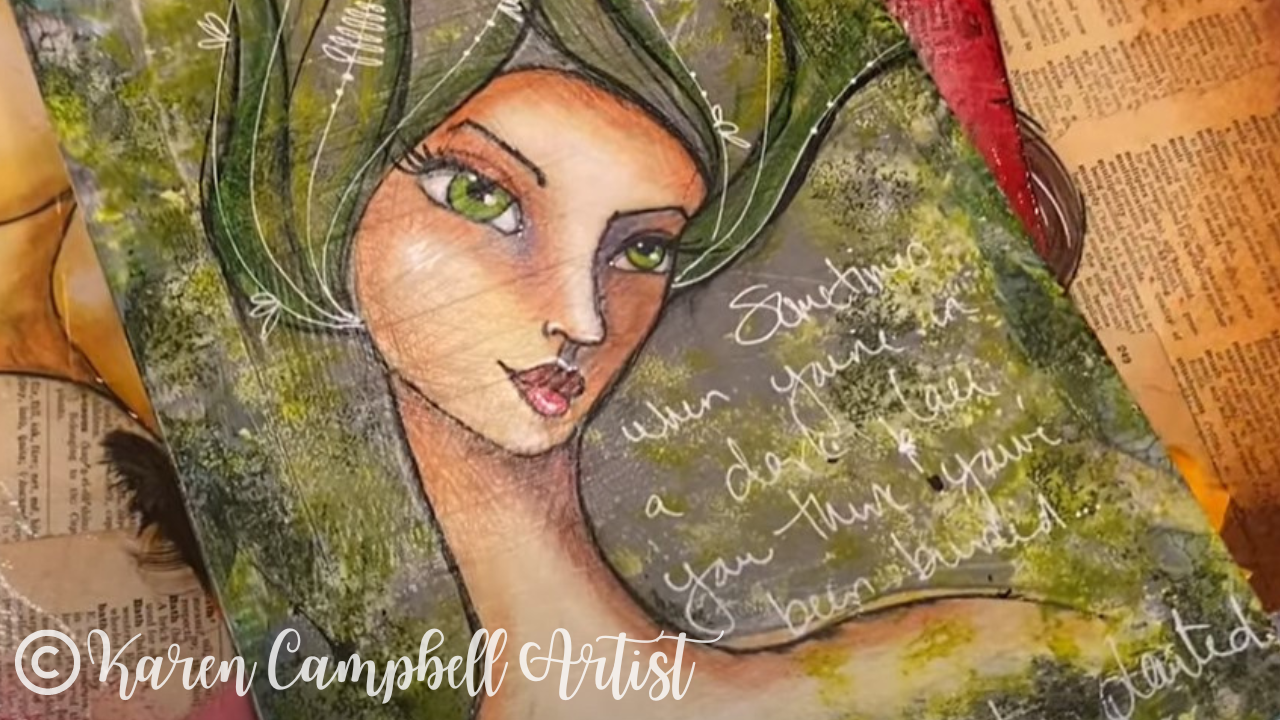
I've decided to paint my drawing using fountain pen ink. If you're new to this technique, it's amazing and super similar to working with watercolor.
As always, I'm working with my favorite watercolor brushes by Polina Bright. You can learn more about why I'm obsessed with them here, or get 10% off for yourself in Polina's shop here. These work beautifully with fountain pen ink painting as well because they hold SO MUCH ink!! 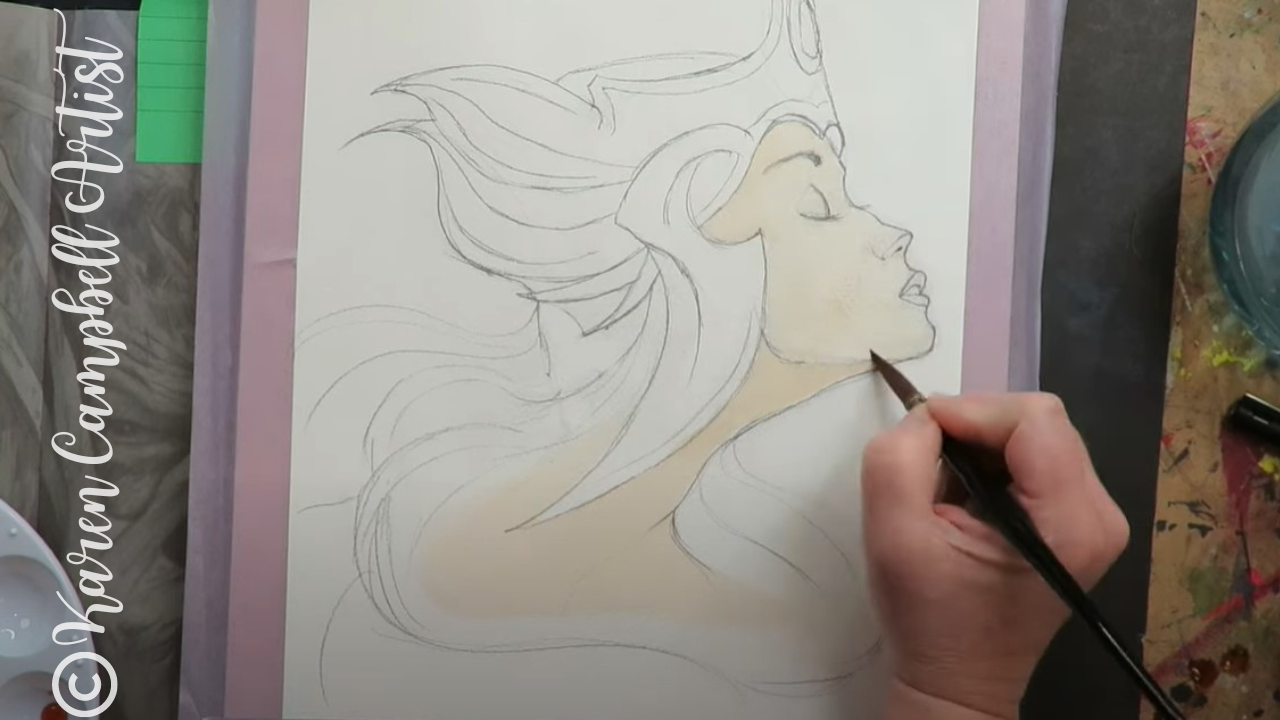
The painting part of today's project is timelapsed for your enjoyment, so kick back, relax, and watch this warrior chick come to life in minutes!!
Wanna Do the FULL Lesson in Real-Time with Me?
It's in the Celtic Collective art club over at Awesome Art School. Join the waitlist here to be notified the next time enrollment opens :) Lucy Brydon and I are having a blast over here with our students, and would LOVE for you to join us!!
Wanna Learn MORE About Fountain Pen Ink Painting?
I thought you'd never ask! Check out this playlist for MY BEST FOUNTAIN PEN INK PAINTING TIPS, or press play below...

Need More Resources?
❤️ CHECK OUT ALL my art books on AMAZON
❤️ CHECK OUT ALL my online art classes @ Awesome Art School ❤️ MY FAVORITE ART SUPPLIES on AMAZON (affiliate links) ❤️ MY BELOVED FACEBOOK GROUP
Thanks for hanging out with me today!!
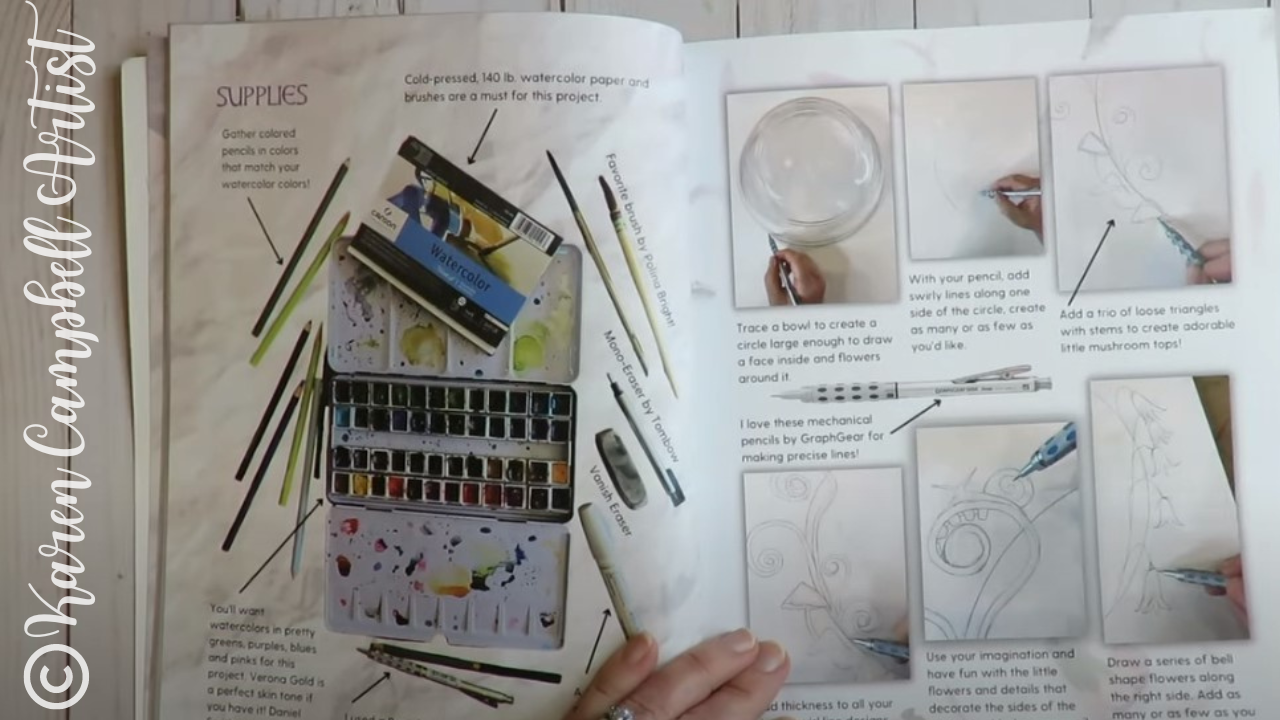
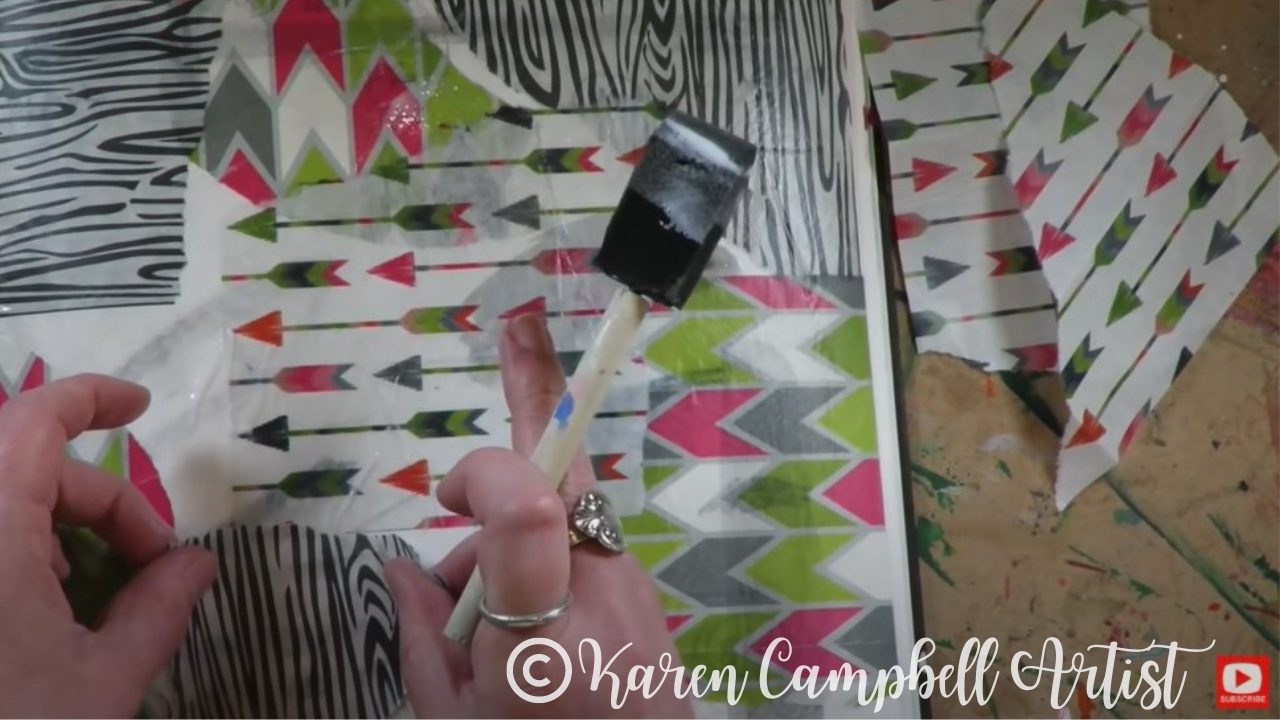
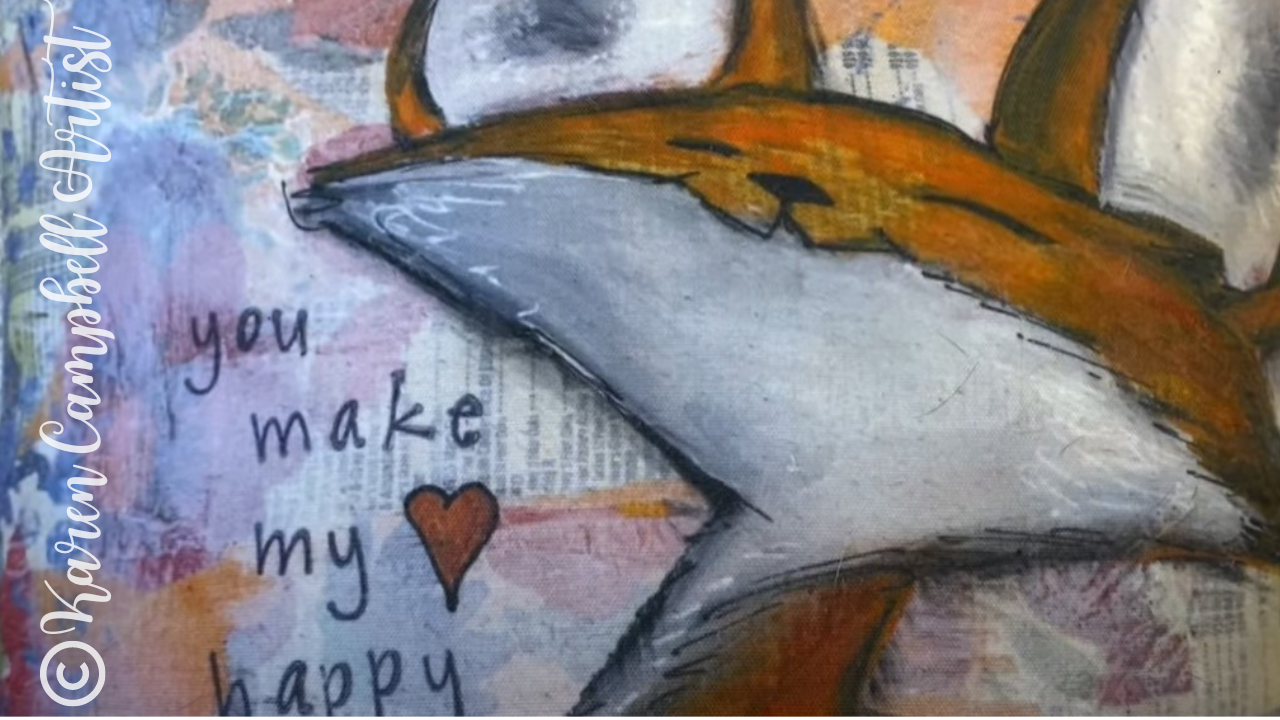
Today I'm RIDICULOUSLY excited to share a super fun project that I created in my mixed media art journal using a square of tailor shape by Art Graf.
I picked this up randomly at Jerry's Artarama a while ago and finally decided to play with it today. I had NO IDEA what to expect from this product, and am SO EXCITED about the results! 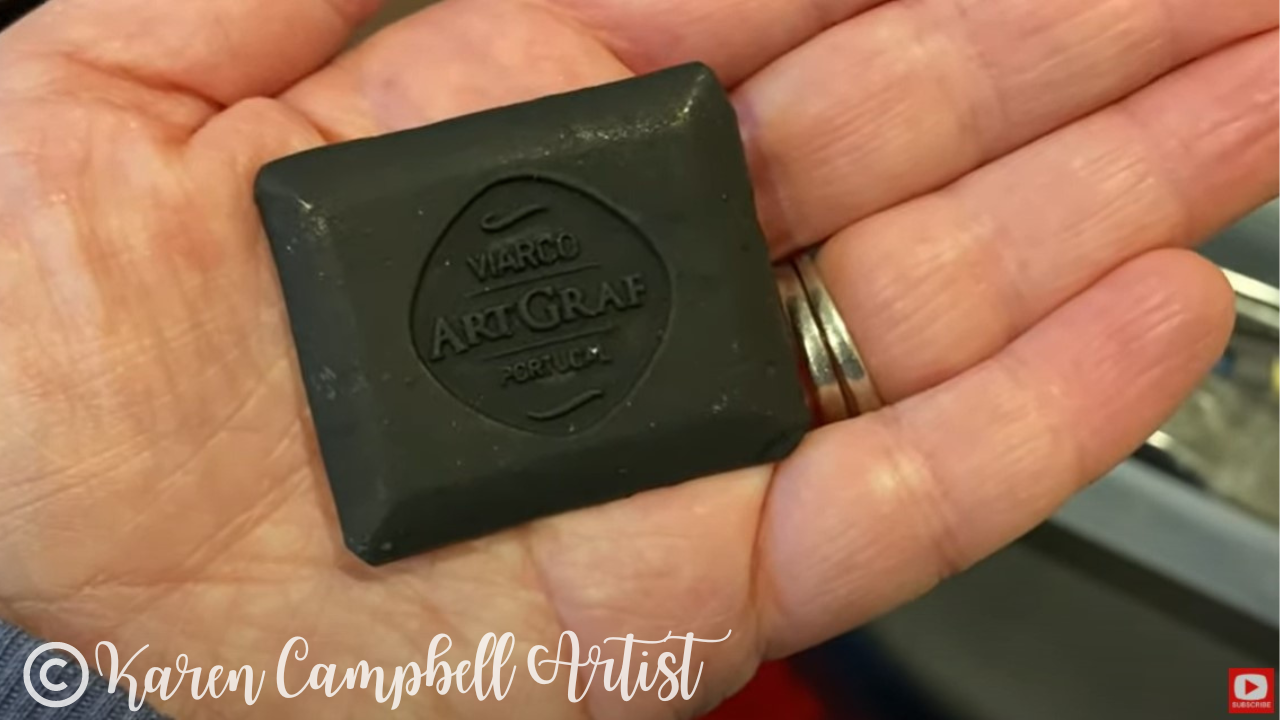
Before we continue, super quick announcement: All product links are Affiliate. I may earn a small commission if you choose to order through these links but by law there is never any additional cost to the consumer for doing so. I thank you for your support.
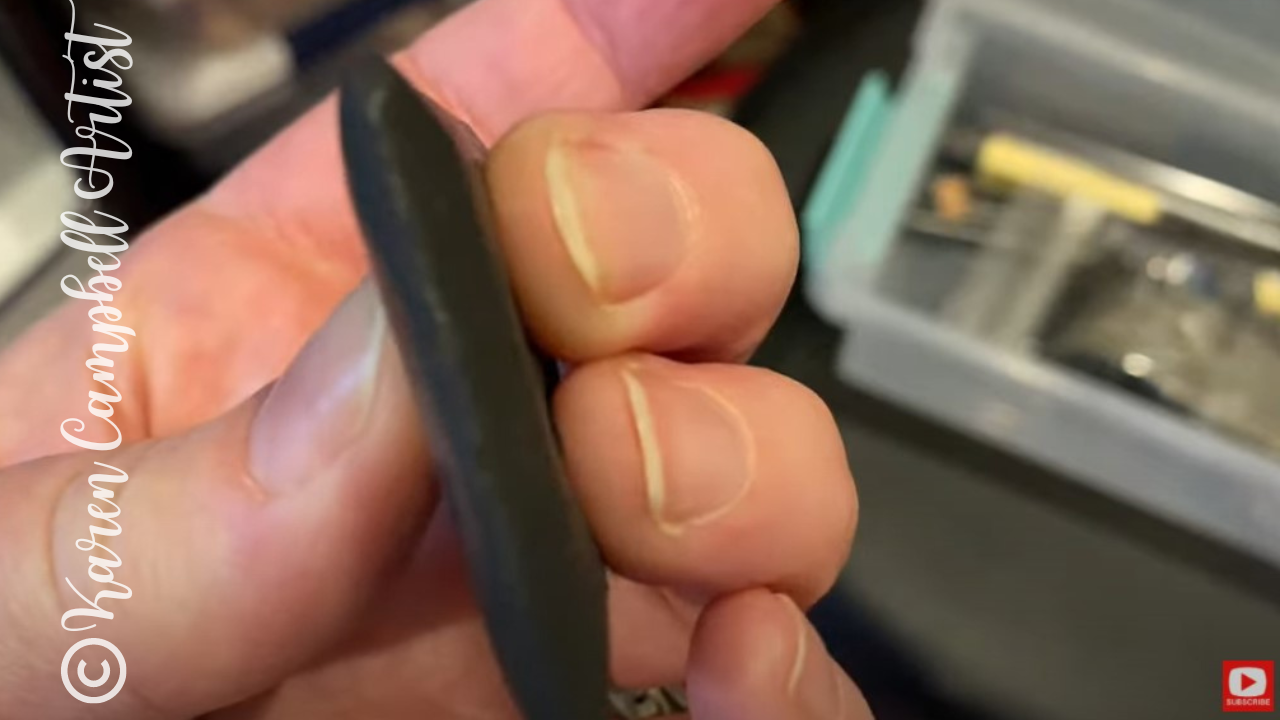
So this thing is actually a chunk of solid carbon and it's completely watersoluble. You can grab one on Amazon for about $12 if you wanna play along with me at home.
It's got a few names - some call it tailor's shape, others call it tailor's "chalk." It's actually NOT CHALK, but carbon that has been formed into a rectangular disc in the shape of tailor's chalk! 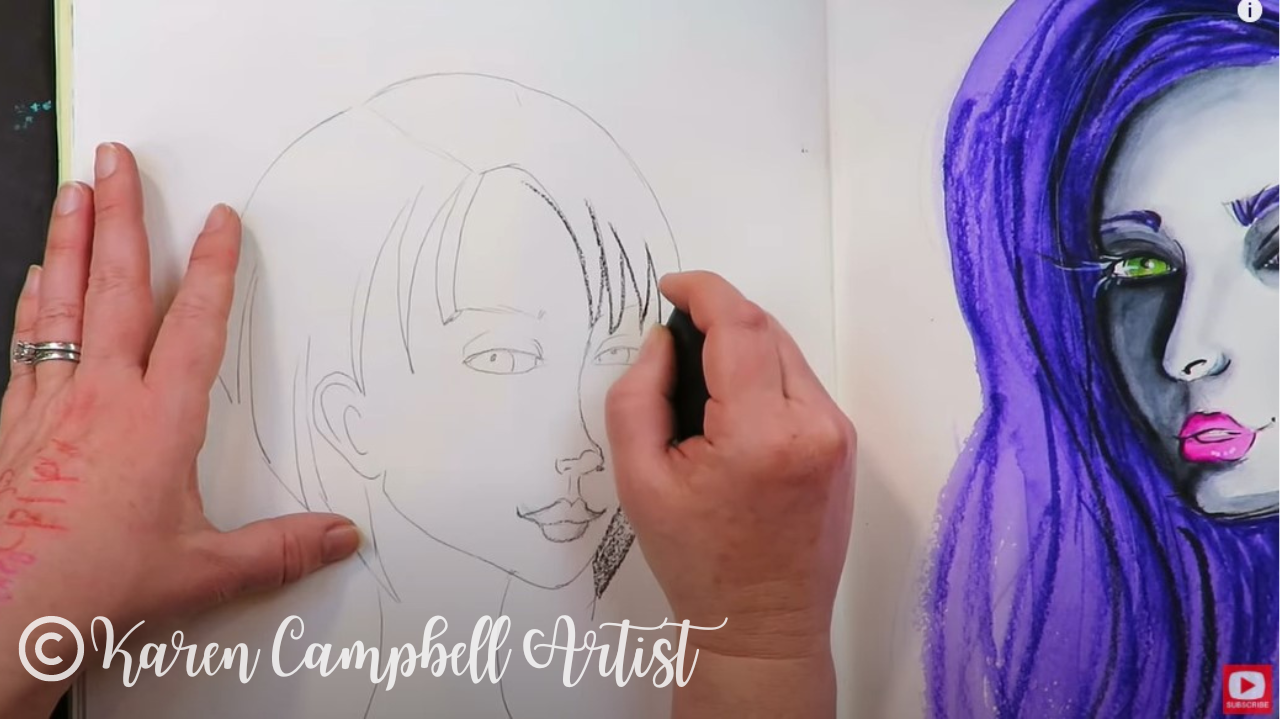
For today's demo, I decided to transfer a previous drawing (if you're not sure how to transfer a drawing, watch this video) into my Strathmore watercolor sketchbook to get this project started.
HOT TIP: Remember if you're working with ANY type of water-soluble art supplies, you need to be working on watercolor paper. 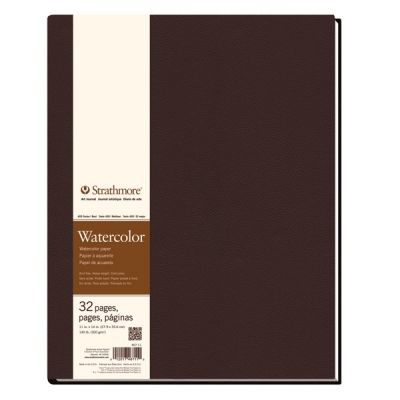
This is the watercolor sketchbook I'm working in today. It's an 11x14 because I LOVE to work big, and hard cover, which makes it perfect for traveling.
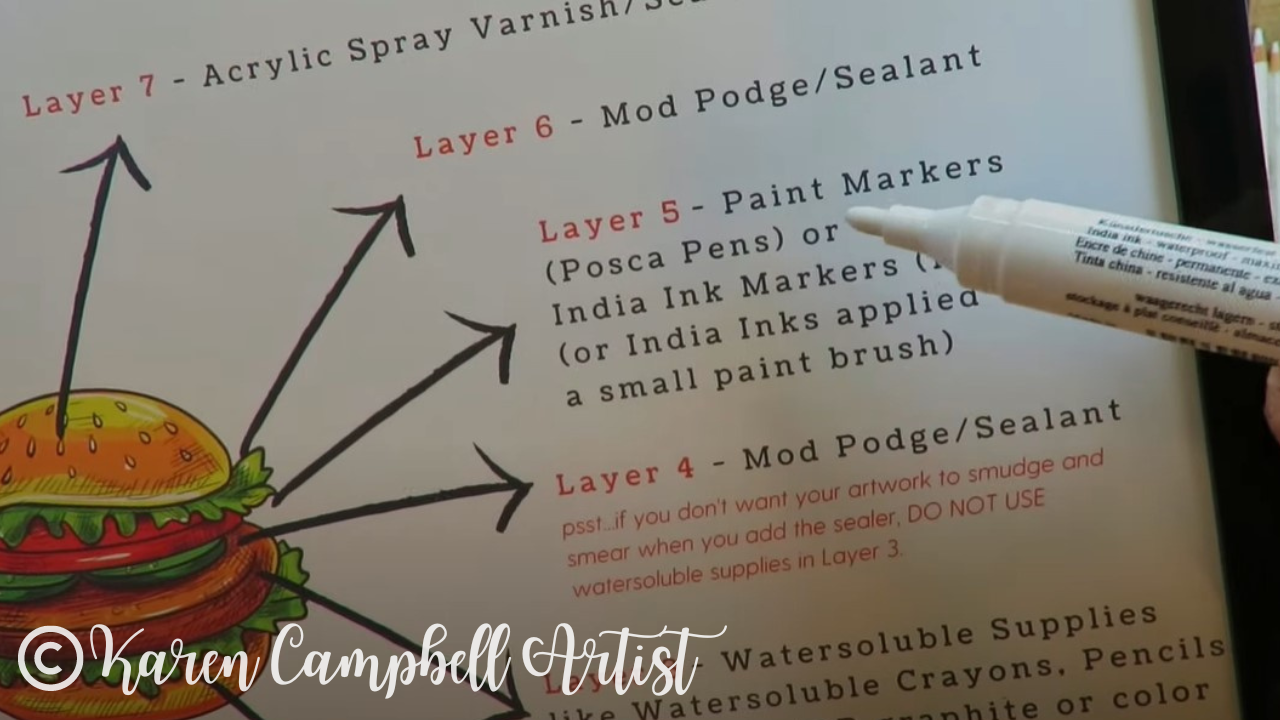
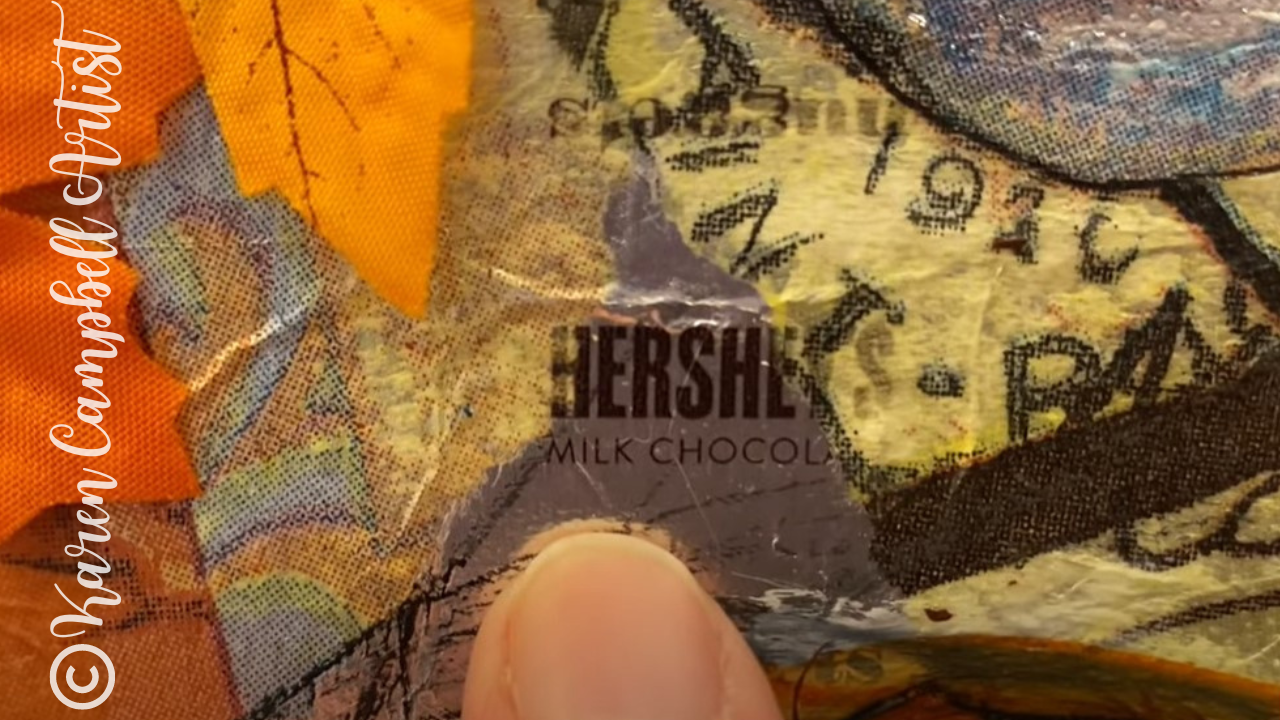
This is typically what I work in for pretty much anything art journal related. It's filled with 140# cold press (textured) watercolor paper. It's of course amazing at accepting watercolor and all watersoluble art supplies from watercolor pencils to the ArtGraf tailor shape I'm using today. I think the paper in this sketchbook is also amazing for drawing because of the gorgeous texture. It's also hearty enough to accept full on "hamburger style" mixed media projects like the one below! 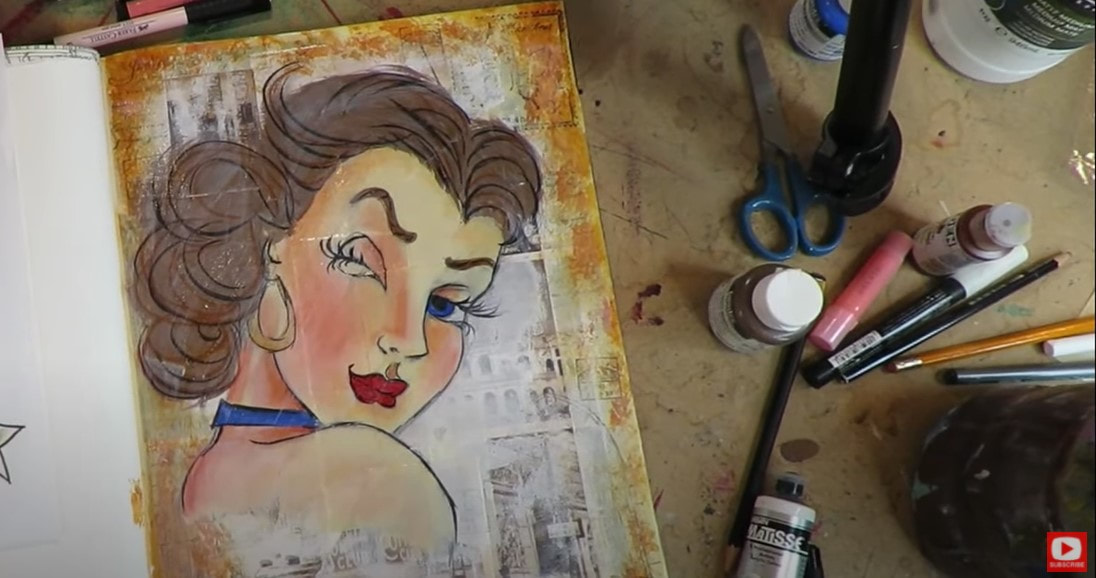
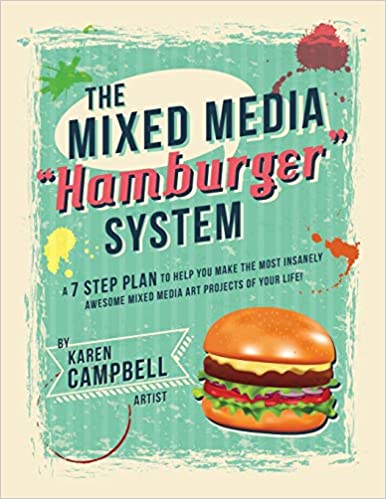
Not familiar with my Hamburger System? It's my signature mixed media process! Grab my FREE Hamburger System cheatsheet to help you understand your mixed media art supplies and start layering them like a pro.

After you grab your cheatsheet, watch this playlist to see how I create each layer of the Hamburger System from collage to acrylic painting, finishing and sealing to create my mixed media masterpieces!
Back to TODAY's project :) So as I mentioned, I've never drawn with anything like the watersoluble tailors shape by ArtGraf before! It honestly worked pretty well tracing over the lines of my transferred drawing.
When it was time to activate my drawn lines, I was a little shocked at how water soluble this stuff was!! At the same time, I immediately felt like I was in familiar territory. 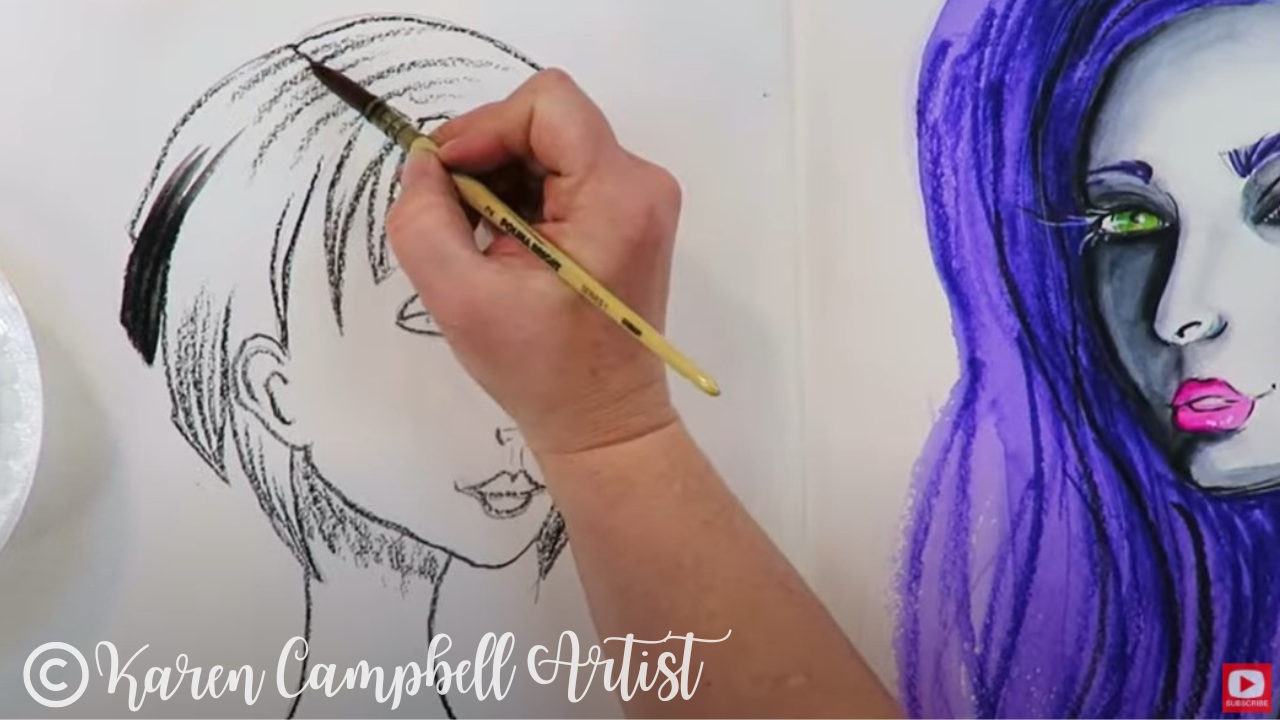
The effects were IDENTICAL to my beloved black stabilo all pencil! So much so, that I'm seriously wondering if this stuff is what's actually inside the black stabilo!
If you're not familiar with the black stabilo all pencil, it's one of my FAVE art supplies - watch this video to learn all about it! 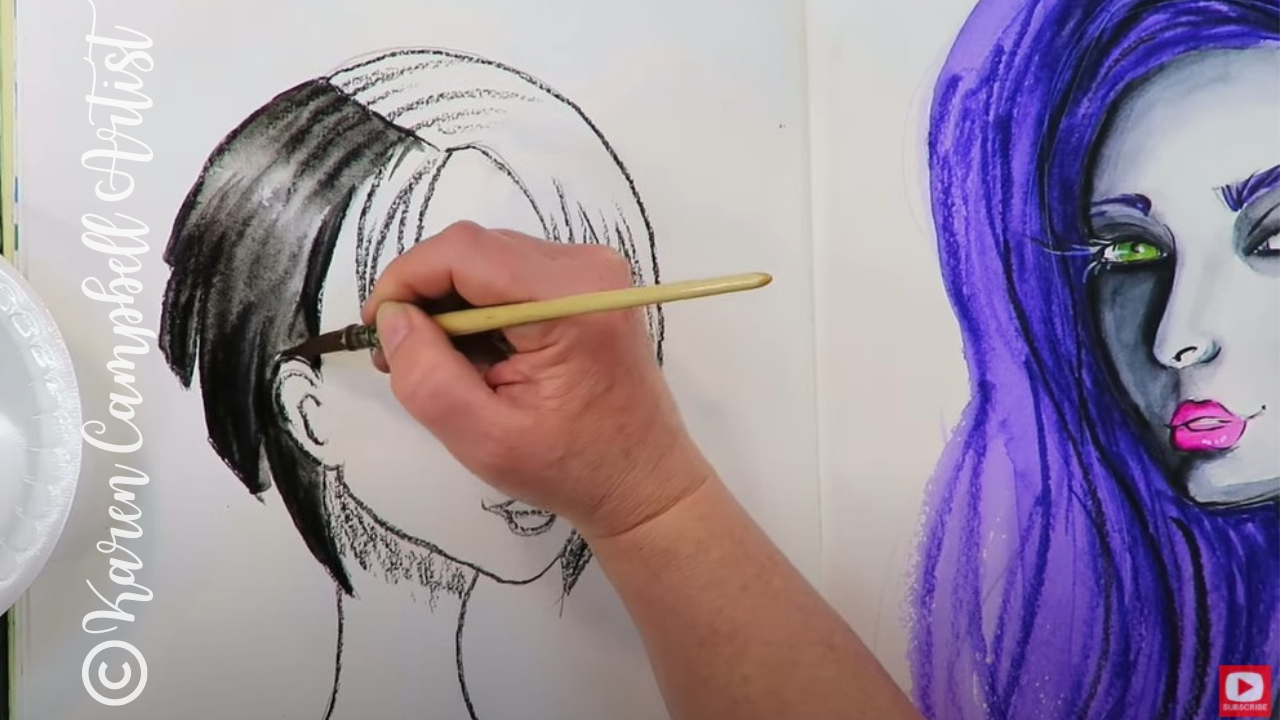
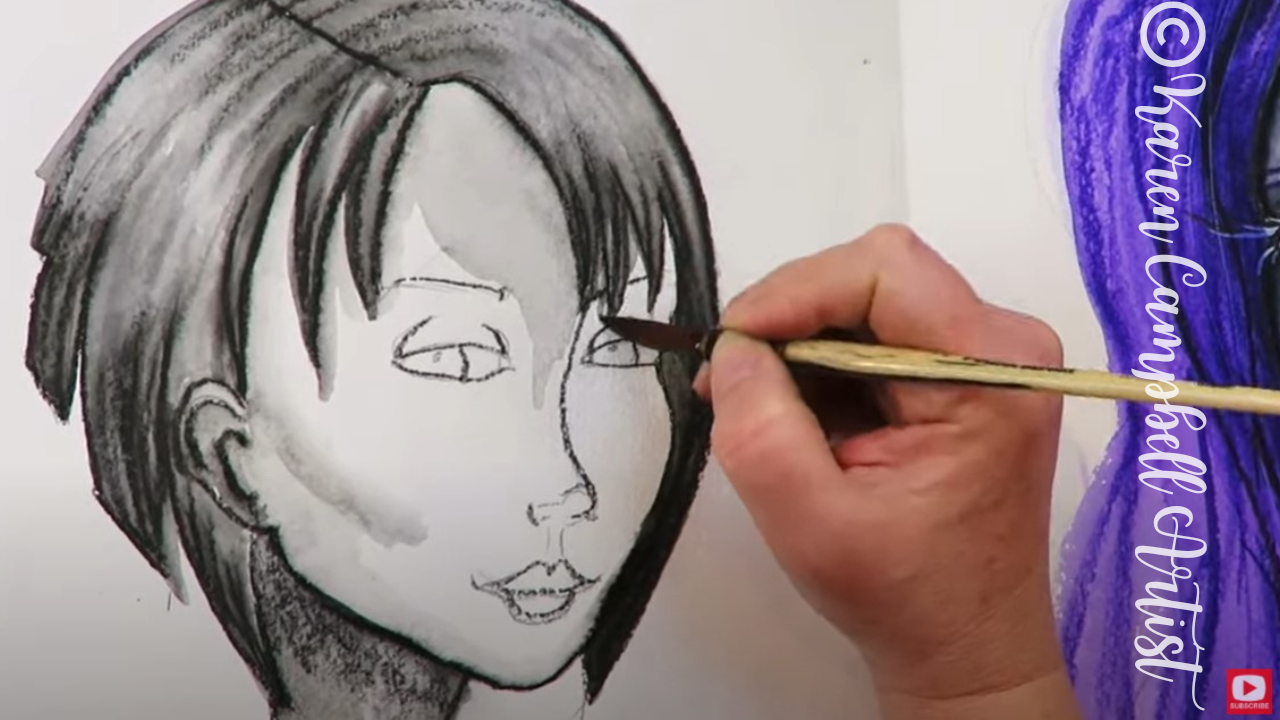
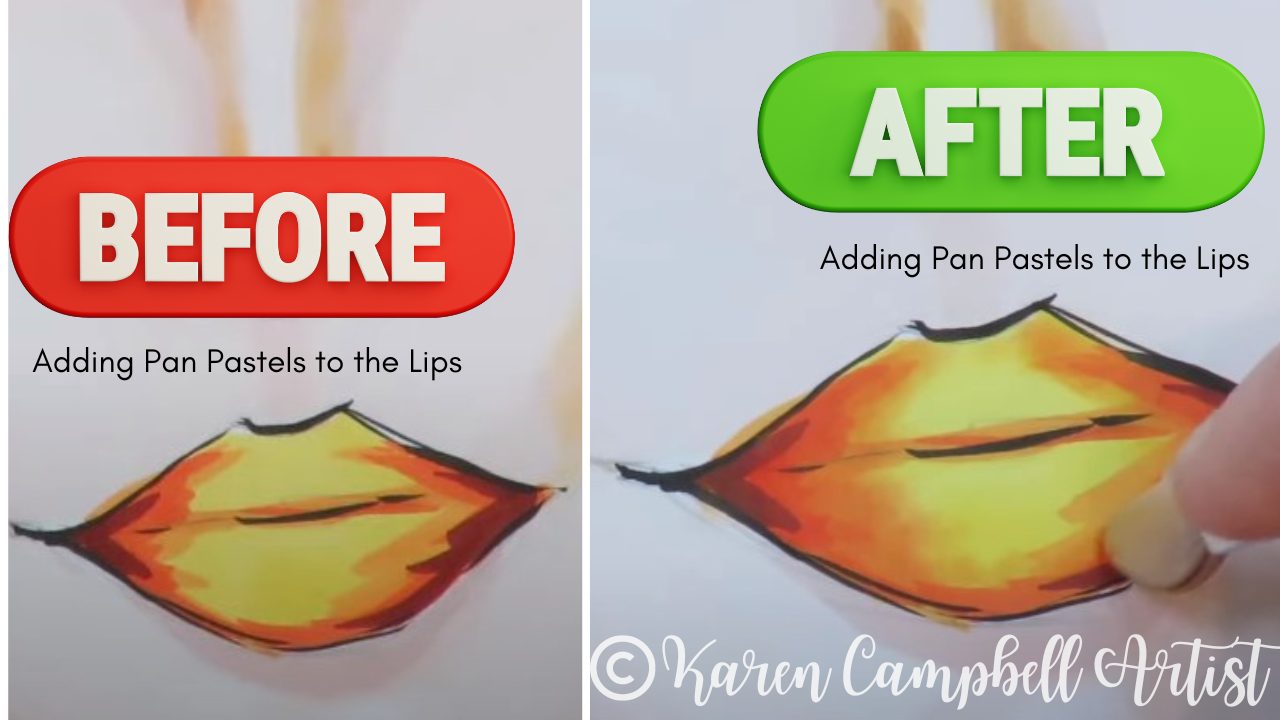
While I played for today's project, I discovered there were two ways to activate the lines drawn by the ArtGraf tailor shape disc. The first way was simply to add a wet watercolor brush to the dry, drawn lines and drag the melty pigment around like watercolor.
As you can see in the video, I'm using my favorite watercolor brushes by Polina Bright. If you want to learn more about WHY I love them so much, watch this video. If you'd like to get one of Polina's brushes too, use this link to get a 10% discount on your purchase. 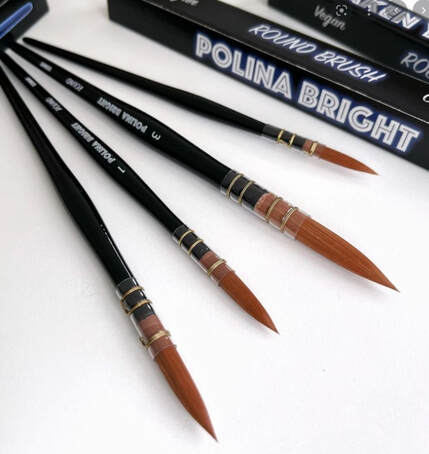
The second way to activate Art Graf tailors shape is by sweeping a wet watercolor brush directly across the disc to lift some of the carbon, and then painting with it just like you would with watercolor! Cool, right?!
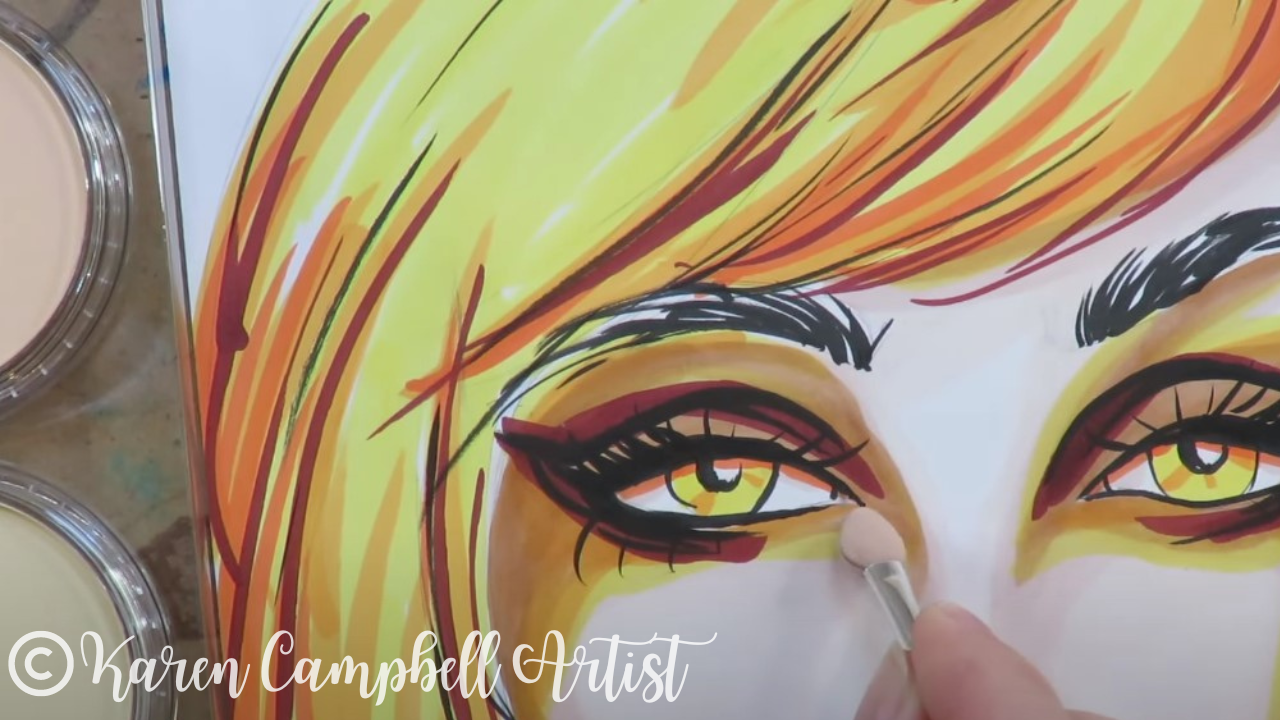
As you'll see in the video, I added lots of new lines and layers into the hair using this "watercolor wash technique." If you're not sure how to paint hair in a mixed media or watercolor portrait, today's video is a GREAT demo of my favorite hair painting techniques.
If you play along at home with this disc for the first time and want to activate it to shade a face, I suggest you start by activating the lines in the hair first so you can get the feel of how the product works before you move onto the face. Remember it will KEEP ACTIVATING on you too - every time you add a wet brush to previously activated lines. I LOVE that, but I know it freaks some of my students out :)
HOT TIP: If anything ever gets TOO BLACK for you when you activate your dry lines, dab it with a dry paper towel to lighten things up and lift away some of that darkness. 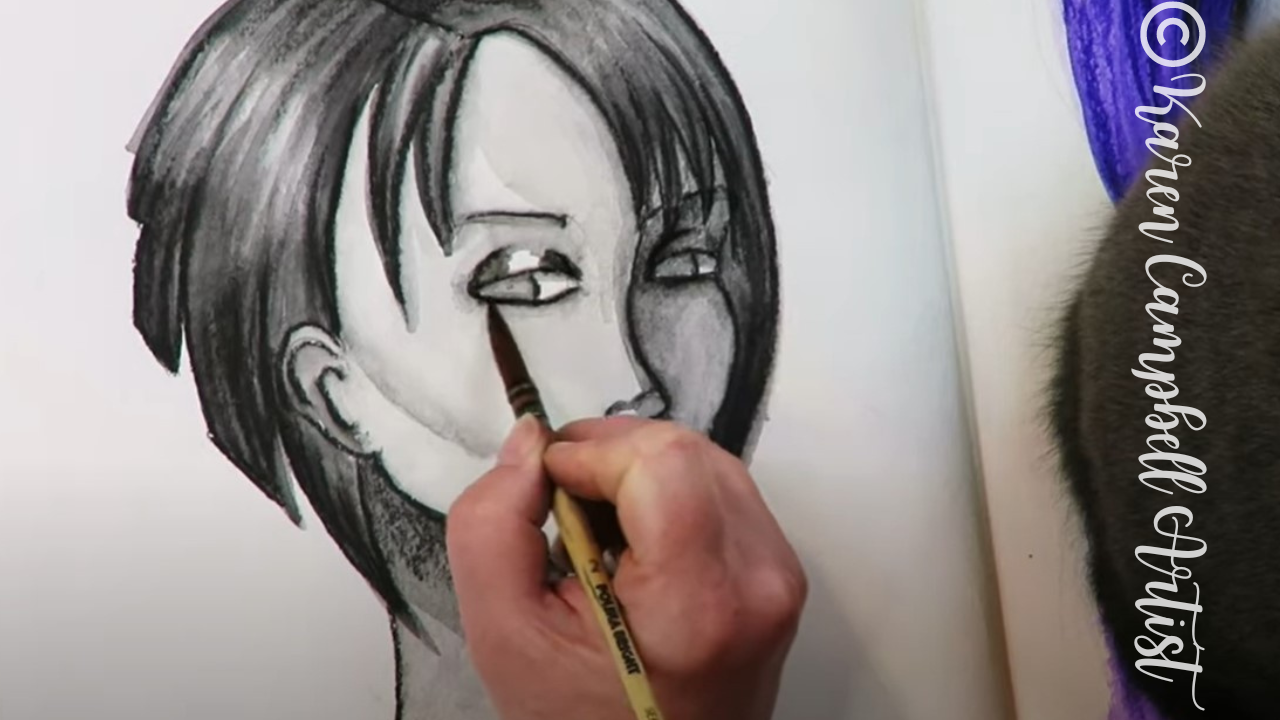
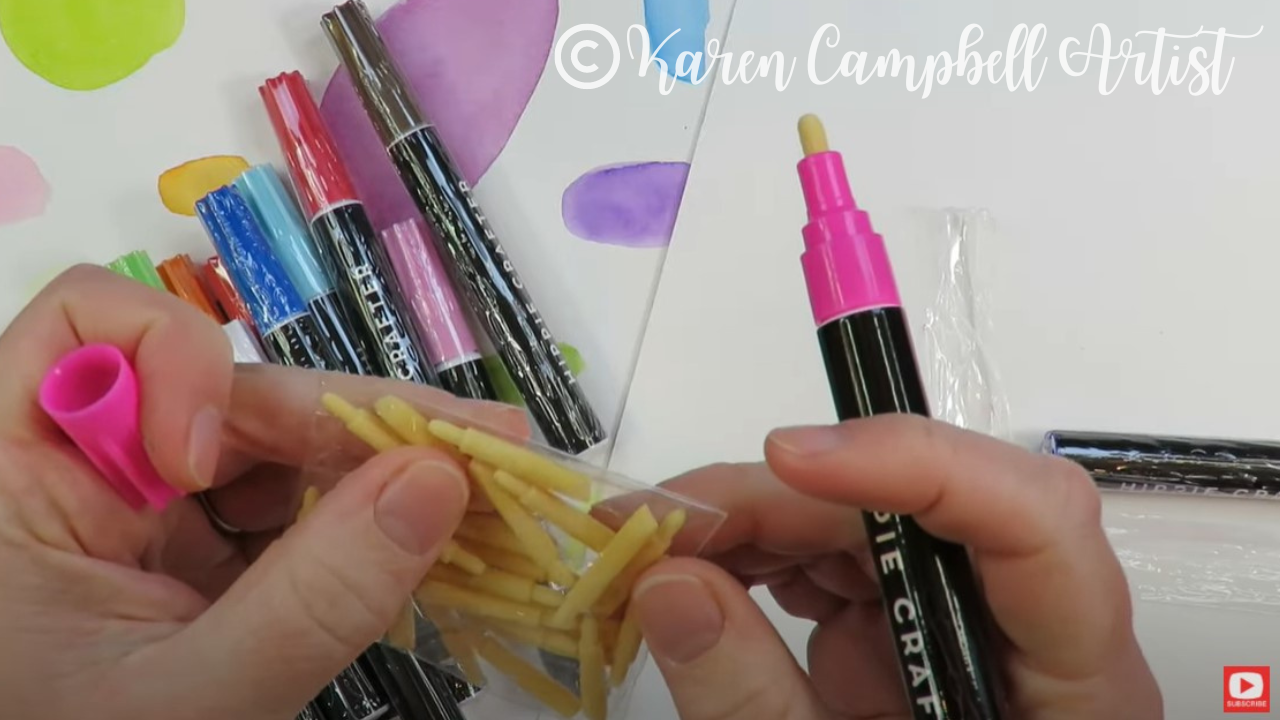
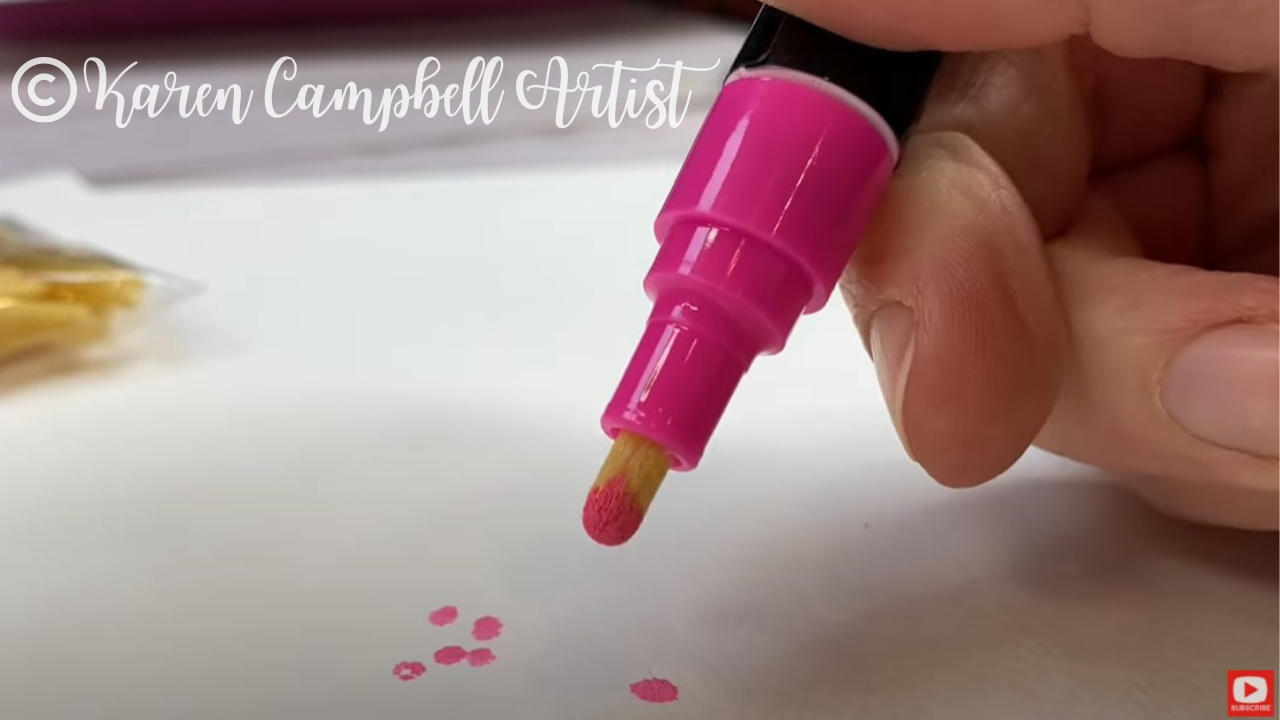
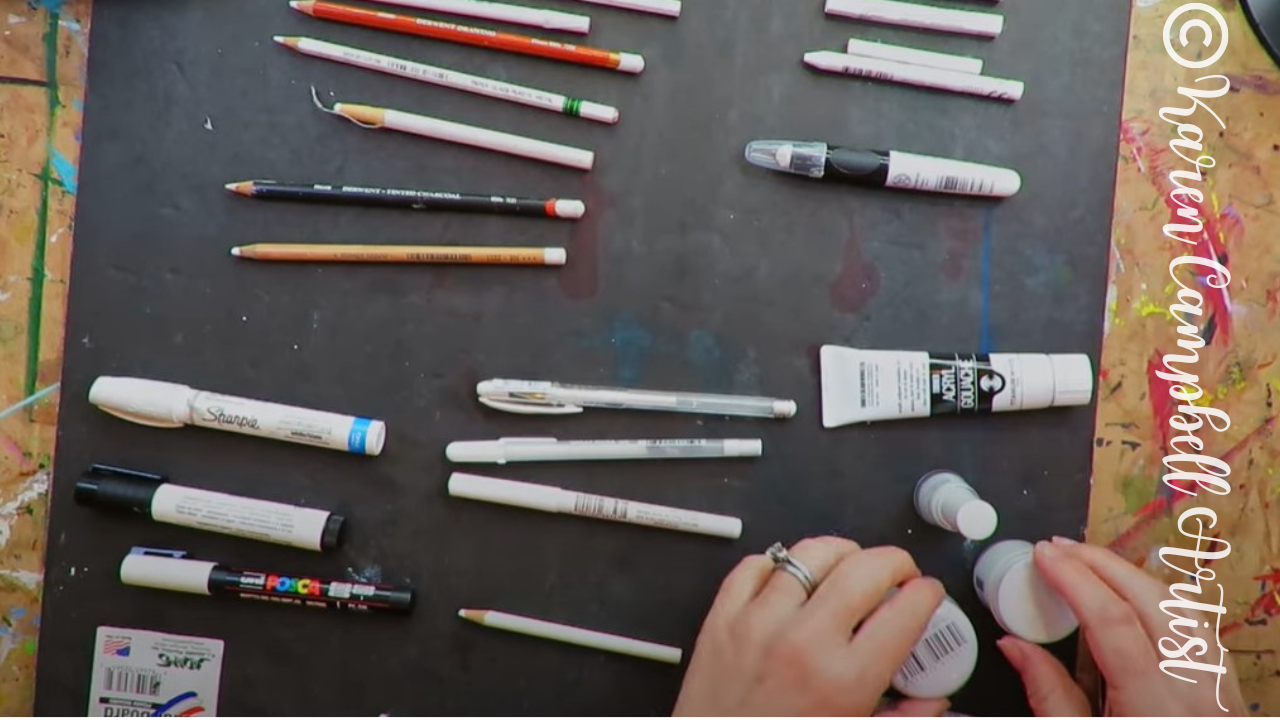
Stay with me till the end of today's video to see how I tied this new journal page to the facing page to make a fun art journal spread using these AWESOME, chunky acrylic paint pens by Liquitex. They are seriously SO fun to play with!!
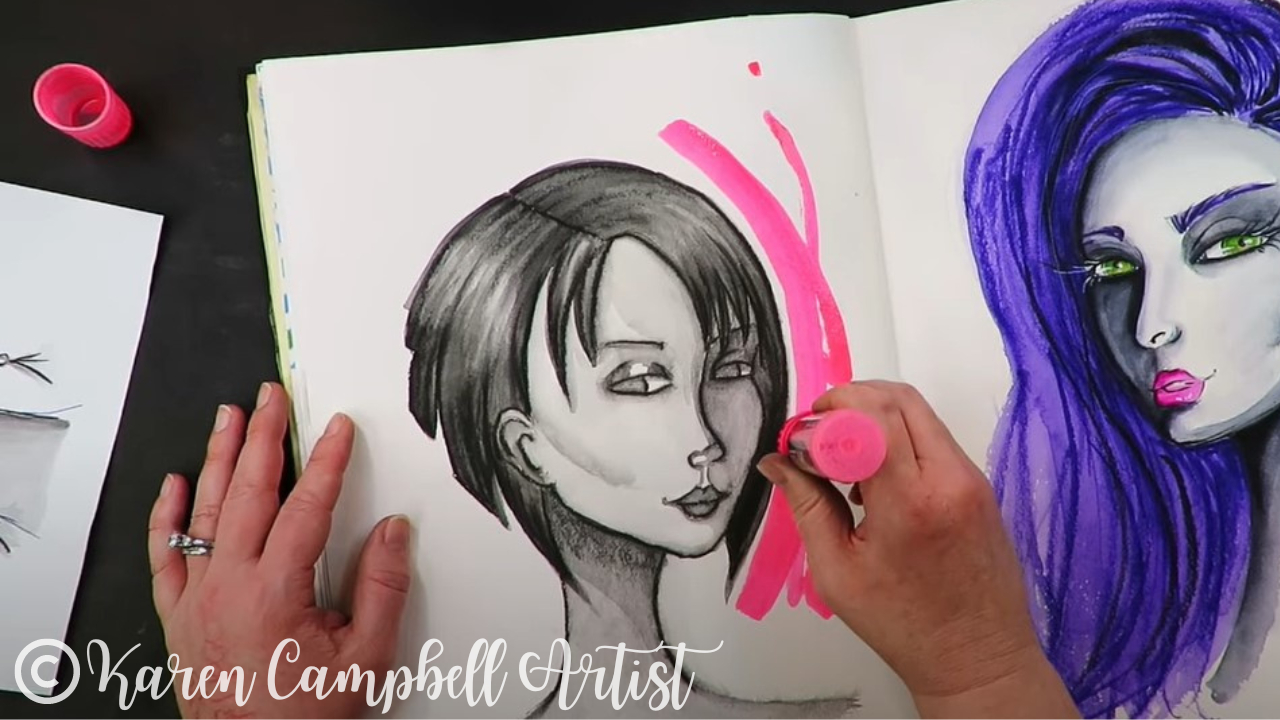
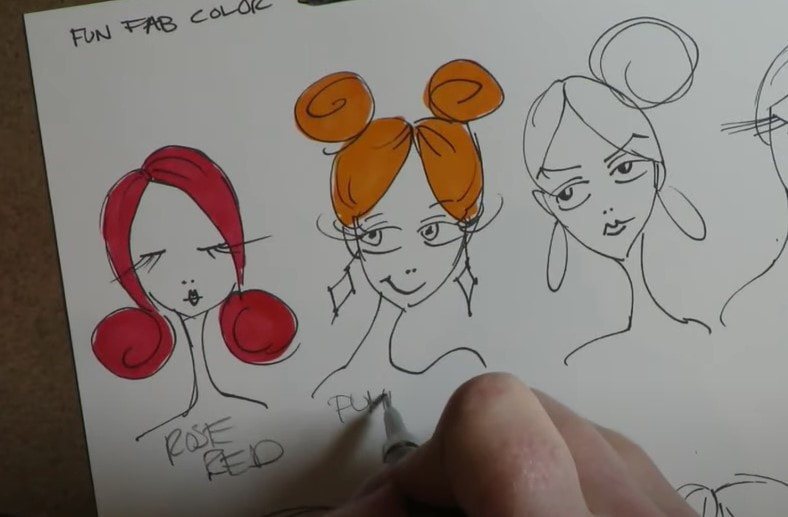
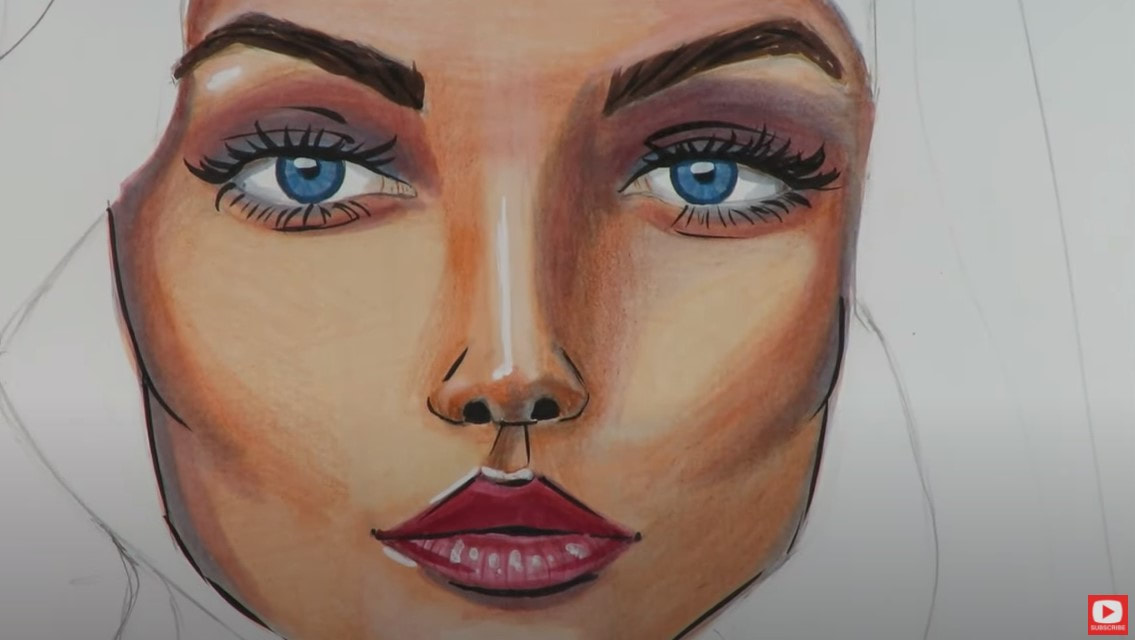
If you're interested in learning how to draw a 3/4 view portrait from scratch like the one in today's video, watch this playlist, or check out my book How to Draw MORE Fun Fab Faces on Amazon.
This "cartoony" or whimsical drawing style is super fun, way less intimidating than realism, but also an excellent runway INTO realism if that's something you're interested in achieving later!
Need the real-time version of today's lesson? I've dropped it for you in the Mixed Media Society. Not a member yet, but curious? Learn more and add your name to the waitlist to get notified next time I'm open for enrollment!
Thanks for watching!! Need More Resources?
I feel absolutely horrible...
One of my students, Stephne Nash, sent me a gorgeous glass dip pen last summer and I haven't even had time to play with it until now. First of all, THANK YOU STEPHANIE for the extremely thoughtful gift! Today's video is for YOU and ALL the fountain pen ink lovers out there! 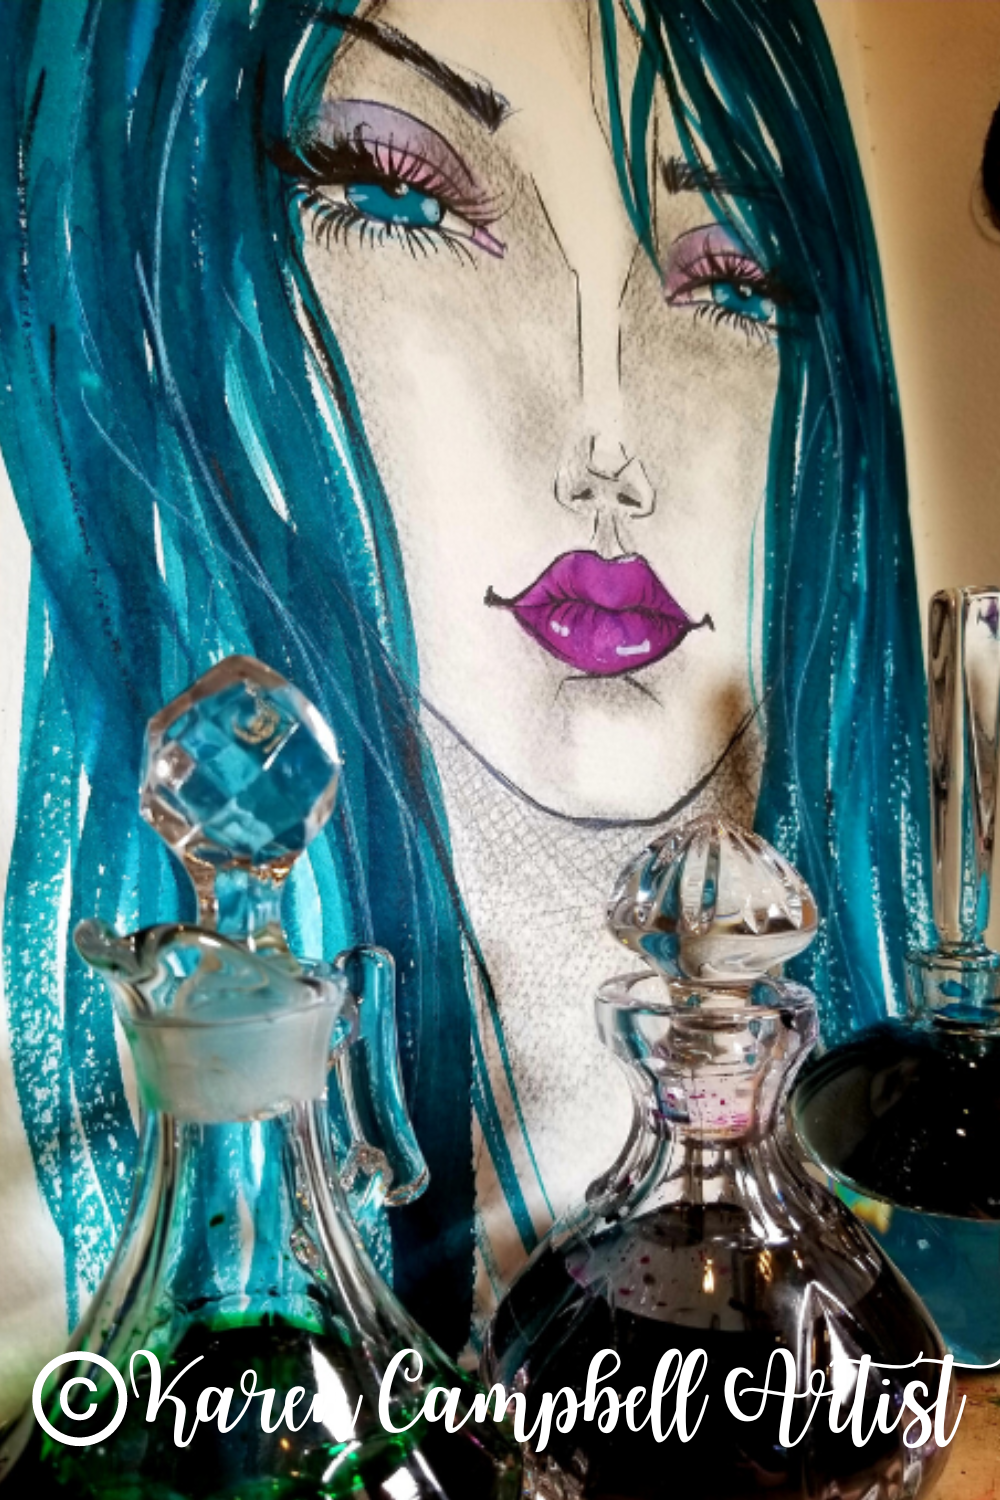
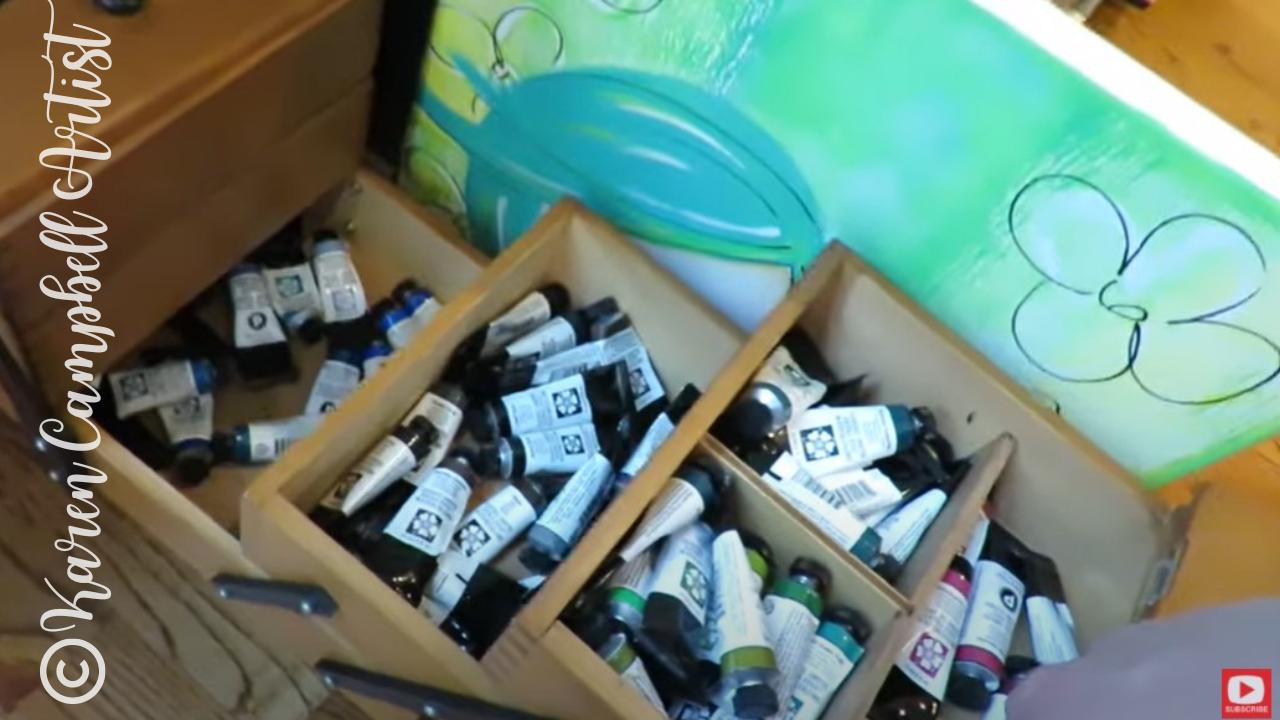
If you're new to my world, I'm OBSESSED with fountain pen ink, have a zillion colors, and use them exactly like watercolors!
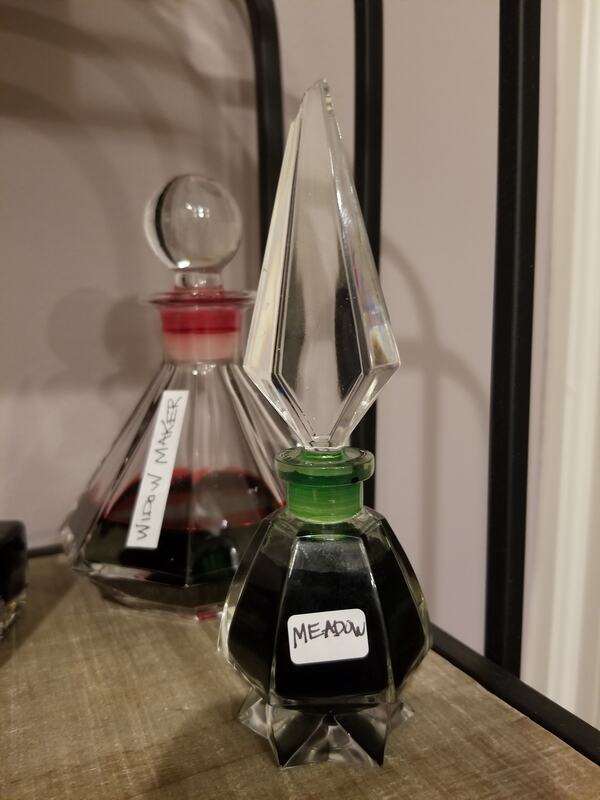
That's right, I create fountain pen ink paintings!! If you didn't know this was a thing, and love watercolor, this whole concept might just blow your mind!! If that's you, check out this Fountain Pen Ink Painting playlist to see how I do this, get tips on how I store my inks in vintage perfume bottles, plus even do a fountain pen ink painting tutorial right along with me! 
Super quick announcement: All product links are Affiliate. I may earn a small commission if you choose to order through these links but by law there is never any additional cost to the consumer for doing so. I thank you for your support.
How to Use a Glass Dip Pen
Truth be told, I've NEVER worked with a glass dip pen before today. I KNOW!! This is another reason I felt it was important to do a video on the subject.
Whenever I'm learning something new, I LOVE to share it in case it inspires you to get creative or try something new too!
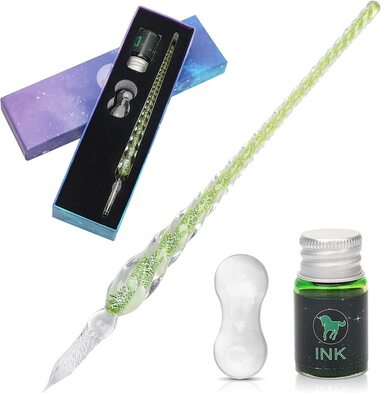
The glass dip pen I'm working with today is by Luxiv. Right out of the gate, I'm in love because not only is the pen itself gorgeous, there's a magical unicorn on the box!! It's like a sign :)
I've planned to play with my new dip pen on a sheet of Fabriano hot press watercolor paper (smooth, without texture) because I already know my non-glass dip pens work best on smooth paper like bristol.
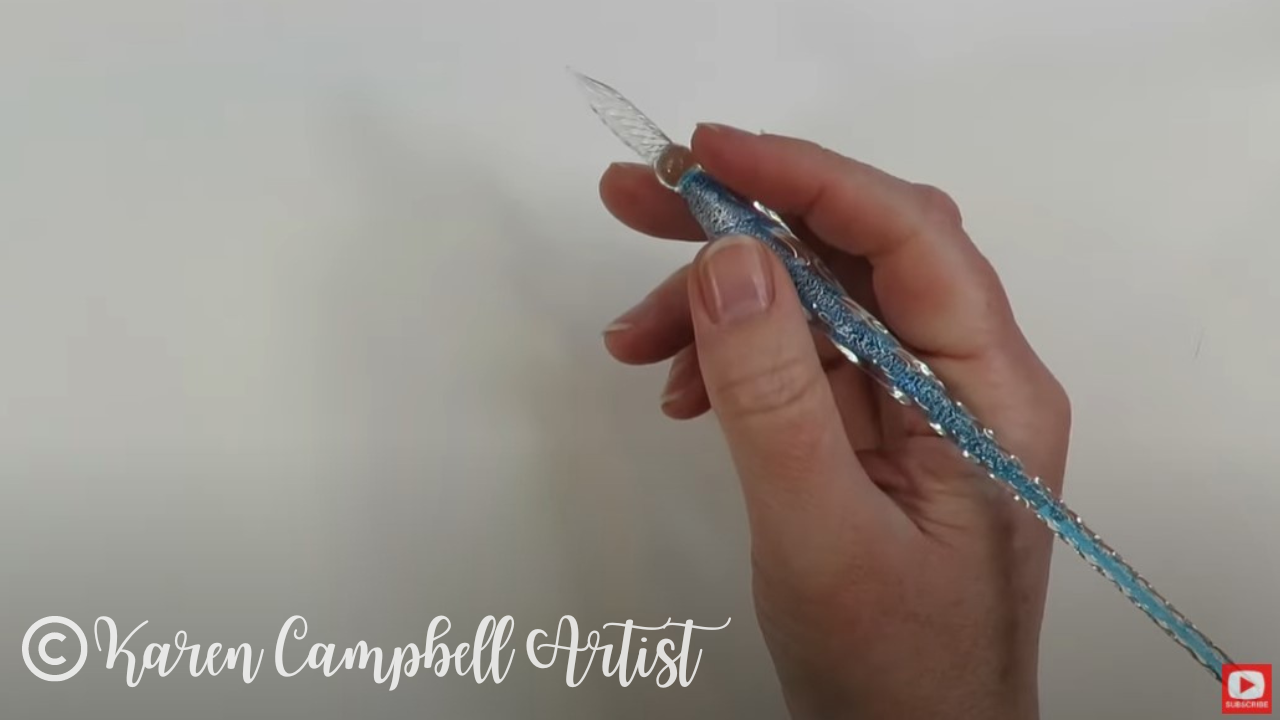
As soon as I dip my pen into the ink and get going, I see the whole process is SUPER SIMPLE (yay for us!!). All you have to do is dip the tip of the pen into your ink, give it a tap on the side of your ink bottle to tap off the drips, and then just go to town.
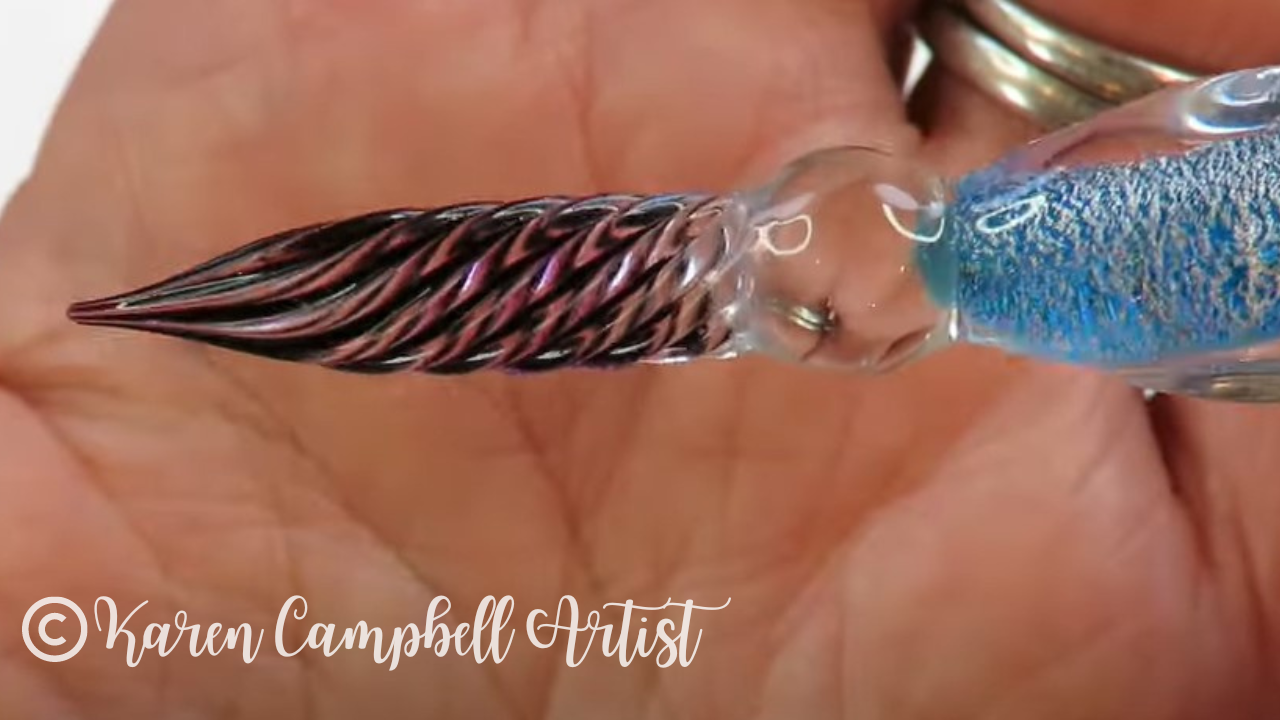
As you can see in the pic above, this particular glass dip pen has all these swirlies that extend up and around from the tip. These are what hold the ink, and you're supposed to kinda turn the pen as you use it to empty out all the ink from each dip.
You've gotta see the demo today, because I was seriously shocked at HOW WELL this dip pen both held the ink from one dip, and HOW LONG it lasted!! I wrote and doodled all over a single sheet of paper from just one dip into my fountain pen ink!
Drawing with Fountain Pen Ink
After I discovered how much fun it was to write and doodle with my glass dip pen, I decided to pull out a fresh sheet of hot press watercolor paper to just play!!
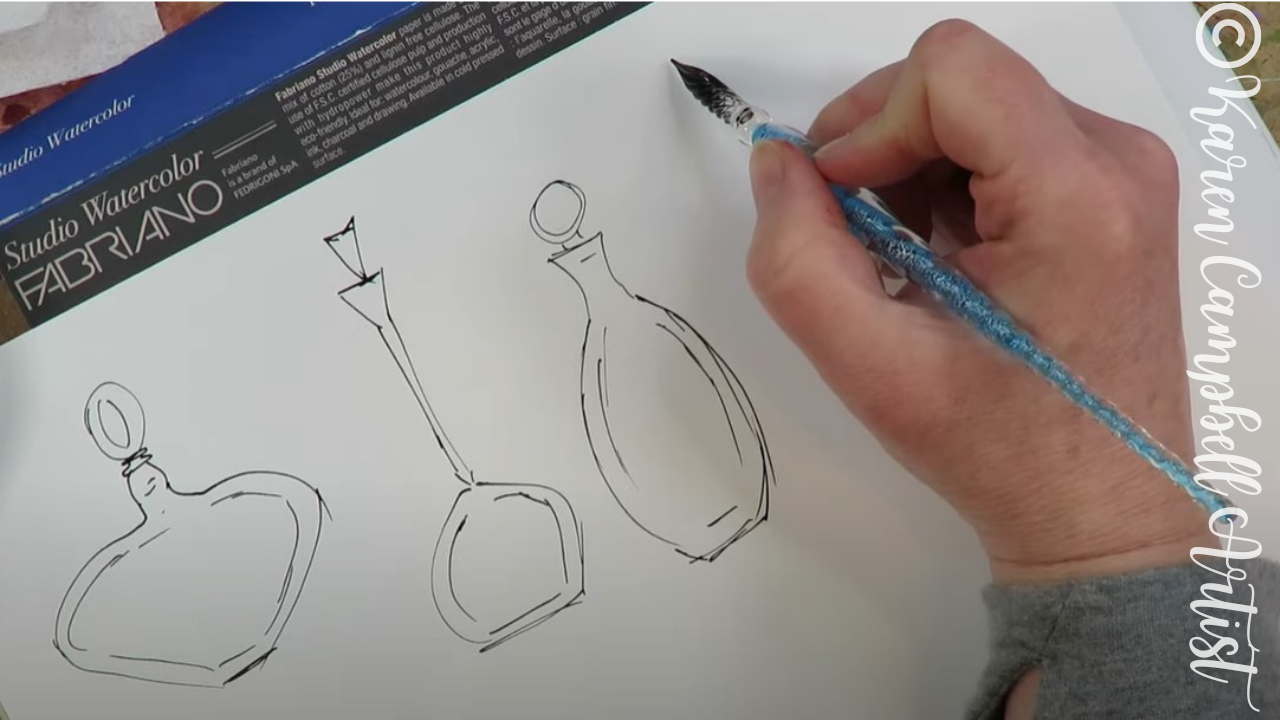
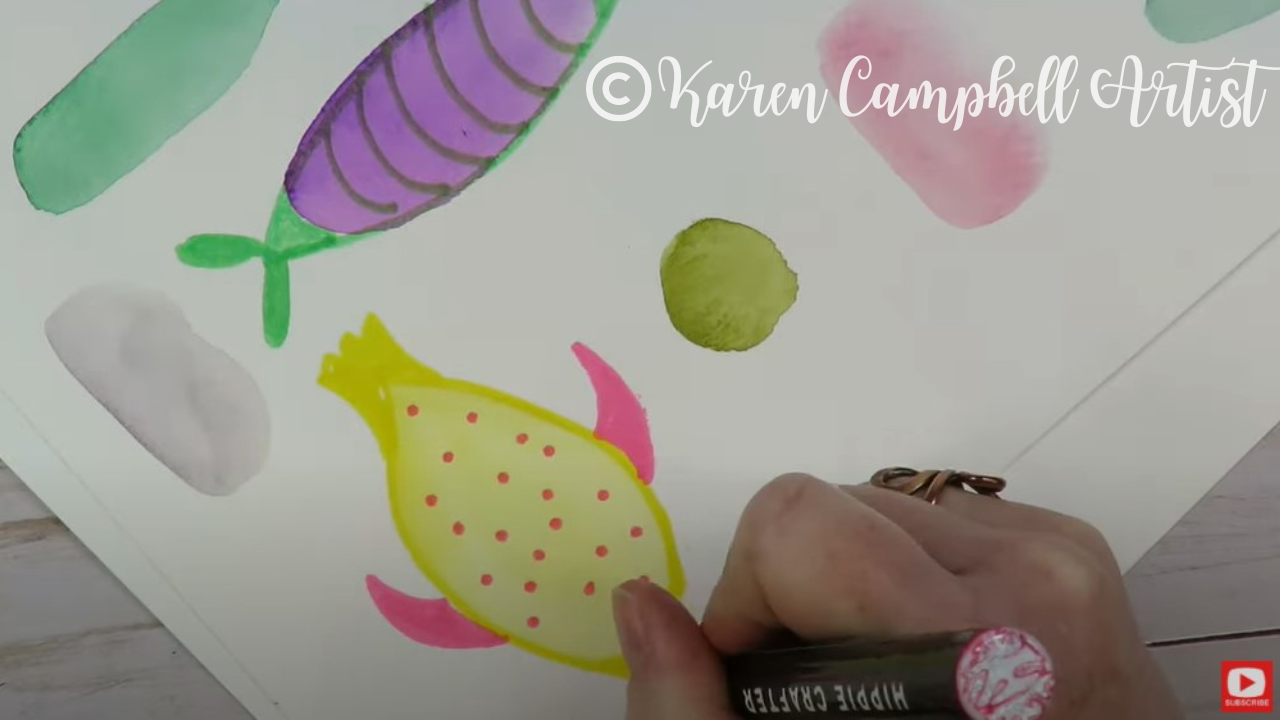
I've got a new apothecary lesson I'm working on for the Celtic Collective (my fantasy art membership with Lucy Brydon over at Awesome Art School). Since I have glass bottles on my mind, I decided to doodle a few onto my page using my glass dip pen and some permanent, black ink.

After I covered the page in fun bottles, I pulled out my Polina Bright watercolor brush (the ONLY watercolor brushes I use now - learn more about why in this video; grab one for yourself and get 10% off here), and a few of my favorite fountain pen ink shades to paint liquid into each bottle illustration: Meadow by Diamine (green), Noodler's Ink Blue, Noodler's Ink Atlantic Salmon (pink), Noodler's Ink Saguaro Wine (dark pink), Noodler's Ink Purple Martin.
I seriously had SO much fun just playing today. I hope you will give this a try at home. I think you'll just love it!
Wanna TAKE AN ONLINE ART CLASS
|
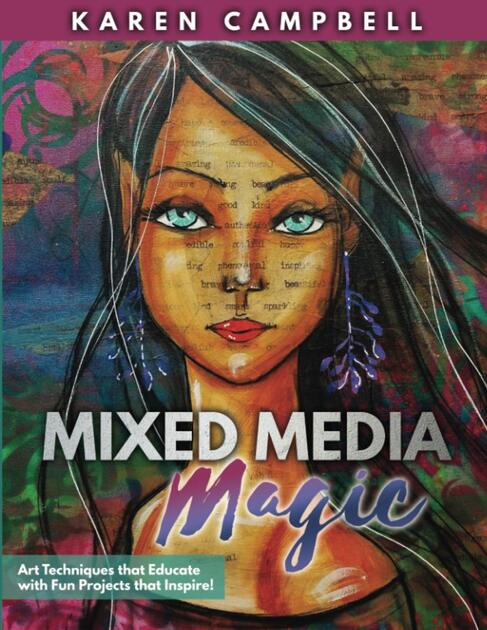
Karen CampbellFounder of Awesome Art School. Mixed Media Artist. Author of 19 Instructional Art Books! 
Whose work has appeared in...
   
 Archives
May 2024
Categories
All
|


 RSS Feed

"Karen is flipping hilarious and she's very real...I like the way she teaches in a way that really gives you confidence, whether you're a beginner or advanced there's always something new to learn!"
- Elizabeth W. |
What Fans Are SayingKaren, you are absolutely fabulous! You make me feel like I can draw anything. I have recently retired and finally have the time to do some of the art that I have loved since I was in school. I am really at the beginning of my art journey and I hope to learn as much as I can. Thank you for all you do. |
Contact ME |