
|
I've been drawing since FOREVER. But when I first started, it was SERIOUSLY hard to figure out where to put shadows and highlights on a face drawing to make it look 3 dimensional- like a more sophisticated drawing. I found this to be ESPECIALLY HARD whenever I would draw faces from different angles. Today's FULL LENGTH, real time drawing lesson on YouTube is going to help you skip of the hard parts of wondering where to drop in the shading or highlights on a profile face, so you can create some profile drawings you are SUPER PROUD of!!! 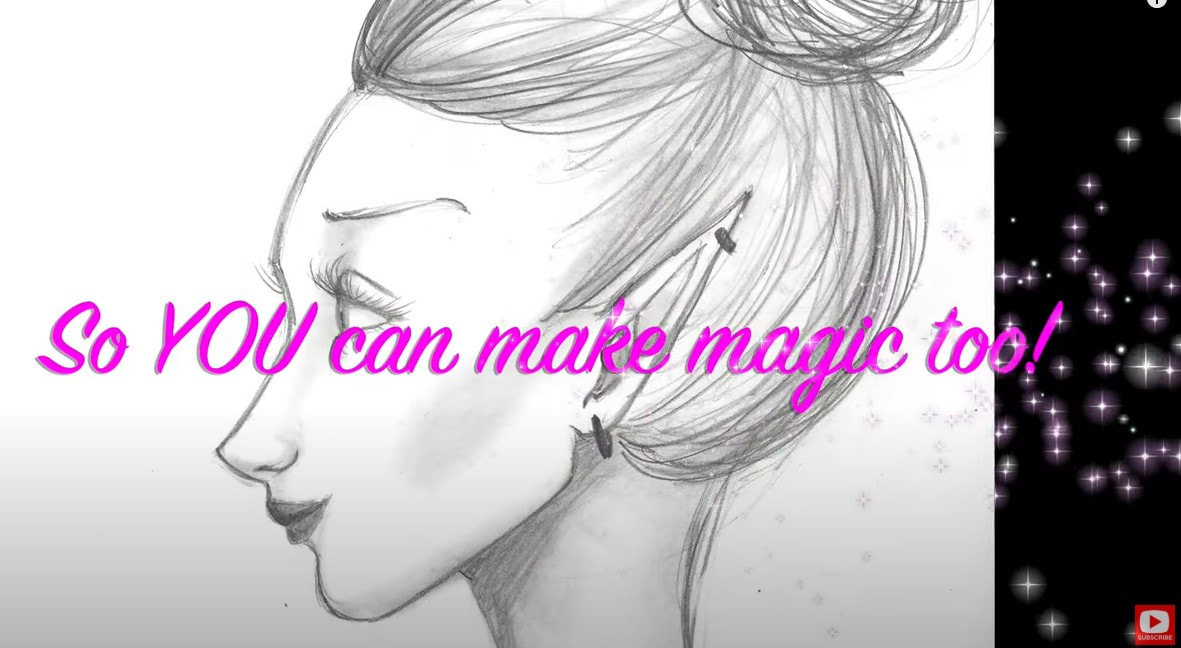 My first shading trick is to REALLY LOOK at the art you admire from other artists! Focus on the areas of that artwork that show light and dark in the face. Here's an example of a piece I LOVE and used as a REFERENCE to inform me where lights and darks could go in my own drawing. This is called reference drawing! It's a thing, and can definitely help you grow as an artist. Isn't this beautiful?? So dramatic!! 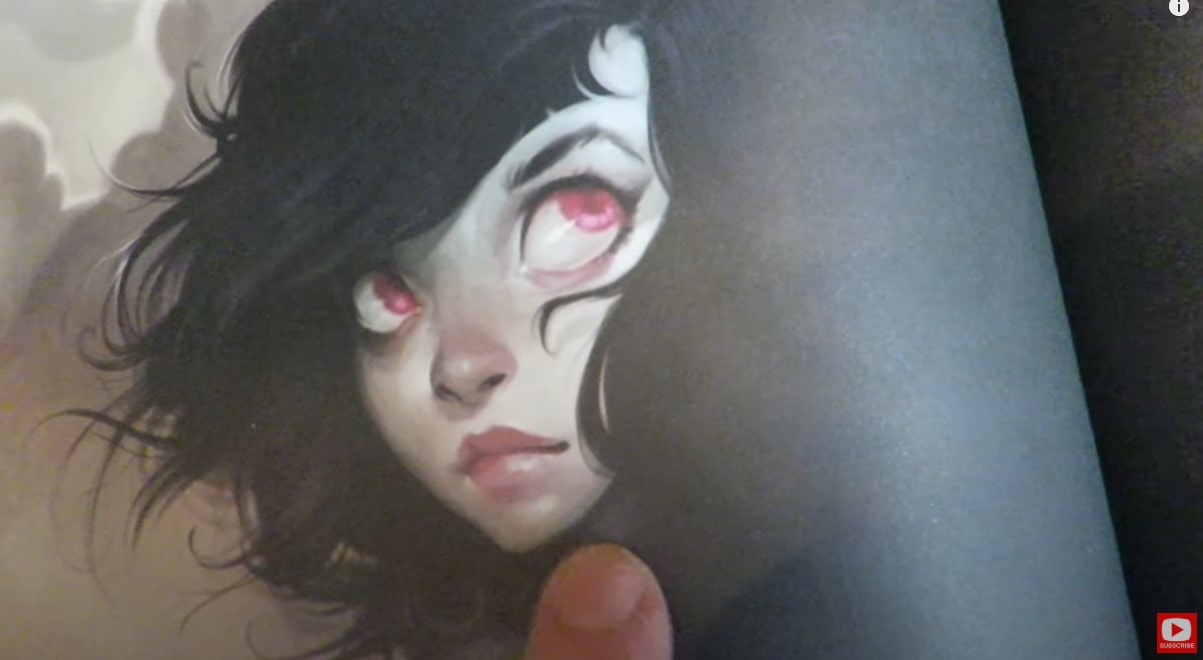 This piece was done by a Dutch digital artist I adore, Loish (Lois Van Baarle). I absolutely LOVE her work! If you look closely at the the piece below, you'll see that I tried to replicate the light source and technique Loish used around the eyes of her girl when I created my own... 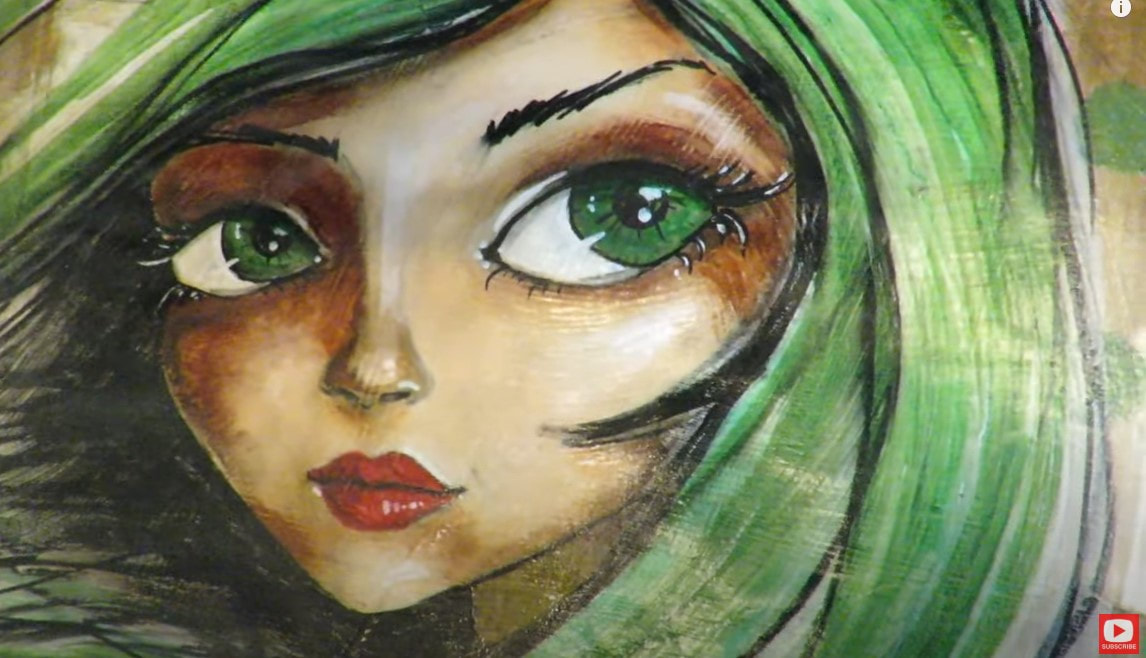 One of my favorite ways to demonstrate to students how light source affects the faces we draw, is using a foam head from the craft store and simply shining a flashlight on it. When you move the flashlight around, you can see exactly where the shadows and highlights are. This is exactly what you need to look for and imagine in your own drawings to add realistic shading to your face drawings - whatever angle you're drawing from! 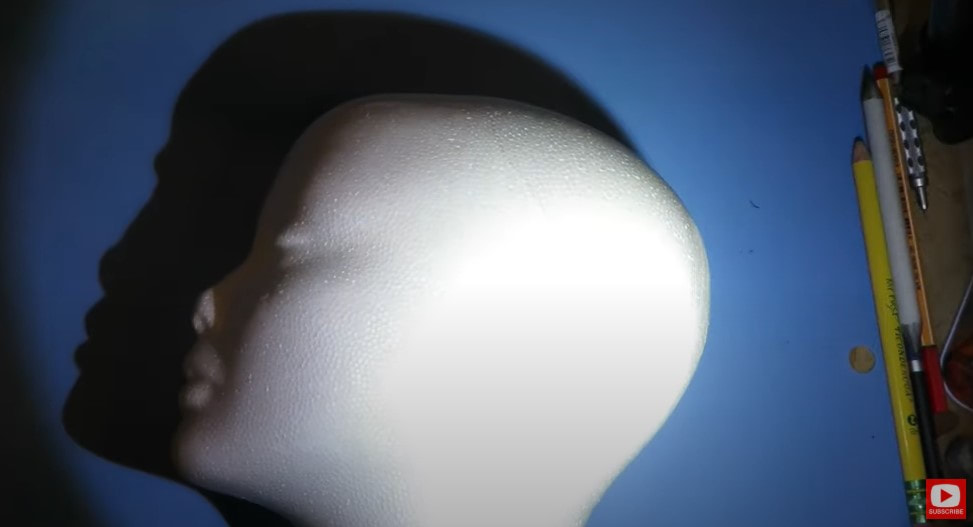 Sound confusing? CLICK HERE to watch my demo. Now- don't worry, I'm not telling you to go get a foam head in order to draw realistic shadows! If you're drawing a profile in pencil and want to add some shading, the EASIEST thing you can do is pull up a black and white profile photo on your phone. If you look closely, the photo will show you exactly where the lights and darks need to go for your drawing. That's it!!! It REALLY is THAT simple!!! Take a look at this image. REALLY look closely to see where the shadows are falling. If you need to- squint your eyes a bit! 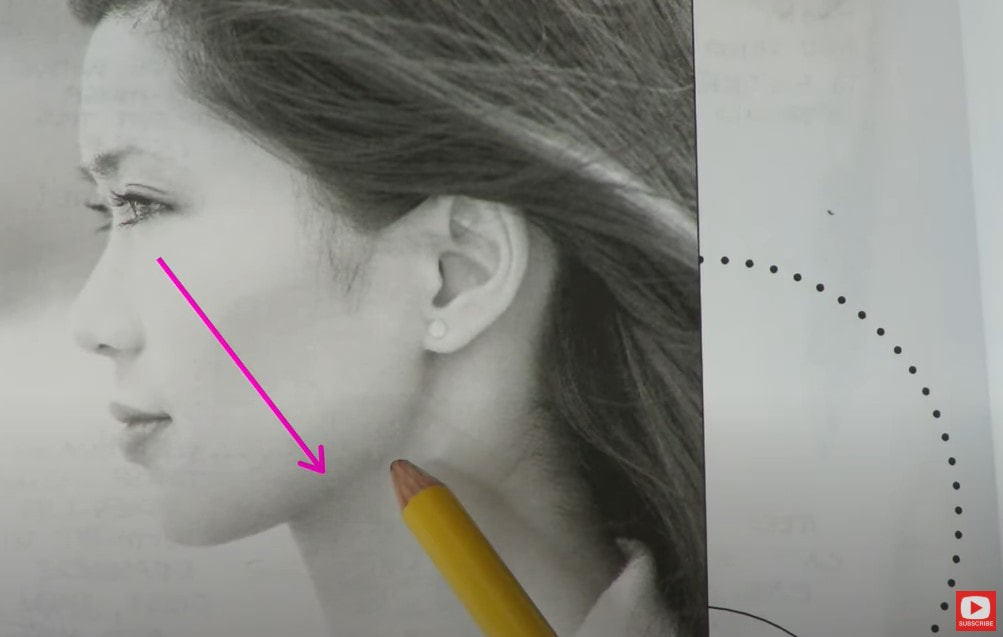 For this particular profile photo, the shadows are showing up primarily under the chin and neck- extending up to her earlobe. See what I mean? That wasn't too hard was it? You're totally gonna be looking at photos differently from now on, aren't you?! AWESOME!!! It's going to make you a better artist!!! OK!! On to today's project... we are shading the profile face we drew in last week's episode. If you missed that episode, CLICK HERE to draw the simple profile with me in real time. 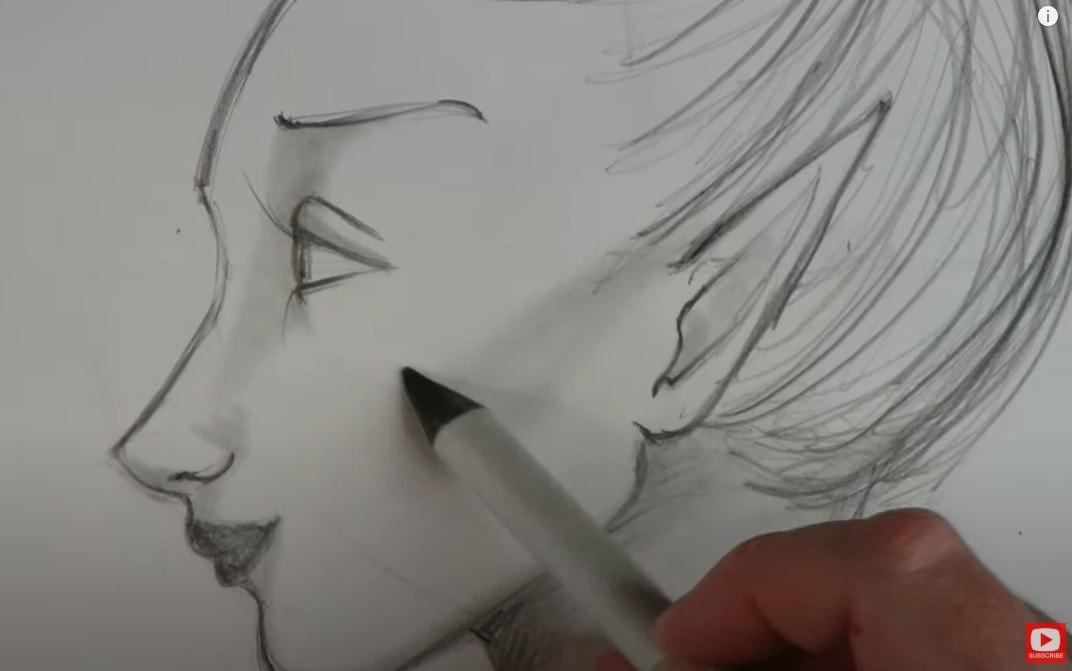 Shading a profile (or a face from any angle) is really much easier than you think! All you need to do is lay down a little graphite from your pencil and SMOOOOOSH it around with your blending stump (that's what I'm holding in the pic above!). If you don't have a blending stump- just use your finger, a cutip, or even a tissue to move graphite around on your paper.... Be as DRAMATIC as you want to with your shading!!! YOU are the CREATOR!!! 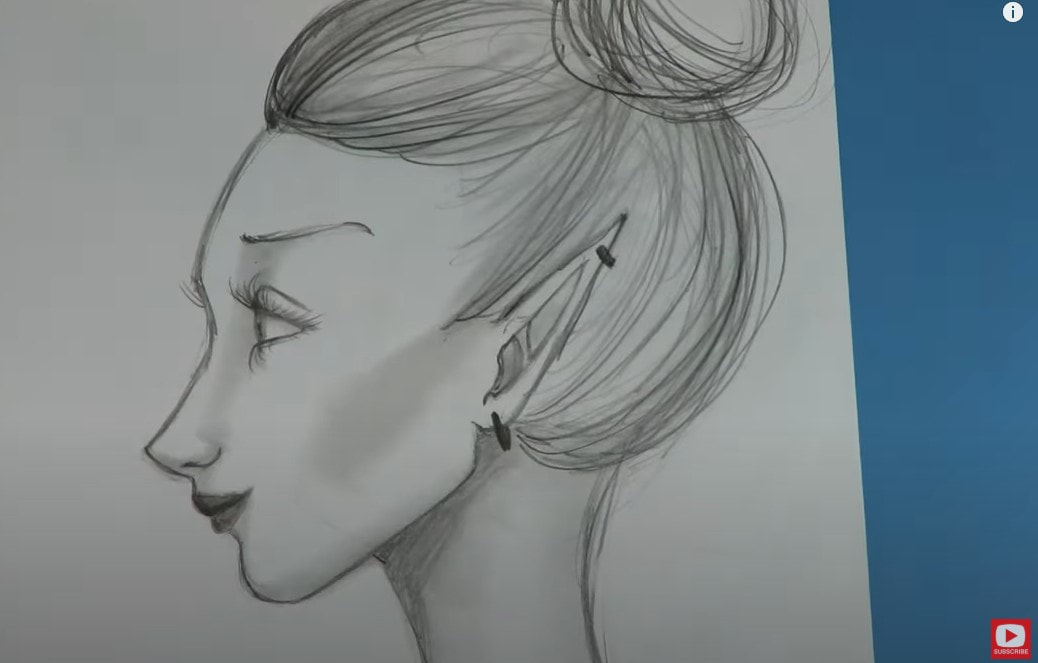 A little realistic shading on a whimsical face REALLY punches it up, and takes your art to the next level!! Personally, I LOVE me some DRAMA in my artwork, so of course you're gonna see super DARK shadows and bright white highlights in my work. That's part of what makes my work, mine- it's my style. YOU do YOU!!! Remember - a reference photo is just that- a reference. Don't feel like you have to match things exactly. AND you don't even have to use a reference photo EVER. This is just an example of one way to help you get started. Have SO much FUN with today's YouTube lesson!!! CLICK HERE or press the play button below to watch. See ya next week!!!
1 Comment
I used to STRUGGLE with my profile face drawings because they ALL LOOKED LIKE ALIENS ...  OR...had FISH LIPS!!!  If you're ready to toss your sketchbook because you don't know how to draw a face that looks "right" as a side view drawing... You're in the right place! HELP IS HERE!!! As you may know, I'm a mixed media artist, but I REALLY value the skill of drawing because it makes my mixed media foregrounds look SO much more interesting and beautiful if they are based on accurate drawing proportions of the face.  It wasn't until I wrote my second book, How to Draw MORE Fun, Fab Faces, that I really held myself accountable to finally figure out how to draw 3/4 portraits and profiles in a CLEAR, step by step way! In today's drawing tutorial I'm pulling out ALL MY TIPS for face drawing, and I'm gonna walk you through profile drawing STEP BY STEP so it's easy for you to replicate on your own at home! ALL you need to do this project right along with me is a piece of paper and a pencil - ANY pencil with an eraser will do! 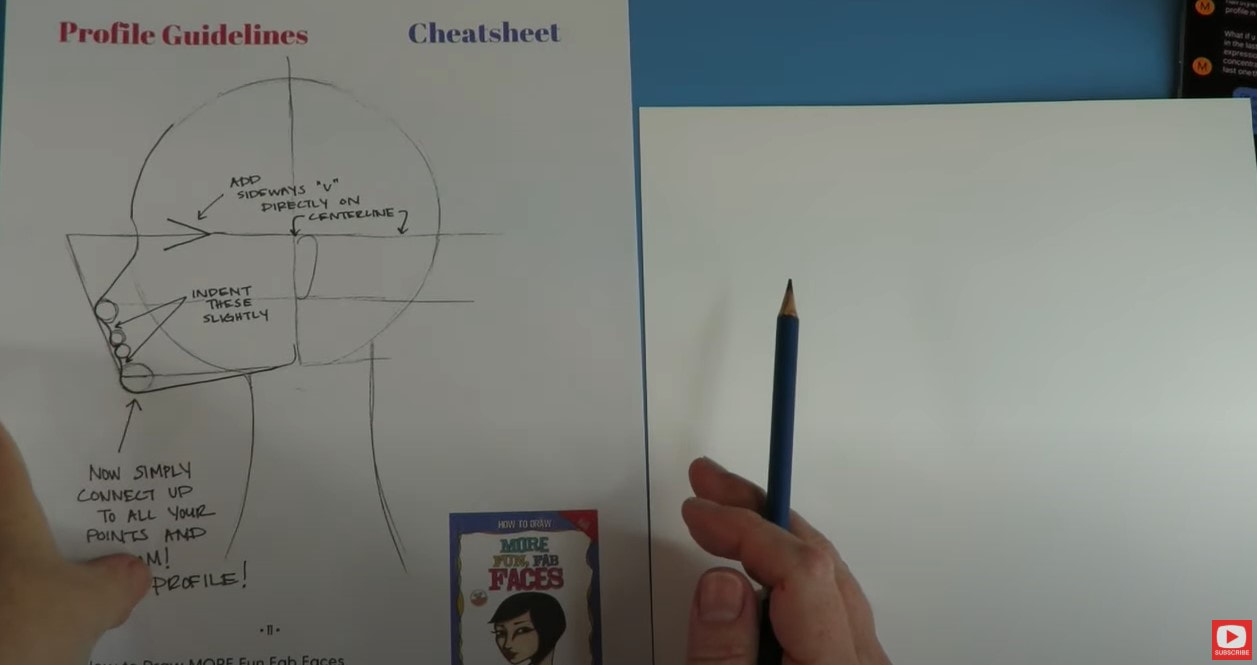 When you're working on a profile sketch, there are little tweaks you can make to help your faces look more realistic. Even if you're doing a a stylized whimsical drawing (like mine!), paying attention to angles of the face and the placement of facial features will give your drawing greater sophistication. Download a copy of my FREE Profile Face Drawing Guidelines here. After you grab your guidelines, let's get started. Don't worry- this is an EASY drawing for beginners!!! The first step is to simply draw a circle. Don't stress over it - just grab something near you that has a circular shape and trace around it. DONE! 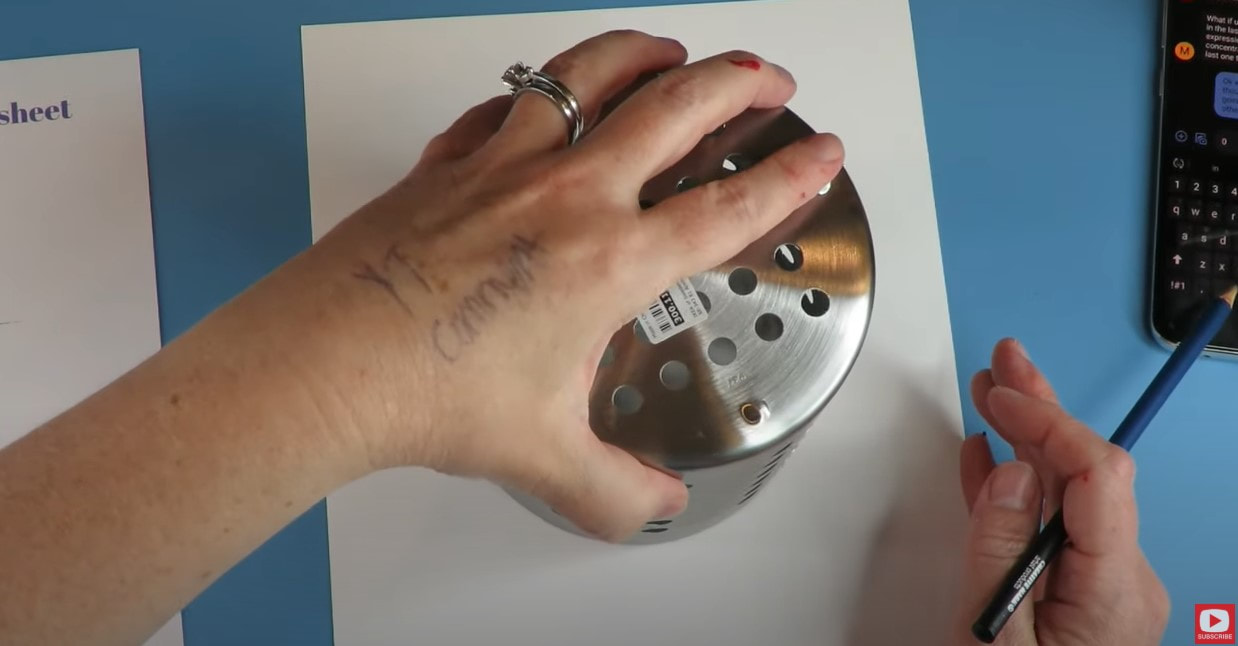 Before we sketch in your guidelines, there is something I need to show you. The angle from nose to chin varies a TON from face to face in real life. The pix below are from my book, How to Draw and Find Your Style. Look at that pink arrow focusing on the angle from nose to chin. See how it differs from the photo on the left? They are COMPLETELY different! 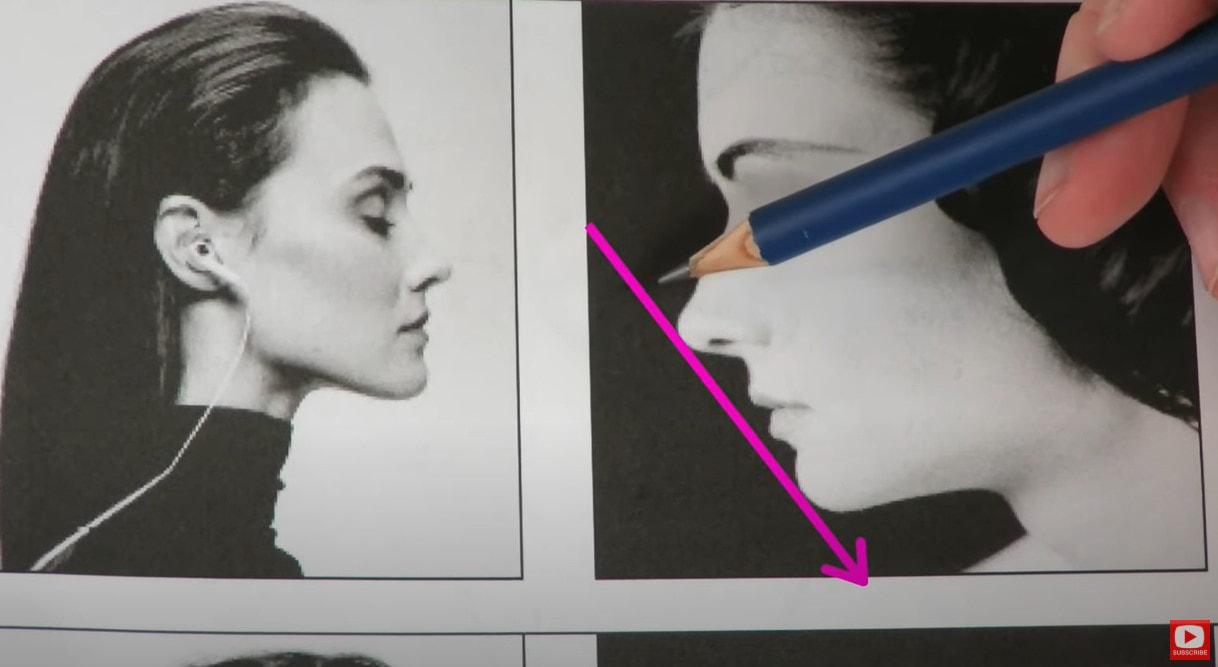 SUPER INTERESTING right?!! This is an example of one of the little nuances that trip us up as artists when we try to draw profiles! The angles are seriously tricky!!!! But we're NOT gonna let them get the better of us. How do we draw this in an easy way without having issues? CLICK HERE and I'll demonstrate for you step by step. When you sketch in these simple guidelines, it will help you focus on drawing proportions of the face- which is just a fancy way of saying YOUR girls won't look like aliens the way mine did ;) 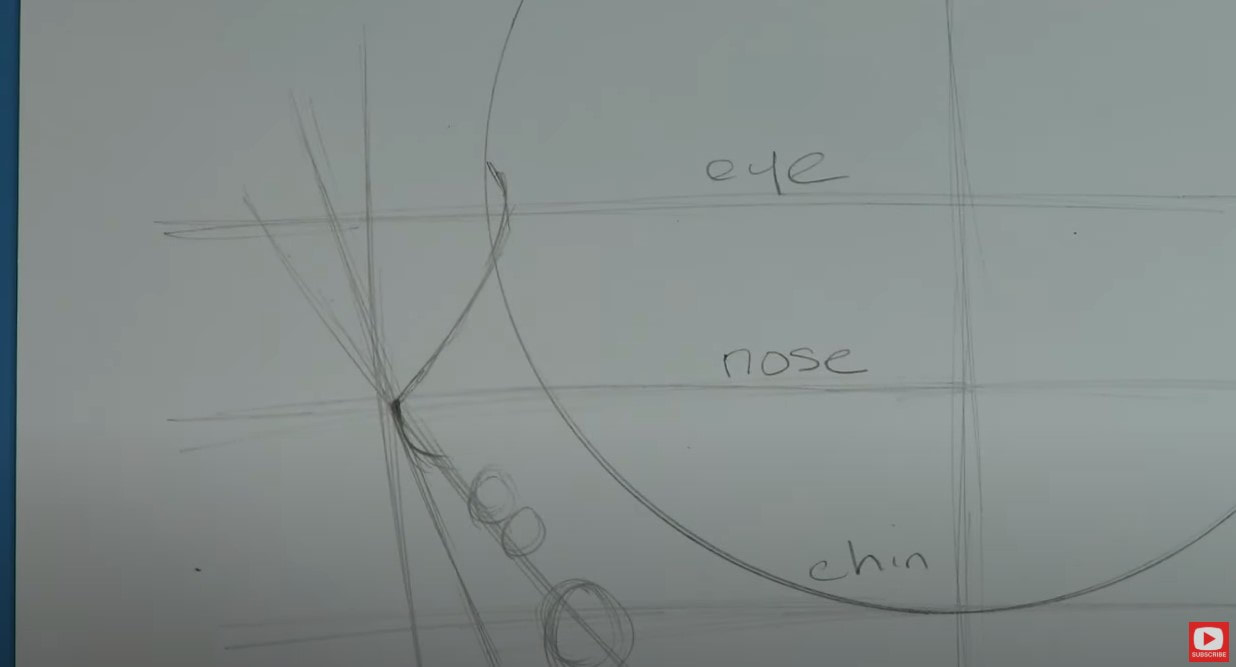 One of the biggest rules to remember about profiles is the lips should NEVER stick out beyond the nose. See how that first set of double circles (above) looks just under my rough nose sketch? Those will soon become lips ... see below! 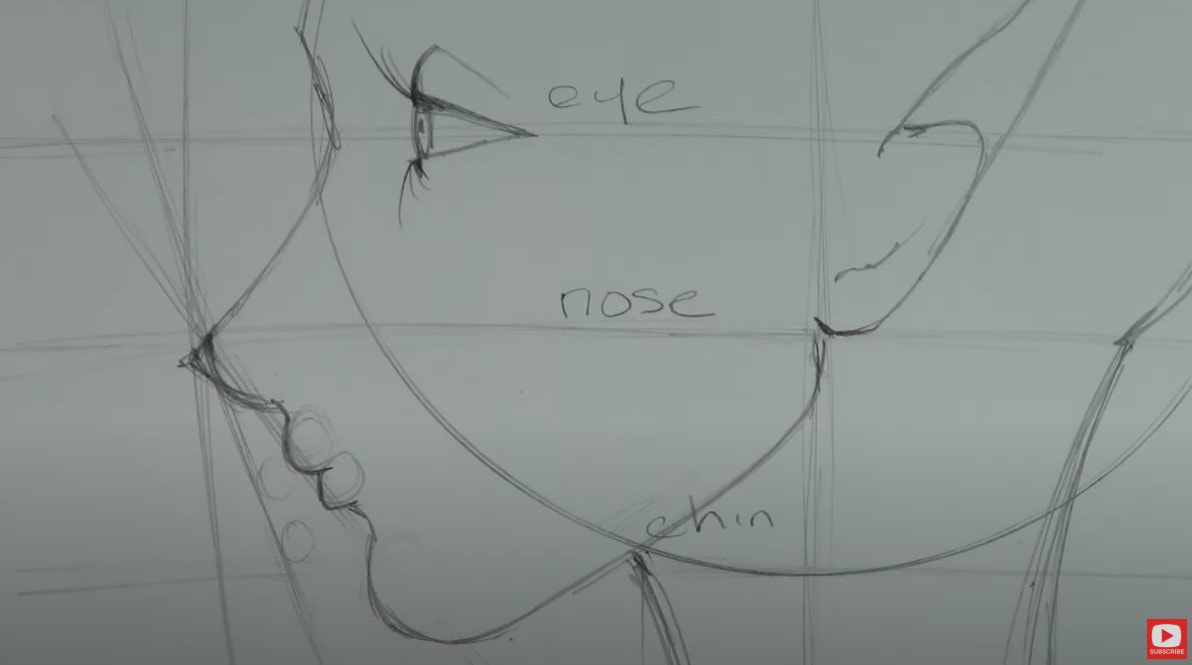 The more you work on your face drawing practice - the more these guidelines will become second nature to you. You’ll know how to draw facial proportions for your side view face sketches correctly & will have drawings in your sketchbook you can be SUPER PROUD OF!! I PROMISE!!! EVEN BETTER - it doesn't have to be hard anymore when you're armed with my Profile Face Guidelines Cheatsheet. I HOPE you have FUN with this video and find the guidelines helpful. Make sure you're drawing right along with me because that is how you will learn best- with practice!!! STAY TUNED for next week's video, because I'm gonna teach you HOW TO SHADE today's profile (see below!). And YES, of course I gave her elf ears / fairy ears because I LOVE (and DO BELIEVE in) fairies!!! 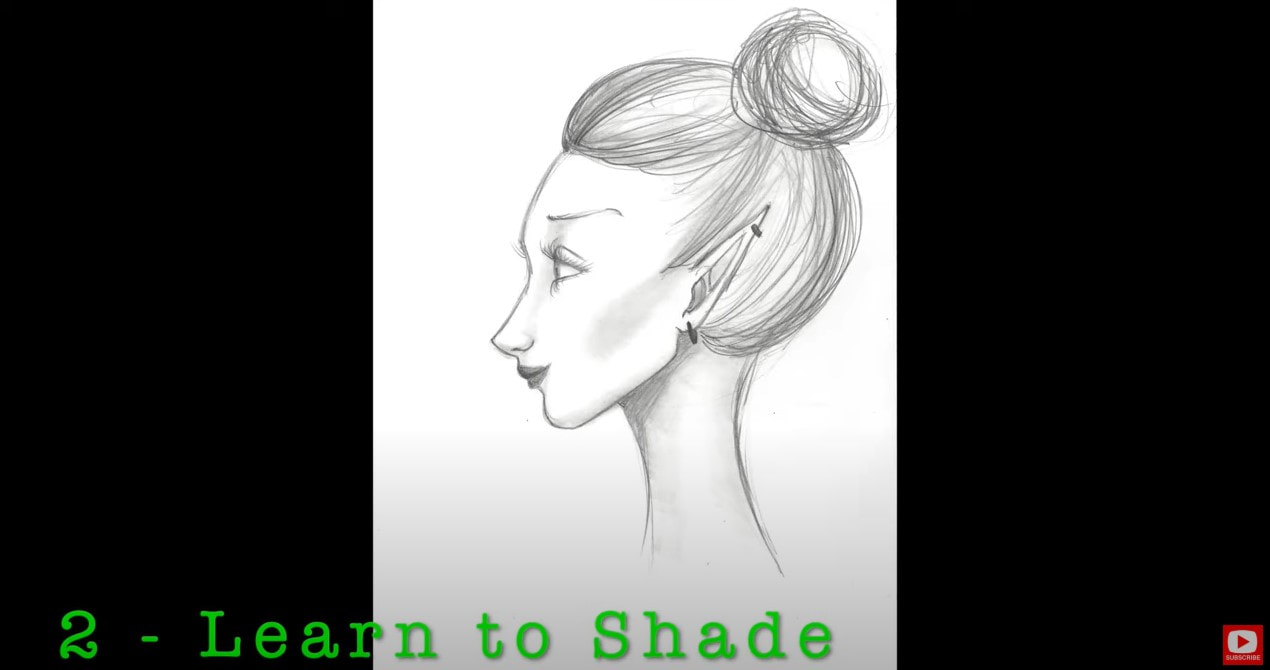 See ya over on YouTube!!! ❤️All product links are Affiliate. I may earn a small commission if you choose to order through these links but by law there is never any additional cost to the consumer for doing so. I thank you for your support! Today is Friday which means NEW FREE YouTube lesson!! This project was particularly satisfying for sooooo many reasons! Well, I'll just list them off so you know what they are! First all, I got to paint with my fountain pen inks. They are soooooo vibrant and juicy and satisfying (due to their vibrancy and juiciness) that I cannot even compare them to any other medium I love them so much! This is the one I use for skin color. It's DIVINE!  I can now draw hands after publishing a book on them! I can finally dive into any project that involves them and has truly opened up a whole new world of faces and characters now that I'm no longer afraid to tackle any drawing!  I spill 3 oz. of permanent ink all over my studio floor. There's nothing quite like an explosion of ink to liven things up in the old art room! 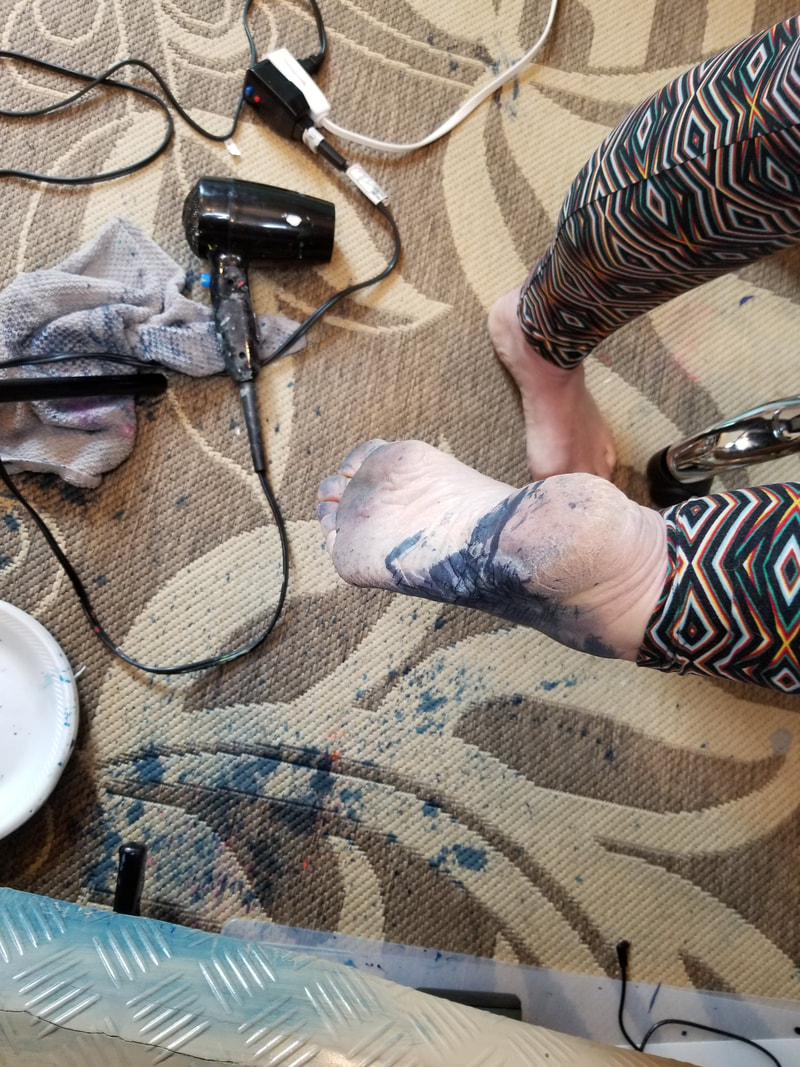 Glasses. Having the guts and courage to draw OVER and ON TOP OF a completely painted girl, is, well, TERRIFYING! But then the level of proud you feel when you actually pull it off is the BEST FEELING EVER!! So while it's scary, it's worth it!!! So my advice to you is to simply GO FOR IT. 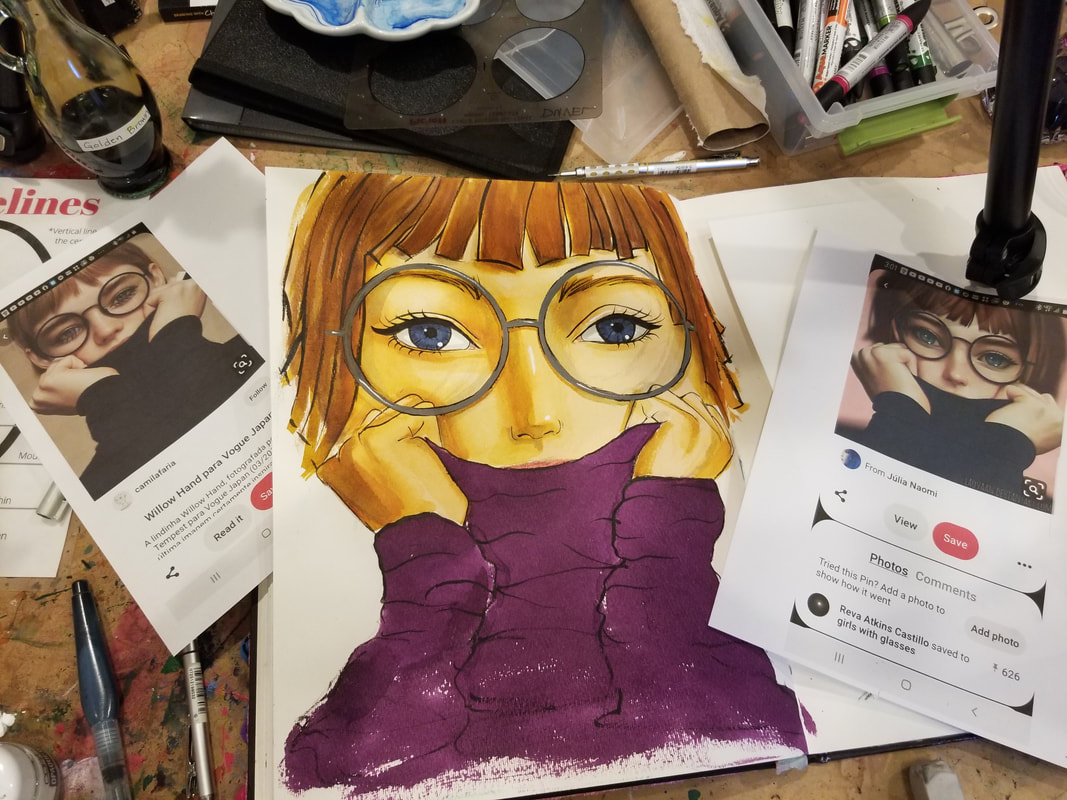 The references I used today are so super cute!! The original reference photo was taken from Vogue Japan and I just fell in love with it when I saw it!!! Another reason today's project was so fun was because of my little feline side-kick!! Oh Tippie!!! So after the spill and the cat play and the juicy brushes filled with ink I was just delighted at the final outcome. Click on the video here to watch how YOU can learn how to paint glasses on YOUR mixed media girls!! I hope you're staying safe indoors and have found some activities to keep your mind, heart and soul occupied and happy. I personally find the best way to keep my heart and mind happy is to keep my body busy!! I've gone on A LOT of walks. But I'm also keeping busy with painting and drawing!!! You may remember from last week's email that we painted our son Max's room? Well yesterday I painted his favorite video game character in there too. Lifesize. 'Cause, really, why not if it keeps me busy and him DELIGHTED! Seemed like a double win so we went for it! 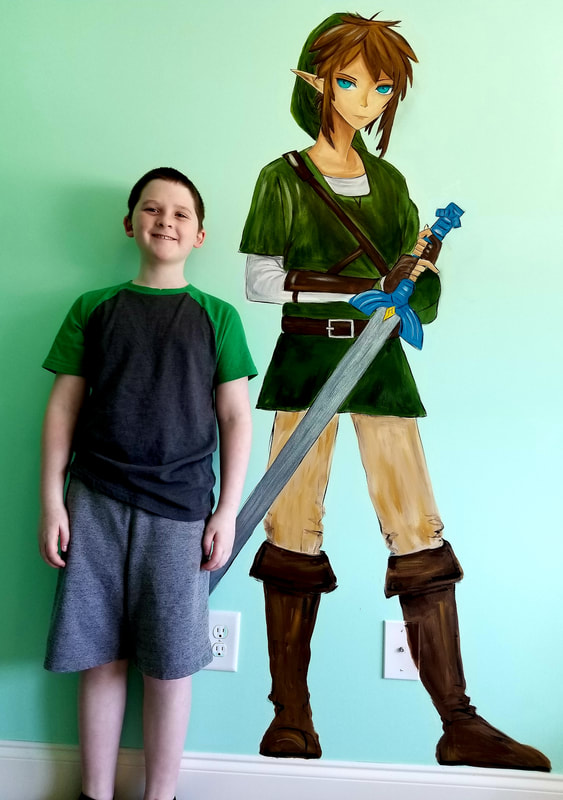 Sadly it only took me 2 hours so I still had to keep busy for the rest of the day but it definitely helped me take my mind off of things for an afternoon. Since being creative is working so well for ME these days, I thought maybe it would work well for you too! So today I'm bringing you a fun demonstration tutorial about how to use colored pencils to help you shade your mixed media drawn faces. The funny thing is that I REALLY DO HATE COLORED PENCILS. You can see so (and learn why) in the video!! lol! But then you can also see how I use them to really pack a shading PUNCH to my best art journal faces. Here's a peek! 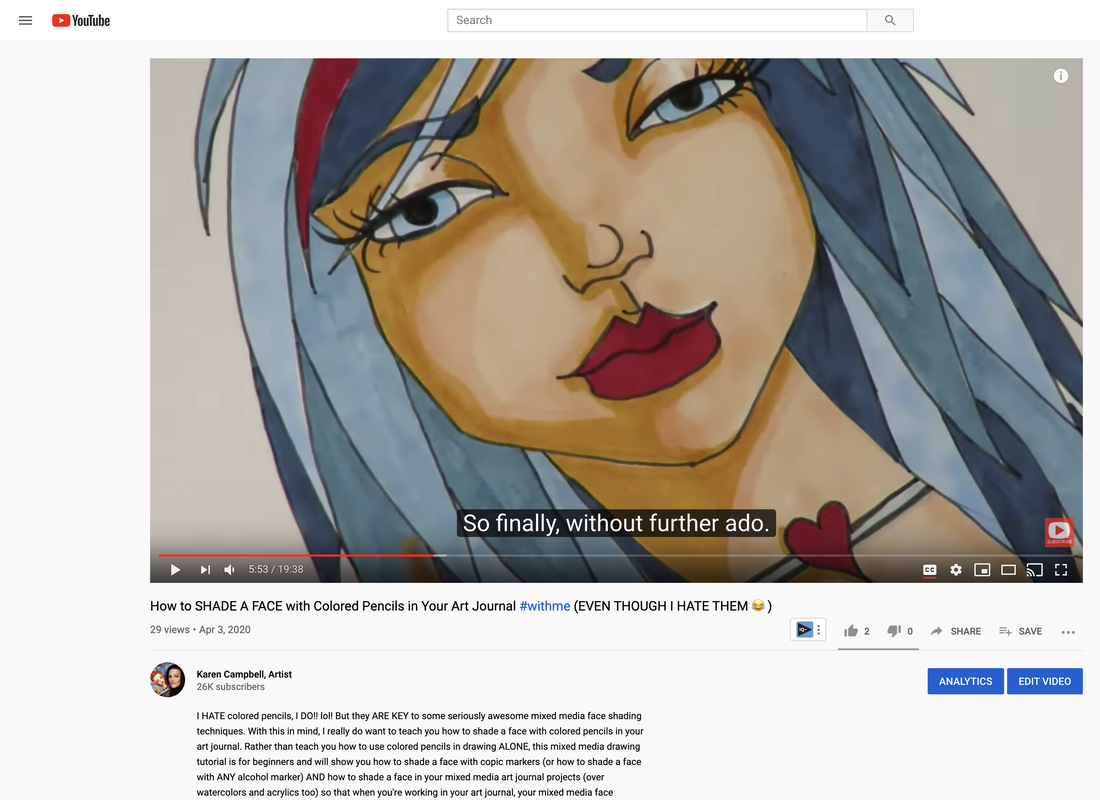 Ready to learn and see? Grab some pencils and meet me at your art table. Then press play and let's gooooo! Are you still afraid or unsure of where to put shading on your drawn or painted faces? You are SO NOT ALONE!! I hear this all the time from my Awesome Art School students. And I finally figured out a really fun but also CONCRETE way to not only explain how face shading works, but also how to SHOW you. 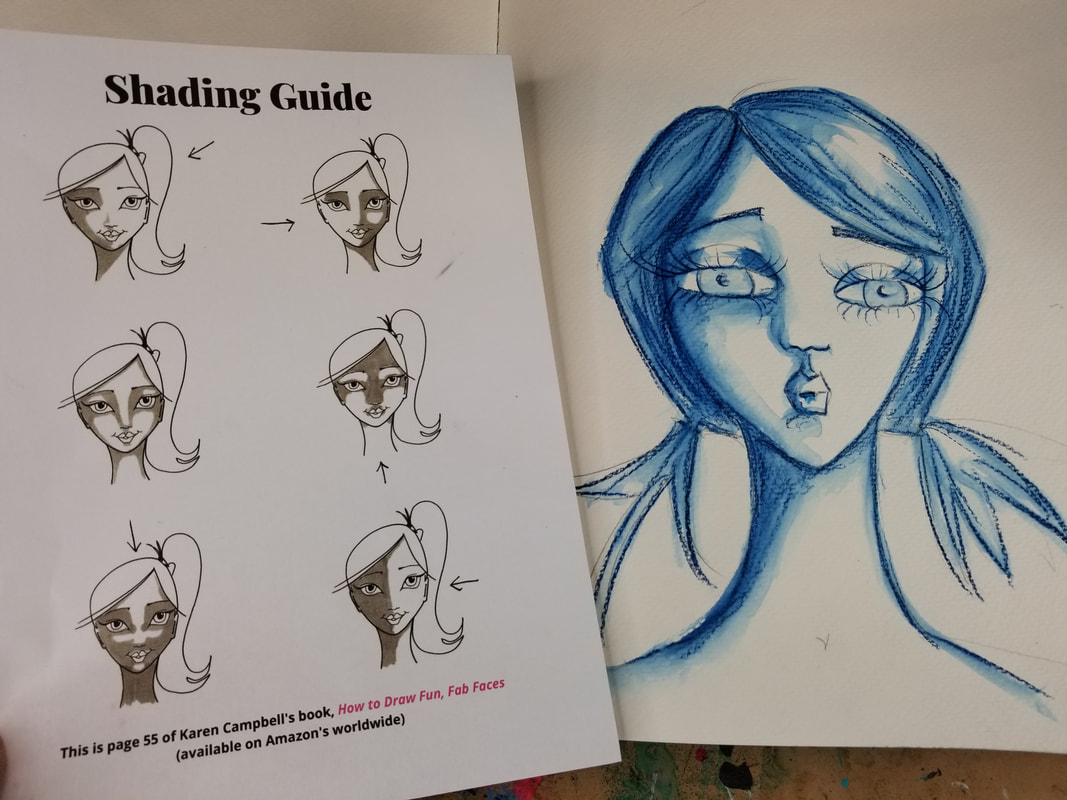 Sooooo many people are SCARED of shading, this video was made to HELP YOU! I know money is tight for so so many these days so along with the video, I'm also giving out a FREE 4 page pdf bundle of Face Drawing Cheatsheets that go along with the video. Because you are on my newsletter list, I am giving you the link here that will allow you to download all four incredibly helpful resources: I do need to add though, you're sort of wasting your time printing these out without watching the video today, they really go hand in hand. So really, to get the full understanding of the sheets, go and watch the video below and THEN go download the pages when you're ready to give it a go! My YouTube community has been LOVIN' all the fun and free series lately and I hope you are taking advantage of all this free, content rich, well, content!! In the winter it was the Mixed Media "Hamburger" Series which, in 9 episodes covered my ENTIRE Mixed Media process I use to create 99% of my mixed media projects! Have no idea WHAT I'm talking about in regards to Hamburgers and art?! You can get started by watching the first video in the series here! Then earlier this year I did a 4 part Art Journaling Series and that was soooo fun too!! While the Mixed Media series armed everyone with the technical art skills that enabled them successfully layers up on layers of supplies, the Art Journaling Series got people over their fear of starting, their fear of the blank page and on to the super-having-fun part!! I've seen soooooo many fun projects come to fruition as a result of that series, I cannot get over it! If you need a kick in the pants because you're too nervous to get started, that series is a must for you too! |
Karen CampbellFounder of Awesome Art School. Mixed Media Artist. Author of 18 Instructional Art Books! 
   
 Archives
April 2024
Categories
All
|
 RSS Feed

"Karen is flipping hilarious and she's very real...I like the way she teaches in a way that really gives you confidence, whether you're a beginner or advanced there's always something new to learn!"
- Elizabeth W. |
What Fans Are SayingKaren, you are absolutely fabulous! You make me feel like I can draw anything. I have recently retired and finally have the time to do some of the art that I have loved since I was in school. I am really at the beginning of my art journey and I hope to learn as much as I can. Thank you for all you do. |
Contact ME |